Main tutorial
1. Lesson Overview
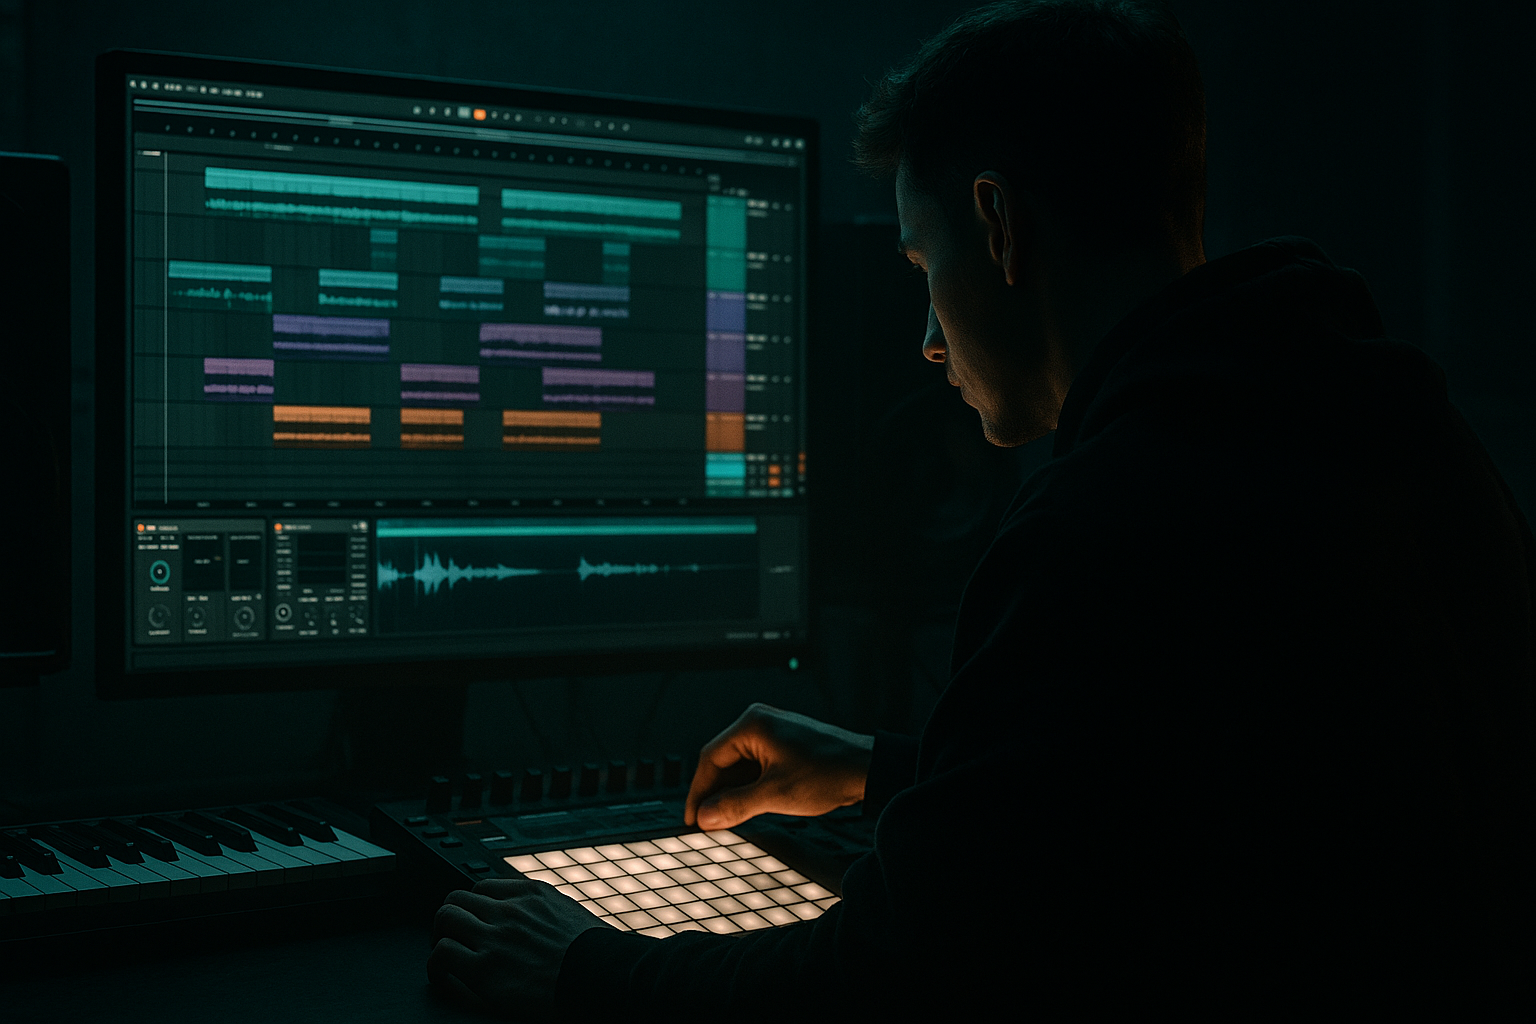
This advanced Automation lesson shows you how to build the "Workforce Ableton Live 12 orchestral hit blueprint for modern punch and vintage soul" — a reusable, automatable orchestral-hit Instrument Rack that can morph between a tight, modern punch (useful for Drum & Bass stabs and drops) and a warm, vintage-soul character (for slower breakdowns or soulful stabs). The exercise focuses on Ableton Live 12 stock devices and, most importantly, automation techniques (device macro automation, arrangement automation lanes, and clip envelopes) to make the hit breathe, snap, and change character on the fly.
2. What You Will Build
- A single Instrument Rack ("Orch Hit WorkForce") containing layered chains:
- Mapped Macros that control:
- A recommended effects chain (Drum Buss, Saturator, Hybrid Reverb, Echo, Glue/Compressor, EQ Eight) with parameters mapped to those macros.
- Arrangement automation and clip envelopes that demonstrate two real-use morphs: a 1-bar hard punch and a 2-bar vintage swell.
- Create a MIDI track named "Orch Hit WorkForce".
- Create a return track A (Hybrid Reverb), B (Echo) for space control; set Dry/Wet to 0 on both (we'll use sends).
- Create a Drum Buss and Glue Compressor chain on the instrument track after the Instrument Rack (as insert FX), and also add an EQ Eight at the end for final shaping.
- On the Instrument Rack output chain, arrange: Drum Buss (only on Brass chain — not global), Saturator (global), EQ Eight after Saturator (low-cut ~40–60 Hz to keep sub tight), Multiband Dynamics before Glue to tame low-mids if needed.
- Return A: Hybrid Reverb settings:
- Return B: Echo
- For extremely precise micro pitch envelopes use Sampler pitch envelope inside the Sampler device (not just macro mapping) and automate its Amount via Macro or via device automation. If you want the pitch bend to be sample-locked (not dependent on global automation jitter), use clip envelopes mapped to the device’s parameter (open clip -> Envelope box -> Device -> Sampler -> Pitch Env Amount).
- For transient shaping inside the audio clip (if you convert the Instrument Rack to audio), use the audio clip’s gain envelope to draw tiny dips/boosts for micro transient emphasis.
- Create a dedicated Kick bus. Add Compressor on Orch Hit track after Glue with Sidechain enabled to the Kick track. Automate Compressor Threshold so that for modern punch, sidechain is less aggressive (Threshold higher) and for driving, slightly lower threshold to duck the hit relative to the kick. Alternatively, automate the Compressor Ratio or Attack to tighten/loosen the relationship.
- Draw automation with small S-curves for natural movement. Zoom in and nudge nodes to avoid abrupt digital zippering.
- If you want instantaneous morphs (hard switch), use Rack Chain Selector automation: split Rack into two macros or two full chain presets, automate the Chain Selector to crossfade or switch between 'Modern' and 'Vintage' snapshots. This is useful for dramatic arrangement moments.
- Once you like a particular automated hit, consolidate (resample) to audio to capture the exact automated behavior, then re-import into a Simpler for easy reuse and further micro-editing (clip envelopes). This also gives you additional vintage processing like vintage tape saturation via audio effects.
- Over-automating many individual device parameters instead of macros: creates messy automation lanes and hard-to-manage projects. Use macros to group.
- Automation conflicts: remember that clip envelopes take precedence when clip automation exists. If you draw arrangement automation but leave clip envelopes active, you’ll get unexpected jumps. Keep one method per event unless you’ve planned both.
- Too much low reverb energy: long reverb with low cut not applied will smear bass. High-pass your reverb sends (Hybrid Reverb’s internal EQ or an EQ Eight before the send).
- Over-saturation and clipping: drive Saturator and Drum Buss carefully. Use Utility gain staging and final limiter only if needed.
- CPU overload: many Sampler chains + Wavetable + wide reverb = heavy. Freeze/flatten or resample.
- Phase cancellation on layered samples: if layers were processed differently, check for phase issues (flip phase on one layer or nudge sample start by a few milliseconds).
- Map inverted ranges: sometimes a single macro should increase one parameter while decreasing another (e.g., more Punch = less reverb). In Macro Map Mode reverse min/max to create inverse behavior.
- Use the Chain Selector to create entirely different stacks (Channel A = Modern, Chain B = Vintage). Automate the Chain Selector for instant, CPU-cheap switching.
- Resample long versions and use Simpler’s Classic + Snap mode to re-trigger the feel with different envelopes.
- For stereo width control of the hit, automate Utility Width: narrow for club punch (centered) and wider for vintage soul moments.
- Use group returns for reverb and echo to preserve CPU and to automate global space with a single send automation — better than individual device wet knobs.
- To get a tape-like vintage flavor, automate small pitch modulation (LFO mapped to pitch) at low depth on the Vintage Key chain, and increase depth when Soul macro rises.
- Freeze and flatten only after committing to automated parameter states you want to keep; otherwise preserve your Instrument Rack as a template.
- Sampler-based strings/choir stab (vintage body)
- Sampler-based brass/pluck transient (modern bite)
- Wavetable sub/punch layer (low-end slam)
- Simpler vintage-key color layer (soulful shimmer)
- Punch (transient + sub emphasis)
- Soul (saturation + reverb character)
- PitchSweep (short pitch envelope amount)
- Space (reverb/echo send blend)
- Glue (compression/sidechain intensity)
3. Step-by-Step Walkthrough
Note: keep Ableton Live 12 in Arrangement view for global automation lanes. Tempo example: 174 BPM (DnB). Use stock devices only.
A. Project and Track Setup
B. Build the Instrument Rack (Layering)
1) Create an Instrument Rack on the MIDI track.
2) Create 4 chains (right-click chain area -> Create Chain):
- Chain 1: Strings/Choir (Sampler)
- Drop a long orchestral-choir sample (or short hit) into Sampler.
- Set Sampler’s Filter to Lowpass (12 dB), set Filter Env amount to ~15–30% for body.
- Set Amp ENV: Attack 0–5 ms, Decay 400–1200 ms (adjust to taste), Sustain 0. Use the pitch envelope (Sampler's Pitch Env) with Amount = 0 for now — we'll automate.
- Chain 2: Brass/Pluck (Sampler)
- Use a brighter brass sample.
- Amp ENV: Attack 0–2 ms, Decay 150–350 ms for a tight transient.
- Route Chain 2 through Drum Buss (in-chain) to add "Bite" and "Transient" — we will map parameters.
- Chain 3: Sub/Punch (Wavetable)
- Place a new Wavetable and initialize a simple sine/triangle morph.
- Set Oscillator 1 to Sine, add Osc 2 at low level for body (use FM from Osc 2 slightly).
- Amp ENV: Attack 0–1 ms, Decay 80–180 ms, Release 40–80 ms.
- Add a short pitch envelope in Wavetable: Pitch ENV amount -12 to -24 semitones, decay very short (~50–120 ms) to create the 'thump' transient.
- Chain 4: Vintage Key (Simpler or Sampler)
- Load a short electric-piano or clav hit into Simpler in classic mode (or Sampler for more control).
- Low-pass some high-mids; add gentle chorus via Chorus-Ensemble in this chain for vintage wobble.
3) Set all chains to trigger on the same key range (default) so one MIDI note triggers all layers. Use Sampler and Wavetable velocity sensitivity (Vel→Vol) to add dynamic response.
C. Macro Mapping (the heart of automation)
1) Open Macro Map Mode on the Instrument Rack.
2) Create macros and map these parameters (suggested min/max ranges):
- Macro 1: Punch
- Map to Wavetable Osc Gain (increase sub level) → min 0, max +6 dB
- Map to Drum Buss "Transient" (0 → 60%)
- Map to Sampler (Brass) Filter Cutoff (modest boost when Punch increases)
- Map Drum Buss "Boom" (0 → 20%) for low thump
- Macro 2: Soul
- Map to Saturator Drive (0 → +4 dB) on the Instrument Rack output
- Map to Chorus-Ensemble mix in Vintage Key chain (0 → 50%)
- Map to a slight increase in Hybrid Reverb send (via send knob mapping) — set send knob min 0, max ~0.35
- Macro 3: PitchSweep
- Map to Sampler Pitch Envelope Amount (Brass) (0 → -18 semitones)
- Map to Wavetable Pitch Envelope Amount (0 → -24 semitones)
- Use inverted mapping on one device if you want upward pitch sweep vs downward (change min/max accordingly)
- Macro 4: Space
- Map to Return A (Hybrid Reverb send) and Return B (Echo send) balances: Return A send min 0 → max 0.5; Return B min 0 → max 0.25
- Also map Hybrid Reverb "Late Size" (via device mapping) from small → medium (0.3s to 1.2s)
- Macro 5: Glue
- Map to Glue Compressor Threshold (raise threshold / lower threshold to increase compression) or map to Compressor sidechain ratio amount.
- Map to Multiband Dynamics gain reduction amount on mids to tighten midrange.
3) Exit Macro Map Mode, name macros accordingly (Punch, Soul, PitchSweep, Space, Glue).
D. In-Chain Effects and Routing Details
- Early/late balance, choose a plate-ish early reflection and a short-medium late reverb.
- For modern: late decay ~0.4–0.8 s, high damping, low diffusion.
- For vintage: late decay 1.2–2.0 s, slightly more pre-delay, darker (lowcut/hi-cut).
- We'll automate Space macro to move between those.
- Set to short ping-pong with low feedback, high-cut filter to keep brightness vintage.
E. Designing Automation: Arrangement vs Clip Envelopes
1) Use Macros as the primary automation targets for tidy automation lanes and recallability.
- Press A to enter Automation Mode.
- Select the "Punch" macro in the device chooser (top of the device chain) and draw automation lane on the MIDI clip region or arrangement track.
2) Example 1 – 1-bar Modern Punch (fast automation):
- On the bar where you want the punch (bar 1), automate Punch: draw a steep up curve reaching 100% within 1/16 to 1/8 note, then back to 0 over 1/4 bar.
- Automate Glue macro to slightly reduce threshold at the exact transient — gives extra squish.
- Automate PitchSweep: a fast downward envelope (e.g., -12 semitones in 60–120 ms) for snap. You can draw this within the MIDI clip as a clip envelope mapped to the PitchSweep macro for tighter timing: open the MIDI clip, choose "MIDI Ctrl" -> Macro 3 and draw the envelope.
3) Example 2 – 2-bar Vintage Soul Swell:
- Automate Soul and Space macros: Soul rises from 0 → 70% over half a bar then holds, Space ramping to 100% over 1–1.5 bars for lush decay.
- Automate PitchSweep to a gentle downward slur (e.g., -5 to -8 semitones) with slower decay (200–600 ms) for that classic cinematic/vintage warble.
- Automate Chorus amount (already mapped to Soul) for additional vintage movement.
F. Clip Envelope Tricks for micro timing
G. Sidechain and Kick Interactions (DnB context)
H. Automation Smoothing and Avoiding Jumps
I. Freezing, Resampling, and Resampling for CPU/Creativity
4. Common Mistakes
5. Pro Tips
6. Mini Practice Exercise
Goal: Build a two-bar demo where bar 1 is a tight modern punch, bar 2 morphs into a warm vintage soul hit using automation.
Steps:
1) Create the Instrument Rack with 3 layers: Brass (Sampler), Sub (Wavetable), Key (Simpler).
2) Map three macros: Punch (adds Drum Buss transient and increases Wavetable level), Soul (adds Saturator and increases Hybrid Reverb send), PitchSweep (affects both Sampler and Wavetable pitch envelopes).
3) Program a single MIDI note across two bars.
4) Bar 1 automation:
- Punch jumps to 100% at the very start of the bar for 1/8 note, then drops to 0 by beat 1.3.
- PitchSweep: -18 semitones over 90 ms at the start of bar 1 (use clip envelope).
- Glue: slightly tighter (threshold down).
5) Bar 2 automation:
- Soul rises from 10% → 80% over the first half bar and holds.
- Space (send) ramps to 70% over bar 2.
- PitchSweep: gentle -6 semitone sweep over 300–600 ms.
6) Render to audio and listen for: transient clarity, reverb tail behavior, and the morph’s smoothness.
7) Bonus: Resample bars separately, load them into Simpler, and compare tweaking pitch envelopes on the audio-derived sample.
7. Recap
This lesson covered the "Workforce Ableton Live 12 orchestral hit blueprint for modern punch and vintage soul." You built a layered Instrument Rack using Sampler, Wavetable, Simpler, and Ableton stock FX; grouped behavior into macros; and used Arrangement automation, clip envelopes, and Rack Chain Selector techniques to morph between a tight, modern DnB punch and a warm vintage-soul hit. Key takeaways: automate macros not every single parameter, use clip envelopes for micro-timing pitch sweeps, keep reverb out of the low end, and use chain selector or resampling to manage CPU and preserve creative snapshots. Apply these templates to stabs, drops, and breakdown transitions across your tracks.

