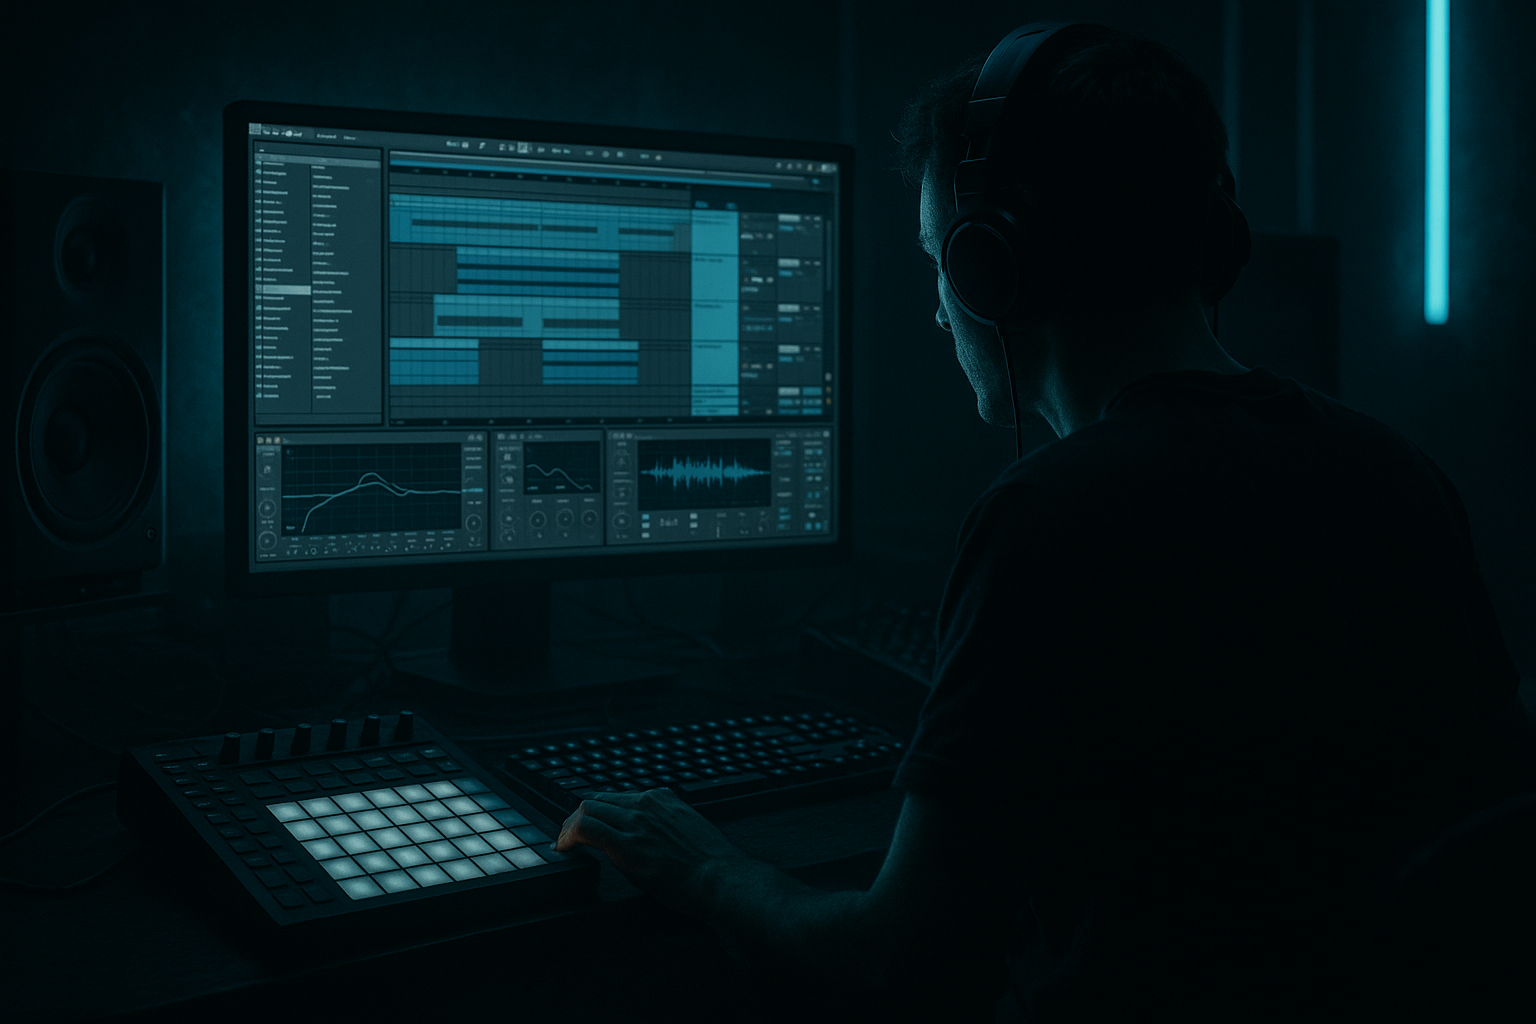
Main tutorial
Widen a Shuffle with Chopped-Vinyl Character in Ableton Live 12
Jungle / oldskool DnB drums tutorial 🥁⚡
1. Lesson overview
In oldskool jungle and drum & bass, the drums often feel wide, alive, and slightly “unlocked” — like they were lifted from a dusty break, chopped on hardware, and pushed through a big system. The goal here is not to make your drums artificially huge and glossy. The goal is to make them feel:
- wider than the bass
- more human and swung
- chopped like vinyl slices
- tight enough to hit hard in a modern mix
- drum break chopping
- groove/shuffle
- stereo widening through smart layering
- vinyl-style degradation
- sample edits and transient control
- parallel processing for grit
- a chopped break pattern with oldskool swing
- a wide stereo drum image without losing punch
- a vinyl-flavoured top layer for movement and grit
- a clean mono-compatible low-end drum foundation
- a simple drum rack / audio chain you can reuse in future jungle and halftime-to-rollers projects
- Amen-style breaks
- Think / Funky Drummer-style breaks
- any dusty loop with ghost notes and transient variation
- rearrange the break like a sampler
- repeat certain ghost notes
- offset hits for swing
- layer individual slices with wider copies
- Kick: keep strong downbeats and one or two syncopated pushes
- Snare: land hard on the backbeat, with occasional ghosted lead-ins
- Ghost notes: place quieter snare or rim slices before the main hit
- Hi-hats / break ticks: use offbeat placements to create forward motion
- Main snare on 2 and 4
- Ghost snare just before 2 and/or 4
- Kick on 1, plus a syncopated kick near the “and” of 2 or 3
- Hat or break tick placements on offbeats
- Timing: start around 55–65%
- Random: 0–10%
- Velocity: 5–20%
- Base: keep reasonable so the groove still locks
- Copy the groove from a break that already swings well.
- Apply it to your programmed slice pattern.
- Tweak the amount until the rhythm starts bouncing.
- low drum energy stays centered
- higher break texture gets wider
- Utility: set Bass Mono behavior by keeping low content mono
- If needed, use EQ Eight with a low-pass on the side layer
- transient edges becoming slightly fuzzy
- hats getting grainy
- snare tails becoming more characterful
- stereo texture opening up without smear
- Open the clip and adjust Clip Gain on slices if some hits are too dominant
- Use Transient shaping if you’re processing with tools or racks that support attack/sustain control
- Use Simpler inside Drum Rack for individual slices if you want tighter control
- Reduce overly sharp hat slices by a few dB
- Lift ghost notes slightly so the shuffle breathes
- Keep main snares strong and consistent
- Saturator
- Overdrive
- Glue Compressor
- EQ Eight to cut low end
- Glue Compressor
- Saturator
- EQ Eight
- Every 8 bars, swap one or two ghost notes
- Add a fill bar with more aggressive chops before a drop
- Pull elements out for half-bar pickups
- Automate:
- mute the kick for a moment
- let the break slices stutter
- open a filter or add extra delay throws
- reintroduce the full drum hit right on the drop
- sub is mono
- main kick/snare stay focused
- wide drum texture lives mostly above the low mids
- bass doesn’t fight the break’s lower body
- Utility: mono control and width management
- EQ Eight: carve space
- Compressor or Glue Compressor: sidechain drums/bass if needed
- Spectrum: visual check of low-mid clutter
- Auto Filter with a gentle low-pass sweep
- Saturator for thickened mids
- Drum Buss to sharpen the smack
- high-pass it
- low-pass it slightly
- distort it
- tuck it behind the main drums
- duplicate a snare slice
- repeat it rapidly for 1/8 or 1/16 notes
- automate filter or delay feedback
- Glue Compressor
- Saturator after it
- mute the kick for half a bar
- stutter the snare slice
- bring everything back hard on the drop
- Does the break still hit in mono?
- Is the shuffle obvious but not cheesy?
- Does the texture feel sampled and alive?
- Slice the break
- Program human, swung timing
- Use Groove Pool for shuffle
- Keep the core drum energy mono and punchy
- Widen only the upper texture layer
- Add vinyl-style grit with stock Ableton devices
- Automate variation so the loop evolves like a real jungle record 🎛️
In Ableton Live 12, you can build this vibe using a combination of:
We’ll create a wide shuffle break that has that classic chopped-vinyl jungle character, but still sits properly in a current DnB arrangement. 🔥
---
2. What you will build
By the end of this lesson, you’ll have:
Think:
tight kick + snappy snare + shuffled hats + stereo break texture + vinyl grime.
---
3. Step-by-step walkthrough
Step 1: Choose the right source break
Start with a classic break-style sample or a loop that already has natural movement.
Good choices:
In Ableton Live:
1. Drag the break into an Audio Track.
2. Make sure Warp is enabled.
3. Set the warp mode to:
- Beats for punchy drum loops
- Complex Pro only if the loop has a lot of tonal bleed and you need smoother time stretching
For jungle-style chopping, Beats is usually the better starting point.
Tip: If the break is too clean, don’t reject it yet. We’ll dirty it up with layers and devices.
---
Step 2: Slice the break into playable hits
This is where the chopped-vinyl character begins.
#### Option A: Slice to New MIDI Track
1. Right-click the audio break.
2. Choose Slice to New MIDI Track.
3. In the slicing menu, use:
- Transient slicing for natural drum hits
- or 1/4 note / 1/8 note if you want a more rigid rhythmic chop
Ableton will create a Drum Rack with each slice on separate pads.
#### Why this matters
You can now:
---
Step 3: Build a classic shuffle pattern
In the MIDI clip, program a pattern that feels like a broken loop rather than a straight grid.
A useful starting approach:
#### Example rhythmic idea
For a 1-bar jungle break:
Don’t quantize everything perfectly. Leave some hits slightly late or early.
---
Step 4: Add shuffle with Groove Pool
This is the Ableton-native way to get that elastic oldskool feel.
1. Open Groove Pool.
2. Drag in a groove from:
- a sampled break
- or one of Ableton’s groove templates
3. Apply it to your MIDI clip or audio clip.
Useful settings:
For jungle, try a groove that feels drunk but deliberate.
You want push/pull, not sloppy timing.
#### Practical method
---
Step 5: Create width the right way
A lot of producers make the mistake of widening the whole drum break equally. That often destroys punch and causes phase issues.
Instead, split the job:
#### Layer 1: Mono core
Keep the core kick/snare elements relatively centered.
Use:
#### Layer 2: Wide texture layer
Duplicate the break track and process the duplicate as your “wide air” layer.
On the duplicate:
1. Add EQ Eight
- High-pass around 180–300 Hz
2. Add Chorus-Ensemble
- Use subtle depth, slow rate
3. Add Micro Shift style effect if you have Max for Live, or use:
- Delay with very short time and low feedback on left/right, or
- Redux lightly for crunchy stereo edge
4. Add Utility
- Slight width increase if needed, but avoid going extreme
This gives the impression of a big, wide break while keeping the punch in the center.
---
Step 6: Add chopped-vinyl character
Now we make it feel sampled from wax, not pristine from a folder.
Use a combination of stock Ableton devices:
#### Recommended chain on the wide layer:
1. Saturator
- Drive: 2–6 dB
- Soft Clip: On
2. Drum Buss
- Drive: subtle to medium
- Boom: avoid too much unless you want extra weight
- Crunch: useful for break bite
3. Vinyl Distortion
- Keep it subtle for texture
- Focus on dust / mechanical instability rather than obvious effect
4. Redux
- Very light bit reduction or sample rate reduction
- Great for oldskool grit, but don’t overdo it
5. Auto Filter
- Add gentle movement with a low-frequency LFO if you want a drifting vinyl feel
#### What to listen for
---
Step 7: Use transient shaping and clip gain
Oldskool chopped breaks often feel punchy because the transients are managed carefully.
In Ableton:
#### Practical approach
This is where the groove starts to feel “played” rather than “looped.”
---
Step 8: Add parallel grime for energy
Create a parallel return or duplicate track for dirt.
#### Option A: Return track
Send some drum signal to a Return with:
#### Option B: Duplicate track
Make a heavily processed copy and blend it under the clean drums.
Suggested grime settings:
- Attack: 10 ms
- Release: Auto or around 0.1–0.3 s
- Ratio: 2:1 or 4:1
- Drive until it just starts to bite
- High-pass around 150–250 Hz
This adds density and “recorded from tape” attitude without wrecking the main drum clarity.
---
Step 9: Program fills and arrangement movement
For DnB and jungle, the drums should evolve. If the shuffle repeats too long, the energy drops.
#### Arrangement ideas
- filter cutoff
- distortion amount
- width
- dry/wet on the wide layer
#### Classic jungle move
In the 2-bar pickup before a drop:
That little moment of chaos is very oldskool. 😈
---
Step 10: Balance the drum stack with the bass
In DnB, the drum width must respect the bassline.
Make sure:
#### Useful stock devices
If your bass is dark and rolling, keep the break texture higher and leaner so the mix doesn’t turn muddy.
---
4. Common mistakes
1. Making the entire break too wide
This kills punch and can collapse in mono.
Fix: Keep low-end mono. Widen only the upper break texture.
2. Over-quantizing the shuffle
If every slice lands perfectly on-grid, the groove feels robotic.
Fix: Use Groove Pool lightly and leave some human timing.
3. Too much vinyl effect
If Redux/Vinyl Distortion is too strong, the drums lose impact.
Fix: Use grit as seasoning, not the whole meal.
4. Not controlling transient balance
A few slices may poke out too much and ruin the flow.
Fix: Adjust clip gain or slice level individually.
5. Forgetting the bass relationship
A wide break can clash with the bassline, especially in the low mids.
Fix: High-pass the wide layer and keep the core drums centered.
---
5. Pro tips for darker/heavier DnB
Tip 1: Use darker break tones
If you want a heavier jungle vibe, process the top layer through:
This gives the break a more shadowy edge.
Tip 2: Layer a filtered ghost break
Add a second break layer:
This works really well for ominous rollers and dark jungle intros.
Tip 3: Use stutter edits before impacts
Before a drop or phrase change:
That chopped-vinyl rush is very effective in heavier DnB.
Tip 4: Keep the sub strict
If the drums are wild, the sub should be disciplined.
A stable sub makes the shuffled break feel even more energetic.
Tip 5: Try a drum bus with mild glue
On the drum group:
- low ratio
- slow-ish attack
- auto release
This helps the chopped break feel like one instrument, not disconnected slices.
---
6. Mini practice exercise
Exercise: Build an 8-bar shuffled jungle loop
Goal: Create a wide, chopped-vinyl break that evolves over 8 bars.
#### Task
1. Find one 1-bar break.
2. Slice it to MIDI.
3. Program a 2-bar pattern with:
- main snare on 2 and 4
- at least 2 ghost notes
- 1 syncopated kick variation
4. Duplicate the pattern across 8 bars.
5. Apply Groove Pool swing.
6. Create a wide layer with:
- EQ Eight high-pass
- Chorus-Ensemble
- Saturator
7. Add a grime return with:
- Drum Buss
- Glue Compressor
8. Automate one change every 2 bars:
- filter
- width
- or distortion amount
#### Challenge mode
For bars 7–8:
Listen back and ask:
---
7. Recap
To widen a shuffle with chopped-vinyl character in Ableton Live 12, think in layers:
If you keep the low end tight and let the chopped top layer breathe, you’ll get that perfect balance of oldskool grit, stereo movement, and modern DnB impact.
If you want, I can also turn this into a track-by-track Ableton device chain or a step sequencer style MIDI pattern example for a classic Amen-style groove.

