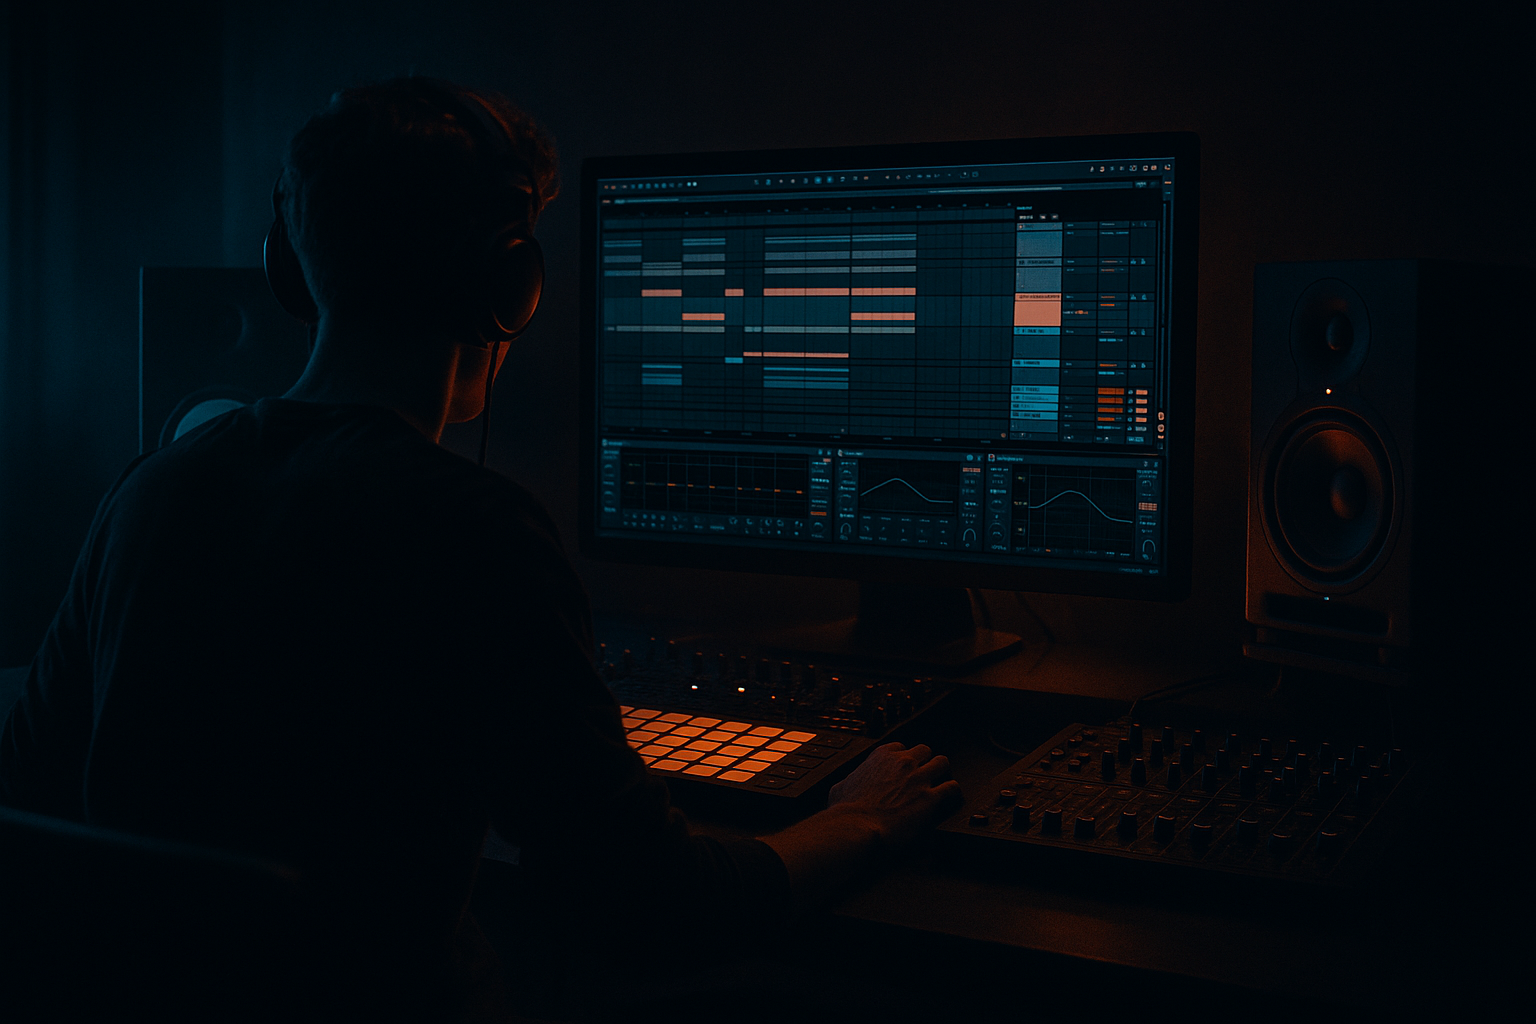
Main tutorial
1. Lesson Overview
"Whiney edit: tune a tape-hiss atmosphere from scratch in Ableton Live 12 for warm tape-style grit" teaches an advanced, practical session: building a layered tape-hiss atmosphere with a tunable “whine” — a pitched, resonant harmonic component — using only Ableton Live 12 stock devices. You’ll learn how to synthesize broadband tape-like noise, create and tune the whiny harmonic peaks musically to your track key, texture and degrade like vintage tape, and package the result into an editable, mix-ready element suitable for Drum & Bass edits.
2. What You Will Build
- A 3-layer tape-hiss atmosphere:
- A return-bus setup for tape saturation, modulation and ambient reverb/delay
- Macro-mapped controls for cutoff, whine pitch, drive and width for quick creative edits
- Create a new Live Set (120–180 BPM typical for DnB; set to your project tempo).
- Add three audio/instrument tracks and name them: HISS_BASE, WHINE_TONE, TEXTURE_RESAMPLING.
- Create three return tracks: R_A (Saturator + Echo), R_B (Hybrid Reverb), R_C (Grain Delay + Redux). Set sensible send levels (start at -12 dB).
- Balance Send levels so the texture doesn’t mask drums/bass; keep hiss around -18 to -12 LUFS relative to track sections.
- For transitions (drop/intro) automate Whine Pitch and Tape Drive macros for swell or decay.
- Mixing the whine fundamental at the same frequency as crucial midrange elements (snare presence range ~200–500 Hz). Fix: notch or dip with EQ Eight.
- Overloading Redux or lowering sample-rate too far → brittle digital trash. Fix: use Redux conservatively and balance with saturator for analog warmth.
- Making the whine too loud or too wide: it steals focus. Fix: reduce wetness, lower width with Utility, automate volume for sections.
- Hard/constant LFO rates causing phasing issues with the groove. Fix: sync LFO rates to musical subdivisions or use slow non-synced Hz for drift.
- Forgetting to tune resonator peaks to key → whine clashes. Fix: map pitch controls and always tune to the key or scale.
- Use Resonators in musical intervals: set one resonator to the root’s octave, another to the fifth, and a third to a higher harmonic. Small detunes (1–10 cents) between resonators create analog-style beating.
- For a more authentic tape warmth, place Saturator before Redux: saturate first, then gently degrade with Redux. This mimics harmonic generation before sample-rate loss.
- Use Freeze/Feedback trick on Hybrid Reverb: automate a momentary high send with high feedback to create a sustained ambient smear for transitions.
- Use sidechain compression (compressor on Group) keyed to kick (fast attack, medium release) to let drums punch through — very useful in DnB.
- Record multiple passes with slightly different settings and layer them; the human variance between passes is how tape charm emerges.
- When in doubt, resample to audio and re-process. Resampling is how you commit a good sounding tape-hiss and then further sculpt it.
- Base broadband tape-hiss (broadband noise processed to feel like tape)
- Tunable “whine” layer (resonant/pitched harmonic peaks you can tune to the track)
- Textural grit layer (granular / resampled dirt for personalities)
3. Step-by-Step Walkthrough
Important: Throughout, keep your session key in mind. The whine should harmonically sit with your track (you’ll tune resonators or oscillators to scale degrees). Use a dedicated group track for the entire atmosphere so you can compress and automate it as one element.
A. Project setup
B. Build the broadband tape-hiss (HISS_BASE)
1. Add Instrument Rack > load Operator on HISS_BASE.
2. Configure Operator as a noise source:
- Oscillator A: set to Noise (white).
- Reduce the level to -12 to -18 dB to start.
- Set Filter (LP) at ~10 kHz with a gentle slope (24 dB optionally), resonance low (0.5).
- Envelope: Attack 0–5 ms, Decay 0, Sustain ~0.6, Release 100–300 ms for a smooth continuous tail if gated.
3. Chain devices (in order):
- EQ Eight: High-pass at 60–120 Hz (to remove low rumble); dip 200–400 Hz if muddy; gentle high shelf boost around 8–12 kHz for airy hiss.
- Saturator: Type “Analog Clip” or default; Drive 2–5 dB, Warmth on. Use “Soft Sine” curve for subtle tape coloration.
- Redux: downsample to taste — try 12–16 bits and Sample Rate Reduction to 16–22 kHz to get lo-fi tape noise. Be conservative; too low sounds digital.
- Glue Compressor: Ratio 2:1, Attack 10–30 ms, Release 0.2–1.0 s, Gain makeup so level stays constant.
- Hybrid Reverb on return R_B (send ~ -12 to -6 dB): short diffusion, decay 0.8–1.6 s, pre-delay small (10–40 ms) for placement.
Notes: This creates the general broadband “tape-hiss” bed. Use Spectrum to visually see the high-frequency energy and to ensure the top end is present without harsh spikes.
C. Create the tunable whine (WHINE_TONE)
1. Instrument choice:
- Use Sampler (or Operator) to make a pitched harmonic source. Good approach: in Sampler, use the Oscillator/Loop mode and set a short cycle of filtered noise or a light sine/saw.
- Simpler in Classic mode with a short bright noise sample is also OK — but Sampler gives more filter controls.
2. MIDI clip:
- Create a single sustained MIDI note on the track that matches the root note of the section (e.g., C3). This will be your tuning reference.
3. Signal chain on WHINE_TONE:
- Sampler: set Filter (Band Pass) with high resonance (Q) 6–10 to create a sharp whiny peak. Tune cutoff initially to ~800–1200 Hz depending on note; we'll tune precisely next.
- Resonators device (stock Ableton effect): place after Sampler. Set 2–4 resonators to create musical partials. Start with:
- Resonator 1: Fundamental frequency ~ (root * 1x) — if root note is 130.81 Hz (C3), you might set resonator to ~523 Hz (C5) depending on the whine’s octave — the key is to pick peaks that sit musically with the mix.
- Resonator 2 & 3: set to intervals (5th, octave, major 3rd) relative to the main whine — e.g., set resonator frequencies to ratios like 3:2 or 2:1. Use the on-screen frequency values and fine-tune by ear.
- Auto Filter: Band-Pass, Q high, with LFO on slow rate (0.1–1.5 Hz) and small amount to add breathing/whine sweep.
- Frequency Shifter: tiny shifts (±5–50 cents) modulated by an LFO (very slow) to create beats and “whiney” movement.
- EQ Eight: narrow boosts (1–3 dB) at the resonant frequencies to emphasize the whine. High-pass below 150–250 Hz to avoid competing low energy.
- Saturator: mild; Drive 1–3 dB, then Redux (bits at 14–16) if you want grit.
4. Tune the whine precisely:
- Solo WHINE_TONE with HISS_BASE muted. Play the sustained MIDI note and open Spectrum on the track.
- Sweep the resonator cutoffs and Sampler filter cutoff while watching Spectrum and listening — find the most musical peaks.
- Use the MIDI note pitch to guide: double the fundamental for an octave or multiply by ratios for consonant intervals. If you need precise frequencies, compute frequency of MIDI note: f = 440 * 2^((note-69)/12) (but you can tune by ear).
- Map a Macro to “Whine Pitch” (Sampler transpose or Resonators frequency) so you can shift the whole whine up/down by semitone in performance.
D. Add textural grit / resampling (TEXTURE_RESAMPLING)
1. Send some of HISS_BASE + WHINE_TONE to R_C (Grain Delay + Redux) heavily — or route both tracks to a new Audio track to resample.
2. Resample technique:
- Record a 4–8 bar loop of the combined hiss+whine to an audio track at full gain headroom.
- On that audio, create edits: reverse small sections, stretch via Warp (Beats or Complex Pro), and run through Grain Delay: set small grain size (10–40 ms), spray high, pitch small randomization for texture.
- Add Saturator (Drive 4–10 dB), then Redux (lower sample rate to 8–14 kHz) to make an obvious dirty tape chunk. Blend back into the group low in the mix to add character.
3. Stereo movement:
- Duplicate the TEXTURE clip, detune one copy slightly (-2 to +6 cents), pan left/right with Utility Width at 80–100%, for more stereo smear.
E. Busing and Final Processing
1. Group the three tracks into a group called TAPE_HISS_GROUP.
2. On the Group track:
- EQ Eight: gentle dip 300–600 Hz if masking midrange, slight high shelf +1–2 dB at 8–12 kHz if you need air.
- Glue Compressor: slow attack 20–50 ms, ratio 2:1–3:1, release 0.2–1.0 s to glue layers.
- Hybrid Reverb on return B: send moderate to create space without washing the whine — Predelay 10–30 ms, decay 1–2 s, damp high frequencies slightly to simulate tape’s HF rolloff.
- Utility: control overall gain and stereo width. Reduce width on low frequencies (or use an EQ or Multiband Dynamics to mono below ~300 Hz).
3. Automation & Macros:
- Map macros for: Whine Pitch (Sampler Transpose or Resonators frequency), Whine Width (Utility width), Tape Drive (Saturator drive on Group), Reverb Send (send to R_B).
- Automate Whine Pitch for subtle movement (±1–3 semitones) or rhythmic rises in edits.
F. Integrate in the mix
4. Common Mistakes
5. Pro Tips
6. Mini Practice Exercise
Goal: Build a 16-bar whiney tape-hiss element that can be dropped under a DnB breakdown and tuned to the track key.
Tasks:
1. 0–10 min: Create HISS_BASE in Operator. Get broadband noise with EQ + Saturator + Redux applied.
2. 10–20 min: Create WHINE_TONE in Sampler, set a sustained MIDI note at the track key. Add Resonators and Auto Filter with gentle LFO. Tune resonators by ear so the strongest peak sits pleasantly above 1 kHz.
3. 20–30 min: Resample both tracks into TEXTURE_RESAMPLING, apply Grain Delay + Redux, and create two stereo variants (detuned).
4. 30–40 min: Group, add Glue Compression and Hybrid Reverb send. Map macros: Whine Pitch, Tape Drive, Reverb Send.
5. 40–60 min: Automate Whine Pitch to glide up 1–2 semitones over 4 bars in the middle section, render looped 16 bars and evaluate in context with drums/bass.
Deliverable: A 16-bar audio chunk that blends into your DnB mix without masking drums and with a whine tuned to the project key.
7. Recap
You now have a complete workflow for “Whiney edit: tune a tape-hiss atmosphere from scratch in Ableton Live 12 for warm tape-style grit.” Build a broadband noise bed (Operator + EQ + Saturator + Redux), craft a tunable whine (Sampler/Operator + Resonators + Auto Filter + Frequency Shifter), and add a resampled grit layer (Grain Delay/Redux). Group and glue, map macros for fast tweaks, and automate pitch and drive for edits. Keep resonance and noise levels musical and use conservative Redux + saturation settings for authentic analog/tape warmth. Practice by resampling and layering multiple takes to capture the natural imperfections that make a great “whiney edit” atmosphere.

