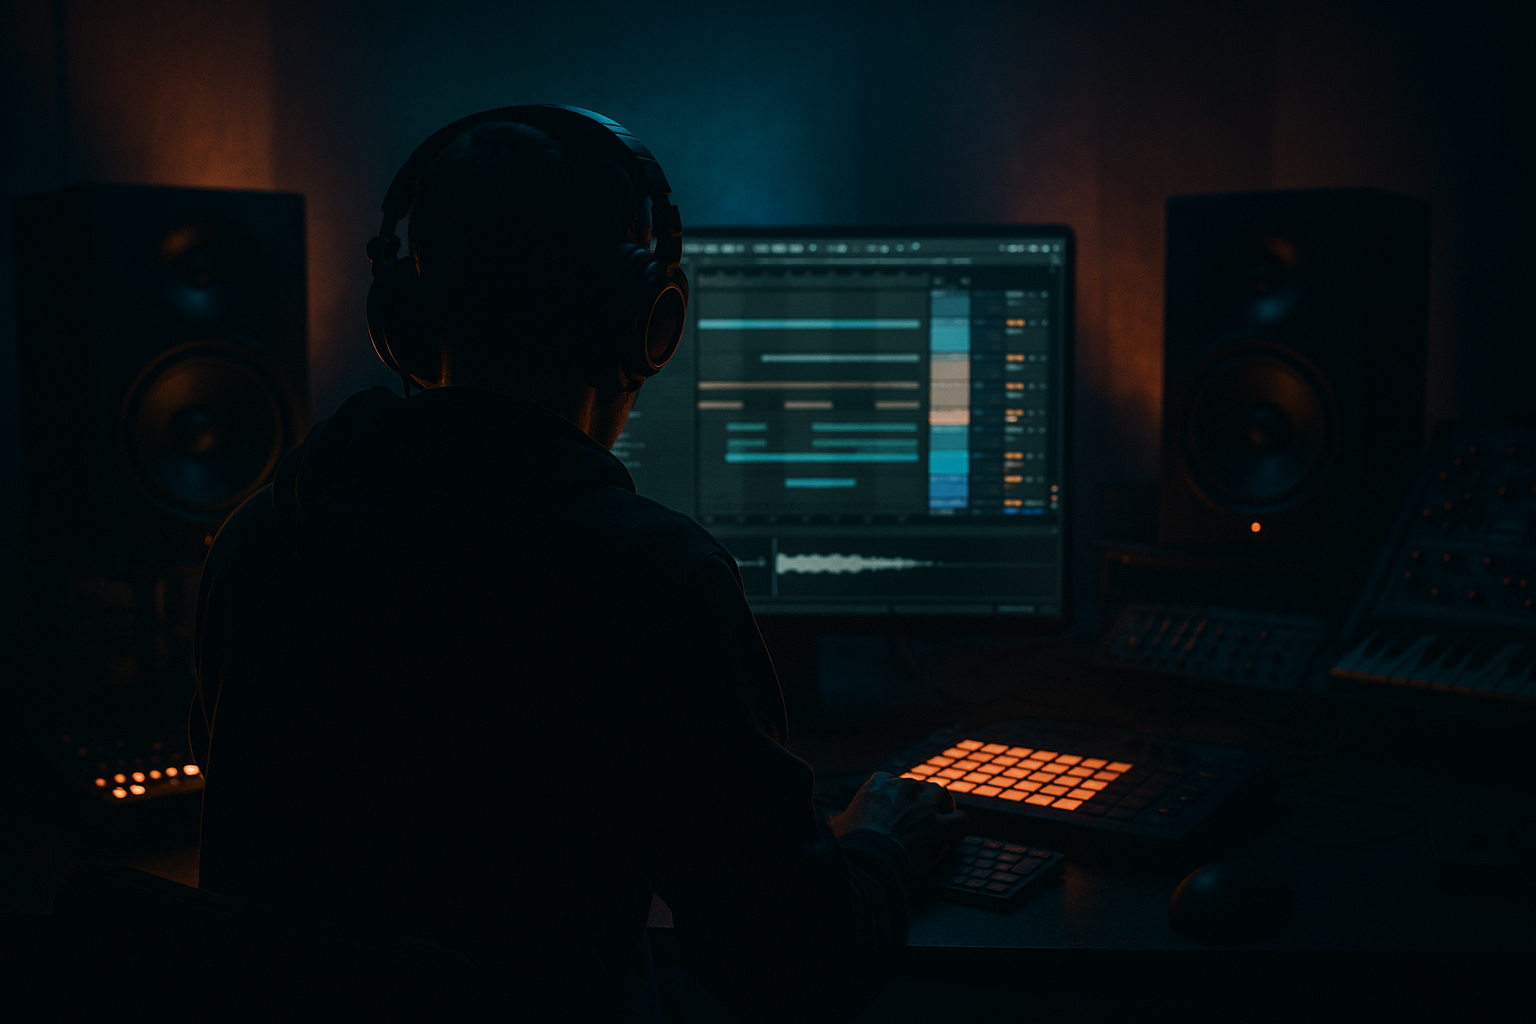
Main tutorial
Lesson Overview
Oldskool DnB swing is one of the fastest ways to make a loop feel alive, human, and properly rooted in jungle culture. In Ableton Live 12, you can get that feel without stacking heavy plugins or burning CPU by using a smart combination of warp settings, groove, and simple stock tools. The goal here is not to “modernize” a break until it sounds polished and clean — it is to preserve that rolling, off-grid, chopped-up energy that makes jungle and oldskool DnB feel dangerous in the best way.
This lesson fits right into the early writing stage of a track: after you’ve picked your break, before you over-process it, and before you build the bass around it. That matters because the drum swing is the foundation of the whole tune. If the break feels good, your bassline, DJ intro, drop, and breakdown all become easier to arrange. If the break feels stiff, everything else has to work harder.
We’ll focus on a minimal-CPU workflow inside Ableton Live 12 using stock devices and the built-in Warp engine. You’ll learn how to:
- warp an old break without flattening its character
- give it authentic swing and shuffle
- keep low-end clean for sub and bassline work
- build a DJ-friendly loop that can sit in a jungle intro, a roller, or a darker oldskool drop
- punchy and slightly behind-the-beat
- swung in a way that suits jungle and oldskool rollers
- clean in the low end so a sub can sit underneath
- ready for DJ-style intro/outro use
- easy to duplicate, chop, and arrange into a full drop
- a jungle intro with filtered break atmospheres
- a deeper roller with a rolling bassline
- a darker half-step-to-breakbeat hybrid section
- a DJ-friendly 16-bar mix-in that introduces the groove before the full bass drop
- Warping every transient by hand
- Using the wrong Warp mode
- Leaving too much low end in the break
- Overdoing groove swing
- Making the break too quantized
- Adding too many plugins or layers
- Ignoring arrangement
- Keep the sub mono and simple
- Give the break a touch of grit
- Accent the snare for tension
- Use call-and-response between bass and drums
- Filter automation adds menace
- Resample your best loop
- Keep the top end under control
- Use short drop-outs for impact
- Start with a break that already has natural character.
- Use Warp mode carefully, with Beats as your first choice for drum breaks.
- Add swing with Groove Pool instead of over-editing.
- Clean the low end so the sub can dominate.
- Build 4-, 8-, and 16-bar phrasing so the loop works in a DJ-friendly DnB arrangement.
- Use stock Ableton devices like EQ Eight, Saturator, Auto Filter, Utility, and Operator to keep CPU low.
- Keep the groove human, the bass mono, and the arrangement functional for real jungle and oldskool DnB mixing.
This is especially useful if you want that classic “break + sub + atmosphere” vibe: think chopped Amen-style movement, loose funk, and just enough grit to feel raw without turning into mush.
What You Will Build
By the end of this lesson, you’ll have a tight 8-bar DnB drum loop based on an oldskool break, warped for swing and groove, with minimal CPU usage. It will feel:
Musically, the result should feel like a loop you could hear in:
You’ll also create a simple system for adding movement with almost no CPU load: one warped audio clip, a groove choice, one EQ, one saturator, and optional light utility/automation moves. No heavy processing chain needed.
Step-by-Step Walkthrough
1. Choose a break with natural bounce
Start with an oldskool break that already has character. For beginner-friendly results, pick a loop with:
- clear snare hits
- lively ghost notes
- not too much cymbal wash
- a stable tempo range close to your project, around 160–174 BPM
Good source material can be a classic break, a drum loop from your own sample pack, or a recorded break phrase you’ve already trimmed. For jungle and oldskool DnB, breaks with some room noise and loose velocity variation work well because the swing feels more authentic.
In Ableton Live 12:
- drag the break into an audio track
- set the project tempo first, usually 170 BPM for a classic jungle feel
- if the break is not already close in tempo, don’t worry — we’ll warp it
Why this works in DnB: the break is the heartbeat. A break with real transient movement gives you that “human machine” tension that modern grid-locked drums often miss.
2. Set Warp mode for drum realism, not perfection
Double-click the audio clip to open Clip View. Turn Warp on if it is not already on.
For oldskool drum breaks, try:
- Warp Mode: Beats
- Preserve: 1/16 or 1/8
- Transients: keep moderate to high for punchy hits
In most jungle scenarios, Beats mode is the safest starting point because it keeps drum transients more intact than more elastic modes. If the break has lots of tail or cymbal wash, use fewer warp markers and avoid over-stretching every hit.
Practical settings:
- Preserve: 1/16 for tighter chop feel
- Preserve: 1/8 if the break sounds too chopped or thin
- Gain: reduce clip gain by about -3 dB to -6 dB if the break is hot
Tip: don’t place warp markers on every transient. That can kill the feel and increase editing time without improving groove.
3. Nudge the break so it breathes like jungle
This is where the swing starts to happen. Oldskool DnB often feels a little lazy in the best way: snares land firmly, but ghost notes and kick positions create a push-pull effect.
In the Clip View:
- zoom in on the main snare
- make sure the main snare lands close to the grid, but not painfully exact
- allow small offsets in the ghost notes and smaller percussion hits
Try these simple moves:
- pull some kick hits a tiny bit earlier if the break feels late
- leave ghost notes slightly behind the grid for bounce
- avoid lining every note up perfectly
If the loop feels too stiff, duplicate the clip and edit one version with a little more swing. Then alternate them in the arrangement every 4 or 8 bars. This creates variation without extra CPU.
Musical context example: in a 170 BPM jungle intro, you might start with a filtered 2-bar break loop, then switch to a fuller 4-bar version when the sub comes in. The swing stays familiar, but the energy grows.
4. Use Groove Pool for classic shuffle
Ableton’s Groove Pool is a low-CPU way to add feel without destructively moving each hit by hand. For beginner DnB work, this is one of the best DJ Tools-adjacent workflow moves because it lets you create a performance-ready loop quickly.
Open Groove Pool and try:
- MPC 16 Swing 55–58%
- MPC 16 Swing 56 if you want subtle shuffle
- MPC 16 Swing 58 if the break needs more movement
Apply the groove to the clip, then adjust:
- Timing: 20–40%
- Random: 0–10%
- Velocity: 10–25%
Keep Random low at first. Too much randomness can make the break lose the sharp DnB impact you need.
Why this works in DnB: the groove gives you controlled looseness. Jungle and oldskool DnB rely on forward motion, but not robotic precision. A little swing makes the loop feel like it is breathing with the bass.
5. Strip the low end out of the break so the sub stays powerful
This is a huge step for clean DnB. Old breaks often carry unwanted low-end mud. If you want a proper sub-heavy tune, your kick and break should not fight your bassline.
Add an EQ Eight on the break track:
- high-pass filter around 120–180 Hz
- use a gentle slope if the break still needs weight
- remove any ugly boxiness around 250–500 Hz if needed
Useful starting points:
- HPF at 140 Hz for a busy break
- HPF at 110 Hz if the break is thin and needs more body
- cut 2–4 dB around 300 Hz if the loop sounds cloudy
If you want a little more bite, add Saturator after EQ Eight:
- Drive: 1–3 dB
- Soft Clip: on
- Output: trim so the level matches
This keeps the break audible on smaller speakers without stealing sub space. Very important for rollers and darker DnB, where the bassline needs room to move.
6. Create a simple break-bass relationship
Once the drum loop is swinging, make sure the bassline locks with it rather than against it. For beginner jungle and oldskool DnB, keep the bass simple and rhythmic.
In arrangement terms:
- let the kick and snare define the break
- place sub notes around the snare gaps
- use short notes for call-and-response
- avoid long bass notes directly under the snare unless that clash is intentional
Ableton stock devices to use:
- Operator for a clean sub
- Wavetable for a basic reese-style bass
- Auto Filter for movement
- Saturator for thickness
A simple starting bass approach:
- Sub note length: short to medium
- Bass notes: one or two-bar phrases
- Filter cutoff: automate slightly open on the drop
- Stereo: keep sub mono, and keep wider movement above the low end
For a darker roller, build a bass phrase that answers the break every 2 bars. For example, a bass stab might answer the snare hit, then leave space for the next break cycle. That space is what makes the groove feel expensive.
7. Turn the loop into a DJ-friendly 16-bar section
Since this lesson is in the DJ Tools category, think like a DJ and a producer. Your loop should work as a mix-in, a blend section, or a drop tool.
Build a simple arrangement:
- Bars 1–4: filtered break only
- Bars 5–8: break + sub enters
- Bars 9–12: full break + bass + light FX
- Bars 13–16: remove one drum layer or filter the break again for DJ transition
Practical workflow:
- duplicate your 8-bar loop into a 16-bar section
- automate Auto Filter cutoff on the break track
- automate utility gain for small energy lifts
- remove bass for the last 2 bars to create mix-out space
Good DJ-friendly move:
- use a 1-bar or 2-bar drum-only outro
- keep the kick/snare groove stable so it can blend with the next tune
This matters in DnB because DJs need predictable phrasing. A track that introduces the break clearly and leaves space for mixing feels more professional and playable.
8. Add movement with minimal CPU using automation, not extra tracks
Keep the project light by using automation instead of adding lots of processors. Ableton’s stock tools are enough.
Try automating:
- Auto Filter cutoff on the break track
- Saturator drive slightly up on the build
- Reverb dry/wet very low on a send for atmosphere
- Utility gain for quick drop-outs or pre-drop tension
Suggested ranges:
- Auto Filter cutoff: 300 Hz to 8 kHz
- Reverb send: keep subtle, around 5–15%
- Utility gain dips: -inf for 1/2 bar or 1 bar on a fill
A classic oldskool move is to filter the break down over 4 bars, then open it before the drop. This gives you tension without needing extra samples or CPU-heavy risers.
If you want a little more grit, resample the break later and re-warp the new audio file. That keeps the session lighter and can make the groove feel more committed.
Common Mistakes
- Fix: use as few warp markers as possible. Let the break breathe.
- Fix: start with Beats for drum breaks. Avoid overly smooth settings that soften transients too much.
- Fix: high-pass the break around 120–180 Hz and keep the sub separate.
- Fix: keep groove subtle at first. Around 55–58% swing is usually enough for oldskool DnB.
- Fix: allow small human offsets. Jungle feels better when it is not mathematically perfect.
- Fix: use stock EQ, Saturator, Auto Filter, Utility, and Groove Pool first. They are light and effective.
- Fix: build 4-, 8-, and 16-bar phrasing so the loop works in a real track, not just as a standalone jam.
Pro Tips for Darker / Heavier DnB
- Use Operator for a clean sine sub, and keep it centered. The break can move; the sub should feel solid.
- A tiny amount of Saturator or Drum Buss on the break return can help it cut through without sounding polished.
- Try Drive around 2–5 on Drum Buss, or keep Saturator at 1–3 dB Drive.
- In darker DnB, the snare is often the anchor. A slightly louder or more saturated snare hit can make the whole loop hit harder.
- Let the bass answer after the snare or after a ghost-note cluster. That creates movement without overcrowding.
- Slowly close an Auto Filter on the break before a drop, then snap it open. This is a simple way to create tension in neuro-influenced or darker rollers.
- Once the groove is right, resample the break into a new audio clip. This reduces CPU and gives you a committed loop to build from.
- If the break gets harsh, tame 6–10 kHz with a small EQ cut. DnB needs crispness, but not brittle fizz.
- A 1/2-bar mute before a drop or switch-up can make the next hit feel much larger, especially in a DJ mix context.
Mini Practice Exercise
Set aside 10–20 minutes and do this from start to finish:
1. Pick one oldskool break and warp it in Beats mode.
2. Set the project to 170 BPM.
3. Apply Groove Pool swing at 56% to the clip.
4. High-pass the break at around 140 Hz with EQ Eight.
5. Add Saturator with 2 dB Drive and Soft Clip on.
6. Duplicate the loop into 8 bars.
7. Automate an Auto Filter so the first 4 bars are more filtered and the last 4 bars open up.
8. Add a simple sub using Operator with one note pattern that leaves space for the snare.
9. Listen in mono and check that the sub still feels solid.
10. Bounce the loop to audio if it feels right.
Goal: by the end, you should have a swinging 8-bar jungle-style loop that sounds playable in a DJ intro or drop.

