Main tutorial
Warp an Amen-style swing for VHS-rave color in Ableton Live 12
1. Lesson overview
In this lesson you’ll learn how to take a clean Amen-style drum loop, warp it in Ableton Live 12, and turn it into a gritty, swung, VHS-rave-flavoured drum texture that works in drum & bass, jungle, and rolling bass music. 🎛️
This is a resampling-focused workflow: instead of endlessly editing every transient, you’ll record, warp, resample, and re-process the loop until it has that unstable, nostalgic, slightly broken-up energy that sits beautifully under basslines.
You’ll learn how to:
- choose and prep an Amen-style loop
- set warping correctly in Live 12
- create swing and “drag” without destroying the groove
- resample the result for extra character
- add VHS-rave colour using stock Ableton devices
- shape it into a usable DnB drum layer or top loop
- a warped Amen loop with off-grid swing
- a resampled audio clip with extra movement and lo-fi colour
- a drum bus chain for crunch, width, and glue
- an optional dark/heavy version that suits 170–175 BPM DnB
- a loop you can drop into:
- clear kick/snare hits
- a bit of ghost-note movement
- some natural room or tape character if possible
- 1 bar Amen loop
- tempo around 160–175 BPM
- mono or stereo is fine, but mono often feels punchier for DnB layering
- Beats mode
- It preserves the punch of drums
- It lets you control transient behavior
- It’s ideal for rhythmic manipulation
- Preserve: `1/16` or `1/8`
- Transient Loop Mode: usually off at first
- Envelope: start around `0–20%`
- 170 BPM for classic jungle/DnB energy
- 174 BPM if you want a more modern fast-rinse feel
- 165–168 BPM for a slightly looser, bass-heavy roller
- Zoom in on the waveform
- Add warp markers around:
- Move only a few milliseconds at a time
- off-grid ghost notes
- delayed snares
- slightly late hats
- groove templates
- micro-timing variation
- Timing: `10–25%`
- Random: `0–10%`
- Velocity: `5–15%`
- Base: keep subtle
- Layer 1: dry-ish main break
- Layer 2: a warped, slightly delayed version
- delay Layer 2 by a few milliseconds
- high-pass it
- saturate it lightly
- mix it low under the main loop
- more glue
- more unpredictability
- more tape-style coloration
- less “computer-perfect” feel
- you can warp the new recording again
- slice it
- reverse bits of it
- layer it with other breaks
- process it harder without fear
- Warp mode: Beats
- Preserve: `1/16`
- Keep transients snappy
- Best if you want the break to remain functional in a busy DnB mix
- Warp mode: Complex Pro
- Formants: default
- Detune: keep minimal
- Best if you want a more degraded texture or intro layer
- Echo
- Reverb
- reverse a tiny slice at the end of the bar
- chop one snare and retrigger it
- leave a ghost note slightly late
- automate a filter opening every 4 or 8 bars
- Auto Filter
- Frequency Shifter
- Vinyl Distortion
- Chorus-Ensemble
- the original break is still there
- but time is bending around it
- Bars 1–4: filtered warped Amen intro
- Bars 5–8: full break enters with bass
- Bars 9–16: resampled break layer added for energy
- Bars 17–24: drop out the original break, leave the lo-fi resample
- Bars 25–32: bring back both layers with variation
- Automate Auto Filter cutoff every 8 bars
- Mute the kick layer for 1 bar before the drop
- Use a 1-bar fill made from chopped resampled hits
- Reverse the last snare before a section change
- Resample the whole drum bus again for a transitional “print” layer
- keep the break fairly tight
- carve space around `80–150 Hz` if the bass is strong there
- let the snare transient stay punchy
- thin out low mids on the break
- let the bass dominate sub and low end
- keep the break as texture and impact, not full-range overload
- EQ Eight
- Drum Buss
- Compressor
- Utility
- Limiter on the master for safe checking, not as a crutch
- short kick
- snare transient
- mono
- minimal room
- `150–250 Hz`
- Drive: moderate
- Transients: slightly up
- Boom: careful, maybe off
- Damp: tame harshness
- Keep it subtle
- Just enough to make room
- Don’t flatten the break’s personality
- Warp: Beats
- Preserve: `1/16`
- Light EQ only
- No grit
- Warp: Beats
- Subtle warp marker pushes/pulls
- Resampled
- Saturator + Redux + Drum Buss
- Slightly filtered top end
- High-pass below `30 Hz`
- Tight transient shaping
- Resampled grit layer high-passed at `180 Hz`
- Sidechain to bass
- Mono-compatible
- Does the groove still bounce at 170+ BPM?
- Does the snare land with authority?
- Does the warped layer add vibe without clutter?
- Can the loop sit under a bassline without masking it?
- Bars 1–2: Version A
- Bars 3–4: Version B
- Bars 5–6: Version C
- Bars 7–8: mix all three lightly and automate a filter sweep
- warp an Amen-style break in Ableton Live 12
- create intentional swing and movement
- resample the result for extra character
- process it with stock devices like EQ Eight, Drum Buss, Saturator, Redux, Auto Filter, and Glue Compressor
- shape it into a VHS-rave-flavoured DnB drum element
---
2. What you will build
By the end, you’ll have:
- a jump-up roll
- a jungle break section
- a rolling halftime transition
- a VHS-rave intro/outro
Think of it as making the Amen feel like it was played from a battered tape deck in a rave basement 🖤
---
3. Step-by-step walkthrough
Step 1: Pick the right Amen source
For this exercise, use a classic Amen-style break or a similar jungle break with:
If your source is too clean, that’s okay — we’ll dirty it up.
If it already sounds crushed, even better.
Good starting point:
---
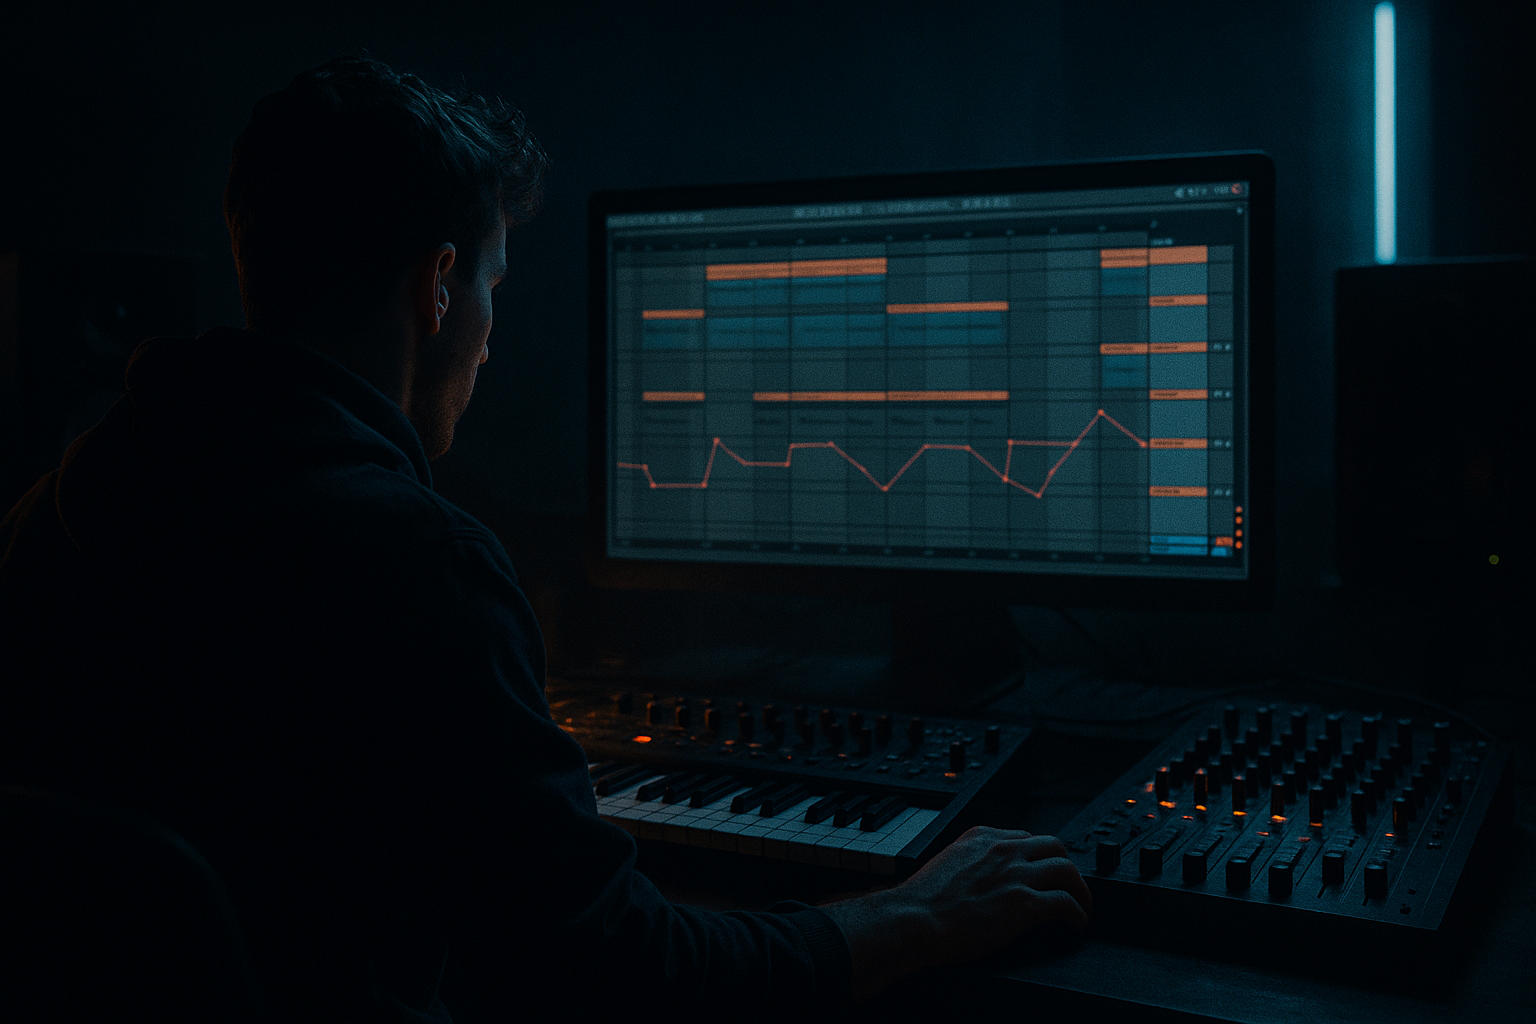
Step 2: Drop the loop into an audio track and set the warp mode
1. Drag the Amen loop into an Audio Track.
2. Double-click the clip to open Clip View.
3. Turn Warp on.
4. Set the clip’s original tempo correctly if Live doesn’t detect it well.
#### Best warp mode for this lesson:
Why?
#### Suggested Beats settings:
If the loop feels too stiff, later we’ll use resampling and groove rather than over-warping the clip.
---
Step 3: Lock the loop to project tempo, then deliberately misalign the feel
Set your project tempo to something DnB-friendly:
Now do this:
1. Keep the loop synced to the grid.
2. Use Warp Markers to slightly nudge certain hits:
- delay a snare by a tiny amount
- push a ghost kick a little early
- pull a hat slightly behind the beat
The goal is not to make it sloppy.
The goal is to make it feel like a humanized, tape-worn swing.
#### Practical method:
- kick
- snare
- ghost snare
- key hat hits
Rule of thumb:
If you can clearly hear the loop “falling over,” you’ve gone too far.
---
Step 4: Add swing the DnB way
Instead of standard house-style swing, DnB swing usually comes from:
#### Option A: Use groove in Ableton
1. Open the Groove Pool.
2. Drag in a groove from the library, such as:
- MPC-style swing
- a light 16th swing
3. Apply it lightly to the clip.
#### Suggested groove settings:
For Amen-style DnB, too much swing can make it wobble in a bad way.
You want bounce, not drunkenness.
#### Option B: Duplicate the loop and stagger layers
Create two copies of the same Amen:
Then:
This creates a VHS-like smear around the core rhythm.
---
Step 5: Resample the warped loop
Now comes the fun bit. 🎚️
Resampling gives you:
#### How to resample in Live 12:
1. Create a new Audio Track.
2. Set its input to Resampling.
3. Arm the track.
4. Play your warped Amen loop for a few bars.
5. Record the output.
Now you’ve printed the loop with its current timing, processing, and vibe.
#### Why resample here?
Because once you print it:
This is the classic “bounce it and break it again” jungle mindset.
---
Step 6: Re-warp the resampled audio for VHS-rave motion
Take the resampled file and put it back into the arrangement.
Now try one of these approaches:
#### Approach 1: Tight and punchy
#### Approach 2: Sloppy, smeared, old-tape
For this tutorial, use Beats for the main groove and Complex Pro only if you want a lo-fi, stretched accent layer.
---
Step 7: Build a stock Ableton device chain for VHS-rave colour
Here’s a practical device chain using only stock Ableton tools:
#### On the resampled drum track:
1. EQ Eight
- High-pass around `25–35 Hz`
- Slight dip if boxy around `250–400 Hz`
- Optional tiny boost around `3–5 kHz` for snap
2. Drum Buss
- Drive: `5–20%`
- Boom: very subtle or off
- Damp: adjust to tame harshness
- Transients: slightly up if you need crack
- Great for drum density and low-end pressure
3. Saturator
- Mode: Analog Clip or default
- Drive: `2–8 dB`
- Soft Clip: on
- Use lightly if the break is already aggressive
4. Redux or Erosion
- Redux for downsampled VHS grit
- Erosion for noisy top-end smear
- Use sparingly; this is seasoning, not the whole meal
5. Compressor or Glue Compressor
- Glue Compressor ratio: `2:1` or `4:1`
- Attack: `3–10 ms`
- Release: `Auto` or `0.1–0.3 s`
- Aim for gentle cohesion, not pumping unless desired
6. Utility
- Check mono compatibility
- Narrow the layer if it’s too wide and messy
#### Optional ambience layer:
Add a send or duplicate track with:
- very short delay
- low feedback
- filtered repeats
- small/medium size
- low mix
- dark tone
This can create that “warehouse memory” vibe without washing out the break.
---
Step 8: Make it feel like a VHS-rave break
To get that specific aesthetic, think in terms of degradation + movement:
#### Add small imperfections:
#### Useful devices:
- automate low-pass sweeps for transitions
- try a band-pass for lo-fi breaks
- use very subtly for phasey VHS weirdness
- only if you want more dust and crackle
- use lightly on a top break layer for smear and width
A good VHS-rave break often sounds like:
---
Step 9: Turn the loop into an arrangement tool
A great DnB production move is not just making a loop sound good, but making it useful in arrangement.
#### Try this structure:
#### Arrangement tricks:
This is especially effective in jungle and VHS-rave-inspired DnB because the groove feels like it’s constantly evolving.
---
Step 10: Blend with bass properly
Your warped Amen should support the bass, not fight it.
#### For rolling bass music:
#### For darker/heavier DnB:
Useful stock tools:
---
4. Common mistakes
1. Over-warping every hit
If you move too many markers, the break loses its natural swing and starts sounding robotic or broken in the wrong way.
Fix: only correct or exaggerate the most important hits.
---
2. Using too much swing
A little swing adds character. Too much turns a fast DnB break into a lopsided loop.
Fix: keep groove subtle, usually under `25%`.
---
3. Resampling before the groove is right
If the timing feels wrong before printing, resampling just freezes the problem.
Fix: get the movement right first, then resample.
---
4. Overcooking with Redux or saturation
VHS-rave does not mean “destroy everything.”
Fix: use bit reduction, saturation, and distortion in layers and small amounts.
---
5. Forgetting low-end control
Amen breaks can get messy around the low mids, especially after warping and resampling.
Fix: high-pass gently, clean mud with EQ Eight, and keep bass/sub separate.
---
6. Making the loop too wide
Wide hats and stereo smear can sound cool solo but messy with bass.
Fix: check in mono with Utility and keep the main break punchy.
---
5. Pro tips for darker/heavier DnB
If you want this technique to hit harder in neuro-leaning, dark roller, or heavy jungle contexts, try these:
Tip 1: Layer a tight mono kick/snare shell
Use a separate drum layer:
Then let the warped Amen provide groove and texture above it.
---
Tip 2: High-pass the grit layer
Put the VHS-style resampled break on a duplicate track and high-pass it around:
This keeps the low end clean while preserving the nasty top texture.
---
Tip 3: Use Drum Buss on the drum group
On a drum group bus:
This gives your break more chest without killing the punch.
---
Tip 4: Sidechain the break lightly to the bass
Use Ableton Compressor or Glue Compressor sidechained from your bass or kick.
---
Tip 5: Print transition fills
Before drops or switch-ups:
1. resample 1 or 2 bars of the drum bus
2. chop the result
3. reverse one segment
4. re-warp the fill
This is a great way to create nasty little transitions without relying on generic risers.
---
6. Mini practice exercise
Exercise: Make three versions of the same Amen loop
Create these three versions in one project:
#### Version A: Clean and functional
#### Version B: VHS-rave version
#### Version C: Dark heavy version
What to listen for:
Try bouncing each version and arranging them in an 8-bar loop:
That’s how you train your ears fast. 🔥
---
7. Recap
You’ve just learned how to:
The key idea:
Don’t think of warping as “fixing” the break.
Think of it as performing with the break — nudging it, printing it, breaking it again, and turning it into something that feels alive, worn-in, and built for fast bass music.
If you want, I can turn this into a follow-along Ableton 12 project template with exact track names, device chains, and an 8-bar arrangement map.

