Main tutorial
Lesson Overview
This lesson is about a very specific but hugely effective DnB arrangement move: offsetting percussion layers inside Ableton Live 12 to create warehouse-style jungle / oldskool drum & bass energy. The goal is not just to “add more percussion,” but to make the groove feel like it’s bouncing through a huge concrete space — gritty, alive, slightly unstable, and impossible to sit still to.
In real DnB arrangement work, this technique sits between the drum break and the full drum section. It’s the difference between a loop that feels flat and a loop that feels like it’s driving forward with hidden motion. You’ll use small timing offsets, layered hits, and controlled randomness to build that classic rolling pressure you hear in jungle, dark rollers, and warehouse-minded halftime-to-DnB switch-ups. 🥁
Why this matters: in DnB, the drum pattern is often doing as much arrangement work as the melody. A carefully offset percussion layer can:
- widen the groove without cluttering the snare lane
- create “push and pull” against the kick / snare grid
- support transitions into drops or new 16-bar sections
- add oldskool jungle personality without overcomplicating the mix
- a main drum break as the anchor
- one or two percussion layers derived from shakers, tops, rim clicks, or chopped break fragments
- timing offsets that make the layers feel human and slightly behind/ahead for tension
- a drum bus with controlled saturation and glue
- arrangement automation for energy build, drop impact, and DJ-friendly tension
- oldskool jungle energy with modern low-end discipline
- warehouse-space percussion that has width and movement, but doesn’t smear the snare
- a loop that can evolve over 8 or 16 bars instead of repeating mechanically
- Bars 1–8: intro / tension
- Bars 9–16: main groove
- Bars 17–32: drop section
- Bars 33–40: variation / switch-up
- a core breakbeat loop
- a sub/bass placeholder
- one atmospheric texture or warehouse ambience
- Put the break in Simpler and use Slice mode if you want control over individual hits
- Or use Audio Warp sparingly if the break needs to fit the tempo exactly
- Put EQ Eight after it and high-pass gently around 30–40 Hz if the break has unnecessary sub rumble
- Add Drum Buss very lightly if the break needs more density
- Drum Buss Drive: 5–12%
- Boom: off or very subtle unless you want exaggerated low-end thump
- Transients: +5 to +15 for extra snap
- Drum Rack with shaker, rim, closed hat, or foley hits
- Simpler loaded with a percussive one-shot
- a chopped fragment from the same break, resampled and repurposed
- short shaker loop
- offbeat rim
- wooden hit
- noisy ride fragment
- cut break top layer
- place hits on offbeats
- keep the rhythm sparse at first
- avoid filling every subdivision
- one main hit on beat 2.5
- another on 3.5
- one lighter ghost hit before or after the snare
- one or two short fills at the end of the bar
- Early by 5–12 ms for urgency and forward lean
- Late by 8–20 ms for laid-back, dragging warehouse weight
- Keep stronger accents closer to the grid
- Push ghost notes farther off-grid than main hits
- zoom in and nudge selected notes manually
- use the groove feel deliberately, not randomly
- use Track Delay in the mixer to offset the whole percussion track by small amounts
- or split the clip and shift individual slices slightly
- duplicate the percussion track
- keep one track tight and dry
- delay the duplicate by +10 ms to +18 ms
- lower the duplicate by 6–12 dB
- high-pass the duplicate around 250–400 Hz with EQ Eight
- drag in a subtle swing template from Ableton’s groove library
- apply it lightly to the percussion layer only
- keep the main snare and kick more rigid
- Timing: 20–40%
- Random: 0–10%
- Velocity: 5–15%
- main hits: velocities around 95–115
- ghost hits: 40–70
- accent hits: slightly above the rest, but not maxed out
- one layer = crisp rhythmic definition
- one layer = noisy movement or atmosphere
- tiny hat loop
- filtered noise burst
- reversed percussion hit
- resampled break top with a high-pass
- Auto Filter set to high-pass around 300–700 Hz
- slight resonance if you want a more tonal top edge
- Saturator with Drive around 2–6 dB
- optional Redux very lightly for grime, but don’t crush the high end
- if the first layer is late, make this one early
- if the first layer is tight, make this one lazy
- the goal is micro-conflict, not chaos
- 10–25% left or right
- or automate small pan moves across 8 bars
- EQ Eight: cut muddy build-up around 200–400 Hz if needed
- Glue Compressor: 1–2 dB gain reduction max
- Drum Buss: light drive, subtle transient lift
- Saturator: soft clip or gentle drive if you want more density
- Glue Compressor Ratio: 2:1
- Attack: 10–30 ms
- Release: Auto or 0.1–0.3 s
- Saturator Drive: 1–4 dB
- EQ low cut only if the percussion layers have unnecessary low-mid bloom
- bars 1–4: one percussion layer only
- bars 5–8: introduce the second offset layer
- bars 9–12: increase density with extra ghost hits
- bars 13–16: remove one layer before the drop for tension
- Auto Filter cutoff on the percussion layer
- Track Volume for layer brings/outs
- Send amount to reverb or delay for transitions
- Utility Width if you want the layer to narrow before impact
- small room size
- short decay
- low dry/wet, maybe 8–18%
- high-pass the reverb return to keep the low end clean
- slice the audio into a few useful hits
- keep one or two interesting transient clusters
- reverse one fragment for a transition
- automate a short filter sweep into the next section
- bar 8 to 9 transitions
- 16-bar pre-drop builds
- tension fills before a bass switch-up
- Making every percussion hit off-grid
- Layering too many tops at once
- Using too much reverb on the offset layer
- Letting percussion fight the snare
- Over-compressing the drum bus
- Ignoring arrangement
- Use very small Track Delay offsets on duplicate percussion layers to create a haunted, unstable feel without obvious flam.
- High-pass top layers aggressively: often 250–700 Hz is enough to keep them from clouding the bass.
- Try a slightly distorted ghost layer using Saturator or overdriven Drum Buss, then tuck it low in the mix for grit.
- For neuro / darker rollers, automate a narrow band filter sweep on a percussion bus to create motion without adding new notes.
- If the bass is huge, keep the percussion more mid/high-focused so the low-end stays mono and authoritative.
- For oldskool jungle energy, introduce short break stabs or chopped top fragments as call-and-response against the main break.
- Use Utility to check mono compatibility on the percussion bus. If the groove disappears in mono, the offset is too dependent on stereo smear.
- A tiny amount of Redux can make a percussion layer sound more like sampled warehouse grit, but keep it subtle or you’ll lose transient clarity.
- In heavier DnB, leave more silence than you think. The gap before a snare or bass hit is often what makes the drop feel brutal.
- start with a strong breakbeat anchor
- add sparse percussion that supports, not crowds
- offset layers by small amounts for tension and groove
- keep the snare clean and the low end disciplined
- automate percussion density across 4-, 8-, and 16-bar phrases
- resample the best moments to turn groove into arrangement
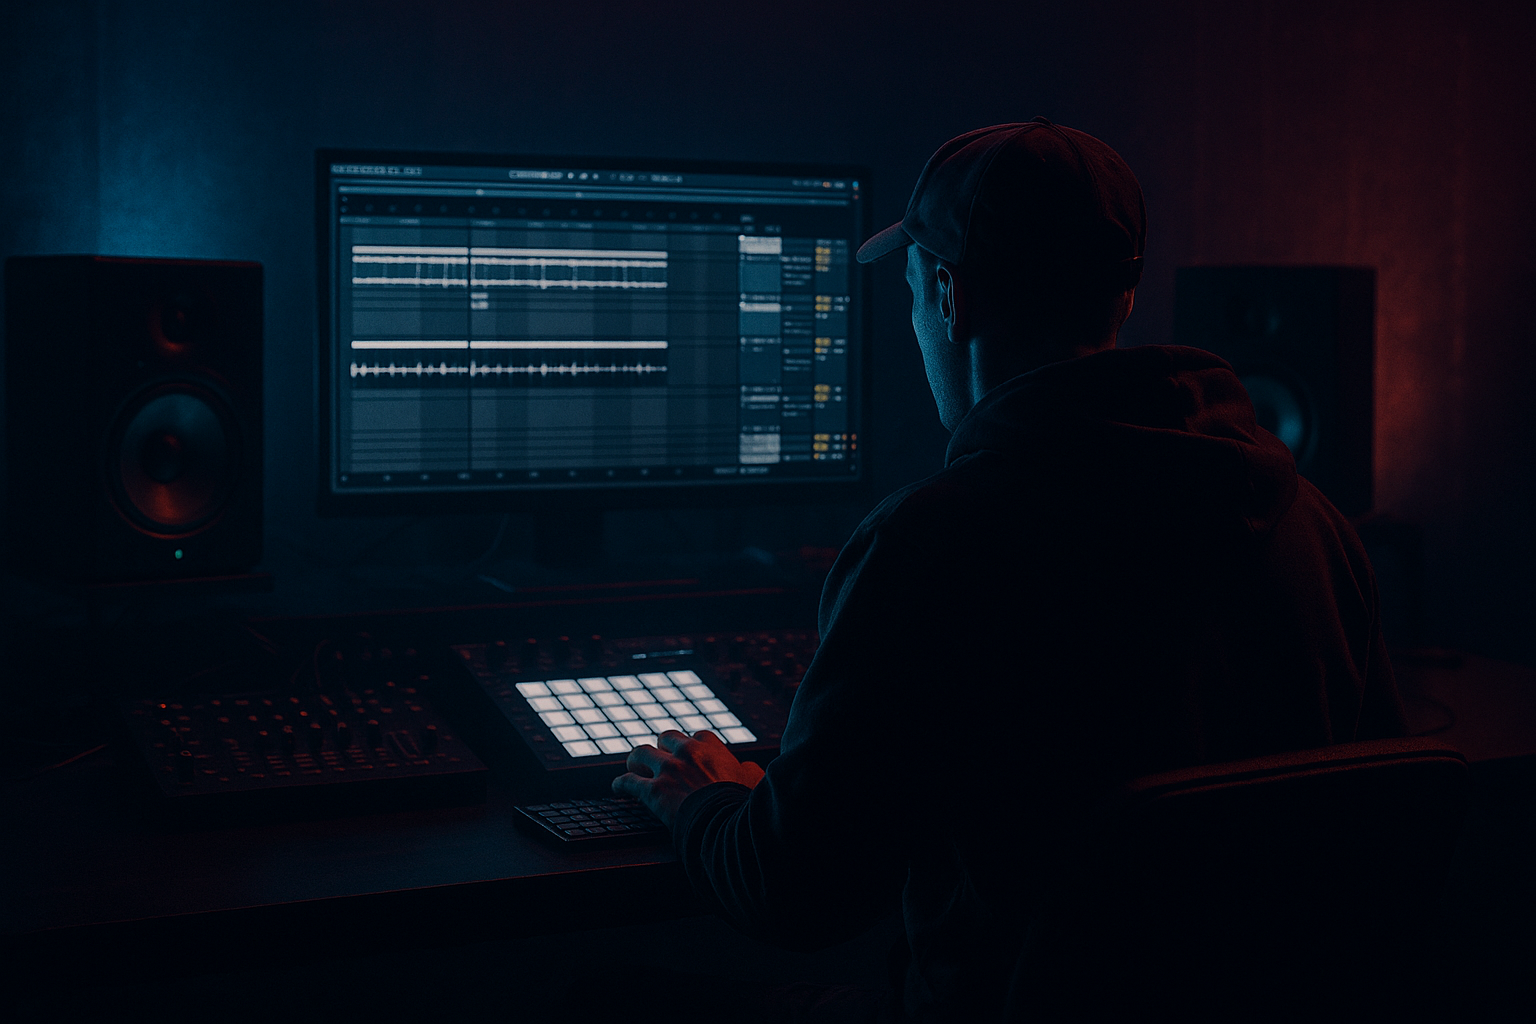
We’ll build this using Ableton Live stock tools only, focusing on Arrangement View, drum layering, timing offsets, and subtle movement that feels authentic to warehouse/jungle aesthetics.
What You Will Build
By the end, you’ll have a 16-bar warehouse percussion section that can sit under a main break, ride beneath a Reese bassline, or act as a switch-up before the drop.
Specifically, you’ll create:
The finished result should feel like:
Think of this as a practical way to make your percussion “talk” to the break instead of just doubling it.
Step-by-Step Walkthrough
1) Start with a clean 16-bar arrangement skeleton
In Arrangement View, set up a simple structure:
For this lesson, focus on bars 17–32 as the main DnB groove zone. Drop in:
Keep the project tempo around 170–174 BPM for jungle / oldskool DnB. For darker rollers, 172 BPM is a sweet spot.
Why this works in DnB: arrangement matters because the listener expects evolution every 4, 8, or 16 bars. If your percussion layer offset is only looped, it will feel static. A proper structure gives that offset groove room to breathe and develop.
2) Build the drum anchor first: breakbeat + snare authority
Drag in a classic break or your own chopped break into Simpler or directly onto an audio track. If you’re using a break, start with a clean slice and leave the main transient intact.
Useful stock workflow:
Suggested starting settings:
Your break should feel solid before layering anything. Don’t try to fix a weak core groove with percussion offsets — that usually creates clutter instead of movement.
3) Add a percussion layer that complements, not competes
Create a new MIDI track for percussion. Use one of these stock options:
Choose a percussion sound that has a clear transient and mid-high texture. Good choices for jungle / warehouse vibes:
Now program a simple 1-bar pattern:
Start with this kind of structure:
You are not writing a full drum line yet — you are creating a layer that can be offset against the main break to generate groove tension.
4) Offset the percussion layer against the grid
This is the core of the lesson. Instead of locking the percussion exactly to the grid, move specific notes slightly earlier or later in Arrangement View or the MIDI editor.
Use these offset ranges as a starting point:
If you’re working in MIDI:
If you’re working with audio clips:
Practical trick:
This creates a subtle stereo-like timing smear even if the sound stays mono-centered. It feels bigger without turning into a washed-out mess.
Why this works in DnB: jungle and DnB grooves often feel exciting because different rhythmic layers disagree just enough to create motion. The offset layer gives the ear microscopic instability, which reads as energy in fast tempos.
5) Shape the percussion with groove and swing, but keep the snare clean
Now refine the rhythmic feel using Ableton’s Groove Pool.
Good moves:
Suggested Groove Pool settings:
If you’re building oldskool jungle vibes, try a slightly humanized top layer while keeping the core snare punchy. The contrast is what sells the groove.
Use note velocity to create internal motion:
If the percussion starts stepping on the snare, reduce the note lengths or move the layer to the “between-snare” spaces. The snare needs clear space in DnB; if it gets crowded, the whole track loses impact.
6) Layer a second offset texture for warehouse depth
Add a second percussion layer, but make it different in function:
Good sources:
Process the second layer with:
Offset this layer differently from the first one:
Try panning the second layer slightly:
This creates the feeling of a wide warehouse room where different percussive elements bounce from different surfaces.
7) Route both layers to a drum bus and control the glue
Select all your drum/percussion tracks and route them to a Drum Group. On the group channel, use subtle bus processing.
Recommended stock chain:
Starter settings:
Don’t overcompress the bus. The percussion offset should breathe. If you flatten it too much, you lose the space between hits — and that space is the groove.
8) Automate arrangement changes over 8 and 16 bars
This is where the technique becomes a real arrangement tool instead of just a loop trick.
In a DnB arrangement, try these moves:
Useful automation targets:
Example musical context:
If your track has a dark Reese bass dropping in at bar 17, keep the percussion offset relatively restrained in bars 13–16, then pull one layer down right before the drop. The listener feels the space open up, so the drop hits harder.
You can also automate a short Reverb on just the last hit of a 4-bar phrase to create a warehouse slap-back tail. Use:
9) Resample a bar and turn the best offset into a new fill
Once the groove is working, resample 1 or 2 bars of the percussion bus to a new audio track. This is a very DnB-friendly workflow because it turns arrangement decisions into editable material.
After resampling:
This is especially useful for:
Resampling lets you commit to the accidental magic of offset timing. That’s often where the best jungle feel lives.
Common Mistakes
- Fix: keep only select notes offset. The snare and key accents need stability.
- Fix: start with one rhythmic layer, then add a second only if it creates a clear role.
- Fix: keep the room feel short and controlled. Long reverb smears fast DnB grooves.
- Fix: move layers into the gaps, reduce note lengths, or lower velocity around snare hits.
- Fix: aim for glue, not flattening. Preserve transient contrast.
- Fix: introduce and remove layers in 4-, 8-, and 16-bar phrases so the groove evolves.
Pro Tips for Darker / Heavier DnB
Mini Practice Exercise
Spend 15 minutes building a two-layer percussion offset groove.
1. Choose one breakbeat loop and one percussion one-shot or hat loop.
2. Program a 1-bar percussion pattern that complements the break.
3. Duplicate the percussion track.
4. Offset the duplicate by +10 ms or -10 ms.
5. High-pass the duplicate with EQ Eight at around 300 Hz.
6. Lower the duplicate volume by 6–10 dB.
7. Add a light Groove Pool swing to only the percussion tracks.
8. Automate the second layer in and out over 8 bars.
9. Resample 1 bar and create one fill from the audio.
10. Check the whole groove against a simple sub bass or Reese placeholder.
Goal: make the groove feel like it is moving even when the notes are simple.
Recap
The main idea here is simple: offset percussion layers intentionally to create warehouse-style movement in DnB.
Remember the essentials:
If you get this right, your jungle and oldskool DnB sections will feel deeper, more انسانی, and more like a real warehouse session — heavy, rolling, and alive.

