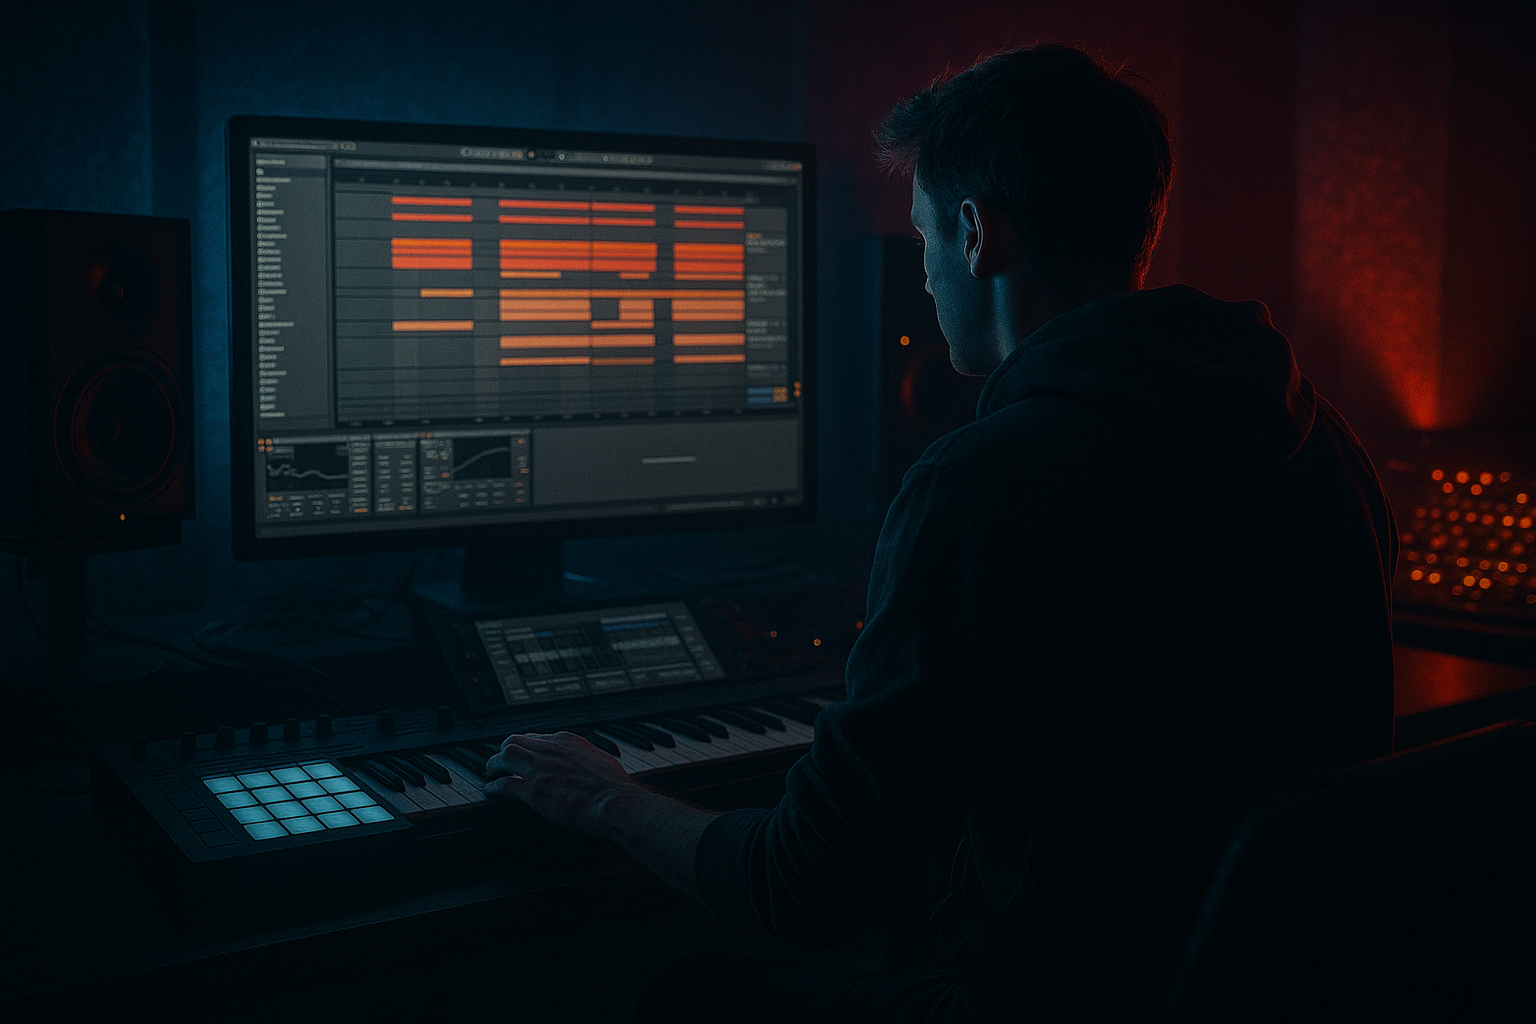
Main tutorial
Lesson Overview
The “warehouse method” is a practical way to make your bassline feel tighter, heavier, and more intentional in Ableton Live 12 — especially for jungle, oldskool DnB, rollers, and darker breakbeat-driven music. The idea is simple: instead of letting the bass roam freely, you shape it like a system in a warehouse club — controlled, punchy, focused, and built to hit hard on a big rig.
In DnB, bassline tightness is not just about notes being in time. It’s about how the bass interacts with the break, where it leaves space for the kick/snare pattern, how much sustain you allow, and how cleanly the low end sits in mono. A loose bassline can blur the break, weaken the snare impact, and make the whole track feel amateur. A tight bassline, on the other hand, makes the groove feel expensive, loud, and confident 🔥
This lesson shows you how to tighten a bassline in Ableton Live 12 using stock tools only: MIDI shaping, note spacing, clip envelopes, Grooves, resampling, Saturator, Drum Buss, EQ Eight, Utility, Envelope Follower-style thinking via automation, and basic routing. The approach is aimed at the kind of bass movement you hear in oldskool jungle edits, warehouse rollers, and darker DnB where the bassline must lock with the break rather than fight it.
You’ll learn how to:
- tighten note phrasing against breakbeats
- control low-end length without killing energy
- add movement through call-and-response
- shape a reese or sub layer so it stays punchy in a dense mix
- automate tension for drops, switch-ups, and DJ-friendly sections
- a tight sub layer that stays mono and controlled
- a mid-bass/reese layer with short, clipped note lengths
- a bass rhythm that leaves room for a chopped breakbeat
- subtle distortion and saturation for density
- phrasing that supports the snare while adding forward motion
- a version that works in a 16-bar drop with a DJ-friendly intro and tension build
- Sub chain: Operator or Wavetable
- Mid-bass chain: Wavetable, Analog, or a sampled/re-sampled bass
- Oscillator: sine wave
- Octave: usually -1 or -2 depending on your arrangement
- Filter: off or fully open
- Add Utility after the instrument and keep bass mono
- Wavetable with a saw/square blend, or a detuned saw patch
- Low-pass filter around 80–150 Hz if it’s too bright
- Slight unison width only in the upper mids, not in the low end
- hit after the snare
- leave space before the next snare
- use shorter notes in busy drum moments
- use one longer note only if the break has enough room
- sub notes: around 1/8 to 1/4 note lengths
- reese hits: often shorter, around 1/16 to 1/8, depending on groove
- avoid stacking too many long notes over the kick/snare unless it’s a sustained “wash” section
- open the MIDI clip
- shorten each note so it ends cleanly before the next drum accent
- if the bass is smearing, reduce note length until the groove opens up
- use Clip View’s “Legato” only when you want connected movement; otherwise keep notes separate
- Amp Release: try 30–120 ms for tight bass hits
- Amp Decay: medium-short if the patch allows it
- Amp Sustain: lower for clipped, warehouse-style hits
- Attack: 0–2 ms
- Hold: very short or off
- Release: 20–60 ms
- Threshold: set so notes shut off cleanly
- use Groove Pool with a subtle swing groove, or extract groove from the break if it has the right feel
- apply the groove lightly to the bass clip
- keep the timing adjustments subtle so the bass follows the break rather than drifting away from it
- Timing: around 55–65% if using a swing-based groove
- Velocity variation: moderate
- Random: very low or off for precision
- Saturator
- Drum Buss
- EQ Eight
- Utility
- Drive: 2–6 dB for gentle density
- Soft Clip: on if the bass gets spiky
- Color and Base controls: adjust carefully, not excessively
- Drive: low to moderate, around 5–20%
- Boom: only if you need extra low thump, but keep it controlled
- Transients: positive if you want more bite, negative if the bass is too clicky
- Damp: useful to darken the top if needed
- cut unnecessary sub-30 Hz rumble
- reduce harshness around 2–5 kHz if the reese is biting too hard
- if the bass fights the snare, make a small dip where the snare body lives
- Width at 0% for the sub chain
- For mid-bass, keep width modest if the track is heavy and club-focused
- check mono regularly
- sub chain width: 0%
- mid-bass stereo width: often 20–60%, depending on how much low-mid movement you want
- Bar 1: strong bass hit after the snare
- Bar 2: shorter response note or two-note stab
- Bar 3: bass drops out for a break fill
- Bar 4: slightly more aggressive re-entry
- main hits: higher velocity
- response hits: slightly lower velocity
- ghost notes: quieter and shorter
- record the bassline to a new audio track
- trim the audio tightly
- warp only if necessary; ideally keep the timing natural
- consolidate sections you want to repeat
- slice the audio into tiny hits
- reverse one hit for tension
- add fades to clean up tail noise
- use transient control more aggressively
- layer a clean sub under the resampled mid bass if needed
- bounce 4 bars of bass + break
- listen for overlaps where the bass masks the snare or kick
- cut or shorten the audio tail at those points
- reintroduce one automated sweep or filter move at the end of the phrase
- Filter cutoff on Wavetable or Auto Filter
- Saturator drive
- Drum Buss transient amount
- Utility gain for small emphasis changes
- Reverb send very sparingly on transition hits
- Delay send on occasional bass stabs only
- Filter cutoff: small moves between 200 Hz and 2–5 kHz for mid-bass sweeps
- Saturator drive: automate 1–3 dB increases on select bar endings
- Utility gain: tiny boosts of 1–2 dB for phrase highlights
- bars 7–8: tension ramp
- bar 8 last beat: bass drop-out or filtered tail
- bar 9: full return with the tightest version of the bass
- Making bass notes too long
- Over-widening the low end
- Letting the bass fight the snare
- Using too much distortion too early
- Swinging the bass too hard
- Ignoring breakbeat detail
- Layer a very quiet noise or mid texture under the bass, but high-pass it so it doesn’t muddy the low end. This adds menace without turning the mix cloudy.
- Use tiny pitch movement on the mid-bass only. A few cents of detune or a slow LFO on wavetable position can create that anxious reese motion, while the sub stays rock solid.
- Try “ducked sustain” on the mid-bass: let the note hit hard, then automate or shape the tail shorter so the groove punches through the break.
- For darker rollers, use call-and-response between sub and mid. Let the sub answer with a lower note after the mid-bass statement. That creates weight without needing a busier riff.
- Use Drum Buss carefully on bass to add edge, but watch the low end. If the Bass control starts exaggerating the wrong frequencies, back off and keep the punch in the mid layer instead.
- In Ableton’s Arrangement View, leave 1/2-bar or 1-bar gaps before major switch-ups. Silence or near-silence makes the return feel much heavier.
- Check the bass in mono often. If the track loses identity in mono, the bassline is too dependent on stereo width or phasey movement.
- For warehouse energy, don’t over-polish the bass. A little clip, a little grime, and a very controlled envelope often sounds more authentic than a perfectly smooth sound.
- Version A: more jungle, with more gaps and sharper call-and-response
- Version B: more roller-like, with steadier low-end pressure and fewer interruptions
- write bass against the break, not over it
- keep sub mono and clean
- shorten notes and tails until the groove snaps
- use subtle groove, not heavy swing
- resample when you need more control
- automate tension in small, deliberate amounts
Why this matters: in DnB, the bass is often carrying the emotional and physical weight of the track. If it’s sloppy, everything feels weak. If it’s tight, even a simple riff can sound massive.
What You Will Build
By the end of this lesson, you’ll have a warehouse-style bassline setup for an oldskool/jungle-inspired DnB section with:
Musically, think of a 2-bar or 4-bar bass phrase that answers the break rather than sitting on top of it. For example, your bass might hit hard right after the snare, drop out for a ghost-note break fill, then return with a tighter stutter in bar 2. That call-and-response style is classic jungle language, and it’s one of the fastest ways to make a bassline feel like it belongs in a real DnB track rather than a looped idea.
Step-by-Step Walkthrough
1. Build a focused bass instrument rack first
Start with a simple instrument setup in Ableton Live 12. Create two MIDI tracks or use an Instrument Rack on one track with two chains:
For the sub, keep it clean:
For the mid-bass, use a richer tone:
Why this works in DnB: the sub gives you the physical impact, while the mid layer gives the “character” and movement that cuts through breaks, pads, and FX. Separating them early makes tightening much easier.
Tip: if you use an Instrument Rack, map Macro 1 to bass level, Macro 2 to filter cutoff, Macro 3 to distortion amount, and Macro 4 to release. That gives you quick control over tightening without hunting through devices.
2. Program the bass rhythm around the break, not on top of it
Drop your breakbeat into the arrangement first, then write the bass against the drum pattern. Use a classic 2-step or chopped jungle break as your anchor. The bassline should respect the snare and ghost notes.
A strong starting pattern:
In Ableton’s MIDI editor, keep note lengths short at first:
Use the piano roll to line notes up slightly behind the snare if you want a laid-back warehouse feel, or slightly ahead if you want more urgency. For oldskool jungle, a tiny laid-back push often feels authentic.
Concrete move: mute the bass on the bar where the break has a fill or snare roll, then bring it back on the next downbeat. That gap creates tension and makes the return hit harder.
3. Tighten note lengths with clip editing and gate-style discipline
This is the core of the warehouse method. Most basslines feel loose because the notes are too long, not because the rhythm is wrong.
In Ableton:
For a bass patch with a longer amp release, control it with the instrument envelope:
If you want even more control, add a Gate after the bass instrument and use it as a rhythmic tightener:
This is especially useful if your patch has too much tail or if you’re resampling a noisy reese that rings out too long.
Why this works in DnB: breakbeats already contain dense micro-rhythms. Tight bass note lengths leave space for those transients to breathe, so the track feels faster and harder without actually becoming louder.
4. Add groove and swing with taste, not with chaos
DnB doesn’t need heavy swing everywhere, but it does need human movement. The warehouse method is about controlled looseness — the groove should feel alive while staying locked.
In Ableton Live 12:
Suggested groove approach:
If your break has strong shuffle, let the bass mirror just enough of it. Don’t over-swing a hard jungle bassline unless you’re aiming for a more broken, off-kilter vibe.
Arrangement example: in a 16-bar drop, use a more straight, heavy bassline in bars 1–4, then apply slightly more groove or note variation in bars 5–8 to create forward motion. That keeps the listener engaged without losing impact.
5. Shape the bass with saturation, clipping, and EQ discipline
Now make the bass speak on smaller systems and hit harder on a big one. Use stock Ableton devices in a sensible chain.
A solid mid-bass processing chain:
Start with Saturator:
Then Drum Buss:
Then EQ Eight:
Keep Utility at the end:
Two practical settings to remember:
This is where “tight” becomes audible. Saturation adds density, EQ removes confusion, and Utility keeps the low end club-safe.
6. Use call-and-response phrasing to make the bassline feel alive
A tight bassline is not just short notes. It has phrasing. Think in phrases of 1 bar, 2 bars, or 4 bars, and make the bass answer the drums.
Try this structure:
For jungle and oldskool DnB, this is huge. The break often carries the rhythmic identity, so your bass should behave like a conversation partner. If every bar has the same note length and the same velocity, the track sounds flat.
Use velocity to shape that conversation:
A good arrangement move is to make the bassline simpler in the first 8 bars of the drop, then introduce a variation in bars 9–16. That could be a note octave jump, a small rhythmic pickup, or a one-bar pause before the next phrase.
7. Resample your bass for extra control and character
Once the idea is working, resample it. This is a very warehouse-friendly move because it turns a soft synth patch into something more controlled and committed.
In Ableton:
Now you can:
This is especially good for reese basses, because once you print them, you can commit to a tone and edit around the drums more precisely. A resampled bass hit can be placed exactly where the break needs it, giving you more control than MIDI alone.
Try a resample workflow:
8. Automate tension for drop movement and switch-ups
A warehouse-style bassline stays tight, but it still needs motion. Use automation to create lift without destroying the groove.
Useful automation targets in Ableton:
Good automation ranges:
A strong oldskool DnB trick: automate the bass filter slightly open during the last half of an 8-bar section, then snap it back down on the drop restart. This gives the bass a warehouse-door feel — opening, pressure building, then slamming shut.
For arrangement, use these moments:
Common Mistakes
Fix: shorten MIDI notes and reduce release time. If the bass is still smeary, use Gate or resample and edit the tails.
Fix: keep sub in mono with Utility. If you want width, add it only above the sub range.
Fix: carve space with EQ Eight, and arrange the bass so it leaves room on strong snare hits.
Fix: add saturation in layers. Clean sub first, dirty mid later.
Fix: use subtle groove settings. DnB needs lock, not sloppiness.
Fix: write bass around the break’s ghost notes and fills. The break is not background — it’s the groove engine.
Pro Tips for Darker / Heavier DnB
Mini Practice Exercise
Set a 15-minute timer and build a tight bassline over a breakbeat in Ableton Live 12:
1. Load a classic chopped break or 2-step loop.
2. Program a 2-bar bass pattern with 4–6 notes max.
3. Shorten every note until the groove feels punchy and leaves space for the snare.
4. Add one sub layer and one mid-bass layer.
5. Put Utility on the sub and set width to 0%.
6. Add Saturator and Drive it just enough to hear the bass speak on small speakers.
7. Apply a subtle Groove Pool swing or extract groove from the break.
8. Automate one filter sweep across 8 bars.
9. Resample the bass for 4 bars and edit one or two tails tighter.
10. Compare the original MIDI version against the resampled version and decide which feels more warehouse-ready.
If you want to push it further, make two variations:
Recap
The warehouse method is about making your bassline behave like a disciplined part of the drum arrangement, not a separate event. Tight note lengths, mono sub control, careful saturation, and break-aware phrasing are what make oldskool jungle and DnB basslines feel powerful.
Remember the key moves:
If your bassline feels tighter, the whole track instantly sounds more serious, more club-ready, and more authentically DnB.

