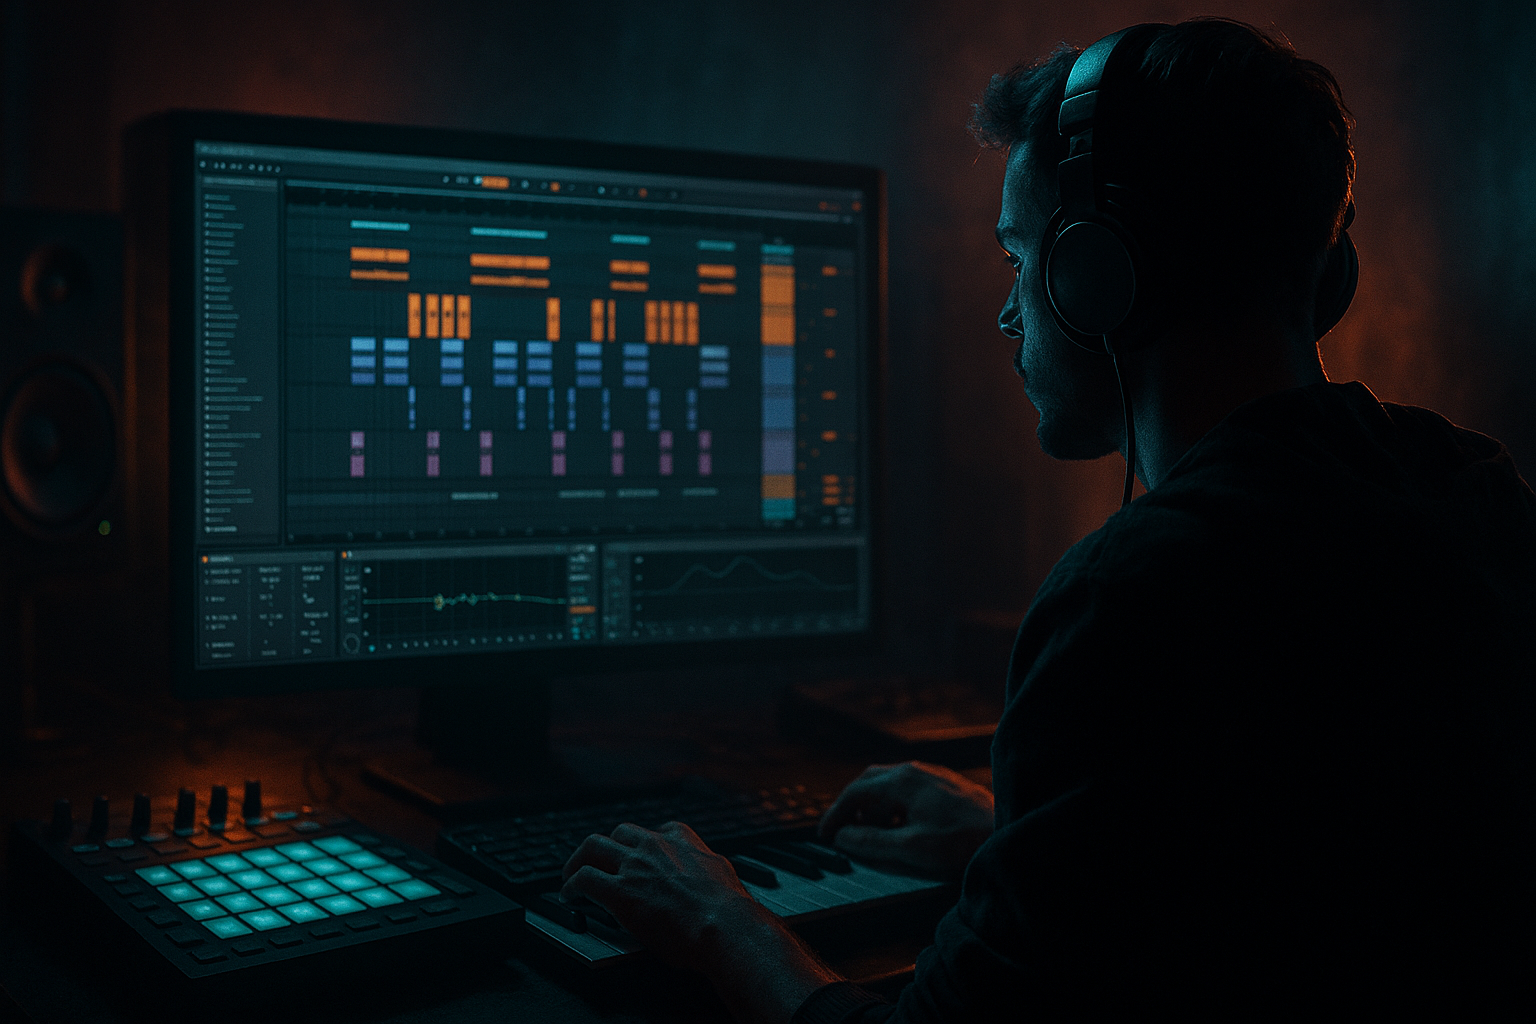
Main tutorial
Lesson Overview
This lesson is about making a Warehouse-style Ableton Live 12 switch-up that keeps a timeless roller groove moving without losing the oldskool jungle/DnB vibe. In plain terms: you’ll learn how to take a steady, hypnotic 16-bar roller and introduce a controlled change-up so the track feels like it’s evolving inside a warehouse system — heavy, spacious, and functional for the dancefloor 🧱🔊
In DnB, this matters because a roller can become too static if every 8 or 16 bars feels identical. The trick is not to “drop a new song,” but to create small, meaningful shifts in bass phrasing, drum edits, filter movement, and atmosphere. That’s what keeps the energy alive for DJs, keeps dancers locked in, and gives your track that classic underground momentum.
This lesson sits right in the arrangement and automation stage of production. We’ll use Ableton stock tools to build a simple roller section, then create a warehouse switch-up using automation on drums, bass, and FX. The goal is to make the track feel like it is breathing, tightening, and opening back up — without overcomplicating the production.
What You Will Build
You will build a 16-bar DnB roller loop with:
- a solid sub-heavy bassline
- a reese or mid-bass layer with movement
- chopped breakbeat-style drums
- a switch-up section that changes the groove without killing momentum
- automated filters, sends, and drum edits
- a DJ-friendly structure that could sit in an intro, first drop, or mid-track variation
- 8 bars of steady rolling pressure
- a 2-bar tension build
- a 2-bar switch-up where the drums and bass phrase change
- a return to the main groove with extra energy
- Kick/Snare drum track
- Breakbeat track
- Sub bass track
- Mid-bass or reese track
- Atmosphere track
- Return tracks for reverb and delay if needed
- a punchy kick on the downbeat
- a snare or rim on the 2 and 4
- light break layers for swing and motion
- Oscillator A: sine wave
- Filter: off or very subtle
- Amp envelope: short attack, medium release
- Keep the sound mostly mono
- 1/8 notes with rests
- offbeat pushes
- call-and-response with the snare
- Sub level: keep it low enough that it supports, not dominates
- Mono: yes, keep the sub centered
- MIDI note length: short to medium, around 1/16 to 1/8 for a tight feel
- Filter cutoff around 200–800 Hz depending on the sound
- Detune or unison lightly, not too wide
- Add Saturator after it for mild grit
- Simpler in Slice mode if you want to cut the break
- or an audio track if the break already grooves on its own
- turn Warp on
- use Transient or Beat warp mode
- keep the slices tight but not robotic
- nudge ghost hits slightly off-grid for groove
- Kick: strong but not overpowering
- Snare: clearly audible and solid
- Break: lower in level, adding texture and momentum
- Hats: minimal and purposeful
- Drum Buss with Drive around 5–15%
- a little Crunch if needed
- Boom very carefully, or off if your kick already has enough low end
- Bars 1–8: main roller groove
- Bars 9–10: tension build
- Bars 11–12: switch-up
- Bars 13–16: return to groove with variation
- drums rolling
- bass doing its main phrase
- atmosphere sitting in the background
- close the bass filter slightly
- mute one break layer for a bar
- add a little reverb send on a snare hit or ghost percussion hit
- filter cutoff
- resonance
- distortion amount
- macro mapped movement if you’ve grouped devices
- Bars 9–10: slowly close the cutoff from around 1.5 kHz down to 300–600 Hz
- Bar 11: quickly reopen it for the switch-up
- Bar 12: return to the original state or a slightly darker setting
- Drive from about 2 dB to 5 dB for added bite in the switch-up
- Then bring it back down after the change
- the first half of the phrase has space
- the second half answers with a tighter rhythm
- the switch-up hits on bar 11 with a small phrase change
- mute the break for 1/2 bar before the switch
- add a snare fill
- bring in extra ghost hits or reverse hits
- slightly high-pass the drum bus during tension
- cutoff at around 200–300 Hz during the build
- then drop the filter out at the switch so the full break energy returns
- keep lows mono
- let upper percussion breathe a little
- avoid going too wide on the break, especially if the low mids get messy
- increase reverb send on the last snare before the switch
- add a short echo throw on a vocal chop, percussion hit, or stab
- let the delay tail answer the groove
- Reverb decay: around 1.5–3 seconds
- Echo feedback: around 15–30%
- High-pass the delay return so the low end stays clear
- remove one bass note
- add a ghost snare before the backbeat
- keep the new drum edit for another 4 bars
- slightly change the filter position
- Bars 1–8: original rolling groove
- Bars 9–10: filtered tension
- Bars 11–12: drum and bass switch-up
- Bars 13–16: main groove returns with a new percussion accent
- Saturator Drive: 1–4 dB
- Soft Clip: on if you need control
- Keep the sub clean underneath
- sub = pure, mono, steady
- mid-bass = movement, grit, stereo texture if needed
- build a solid 16-bar roller foundation first
- keep sub clean, mono, and simple
- use automation on filters, saturation, and sends for movement
- change only a few elements in the switch-up
- always return to the groove with one extra variation
Musically, this will feel like:
Think of it as the kind of section you hear in oldskool jungle-informed rollers: not flashy, not over-arranged, but full of intent.
Step-by-Step Walkthrough
1. Set up a simple roller foundation
Start with a new Ableton Live set and set the tempo to somewhere between 170 and 174 BPM. For this lesson, 172 BPM is a great middle ground for a warehouse roller feel.
Create these tracks:
For drums, use Drum Rack or a simple audio track with chopped break samples. Keep the kick and snare strong and direct. For a beginner-friendly start, use:
If you’re using an Ableton stock drum kit, keep the kick short and the snare crisp. The warehouse vibe comes from space and weight, not overly busy percussion.
Why this works in DnB: a roller needs a dependable backbone so the switch-up feels intentional. If the base groove is unclear, the arrangement changes won’t hit as hard.
2. Build a bass pattern that leaves room for the drums
Create a new MIDI clip on your sub bass track. Use Operator for a clean sub or Wavetable if you want a little more edge in the upper harmonics. For beginner simplicity, start with Operator:
Write a bass pattern that sits around the kick and snare. In DnB, the bass doesn’t need to play constantly. A good roller bassline often uses short notes with gaps. Try:
Concrete starting settings:
For the mid-bass layer, duplicate the MIDI and use Wavetable, Analog, or a sampled reese. Low-pass it a bit so it doesn’t fight the sub. A useful starting point:
Keep the bass phrasing simple. The real movement will come from automation and arrangement.
3. Program the drums with a rolling, break-informed feel
Now add a breakbeat layer. Use an audio clip with a classic break or a chopped loop in the Audio Clip view. You can start with:
If you slice the break:
Layer this with your kick/snare so the pattern has both weight and shuffle. The break should create forward motion, not clutter.
Try a basic drum balance:
A useful beginner move is putting the whole drum bus into a Group and adding:
This gives the drums a bit of warehouse glue.
4. Create a 16-bar arrangement block
In Arrangement View, build a rough 16-bar section:
Start by copying your 8-bar loop across the timeline. This is important: the switch-up works best when the listener understands the original pattern first.
In bars 1–8, keep everything stable:
In bars 9–10, begin reducing or filtering one element:
This creates anticipation without sounding like a full breakdown.
5. Automate a warehouse-style bass switch-up
Now for the core technique: automation. This is where the track gets its “switch-up” identity.
On your mid-bass or bass group, automate one of these:
If you’re using Auto Filter, draw automation like this:
If you’re using Saturator, automate:
If you want a more neuro-leaning edge, automate Wavetable’s wavetable position or filter movement subtly, but keep the motion restrained. The vibe here is not wobble-house style motion; it’s controlled pressure.
A very effective DnB move is to automate the bass so that:
This can be as simple as removing one note and adding a different note in the new phrase.
6. Automate drum edits for the transition
The switch-up feels stronger when the drums also change. You do not need a full drum rewrite. Just make one or two smart edits.
Use automation or clip changes to do the following:
A good beginner trick is to automate Auto Filter on the break bus:
You can also use Utility on the drum group to narrow or widen the image slightly:
For a warehouse vibe, a 1-bar or 2-bar fill is enough. Think in terms of DJ utility and dancefloor impact, not endless fills.
7. Add atmosphere and tension with simple FX automation
Use an atmosphere or texture track with a dark pad, field recording, vinyl noise, or a filtered noise layer from Ableton’s stock instruments/samples. Keep it subtle.
Add Reverb or Echo as send effects and automate them tastefully:
Concrete starting values:
A warehouse switch-up often feels big because of space, not because of too many sounds. A single filtered hit with delay can do more than a stack of noisy effects.
8. Return to the groove with one variation
After the switch-up, bring the main groove back, but don’t make it identical. Change one thing:
This is the “timeless roller momentum” part. The track keeps moving forward because it evolves in small layers rather than dramatic scene changes.
A strong arrangement example:
That structure is easy to follow and works well in club music because the DJ can mix into and out of it cleanly.
Common Mistakes
Making the switch-up too busy
A common beginner mistake is adding too many new sounds at once. Fix: limit the switch-up to one bass change, one drum change, and one FX change.
Losing the low-end balance
If the bass gets too wide or too distorted, the track loses weight. Fix: keep the sub mono, and check the bass group with Utility to make sure the low end stays centered.
Over-automating everything
Too much automation can make the track feel unstable. Fix: automate one or two main elements per section, not every parameter on every track.
Breaks fighting the kick and snare
Busy breaks can smear the groove. Fix: lower the break volume, high-pass where needed, and keep the kick/snare dominant.
Switch-up with no setup
If the switch happens suddenly with no tension, it can feel random. Fix: use 1–2 bars of filter or FX buildup before the change.
Pro Tips for Darker / Heavier DnB
Use saturation for bass presence, not just loudness
A light Saturator or Drum Buss on the bass group can help the bass speak on smaller systems. Try:
Keep the sub and mid-bass separated
Split roles clearly:
This separation helps the roller stay heavy without becoming muddy.
Add ghost notes to the drum groove
Ghost snares or quiet break hits before the main snare can make the groove feel more alive. Keep them low in volume, just enough to suggest movement.
Use call-and-response in the bass
A classic DnB trick: let the bass say one phrase, then answer with a shorter phrase after the snare. This creates momentum without clutter.
Filter the atmosphere, not the whole track
If you want darkness, automate the pad or noise layer down before the switch rather than darkening everything. That preserves clarity while increasing tension.
Check mono compatibility
Warehouse systems can be huge but also unforgiving. Hit Utility on the master or bass group to confirm the bass still feels strong in mono. Keep the low end focused.
Mini Practice Exercise
Spend 10–20 minutes making a mini 8-bar roller switch-up:
1. Make a 172 BPM project.
2. Create one drum loop with kick, snare, and a chopped break.
3. Build a simple 2-note or 3-note bass phrase using Operator or Wavetable.
4. Copy the loop across 8 bars in Arrangement View.
5. Automate Auto Filter on the bass so it closes slightly over bars 5–6.
6. Mute the break for half a bar before bar 7.
7. Add one snare fill or reverse hit into bar 7.
8. Bring the bass back in with one note changed.
9. Add a short reverb throw on the transition hit.
10. Bounce the loop and listen for whether the groove still feels like a roller.
Goal: make the section feel like it evolves without losing dancefloor pressure.
Recap
The warehouse switch-up method is about controlled change: keep the roller groove strong, then automate small shifts in bass, drums, and FX to create tension and release.
Remember these key points:
If it still feels heavy, clear, and DJ-friendly, you’re on the right track.

