DNB COLLEGE

Drum & Bass Ableton Live 12 Tutorials

LESSON DETAIL

Warehouse Ableton Live 12 atmosphere deep dive for floor-shaking low end for jungle oldskool DnB vibes (Advanced)

An AI-generated advanced Ableton lesson focused on Warehouse Ableton Live 12 atmosphere deep dive for floor-shaking low end for jungle oldskool DnB vibes in the FX area of drum and bass production.

Back to lessons
Warehouse Ableton Live 12 atmosphere deep dive for floor-shaking low end for jungle oldskool DnB vibes (Advanced) cover image

Narrated lesson audio

The voice track includes the tutorial plus extra teacher commentary.

Open audio file

Main tutorial

```markdown

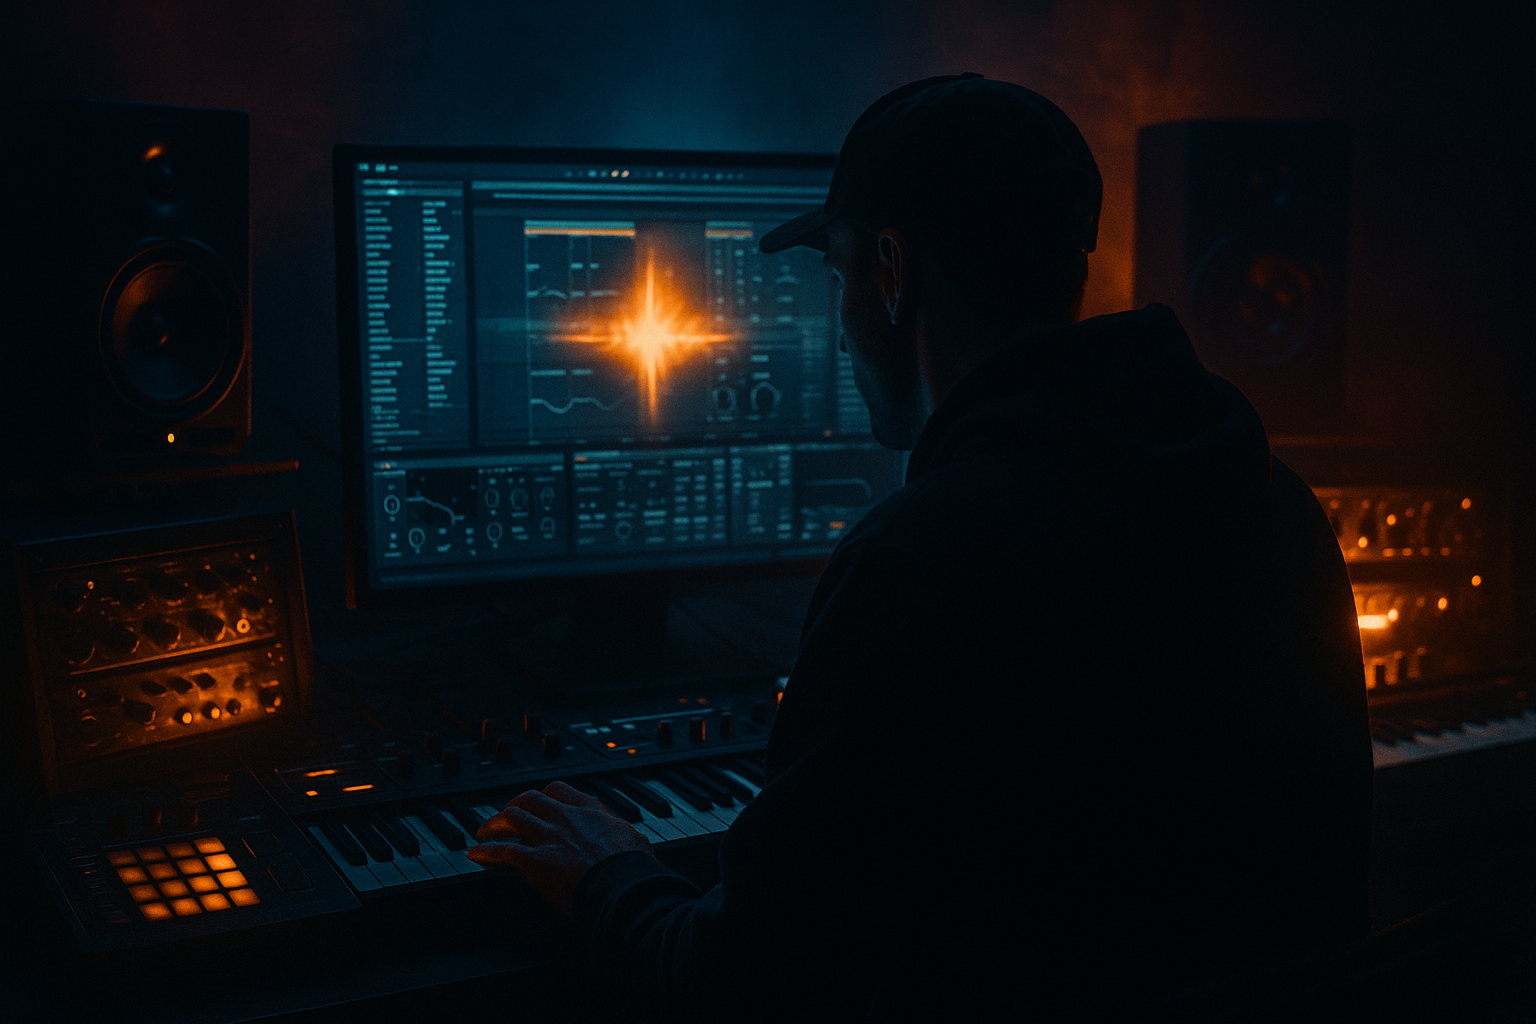
Warehouse Atmosphere Deep Dive (Ableton Live 12)

Floor-shaking low end + jungle/oldskool DnB vibes (Advanced FX) 🔊🏭

---

1. Lesson overview

In this lesson you’ll build warehouse-scale atmosphere in Ableton Live 12 that feels like classic jungle / oldskool DnB—big, cavernous space, air moving, metallic reflections—without wrecking the sub + kick.

The core philosophy:

  • Put space on everything that isn’t sub
  • Keep the sub mono + clean
  • Use return-based ambience, early reflections, gated verbs, and filtered noise beds
  • Glue it with subtle bus compression/saturation and mid/side discipline 🎛️
  • ---

    2. What you will build

    By the end you’ll have a reusable Warehouse Atmosphere Rack + routing that includes:

  • 2 Return FX:
  • - A: “Warehouse ER” (tight early reflections to simulate concrete space)

    - B: “Gated Jungle Verb” (classic oldskool bloom that gets out of the way)

  • 1 Atmos Bed Group:
  • - Noise/air + resampled reverb tails + subtle industrial texture

    - Sidechained to the kick/snare for movement

  • 1 Low-End Protection Chain:
  • - Sub stays mono, dry, and consistent

    - Sends filtered/controlled so the room never eats your low end

    All of this is aimed at: rolling bass music with punchy drums + huge environment.

    ---

    3. Step-by-step walkthrough

    Step 0 — Session + routing setup (fast + clean) ⚙️

    1. Tempo: 160–170 BPM (jungle sweet spot).

    2. Create Groups:

    - DRUMS (kick, snare, hats, breaks)

    - BASS (sub + mid bass layers)

    - MUSIC/FX (stabs, pads, impacts)

    - ATMOS (you’ll build this)

    3. Add Return Tracks:

    - Return A: Warehouse ER

    - Return B: Gated Jungle Verb

    - (Optional later) Return C: Dub Delay

    Rule: Keep your SUB track with sends OFF (or heavily filtered), and handle “space” on mid layers only.

    ---

    Step 1 — Build Return A: “Warehouse ER” (early reflections = believable room) 🏭

    On Return A, chain these stock devices:

    1. EQ Eight (pre-filter so the reverb doesn’t get fizzy or boomy)

    - HP filter: 120 Hz, 24 dB/oct

    - Gentle dip: 300–500 Hz (–2 to –4 dB) if it gets boxy

    - Optional shelf: –2 dB above 10 kHz if harsh

    2. Hybrid Reverb (this is your concrete space engine)

    - Mode: Convolution (for realism)

    - IR choice: look for Room / Warehouse / Hall-style impulses

    - Decay: 0.5–1.2 s (keep it tight)

    - Pre-Delay: 5–20 ms (lets transients hit before reflections)

    - Size: moderate-large (depends on IR; don’t overdo)

    - ER / Early Reflections level: push this up if available (aim for “slap off walls”)

    - Lo Cut: 150–250 Hz

    - Hi Cut: 6–10 kHz (tame fizz)

    3. Saturator (subtle “concrete bite”)

    - Type: Soft Sine or Analog Clip

    - Drive: 1–3 dB

    - Output: trim to unity

    4. Utility (mid/side discipline)

    - Bass Mono: ON

    - Width: 120–150% (only if the return isn’t getting phasey)

    Usage tip: Send breaks, hats, stabs into this. Keep it low on kick, and near-zero on sub.

    ---

    Step 2 — Build Return B: “Gated Jungle Verb” (classic oldskool tail control) 🚪

    On Return B, chain:

    1. EQ Eight

    - HP: 180–300 Hz (aggressive—this is not for low end)

    - Small presence notch if needed: 2–4 kHz –2 dB (snare bite can get sharp)

    2. Reverb (or Hybrid Reverb in algorithmic mode)

    - If using Reverb:

    - Quality: High

    - Decay: 1.8–3.5 s

    - Pre-delay: 15–35 ms

    - Diffusion: high (smooth tail)

    - Low Cut: 250 Hz

    - High Cut: 7–9 kHz

    - You’re aiming for that lush tail that screams rave—but we’ll gate it.

    3. Gate (the “oldskool” control move)

    - Sidechain input: Snare (or a snare ghost trigger)

    - Listen mode OFF (normal)

    - Threshold: set so it opens clearly on snare hits

    - Attack: 0.5–3 ms

    - Hold: 50–120 ms

    - Release: 120–280 ms

    - Goal: tail blooms then snaps away before the next transient.

    4. Chorus-Ensemble (subtle widening + smear)

    - Amount: 10–20%

    - Rate: slow

    - Width: moderate

    (Keep this subtle—too much goes watery fast.)

    Usage tip: Send snare, claps, rave stabs, vocal chops here for instant jungle nostalgia.

    ---

    Step 3 — Protect your low end: “Space only above the weight” 🧱

    #### A) Keep sub dry + mono

    On your SUB track:

  • Utility: Width 0% (mono)
  • EQ Eight: low-pass around 80–120 Hz depending on your bass design
  • Sends: OFF (or keep sends very low with return HP filters doing the work)
  • #### B) Give mid-bass the room instead

    On your MID BASS layer:

  • Send a bit to Warehouse ER (Return A)
  • Tiny send to Gated Verb (Return B) if it’s a classic reese that wants air
  • #### C) Sidechain ambience to drums

    On Return A and B, add Compressor at the end:

  • Sidechain: Kick + Snare bus (or just kick if you prefer)
  • Ratio: 2:1 to 4:1
  • Attack: 5–15 ms
  • Release: 80–160 ms
  • Gain reduction: 2–5 dB on hits
  • This keeps the room moving and prevents mud during dense breaks. 🎚️

    ---

    Step 4 — Build an Atmos Bed (noise + resampled tails + industrial detail) 🌫️

    Create a new Audio Track inside your ATMOS group: “Air Bed”.

    #### A) Generate air/noise

    Option 1 (fast): Use a sample of vinyl noise / room tone.

    Option 2 (stock-ish): Use Operator noise:

  • Operator → Oscillator: Noise
  • Filter: bandpass-ish, keep it mid/high
  • #### B) Shape it with filters + motion

    Add:

    1. Auto Filter

    - Type: BP or HP

    - Frequency: 300 Hz – 6 kHz

    - Resonance: low-medium

    - LFO: slow (0.05–0.15 Hz), small amount for drift

    2. Hybrid Reverb (Algorithmic this time)

    - Decay: 4–10 s (long wash)

    - Hi Cut: 6–8 kHz

    - Lo Cut: 300–500 Hz

    3. Redux (tiny amount = grit)

    - Downsample: 2–6

    - Bit reduction: very light (or none)

    4. Compressor (sidechain from kick)

    - Ratio: 4:1

    - Attack: 1–5 ms

    - Release: 120–220 ms

    - Aim: audible pumping but not cheesy

    #### C) Resample “warehouse tails”

    This is a pro move:

  • Create a track called “Tail Print”
  • Set its input to Resampling
  • Solo your returns (A/B) + a stab/break, record 8–16 bars
  • Chop the nicest tails, reverse some, and place them between phrases.
  • This gives that authentic rave cavern vibe because it’s literally your track’s room printed and re-contextualized.

    ---

    Step 5 — Arrangement ideas that scream jungle 🥁

    Use atmosphere like a DJ-friendly system builder:

  • Intro (8–16 bars):
  • - Air bed + printed tails + filtered break ghosts

    - Slowly open Auto Filter on returns (automation)

  • Drop (bar 17):
  • - Pull Return B (gated verb) down slightly at the exact drop

    - Keep Return A stable (early reflections keep realism without washing transients)

  • Mid-phrase energy (every 8 bars):
  • - Throw a 1-beat “verb blast”: automate send to Return B up on the last snare of the phrase

    - Immediately clamp with the Gate = classic oldskool snap

  • Breakdown:
  • - Increase decay on Hybrid Reverb (automation)

    - Print and reverse a tail into the next drop

    ---

    4. Common mistakes (and how to avoid them) ❌

    1. Reverb on sub or kick

    - Your low end stops hitting like a system. Keep sub dry; if you must add space, do it above 150–250 Hz.

    2. Too-wide low mids

    - If 150–400 Hz gets wide, your mix will wobble and collapse in mono. Use Utility Bass Mono and filter returns hard.

    3. Long verb tails during dense breaks

    - Jungle is busy. Use Gate or sidechain compression to keep tails rhythmic.

    4. Over-saturating returns

    - A little grit = warehouse. Too much = harsh wash that masks snares and hats. Saturate gently, then EQ.

    5. No pre-delay

    - Without pre-delay your reverb smears transients. Add 10–30 ms so drums punch first.

    ---

    5. Pro tips for darker/heavier DnB 🖤

  • Mid/Side EQ on returns:
  • - Use EQ Eight in M/S mode: cut side low-mids (200–500 Hz) to keep the center powerful.

  • “Concrete slap” micro-delay:
  • - Add Delay (not Echo) before Hybrid Reverb on Return A:

    - Time: 10–30 ms, Feedback 0%, Dry/Wet 100%

    - Creates a slap-reflection illusion.

  • Reese-friendly ambience:
  • - If your reese is snarling, low-pass the verb at 6–8 kHz so the top end doesn’t turn fizzy.

  • Dark air bed trick:
  • - Put Spectral Resonator very subtly on the Air Bed:

    - Tune: near your track key

    - Mix low

    - It adds eerie harmonic “warehouse hum”.

  • Glue the room, not the sub:
  • - Put light bus comp on the ATMOS group (not master):

    - Glue Compressor: 1–2 dB GR, slow attack, medium release.

    ---

    6. Mini practice exercise (15–25 minutes) 🧪

    1. Load a classic break (Amen-style) and a 909-style kick + snare.

    2. Create Returns A and B exactly as above.

    3. Send:

    - Hats/break → Return A around –18 to –12 dB send level

    - Snare → Return B around –20 to –14 dB send level

    4. Sidechain compress both returns from the kick at ~3 dB GR.

    5. Print 8 bars of tails (Resampling), reverse one, and place it as a pickup into the drop.

    6. A/B test: mute returns vs. on.

    - If the groove loses punch with returns on, your filters/gate/sidechain need tightening.

    ---

    7. Recap ✅

  • Return A (Warehouse ER) gives believable concrete space without washing the groove.
  • Return B (Gated Jungle Verb) gives oldskool rave bloom that stays controlled and rhythmic.
  • Atmos beds + printed tails create depth that feels like a real location, not just “reverb.”
  • Low end stays king: sub mono, dry, consistent; ambience lives above it.

If you want, tell me your typical bass approach (sub+reese? 808 subs? sine + distortion?) and I’ll tailor the return filters, sidechain timings, and decay ranges to your exact low-end behavior.

```

Ask GPT about this lesson

Chat with the lesson tutor, get follow-up help, or use quick actions.

Bigup 👽 Ask me anything about this lesson and I’ll answer in context.

Narration script

Show spoken script
Welcome back. Today we’re doing an advanced atmosphere deep dive in Ableton Live 12, specifically for that warehouse-scale jungle and oldskool DnB vibe: big concrete reflections, air moving around the drums, metallic depth… but with the most important rule in bass music: the sub and kick stay brutal, clean, and in control.

So the mindset for this whole lesson is simple. Space goes on everything that isn’t sub. The sub stays mono, dry, and consistent. And instead of drowning your mix in reverb on individual tracks, we’re going to build a couple of surgical return effects, then glue the illusion together with filtering, gating, sidechain movement, and mid-side discipline.

Alright, let’s set the session up fast and clean.

Set your tempo in the jungle sweet spot, 160 to 170 BPM. Then make four groups: DRUMS, BASS, MUSIC or FX, and an ATMOS group, because we’re going to build an entire environment that lives around your groove.

Now create two return tracks. Return A will be “Warehouse ER” for early reflections. Return B will be “Gated Jungle Verb” for that classic oldskool bloom that gets out of the way.

Here’s your first hard rule. On your SUB track, turn sends off. Completely off. If you absolutely have to cheat later, we’ll do it above a high-pass, but for now, off. Sub doesn’t go to the room. The room goes around the sub.

Cool. Let’s build Return A: Warehouse ER. This is all about believable concrete space without washing your transients.

First device is EQ Eight before the reverb. Think of this as “what you feed the room.” High-pass at 120 Hz, steep, 24 dB per octave. Then listen for boxiness and do a gentle dip around 300 to 500 Hz, maybe two to four dB if needed. And if it’s harsh or fizzy, a gentle shelf down above 10k helps keep it like a real space instead of a spray can of treble.

Next, Hybrid Reverb, and we’re in Convolution mode. Convolution is where you get that “this is a place” realism. Pick an impulse response that feels like a warehouse, a room, a hall, anything with hard surfaces. Keep the decay tight, around half a second to maybe 1.2 seconds. This is important: we’re not building a dreamy wash here, we’re building walls.

Add pre-delay, five to twenty milliseconds. Teacher note here: pre-delay is one of the biggest reasons your drums stay punchy. It lets the transient hit first, then the reflections arrive. If you skip this, the reverb sits on top of the drum and you lose the crack.

Inside Hybrid Reverb, cut lows. Lo cut somewhere around 150 to 250 Hz. High cut around 6 to 10 kHz to keep it from fizzing up your hats. And if there’s an early reflections control, push that. You want the slap off the walls more than you want the long tail.

After that, add Saturator for a little “concrete bite.” Use Soft Sine or Analog Clip, drive one to three dB, and trim the output so it’s not just louder. The goal is texture and density, not level.

Then finish with Utility. Turn Bass Mono on. And if it sounds stable, you can widen a bit, like 120 to 150 percent. But check for phase. If you hear it getting weird, back it off. Wide is cool. Wide and hollow is not.

How do you use Return A? This is your everyday environment. Send breaks, hats, stabs into it. Keep it low on the kick, and basically near zero on the sub.

Now Return B: Gated Jungle Verb. This is the nostalgia button, but controlled.

Start with EQ Eight again, and this time be more aggressive. High-pass 180 to 300 Hz. This return is not allowed to touch your low end. If the snare gets painfully sharp, a tiny notch around 2 to 4 kHz, like two dB, can stop it taking your head off.

Then choose Reverb, or Hybrid Reverb in algorithmic mode. Set quality high. Decay around 1.8 to 3.5 seconds, so it blooms like classic rave. Pre-delay 15 to 35 milliseconds. High diffusion so the tail is smooth. Low cut about 250 Hz. High cut around 7 to 9 kHz.

Now the key move: Gate after the reverb. This is the oldskool trick that makes the tail go “whoosh” and then snap away.

Set the gate sidechain input to your snare. Or even better, a ghost snare trigger if your snare pattern is busy. Set the threshold so it opens clearly on snare hits. Attack fast, about half a millisecond to three milliseconds. Hold around 50 to 120 milliseconds. Release around 120 to 280 milliseconds.

And listen for the goal: the reverb blooms right after the snare, then gets out of the way before the next hit. If your groove feels late or messy, shorten the release. If it feels too chopped, lengthen the hold a bit.

After that, add Chorus-Ensemble very subtly. Amount 10 to 20 percent, slow rate, moderate width. This is just a little smear to widen the halo. If it starts sounding watery, you went too far.

Usage: send snare, claps, rave stabs, vocal chops. Instant jungle. But again, we’re shaping it so it never steals the punch.

Now we protect the low end properly, because this is where most people lose the “floor-shaking” part while they chase atmosphere.

On the SUB track, drop Utility and set width to zero percent. Mono. Then EQ Eight with a low-pass around 80 to 120 Hz depending on your design. If it’s a pure sine, you might go higher. If you’ve got harmonics in another layer, keep the sub tighter. And again, sends off.

Then give the mid-bass the room instead. Your mid-bass layer can send a bit to Return A, and maybe a tiny bit to Return B if it’s a classic reese that wants air. Just remember: if you can hear the reverb clearly on the reese, it’s probably too much. You usually want to feel it when it mutes, not hear it when it’s on.

Now, to stop the room from cluttering dense breaks, we sidechain the ambience.

At the end of Return A and Return B, add a Compressor. Sidechain it from a Kick and Snare bus, or just kick if you want it simpler. Ratio two to one up to four to one. Attack five to fifteen milliseconds so the transient still speaks. Release 80 to 160 milliseconds. Aim for two to five dB of gain reduction on hits.

This is one of those “it suddenly sounds like a record” moments. The room breathes around the drums, and your groove stays forward.

Now let’s build the Atmos Bed. This is where the warehouse becomes a location, not just a reverb setting.

Inside your ATMOS group, create an audio track called Air Bed.

For sound source, you can use vinyl noise or room tone as a sample, totally fine. Or you can do it stock: use Operator and set the oscillator to Noise. Then filter it so it’s not full-spectrum hiss.

Add Auto Filter. Use band-pass or high-pass. Aim for something like 300 Hz up to 6 kHz. Keep resonance low to medium. Turn on the LFO, set it slow, 0.05 to 0.15 Hz, tiny amount. This is drift. It makes the air feel alive instead of a static loop.

Then add Hybrid Reverb in algorithmic mode, and go long: decay four to ten seconds. High cut 6 to 8 kHz. Low cut 300 to 500 Hz. You’re building a wash that lives above the weight.

Add Redux, tiny amount. Downsample maybe two to six. Don’t go crazy. This is just to make it feel a bit gritty and urban, like tape and concrete instead of clean digital air.

Then add Compressor, sidechained from kick. Ratio four to one. Fast attack, one to five milliseconds. Release 120 to 220 milliseconds. And here you can actually let it pump a bit, because that’s part of the movement. Just don’t let it turn into a cheesy EDM pump. You want “breathing warehouse,” not “sucking vacuum.”

Now the pro move: resample your own warehouse tails.

Create a track called Tail Print. Set its input to Resampling. Solo your returns A and B, plus maybe one stab or break element, and record eight to sixteen bars. Now you’ve captured your exact room signature.

Chop the best tails, reverse a few, and place them between phrases. Teacher note: this is why it sounds authentic. Because it’s not a random reverb preset. It’s your track’s room, printed, then re-contextualized as texture and transitions.

Now let’s talk arrangement, because atmosphere is not just sound design, it’s how you deploy it.

In the intro, eight to sixteen bars, lean on the air bed and printed tails. Bring in filtered break ghosts. Slowly automate the Auto Filter opening on your returns, so the room “reveals” itself.

At the drop, do the contrast trick. Pull Return B, the gated verb, down slightly right on the downbeat. Keep Return A more stable, because early reflections keep realism without washing the drums. That moment of dryness makes the drop hit harder.

Every eight bars, do a one-beat verb blast. Automate a send up to Return B on the last snare of the phrase. Then your gate snaps it shut. That is oldskool language. People feel it even if they don’t know what it is.

In the breakdown, you can automate the Hybrid Reverb decay longer for the sense of expansion, then print and reverse a tail into the next drop.

Now, common mistakes, because avoiding these will level you up faster than any magic plugin.

Mistake one: reverb on sub or kick. That’s how you lose system impact. Keep it dry. If you must add a sense of space, it lives above 150 to 250 Hz, not in the sub band.

Mistake two: too-wide low mids. If 150 to 400 Hz gets wide, your mix wobbles and collapses in mono. Use Utility Bass Mono on returns, and filter aggressively.

Mistake three: long tails during dense breaks. Jungle is busy. Use the gate and sidechain to keep ambience rhythmic.

Mistake four: over-saturating returns. A little grit equals warehouse. Too much equals harsh wash that masks your snare and hats. Saturate gently, then EQ.

Mistake five: no pre-delay. Without it, you smear transients. Ten to thirty milliseconds is your friend.

Now let’s add some extra coach-level upgrades.

First, calibrate your system weight with a low-end meter chain. On the BASS group, add Spectrum set to a high block size like 16384, and a Limiter with ceiling at minus one dB just for safety while you audition. Watch 30 to 80 Hz while you tweak ambience. The goal is: ambience changes perceived size, not measured sub energy. If your low band rises when you turn up returns, your filters and gate timing aren’t strict enough.

Second, control transients before the reverb sends, especially bright hats and breaks. A tiny bit of Drum Bus or Saturator, then Glue Compressor doing one to two dB of gain reduction with a slow attack, can make what you feed the reverb more solid. Reflections become “walls” instead of “fizz.”

Third, think in distance layers. Pick one distance for each element. Close is almost dry or tiny ER only. Mid is ER plus a hint of gated tail. Far is more ER and longer, darker tail. If you automate everything at once, nothing feels intentional. Choose a few hero elements to move: snare, stab, a texture hit.

Fourth, do a phase sanity check. On your ATMOS group, temporarily set Utility width to zero to audition mono. If the room collapses too much, reduce widening and modulation, and make sure there’s no stereo content below about 250 Hz on your returns.

And here’s a cool rave-feeling trick: two-stage ducking. Instead of one heavy sidechain compressor on returns, try a light compressor keyed from kick for one to three dB reduction, then an Auto Pan set to zero percent phase, amount 10 to 25 percent, rate one-eighth or one-quarter. That acts like rhythmic level movement. It breathes without obvious pumping artifacts.

If you want advanced variations, here are quick options.

Split-band ambience: put an Audio Effect Rack on each return with low, mid, and high chains. Hard high-pass the low chain at 250 to 350 and keep it off or super quiet. Let the mid chain be the body, 350 to 4k. Let the high chain be airy, 4 to 10k, with shorter decay and a touch more modulation. Huge room, tight punch.

Snare plate slap layer: add a third return just for snare and clap. High-pass at 300, plate-style reverb with decay 0.6 to 1 second, pre-delay 15 to 25 ms, then a gate with a shorter release like 70 to 160 ms. That’s 90s crack without washing the break.

Tempo-skew pre-delay: set pre-delay musically. Very short values for ER realism, slightly longer for “big hall behind the hit.” Automate it longer in breakdowns and snap it shorter at the drop for impact.

And a workflow cheat: build a Distance macro on the source track. Map source gain down slightly, send to ER up, send to gated verb up, all to one knob. Film-style depth control, fast.

Before we wrap, do the mini practice exercise.

Load a classic break, Amen-style, and a 909-style kick and snare. Create Return A and B exactly like we built. Send hats and break into Return A at around minus 18 to minus 12 dB send level. Send snare into Return B around minus 20 to minus 14. Sidechain compress both returns from the kick for about three dB gain reduction. Then print eight bars of tails by resampling, reverse one, and place it as a pickup into the drop.

Then do the most important test: A/B the groove with returns muted versus on. If the groove loses punch when the returns are on, don’t just turn them down. Tighten the filters, shorten gate release, increase sidechain control, and check low-mid stereo.

Recap: Return A gives believable concrete space through early reflections, tight and real. Return B gives that oldskool rave bloom, but gated so it stays rhythmic. Atmos beds and printed tails create depth that feels like a location, not just “reverb.” And low end stays king: sub mono, dry, consistent, while ambience lives above the weight.

And for your homework challenge, build a three-macro Warehouse Control rack. Macro one: Distance, mapping send A up, send B up, and source gain slightly down. Macro two: Density, mapping the low-mid cut on return EQ, the decay on both returns, and the sidechain threshold so it gets bigger but stays controlled. Macro three: Grit or Concrete, mapping saturator drive on returns, plus a small high-shelf dip after saturation so you can push character without harshness.

Export two 16-bar loops: one with macros at minimum, tight and club-ready; one with macros at around 70 percent for massive warehouse. In both exports, your sub peak and perceived weight should feel consistent. If the big version feels weaker or messy, tighten the return high-pass filters and reduce low-mid width on the ambience.

If you tell me your bass approach—sub plus reese, 808 subs, sine into distortion—I can help you dial the exact filter points, decay windows, and sidechain timings so your low end stays floor-shaking while the room goes huge.

mickeybeam

Go to drumbasscd.com for +100 drum and bass YouTube channels all in one place - tune in!

Generating PDF preview…