Main tutorial
Lesson Overview
This lesson is about building a vocal texture sequence that pushes a timeless roller groove forward in Ableton Live 12, with the grit and swing of oldskool jungle / DnB edits. The idea is not to write a big vocal hook — it’s to turn short vocal fragments, breathy textures, spoken cut-ups, and tiny tonal bits into a sequenced rhythmic instrument that sits between drums, bass, and atmosphere.
In DnB, this matters because vocals can do three jobs at once:
1. Humanize the grid so a roller doesn’t feel too mechanical.
2. Add forward momentum by creating syncopated call-and-response with the drums and bassline.
3. Fill negative space in a way that sounds musical, not overcrowded.
For Edits, this is especially powerful. You can take a minimal arrangement — breaks, sub, reese, and sparse atmos — and use a vocal texture sequence to create motion through drop variations, pre-drop tension, and DJ-friendly transitions. The trick is to make the vocal feel like part of the rhythm section, not a lead on top.
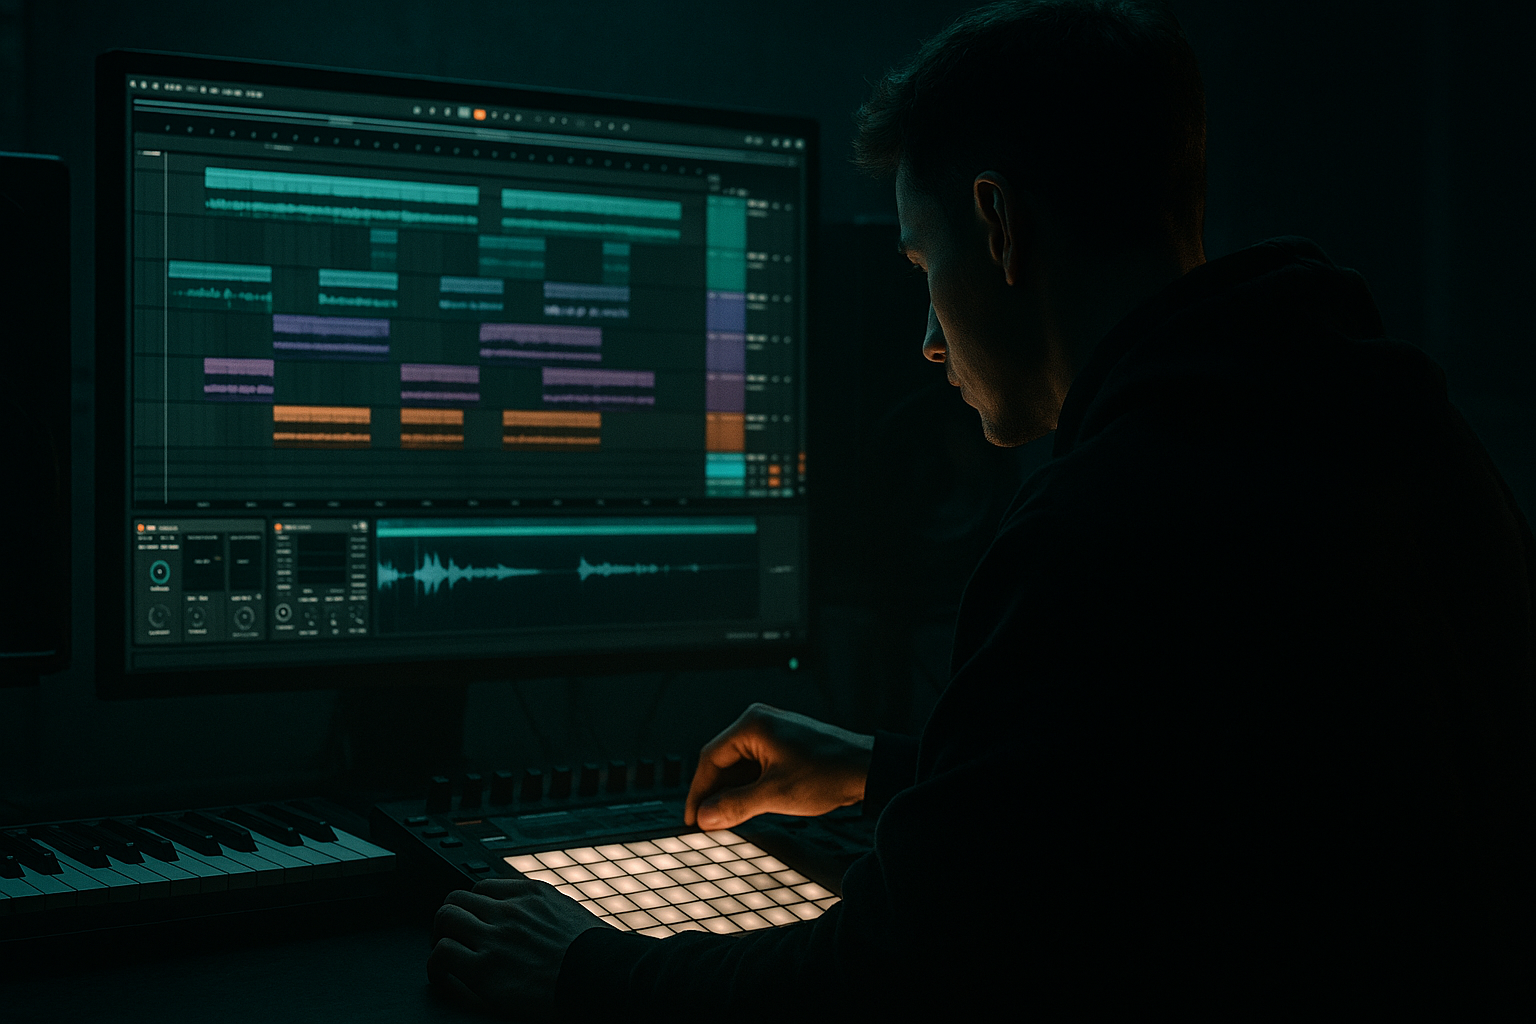
We’ll stay in a classic DnB workflow: chopped audio, warping, resampling, tight gating, modulation, and deliberate automation. Think Timeless roller energy, but with jungle-era detail and a modern Ableton Live 12 finishing workflow ✂️
What You Will Build
By the end of this lesson, you’ll have a 4- to 8-bar vocal texture sequence that behaves like a percussive melodic layer in a roller:
- A set of chopped vocal hits, breaths, and phrase tails
- A groove that locks to break edits and bassline phrasing
- A processed chain that blends grain, saturation, filtering, and stereo control
- A sequence that can evolve across a drop, breakdown, and switch-up
- A resampled audio layer you can re-edit like a drum break
- A version that works in a dark 174 BPM DnB arrangement, especially for intro-to-drop tension and second-drop variations
- Using too much full-range vocal content
- Choosing phrases that are too melodic for the drum pattern
- Letting the vocal run continuously through the drop
- Too much stereo width on the main vocal texture
- Overusing reverb and washing out the edit identity
- Ignoring the break edit relationship
- Not resampling enough
- Use saturation in stages rather than one huge distortion hit. A little Saturator before and after filtering can create depth without making the vocal brittle.
- Try narrow-band filtering on a ghost vocal layer so it behaves like a haunted texture in the background. Auto Filter with band-pass around the upper mids can sound very “warehouse” if automated slowly.
- Convert one vocal chop into a rhythmic stab by shortening it in Simpler and using a tiny pitch drop, around -2 to -5 semitones, for a more ominous feel.
- Layer a breath or consonant-only slice under a snare fill. This can create a nasty, almost MC-style impact without needing a full phrase.
- Keep the main vocal mono and let only the effect returns spread out. That preserves impact in club systems.
- Use Echo as a transition tool, not a constant effect. Short feedback bursts on the last word of an 8-bar phrase can create classic roller tension.
- Resample through your drum bus chain if the vocal needs to sit like part of the track rather than a separate overdub. This can glue the texture into the same sonic world as the breaks.
- Test the track at lower monitoring levels. If the vocal sequence still reads when quiet, it usually has the right rhythmic density and midrange placement.
- Treat vocals like rhythmic edit material, not just lead parts.
- Keep the core texture tight, narrow, and space-aware so it works with drums and sub.
- Use Warp, Simpler, filtering, saturation, and resampling to turn a vocal into a DnB-ready sequence.
- Build call-and-response with the bassline and break edits.
- Print alternate versions so you can move quickly in arrangement.
- In darker DnB, the best vocal textures feel haunted, percussive, and inevitable — like they were always part of the break.
Musically, imagine this in a track where the drums are doing a crisp Amen-style edit, the bass is a rolling reese/sub relationship, and the vocal texture sits in the gaps with phrases like “hold on,” “again,” “run it,” or non-verbal breaths and chopped consonants. The result should feel like the track is breathing and speaking in rhythm rather than just looping.
Step-by-Step Walkthrough
1. Choose a vocal source with strong texture, not just melody
Start with a vocal that has character in the transient and tone: whispered ad-libs, spoken phrases, breathy one-shots, rough soul lines, garage-style fragments, or MC-style bits. For jungle / oldskool DnB, mono or near-mono source material often works best because it cuts through breaks without clouding the stereo image.
In Ableton Live, drag the vocal onto an audio track and immediately decide whether it will be treated as:
- a single sustained texture
- a phrase chopped into rhythm hits
- or a hybrid of both
If the vocal is too clean, dirty it early. A subtle amount of Saturator can help: try Drive 2–5 dB, Soft Clip ON, and keep the Dry/Wet around 40–70%. You want edge, not obvious distortion. For darker tracks, a little Erosion can add brittle air or noise texture; use it lightly with Width low or off so the texture stays focused.
Why this works in DnB: DnB arrangements are often dense in the low end and fast in the drums, so a vocal needs either strong transient definition or strong texture to survive. A flat vocal line usually gets lost.
2. Warp and trim with edit logic, not singer logic
This is an edits lesson, so treat the vocal like source material for slicing. Turn on Warp, then set the warp mode based on the material:
- Complex Pro for tonal, sustained, or emotional phrases
- Beats for percussive chopped syllables and breaths
- Tones for stable single-note or narrow-range parts
Don’t try to preserve the entire phrase. Trim aggressively to isolate the best syllables, consonants, breath attacks, and phrase endings. Put warp markers where the vocal has rhythmic intent, not just where a word begins.
Useful settings:
- If using Complex Pro, keep Formants around -1 to +2 for subtle character shifts
- Use Transpose sparingly, usually -3 to +4 semitones if you need it to sit darker or more tense
- Tighten the start points so each chop lands with the break
For oldskool jungle vibes, short vocal bits with hard edges often work better than long polished phrases. Leave tiny imperfections if they groove.
3. Slice the vocal into a playable sequence
The most efficient advanced workflow is to resample or slice the vocal into a performance instrument. Right-click the vocal clip and use Slice to New MIDI Track if the source has clear phrase changes, or simply create a new MIDI track and load Simpler in Slice mode.
In Simpler, choose a slicing mode that fits the source:
- Transient if the vocal has crisp consonants or attacks
- Beat if it is already rhythmic
- Region if you want more controlled manual zoning
Then program a 1-bar or 2-bar MIDI pattern with 8th, 16th, or triplet placements. For timeless roller momentum, avoid overly busy placements at first. Try:
- hits on the “and” of 1
- a response on beat 2
- a pickup before 3
- a tail or breath into 4
A good starting pattern is one that leaves space for the kick and snare accents. If the break is strong, the vocal should weave around it, not fight it.
4. Build a vocal sequencing chain that behaves like a rhythm section
Route the vocal slice track through a focused chain using stock Ableton devices. A strong default chain is:
EQ Eight → Saturator → Auto Filter → Compressor or Glue Compressor → Utility
Suggested starting points:
- EQ Eight: high-pass around 120–250 Hz to avoid low-mid buildup; if the vocal is harsh, cut a little around 2.5–4.5 kHz
- Saturator: Drive 1–4 dB for grit, more if the source is too polite
- Auto Filter: use a band-pass or low-pass for movement; automate cutoff between roughly 400 Hz and 8 kHz depending on section
- Glue Compressor: gentle control, ratio 2:1, attack 3–10 ms, release Auto or 0.1–0.3 s
- Utility: use Width 0% or narrow it for main-drop support; widen only for fills or breakdowns
If the vocal feels too static, add Chorus-Ensemble very subtly for a moving texture layer, but keep it low in the mix. For darker rollers, micro-movement from filter automation usually beats big modulation.
The goal is to make the vocal act like a cross between a hat line, a percussion fill, and a musical texture.
5. Shape the groove with timing, swing, and ghost placements
Put the vocal sequence into the same rhythmic conversation as the drums. In Ableton Live 12, use the Groove Pool carefully if your drums are already swung. Add groove to the vocal clip by pulling from the same swing source as your break, or manually nudge clips slightly ahead/behind the grid for feel.
Try these timing ideas:
- Place one or two vocal chops slightly late for a laid-back roller pull
- Push a consonant hit slightly early into a snare for tension
- Add a tiny ghost breath just before a backbeat
- Use triplet pickups into bar 2 or bar 4 for jungle-era motion
If you’re using clip envelopes or MIDI note lengths in Simpler, shorten the note lengths so the vocal behaves like a stab rather than a held sample. This is especially effective when paired with break edits because the space between hits becomes part of the groove.
Advanced move: duplicate the sequence and make a second layer that only contains ghost vocal fragments. High-pass it harder, keep it quieter, and let it act like a rhythmic shadow.
6. Use resampling to turn the sequence into an editable audio performance
Once the pattern is working, route the vocal track to a new audio track and resample the sequence. This is a key edits workflow: you stop thinking of the vocal as MIDI notes and start thinking of it as a breakable audio phrase you can re-chop.
Record one full pass of the vocal sequence across 4 or 8 bars, then edit the recording like a drum break:
- cut around the strongest consonants
- mute weak syllables
- reverse one hit for a pre-drop pickup
- shorten tails before snare hits
- duplicate a tiny fragment to create a fill
Once resampled, you can use Warp markers to tighten or loosen individual hits. You can also duplicate the recorded audio onto return-like tracks for extra treatment: one version dry and tight, one version filtered and washed.
This is where the lesson becomes truly “edit” focused: you’re not just programming a sequence, you’re manufacturing custom phrase material out of the original vocal.
7. Automate movement so the vocal evolves across the arrangement
A roller needs progression, even when it stays hypnotic. Automate the vocal sequence across 8 or 16 bars so it changes without feeling like a new section every time.
Useful automation targets:
- Auto Filter cutoff for opening/closing tension
- Reverb send to move from dry drop presence into short atmospheric lift
- Echo feedback for one-shot repeats at the end of phrases
- Saturator Drive for build tension
- Utility Width for narrow main-drop center focus, wider lift in transitions
A strong arrangement example: in bars 1–8 of the drop, keep the vocal dry, narrow, and sparse. In bars 9–16, automate more filter opening and allow one delayed tail to spill into the break return. Then strip it back before the next phrase so the second half lands harder.
For a DJ-friendly intro, you can also tease the vocal texture in filtered form over the last 8 bars before the drop, using high-pass automation and a muted low end. That creates anticipation without revealing the whole idea too soon.
8. Blend with drums and bass using space-first mixing
The vocal sequence should live with the kick, snare, breaks, sub, and reese — not on top of them. Start by balancing at low volume and check the relationship in mono.
Key mixing moves:
- Keep the vocal out of the sub region completely
- Use mono or narrow stereo for the core vocal texture
- High-pass the vocal so it doesn’t cloud the kick drum or sub bass
- If the vocal masks the snare crack, cut a little around 2–4 kHz
- If it fights the reese, reduce the vocal’s low-mids around 250–500 Hz
In a classic roller, the snare and sub need authority first. The vocal can then occupy the upper-mid rhythm space, almost like an extra percussion layer. If the break is busy, you may need the vocal to be more punctuated and less sustained. If the drum pattern is sparse, the vocal can hold longer tails and fill more atmosphere.
Use sidechain compression only if needed. A subtle Compressor sidechained from the kick or snare can duck the vocal just enough to preserve punch, but don’t overdo it. In a dark DnB context, a vocal that breathes with the groove often sounds more intentional than one that pumps heavily.
9. Create variation through call-and-response with the bassline
Advanced DnB arrangement often lives on interplay. Make the vocal answer the bassline, or vice versa. If your bassline hits in bar 1 and 3, let the vocal respond in the spaces after those hits. If the bassline has a syncopated phrase or reese movement, place the vocal on the opposite side of the bar to avoid clutter.
Example in a 4-bar roller:
- Bar 1: bass phrase hits hard, vocal stays sparse
- Bar 2: vocal chops fill the gaps after the snare
- Bar 3: bass reese opens and closes, vocal becomes more filtered
- Bar 4: short vocal lift or reverse tail into the next phrase
This push-pull is what keeps the track feeling alive over time. In jungle and rollers, the ear wants to hear a conversation between the drum break, sub movement, and top-line fragments. If everything speaks at once, the groove flattens.
10. Render alternate versions for quick arrangement decisions
Don’t stop at one version. Render at least three short variations:
- Dry main sequence for the core drop
- Filtered tension version for breakdowns or pre-drop bars
- Dirty edit version with extra saturation, reverse tails, or delays for fills
Keep them organized in a rack or clearly labeled tracks so you can swap quickly. This is a major finishing workflow advantage in Ableton: you make decisions faster when the options are already printed.
A premium move is to build a vocal edit folder containing:
- main sequence
- ghost layer
- reversed pickup
- one-bar fill
- wash tail
Then you can build intro, drop, switch-up, and outro sections using the same source material, which makes the track feel coherent and intentional.
Common Mistakes
Fix: high-pass harder, often around 150–250 Hz, and trim low-mids if the vocal clouds the sub and snare.
Fix: use shorter, more percussive fragments or heavily edit the phrase into rhythmic pieces.
Fix: leave gaps. In DnB, silence is part of the groove.
Fix: keep the core layer centered or narrow; use width only on supporting effects or transitions.
Fix: use short sends, filter the reverb return, or automate it only at phrase ends.
Fix: align vocal hits with snare responses, ghost notes, or off-beat break details.
Fix: print the sequence and edit audio. The best DnB vocal textures often sound more like custom drum edits than raw vocals.
Pro Tips for Darker / Heavier DnB
Mini Practice Exercise
Spend 10–20 minutes building a mini vocal edit system in Ableton Live:
1. Find one vocal phrase, breath, or spoken fragment with attitude.
2. Chop it into 4–8 slices using Simpler or manual audio cuts.
3. Program a 2-bar sequence that leaves space around the snare.
4. Add EQ Eight, Saturator, and Auto Filter.
5. Automate the filter cutoff over 4 bars.
6. Resample one pass onto a new audio track.
7. Edit the rendered audio like a drum break: mute one hit, reverse one hit, duplicate one tail.
8. Check it in mono and make sure the sub and snare still feel dominant.
Goal: create one usable vocal texture that could sit in the intro, drop, or switch-up of a 174 BPM DnB track.

