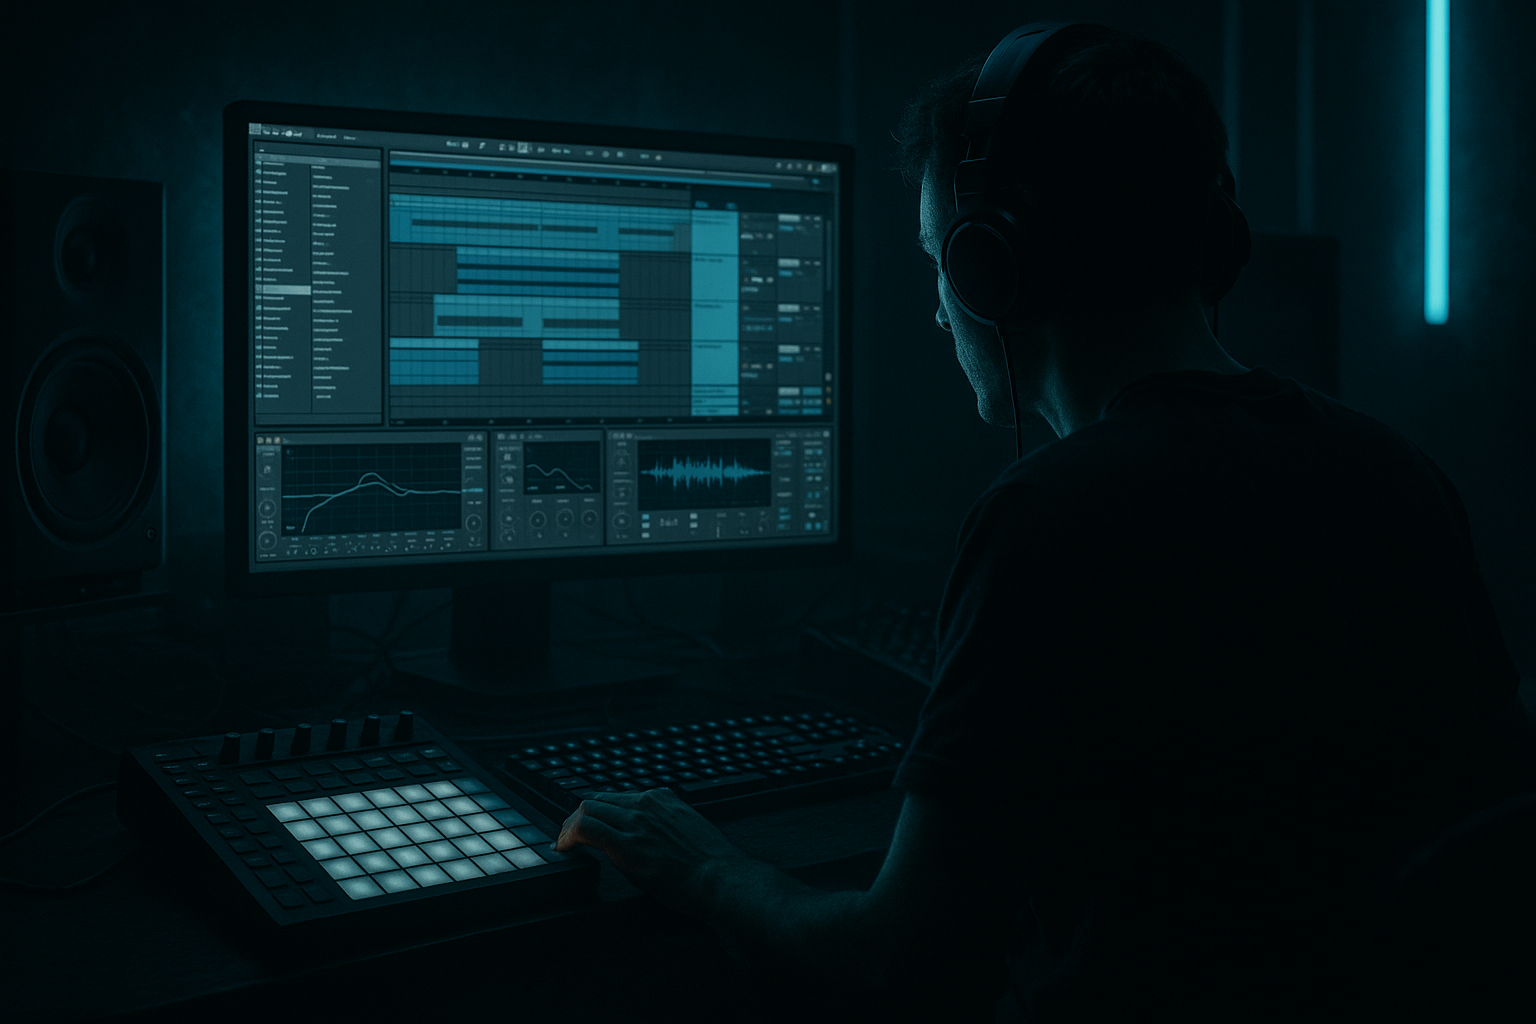
Main tutorial
Lesson Overview
Vocal texture is one of the fastest ways to make a Drum & Bass track feel alive, human, and instantly recognizable — especially in jungle, oldskool rollers, darker bass music, and DJ tools where atmosphere and identity matter as much as drum programming. In this lesson, you’ll build a macro-controlled vocal texture rack in Ableton Live 12 that can move from dusty jungle chant to chopped ghost-vocal atmosphere to gritty rave stab layer, all from one performance-friendly device chain.
Why this matters in DnB: vocals aren’t just “lead” elements. In a strong DnB arrangement, vocals often act as:
- a hook for the intro or drop
- a call-and-response layer with the bassline
- a tension device for breakdowns and switch-ups
- a DJ tool for transitions, teasers, and blend sections
- a main vocal texture chain with filtering, saturation, delay, reverb, and movement
- a parallel texture layer for grit or ghost harmonics
- macro controls for:
- a sound that can work in:
- “come again”
- “inside”
- “move”
- “watch the bass”
- a single soulful note chopped into syllables
- a single sung line
- a spoken phrase
- a callout with attitude
- a one-shot ad-lib
- a tiny acapella fragment
- Trim the sample to around 1/2 to 2 bars if it has a usable hook.
- If it’s a longer phrase, split it into 2–5 useful syllable chunks.
- Use warp mode that preserves vocal quality if the sample needs timing support, but don’t over-stretch something already textured and gritty.
- Layer A: Clean/Primary Vocal
- Layer B: Texture/Grain Layer
- EQ Eight
- Compressor or Glue Compressor
- Auto Filter
- Hybrid Reverb or Reverb
- Echo
- EQ Eight
- Saturator
- Redux or subtle Drum Buss for edge
- Auto Filter
- Utility
- Layer A should remain the definition layer
- Layer B should act like dust, movement, and space
- Layer A: around -10 to -14 dB peak level
- Layer B: around -16 to -20 dB peak level
- EQ Eight
- Compressor
- For oldskool jungle intro vibe, start with a low-pass around 1.5–3 kHz
- Use a little resonance, but keep it controlled
- Map filter cutoff to a macro so you can open it during transitions
- Time: 1/8 or 1/4 dotted
- Feedback: 15–35%
- Filter in Echo: roll off low end aggressively
- Keep wet/dry low unless it’s a throw moment
- EQ Eight
- Saturator
- Redux
- Auto Filter
- Utility
- a narrow dip around 3–6 kHz
- or a gentle shelf down above 8–10 kHz
- Drive low, around 5–15%
- Transients minimal
- Boom off or very subtle
- This helps the texture feel glued to the break rather than floating above it
- Dark/Bright: map filter cutoff from about 300 Hz to 8 kHz
- Delay Throw: wet/dry from 0% to 35% and feedback from 15% to 55%
- Space: reverb dry/wet from 0% to 20% for normal use, with a throw range up to 35%
- Width: from 70% to 140% on the texture layer, but keep sub/bass elsewhere mono
- Dark
- Grain
- Push
- Throw
- Air
- Drift
- Cut
- Width
- Set Rate to 1/8 or 1/16
- Phase can stay broad for width movement
- Amount low to moderate so it breathes without sounding like a chorus
- Use it to chop the texture in sync with the groove
- Control threshold carefully so it only opens on stronger hits or selected chunks
- Use the vocal itself or a drum element to drive motion
- Great if you want the vocal to pulse with the break
- Auto Pan rate at 1/8
- Amount around 15–30%
- Echo synced to 1/4
- Automation on the Throw macro only at the end of phrases
- chop the phrase into 1/2-bar or 1-bar fragments
- trigger them in arrangement as call-and-response with the snare and bass fill
- intro teaser
- pre-drop build
- drop support
- mid-section switch-up
- outro DJ blend
- Dark/Bright: start darker in the intro, open slightly into the drop
- Delay Throw: automate short throws at the end of 2-bar or 4-bar phrases
- Space: increase reverb in breakdowns, pull it back in the drop
- Grain: raise slightly before switch-ups or fills
- Cut/Chop: mute the texture for a bar, then bring it back as a surprise
- Bars 1–8: filtered vocal texture, little delay, more space
- Bars 9–16: open filter, add rhythmic echoes
- Bars 17–24: drop comes in, vocal is chopped and tucked behind drums/bass
- Bars 25–32: remove the vocal for tension, then reintroduce on the next phrase with a throw
- frozen vocal textures you can cut like samples
- cleaner CPU use
- unique phrases that are no longer static loops
- more control over arrangement edits
- slice the audio to new pads or clips
- reverse one or two throws for tension
- place a chopped vocal tail before a snare fill
- use very short clips as transition tools between bass changes
- Too much reverb washing out the break
- Vocal sits too close to the bassline
- Texture layer is too bright and fights the snare
- Macro ranges are too extreme
- Width is making the mix unstable
- No rhythmic relationship to the drums
- Use the vocal as a tension layer, not a lead
- Keep the sub and vocal out of each other’s way
- Automate dirt, not just volume
- Make the delay reactive
- Use contrast
- Resample one brutal version and one clean version
- Check mono
- separate clean identity from gritty texture
- use filter, delay, reverb, saturation, and movement as performance controls
- keep the vocal locked to the drums and arrangement phrasing
- resample the best moments for faster, more musical editing
- preserve low-end space so the bass and break stay in charge
For oldskool jungle vibes especially, the goal is not polished pop vocal clarity. You want texture: smears, repeats, chopped syllables, filtered grit, short throws, and movement that sits on top of breaks without cluttering them. The trick is to make the vocal expressive with macros, so you can shape it live while arranging, and later automate it like an instrument.
This lesson uses Ableton Live stock devices and a workflow that’s practical for current DnB production: build a texture rack, layer it, map the important moves to macros, and make it playable in a way that supports mix clarity and DJ-friendly arrangement.
What You Will Build
You’re going to build a layered vocal texture instrument in Ableton Live 12 that behaves like a hybrid between a chopped vocal, a dub delay throw, and a lo-fi atmospheric layer.
By the end, you’ll have:
- brightness/darkness
- width
- grit
- delay throw
- reverb size
- movement/modulation
- chop intensity
- jungle intros with sampled vocal phrases
- oldskool DnB rollers with repeating vocal hooks
- darker drop sections where the vocal becomes a rhythmic texture instead of a lead
Musically, think of a vocal phrase like:
Then transform it into a performance-ready texture that can evolve across 8-bar and 16-bar phrases without fighting the kick, snare, sub, or reese bass.
Step-by-Step Walkthrough
1) Pick the right vocal source and trim it like a DJ tool
Start with a vocal sample that already has character. For jungle and oldskool DnB, you want something short, memorable, and easy to chop:
Drag the vocal into an audio track and trim it tightly. Remove long silence and breathe room around the phrase so you can use it like a rhythm element. In DnB, especially for DJ-friendly material, shorter is often better because the vocal becomes a tool for transitions and call-and-response rather than a full pop performance.
Good starting edits:
For arrangement context: a classic move is to place the vocal texture in the 8-bar intro as a filtered teaser, then bring it back in the drop as a chopped echo layer behind the main break and bass.
2) Build a layered Group for tonal control and mix safety
Group the vocal track and create two layers inside that group:
This lets you treat the vocal like a stacked instrument rather than a single audio file. The clean layer keeps the hook recognizable. The texture layer adds age, haze, grit, or width.
On Layer A, add:
On Layer B, add:
Set the two layers so they complement, not compete:
A solid starting balance:
Why this works in DnB: breaks, bass movement, and snappy drums occupy a lot of midrange information. If you only use one vocal chain, it either becomes too forward or too buried. Layering gives you independent control over intelligibility and vibe.
3) Shape the clean layer for oldskool / jungle character
On Layer A, use EQ and dynamics to make the vocal sit like a sample from a 90s rave record rather than a modern polished pop vocal.
Suggested starting settings:
- High-pass around 120–180 Hz
- Gentle dip around 250–400 Hz if the vocal feels boxy
- Small presence boost around 2.5–4.5 kHz if it needs speech clarity
- Ratio: 2:1 to 4:1
- Attack: 10–30 ms
- Release: 60–120 ms
- Aim for 2–4 dB gain reduction on peaks
Then add Auto Filter:
Add Echo very subtly:
The goal is not a big obvious delay cloud. It’s a rhythmic halo that supports the break.
4) Create the gritty texture layer with saturation and lo-fi movement
Layer B is where the vocal becomes a jungle texture. This is the part that can feel like it was lifted from an old dubplate, a rave tape, or a noisy radio capture.
On Layer B:
- High-pass around 200–300 Hz
- Low-pass around 5–8 kHz depending on brightness
- Drive: 3–8 dB
- Enable Soft Clip if needed for a tighter edge
- Reduction: subtle, around 1–3 bits or light sample-rate reduction
- Keep it tasteful; you want grain, not obvious digital wreckage
- Set to band-pass or low-pass
- Add envelope-like movement via automation or macros
- Use width control carefully
- Keep the low-mid region mono-safe
If the vocal gets too harsh, tame it with:
You can also use Drum Buss lightly on this layer:
5) Turn the chain into an Instrument/Audio Effect Rack and map the macros
Now the fun part: select the devices on the vocal group and create an Audio Effect Rack. Map the most important parameters to macros so you can perform the texture like a DJ tool.
Suggested macro assignments:
1. Dark/Bright → EQ Eight filter frequency + Auto Filter cutoff
2. Grain → Saturator drive + Redux amount
3. Width → Utility width on Layer B, small reverb size changes
4. Delay Throw → Echo wet/dry + feedback
5. Space → Reverb or Hybrid Reverb dry/wet
6. Motion → Auto Filter resonance or filter frequency modulation depth
7. Presence → EQ Eight presence boost/cut
8. Chop → volume of Layer B or gate-like utility dip
Useful macro ranges:
For a more performance-oriented feel, keep the macro names simple and DJ-friendly:
This makes it easy to automate or adjust quickly when arranging drops and breakdowns.
6) Add rhythmic movement so the vocal locks to the break
A vocal texture in DnB needs to move rhythmically, not just tonally. This is especially important in jungle where break edits and syncopation are part of the identity.
Use one of these stock Ableton approaches:
Option A: Auto Pan
Option B: Gate
Option C: Envelope Follower mapped to a macro or device parameter
For a clean oldskool roll, try:
If you want the vocal to feel more like a sampled DJ tool:
Why this works in DnB: the genre relies on tight interplay between repeated drums, low-end drive, and short hooky phrases. A moving vocal texture gives the listener something to latch onto while still leaving space for the break to breathe.
7) Use automation to make the vocal behave like a transition device
Now shape the arrangement. In DnB, vocal texture is often most useful when it evolves across phrases:
Automate the following over 8- or 16-bar sections:
A strong arrangement example:
This is especially effective in DJ tools because each section gives the mix engineer or DJ a clear energy change without needing a new lead melody.
8) Resample your best macro moves into a new audio layer
Once the rack feels good, record a performance pass. Then resample the best 8 or 16 bars of macro movement onto a new audio track.
This gives you:
After resampling:
This is a classic DnB workflow: design, perform, resample, edit. It’s fast, musical, and makes the final arrangement feel more intentional.
Common Mistakes
- Fix: shorten decay, high-pass the reverb return, and keep wet/dry lower in the drop.
- Fix: high-pass the vocal more aggressively and reduce midrange buildup around 200–500 Hz.
- Fix: low-pass the texture layer more, or dip 3–6 kHz slightly.
- Fix: keep most macro movements musical. If one knob makes the vocal disappear, reduce the mapping range.
- Fix: keep the low-mids mono-safe and use width mostly on the higher texture layer.
- Fix: sync delay times and movement to 1/8, 1/4, or dotted values so the vocal locks with the groove.
Pro Tips for Darker / Heavier DnB
- In darker rollers or neuro-influenced sections, let the vocal act like a shadow behind the bass. Short phrases and texture work better than full lines.
- High-pass the vocal properly. A clean sub is more important than a big vocal body in DnB.
- Raising saturation or Redux slightly on fill bars adds character without just making everything louder.
- A short throw at the end of a bar before the snare fill can create that “what just happened?” tension that works so well in underground DnB.
- Keep the vocal dark in the intro, then briefly open it at the drop. That contrast makes the drop hit harder.
- A clean supportive layer and a smashed gritty layer give you options for intros, drops, and breakdowns.
- Vocal textures can get wide fast. In heavier DnB, if the center collapses, the whole groove can feel weak. Keep the core stable.
Mini Practice Exercise
Spend 10–20 minutes making a mini vocal texture DJ tool:
1. Choose a 1–2 bar vocal sample with attitude or soul.
2. Build the two-layer rack from this lesson.
3. Map at least 6 macros: Dark, Grain, Width, Throw, Space, Cut.
4. Program an 8-bar loop with:
- 2 bars filtered intro
- 2 bars more delay and space
- 2 bars chopped texture
- 2 bars stripped back
5. Automate one macro every 2 bars.
6. Resample the loop and slice one throw or tail into a new clip.
7. Test the loop against a simple DnB drum pattern at 170–174 BPM and make sure the vocal supports the groove without masking the snare.
Goal: by the end, you should have a flexible vocal texture you could actually drop into an intro or transition section.
Recap
The key idea is simple: in DnB, a vocal works best when it behaves like a rhythmic texture and arrangement tool, not just a lead line. Build two layers, shape them with stock Ableton devices, and map the most important movements to macros so you can perform the vibe quickly.
Remember:
That’s how you make vocal texture feel authentically jungle, oldskool, and DnB-ready in Ableton Live 12 ✨

