Show spoken script
Title: Vocal cadence as composition guide from scratch for smoky late-night moods (Intermediate)
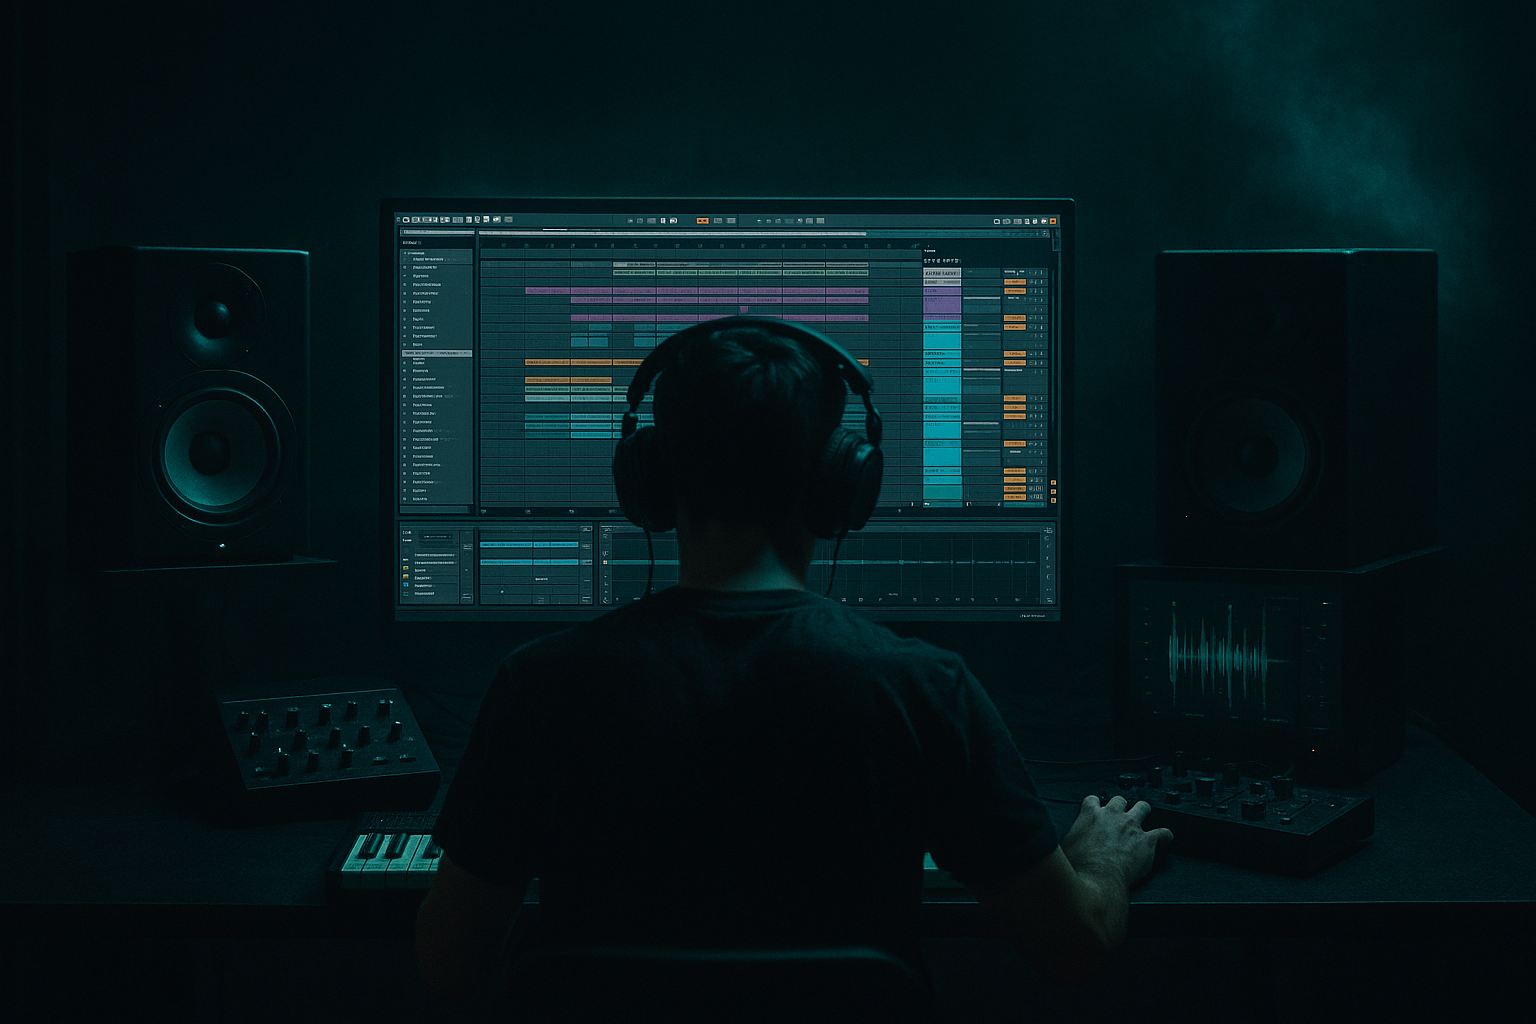
Alright, welcome in. In this lesson we’re building a smoky, late-night drum and bass sketch in Ableton Live, but with a twist: we’re not starting from drums, and we’re not starting from chords.
We’re starting from vocal cadence.
Not “lyrics.” Cadence. The rhythm of syllables, the breath, the emphasis, the little push and pull of a human delivery. That cadence is going to become our composition grid, the thing that tells us where the groove leans forward, where it relaxes, and where the bass should answer back.
By the end, you’ll have a clean 64-bar idea at around 172 BPM: vocal cadence loop, rolling drums, sub plus mid bass in call and response, and the kind of dark atmosphere that feels like streetlight reflections at 2 a.m.
Let’s set up the session first.
Set your tempo to 172 BPM. That’s a sweet spot for rolling DnB: fast, but still gives space for mood.
Now make a few groups so you don’t end up with the classic “17 tracks called Audio 1” situation. Create groups for DRUMS, BASS, VOCAL, ATMOS, and MUSIC, like pads or keys if you use them.
And here’s a workflow decision that will save you: start in Arrangement View early. Cadence-based writing is about phrasing across bars. It’s not a two-bar loop sport.
Also set Global Quantization to 1 bar while we sketch. Later, when you’re doing detailed edits, you can switch to 1/16, but right now we want big musical decisions.
Now we need a vocal cadence that fits the mood.
You’ve got three options, and I’ll tell you the one I prefer.
Option A: record a scratch vocal. This is the move. Make an audio track called “VOCAL Scratch.” Arm it. Use whatever mic you have, even a laptop mic or your phone. Quality does not matter yet.
Record eight bars of low, breathy phrases. Keep it minimal and rhythmic. Think of it like you’re narrating a noir scene, not belting a hook. Simple lines like “don’t wake the night,” “stay right there,” “no more lights.” But honestly, even nonsense words are fine as long as the rhythm and breath feel right.
Option B: take a spoken one-shot and chop it into syllables. One word can become a whole cadence if you slice it right.
Option C: whisper percussion. Little “t-k-sh” and “ss” sounds. That can be incredibly intimate in a late-night tune.
Once you have something, we make it groove-ready.
Open the clip and turn Warp on. For full phrases, set Warp Mode to Complex Pro. Then set the formants somewhere around 90 to 110 as a starting point. You’re aiming for dark and human, not chipmunk, not robotic.
Loop it to eight bars.
Now, timing. This is where people mess up. Don’t quantize the life out of it. Tighten anchors, not every syllable.
Drop a few warp markers so the phrase hits land in musical places. Often that’s beat 1, the “and” of 2, or a pickup into 4. Let some syllables rush or drag slightly. That micro-timing is the smoke in the room.
Here’s the goal: when the vocal is soloed, it should feel like it’s already rapping to an invisible beat.
Now we extract the cadence skeleton. This is the key technique.
Create a MIDI track called CADENCE GUIDE. Load a simple click sound. You can use Impulse, or Operator with a short blip. We just need a marker, not a sound design masterpiece.
Make an eight-bar MIDI clip and place short notes exactly where syllables start, where breaths create edges, and where emphasized words land.
Think of it like Morse code for mood.
A good method: solo the vocal, and tap the guide notes in with your controller. Then nudge them to match the vocal. If you don’t have a controller, draw them in and adjust by ear.
And I want to add a coaching upgrade here: treat cadence like meter, not just rhythm. In your vocal clip, drop three locators in the timeline when you can: one type for onsets, one type for accents, one type for tails.
Onsets are where syllables begin. Accents are the “important” words. Tails are where breath or reverb trails off.
Because later, onsets will inform tight percussion and short bass answers. Accents will get your snare reinforcement, reese openings, and impact moments. Tails are where you do reverb throws, reverse swells, and little micro-fills.
Now we build drums, but we’re going for rolling and intimate, not busy and shiny.
Inside your DRUMS group, create a drum rack track.
Start with a classic two-step foundation. Kick on beat 1. Snare on 2 and 4. That’s your anchor.
Then add closed hats at eighth notes or sixteenths, but with velocity variation. The velocity variation is not optional if you want late-night. The quiet details are the groove.
Add ghost snares very low in velocity, around the spaces like a little hint between the main hits. If you’re on a 16th grid, you can try ghost placement around the “a” after 1, or the “e” after 3, but don’t treat those positions as rules. Listen to your vocal and put ghosts where the breath suggests motion.
Now, use Ableton’s Groove Pool, lightly. Try something like MPC 16 Swing 57 to 59. Apply it at maybe 15 to 25 percent timing, and only a little velocity. Late-night DnB wants subtle swing. If you overdo it, you’ll drift into funk and lose the noir.
Quick drum chain on the DRUMS group: EQ Eight with a low cut around 25 to 30 Hz. If it’s boxy, a small dip around 250 to 400. Then Drum Buss with a bit of drive, but keep boom conservative because the sub will carry the weight. Then Glue Compressor, about 2:1, attack around 10 milliseconds, release on auto, and aim for one to three dB of gain reduction. Just glue, not flatten.
Now, the cadence link: don’t fill every gap with hats. Put tiny hat opens or ghost taps where the vocal breathes. That’s the “band following the singer” illusion.
Here’s a quick health check: mute everything except vocal and closed hats. If the hats don’t feel like they’re reacting to the phrasing, you’ve probably got a generic hat loop. Rewrite the hats so they thin out under words and fill between phrases.
Now we write bass as a response to the vocal cadence, and this is where the track starts to feel like it’s talking.
We’re making two layers: sub and mid.
Sub first.
Create a MIDI track called BASS SUB. Load Operator. Oscillator A: sine wave. One voice.
Add Saturator with soft clip on. Drive two to six dB, just to help it translate. Then EQ Eight, low-pass it somewhere around 120 to 180 Hz. Keep it clean.
Now the writing method: copy your CADENCE GUIDE MIDI into the sub track.
Then delete notes. Seriously. Remove notes until it breathes. Keep the strongest hits. In smoky moods the sub is not a constant 16th-note machine. It pulses like slow breathing.
Choose only two to four notes total for the whole phrase. Dark equals fewer notes. Keep the sub stable. If you want tension, do that with the mid bass, not with sub chaos.
Now mid bass.
Create a track called BASS MID. Load Wavetable. Start with Basic Shapes or something gritty, but keep the top end controlled. Add a little unison, like two to four voices, but keep the amount low so it doesn’t get glossy.
Add Auto Filter, low-pass 24 dB, and map the cutoff to a macro so you can open it in moments.
Add Saturator, or Roar if you have it, but again: we want smoke, not razors.
Then EQ Eight and cut everything below around 120 Hz so it doesn’t fight the sub.
Now the money move: use cadence to decide when the mid bass opens.
Put longer notes under the ends of phrases, like it’s exhaling. Put short answers in the gaps between syllables, like it’s replying to the vocalist.
You’re building call and response: vocal speaks, bass replies.
And here’s an extra sound design trick that’s huge for realism: make the bass “speak consonants.”
Add a very short noise layer to the mid bass. You can do it inside Operator or Wavetable, or even as a separate layer. Make it super short: zero attack, decay like 30 to 80 milliseconds, no sustain. High-pass it so it lives above one to three kHz. Trigger it only on consonant-heavy hits, like “t,” “k,” and “s” moments. It gives the bass a mouth.
Now sidechain, clean and modern.
On both sub and mid tracks, add Ableton’s Compressor. Turn on sidechain and choose the kick as the input. Ratio about 4:1, attack one to three milliseconds, release around 80 to 140 milliseconds. Aim for two to five dB of gain reduction when the kick hits.
If your snare is huge and it’s masking the bass, you can sidechain lightly to snare as well, but keep that subtle.
Now we build smoky space around the cadence. This is where “late-night” actually happens.
On the vocal, start with EQ Eight. High-pass around 90 to 140 Hz. If it’s harsh, dip a bit around two to five kHz. Then gently shelve down above 10 kHz to keep it dark.
Add a touch of Saturator, one to four dB.
Then Echo or Delay. Try an eighth dotted or quarter note. Feedback 15 to 35 percent. Filter the repeats: low-pass them, like four to seven kHz. Dark repeats feel cinematic. Bright repeats feel like pop.
Then Reverb. Decay around 1.8 to 3.5 seconds, pre-delay 10 to 25 milliseconds, high cut five to eight kHz, low cut 200 to 400 Hz. We want space, but not mud and not sparkle.
Optional Utility: if the vocal gets too wide and messy, reduce width to like 70 to 90 percent. Late-night mixes often feel deeper when the center is strong.
Now ATMOS.
Make an atmos track with vinyl air, room tone, or noise from Wavetable. Filter it with Auto Filter moving slowly on an LFO. Add a big reverb but keep it dark with a high cut. And use Utility to keep lows out and mono discipline intact.
Coaching note: negative space is a compositional device. If the vocal phrase feels like it’s leaning forward, pull hats back for that bar, or thin the mid bass. Removing one element at the right time can feel more emotional than adding three.
Now arrangement: 64 bars, cadence landmarks.
Bars 1 to 16, intro. Atmos and filtered drums, maybe no full kick. Vocal cadence is introduced low and distant, lots of space. Tease the bass with a high-pass filter that slowly opens. The vibe is “approaching.”
Bars 17 to 32, drop one. Full drums, sub, mid bass. Vocal becomes tighter and closer, less reverb. Use the cadence gaps for bass stabs and fills. If the vocal is active, let the bass answer more. If the vocal is resting, let the bass speak longer.
Bars 33 to 48, break. Remove kick and sub for four to eight bars. Let vocal and atmos carry. You can add a jungle-style edit here: a tiny break chop, a percussion phrase, but keep it responding to the vocal. Don’t turn the break into a separate genre detour.
Bars 49 to 64, drop two, heavier. Add a second hat layer or a ride. Open the mid-bass filter a little more at phrase peaks. Add one new vocal variation: reverse tail, pitched down, or re-chopped rhythmically.
Practical Ableton move: duplicate your eight-bar vocal across the arrangement, but make three versions. Dry and close for the drops. Wet and far for intro and break. Mangled for drop two. Control it with clip gain and sends so it stays musical.
And one more advanced arrangement tip: every eight bars, change exactly one thing. Not three things. One thing. Vocal distance, drum density, or bass answer length. That restraint is what makes it feel like a story instead of a loop with random edits.
Before we wrap, common mistakes to avoid.
Don’t over-quantize the vocal. Tighten anchors, keep the micro push and pull.
Don’t write bass rhythm that ignores phrasing. If the vocal is spacious and your bass is constant 16ths, the mood collapses.
Don’t use bright reverb. Always high-cut your reverb and delay returns for noir.
Don’t skip velocity and ghost detail in the drums. Quiet complexity creates the roll.
And don’t let the sub fight the kick. Sidechain, and keep sub notes intentional.
Now a mini practice you can do right after this lesson.
Record a 10 to 15 second whisper phrase. Warp it, loop eight bars. Build the cadence guide with MIDI clicks under syllable onsets. Copy that guide to your sub, but keep only three to six hits per bar. Copy it to your mid bass, but make it answer the gaps instead of mirroring. Program drums with snare on two and four, and add ghost notes where the vocal breathes.
Then bounce it and listen away from the screen. If it feels like the vocal is leading the band, you did it right.
Recap.
Vocal cadence is your composition grid. Build a cadence guide MIDI clip and reuse it across bass, drums, and effects. For smoky late-night DnB, fewer notes, darker reverbs, controlled highs, and human timing. And arrangement becomes way easier when you treat phrases like scene cuts: intro is far, drop is close, break is breath, drop two is the twist.
If you tell me what kind of vocal you’re using, spoken, rap, whisper, male, female, and whether you’re leaning more jungle roller or neuro noir, I can suggest a specific eight-bar cadence pattern and a minimal bass note set that will get you moving fast.