Main tutorial
Lesson Overview
The Vinyl Heat switch-up balance formula is a powerful way to create a weighty riser transition in Ableton Live 12 that feels like it belongs in oldskool jungle, dark rollers, and heavyweight DnB. The idea is simple: instead of using a generic white-noise riser, you build a multi-layer switch-up that starts warm, grainy, and degraded like a worn vinyl pull-up, then evolves into a tighter, brighter, more pressured energy that slams into the drop with sub impact intact.
In DnB, risers are not just “whoosh” effects. They are arrangement glue. A good riser can:
- push tension before a drop,
- mask a break edit,
- signal a switch-up,
- and make the first kick/sub hit feel bigger without actually turning the low end up too much.
- a low-passed vinyl-ish texture at the start,
- a midrange lift driven by saturation and filter automation,
- a controlled stereo expansion in the upper layer only,
- a sub-safe low-end carve so the drop remains powerful,
- and a final switch-up accent that can introduce a new break, bass phrase, or half-time fill.
- a drop after 16 bars of intro,
- a mid-track switch from straight rollers into chopped jungle drums,
- or a call-and-response bass section where the riser tees up a new reese pattern or amen fill.
- Letting the riser keep too much low end
- Using too much stereo width too soon
- Making the riser too glossy or cinematic
- Overusing reverb
- Ignoring the drop’s bass phrase
- Overcompressing the transition
- Layer a reversed break tail under the vinyl texture for that grimy oldskool pull-up effect. Keep it quiet; the ear should feel it more than notice it.
- Automate Saturator Drive in two stages: a slow rise from +2 dB to +5 dB, then a final spike to +7 dB or +8 dB in the last beat. That creates a believable “heat surge.”
- Use Drum Buss lightly on the riser group if you want more smack:
- Try a call-and-response setup: a short riser phrase, then a one-beat gap, then a second, sharper lift. That works brilliantly before a double-drop or bass switch.
- For neuro-adjacent darkness, modulate a narrow band with Auto Filter or EQ Eight around 700 Hz to 2 kHz while keeping the sub area clean.
- Resample with room tone from your own track if possible. Sampling your own mix creates cohesion that feels more like a finished record.
- Use Utility mono on the first half and widen only the top layer later. This preserves center impact.
- Reference classic jungle phrasing: many of the best transitions feel like they’re “pulling the rug” rather than exploding. A short, dirty lift into silence can hit harder than a long modern sweep.
- Version A should feel more oldskool and dusty.
- Version B should feel more modern, tense, and heavier.
- Pick the one that leaves the most headroom and gives the drop the strongest perceived impact.
- start dirty and narrow,
- open the spectrum gradually,
- keep the low end out of the riser,
- resample and edit for authentic jungle movement,
- and make the transition serve the incoming bass and drums.
This technique matters because in jungle and darker DnB, the drop often relies on contrast, not sheer loudness. If your riser steals the low end, gets too glossy, or clashes with the sub, the drop loses authority. The Vinyl Heat switch-up balance formula keeps the transition organic, nasty, and bass-safe.
Why this works in DnB: the ear follows movement and spectral change. By controlling the balance between degraded vinyl texture, midrange pressure, and low-end removal, you create a tension curve that makes the drop feel bigger while leaving space for the sub to hit cleanly. That’s especially crucial in oldskool-inspired 160–174 BPM material, where the riser has to feel musical, not EDM-clean.
What You Will Build
You’ll build a 4- to 8-bar switch-up riser in Ableton Live 12 that sounds like a vinyl-heat lift: dusty, warped, and slightly unstable at first, then increasingly charged with harmonics and motion, finishing with a tight, stripped lead-in that drops into a sub-heavy jungle or roller section.
Specifically, the finished result will have:
Musically, this works well before:
Step-by-Step Walkthrough
1. Set up a dedicated riser rack on its own return or audio track
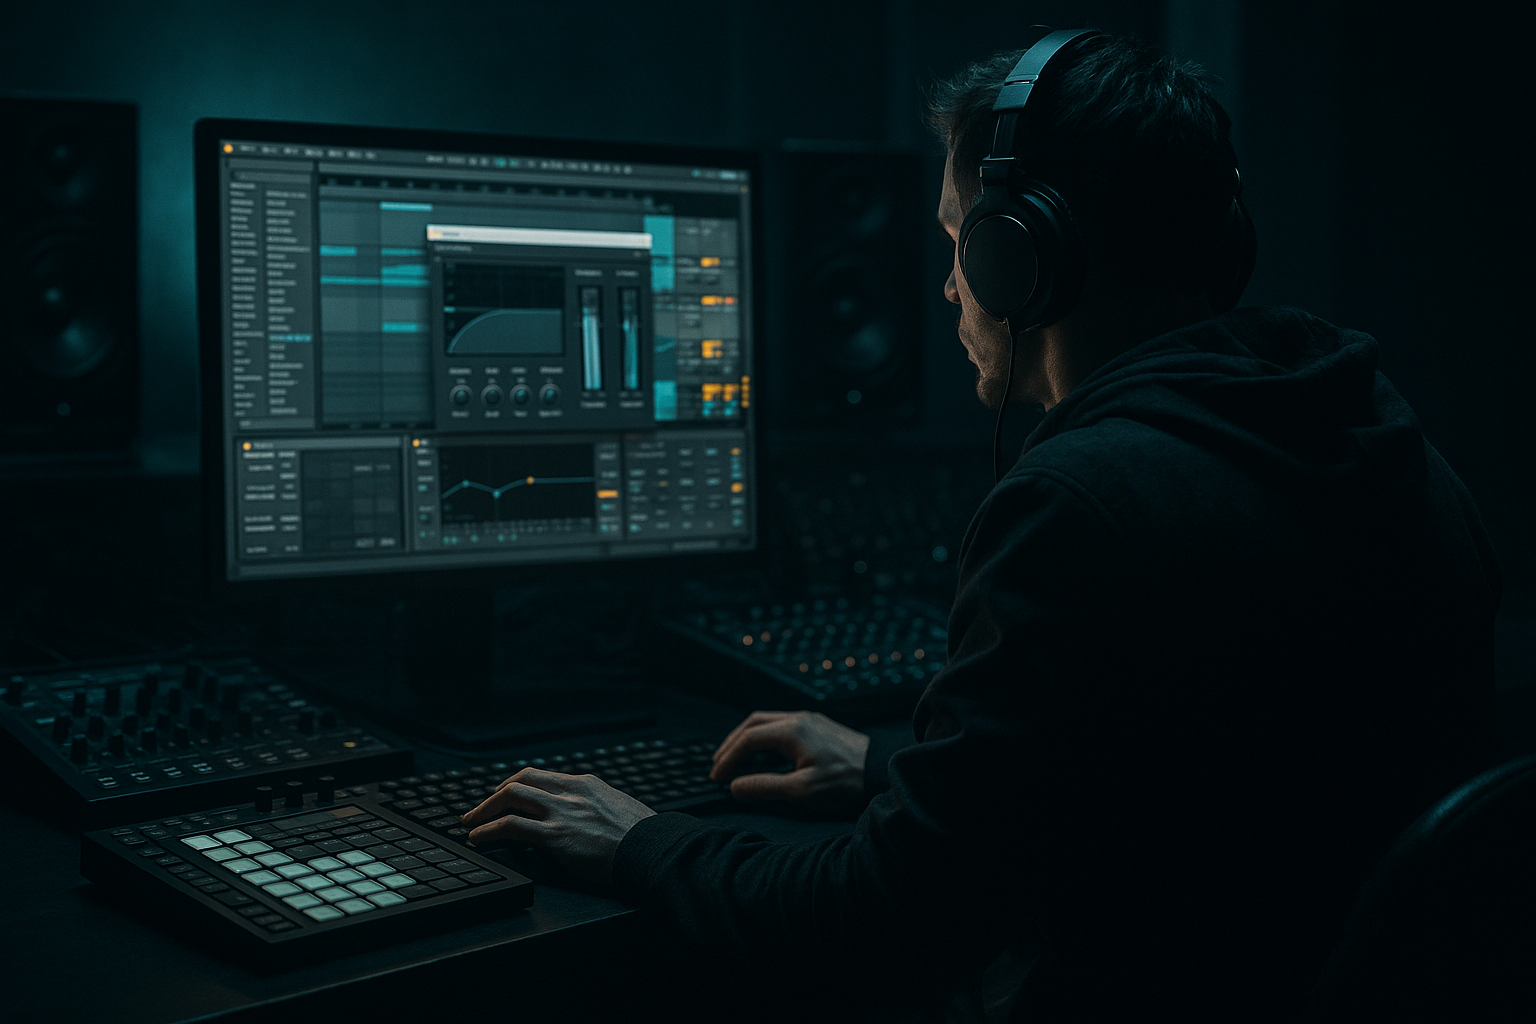
In Ableton Live 12, create a new Audio Track or MIDI Track called Vinyl Heat Riser. For advanced workflow, keep it separate from your bass and drums so you can automate it independently and quickly audition versions.
Build a simple chain using stock devices:
- Auto Filter
- Saturator
- Erosion
- Echo
- Reverb
- optional Utility
Start with headroom in mind. Leave the track peaking around -12 to -8 dB before the master. In DnB, you want the riser to feel intense without flattening the mix bus.
2. Design the source: vinyl texture first, movement second
For the source, use one of these:
- a short vinyl crackle/room noise sample,
- a chopped break tail,
- a reversed reese stab,
- or a resampled fragment from your own track.
If using a sample, place it into a Simpler and choose Classic or Slice mode depending on whether you want a continuous swell or rhythmic steps. For oldskool jungle energy, a reversed break fragment often sounds more authentic than pure noise.
Suggested starting parameters:
- Simpler Filter: low-pass around 500 Hz to 1.5 kHz
- Envelope: short attack, medium release
- Voices: mono if using a sub-adjacent texture, or poly if it’s purely atmospheric
The goal is to start with a source that feels like it came from a worn sample reel, not a polished cinematic riser.
3. Build the “Vinyl Heat” tone with saturation and controlled grit
Insert Saturator after the source. This is where the heat comes from. Use it to make the riser feel like it’s being driven harder as the arrangement approaches the drop.
Good starting range:
- Drive: +2 dB to +8 dB
- Soft Clip: on
- Color: slightly toward the brighter side if the source is too dull
If you want more grime, add Erosion after Saturator:
- Mode: Noise or Sine depending on whether you want hiss or metallic edge
- Frequency: around 2 kHz to 8 kHz
- Amount: subtle, usually 5–20%
This is the “heat” part of the formula. It gives the riser the feeling of pressure building from inside the sound, which is exactly what you want before a heavyweight DnB switch-up.
4. Shape the switch-up balance with filter automation
Put Auto Filter before or after Saturator depending on whether you want the saturation to react to the changing tone. For a more aggressive build, place it before Saturator so the drive changes character as the filter opens.
Automate the cutoff over 4 or 8 bars:
- Start around 200–400 Hz
- Open gradually to 6 kHz–12 kHz
- Use a slightly resonant slope, but don’t overdo it
Two useful approaches:
- Long tension build: smooth exponential-style curve over 8 bars
- Short switch-up: fast 1- or 2-bar lift with a quick final spike in the last half-bar
For jungle oldskool vibes, try a slightly uneven automation curve. Real vinyl-era tension often feels a little lurchy, not perfectly linear. That subtle imperfection helps the build feel more human and aggressive.
5. Add stereo motion only after the low-mids are under control
A common mistake in risers is widening too early. For DnB, keep the low-mid body centered and let the air expand later.
Use Utility:
- keep Width at 0% to 30% for the first half of the riser
- open to 60% to 120% only in the final bar if the sound is high-passed enough
If you want more motion, use Auto Pan very lightly:
- Rate: synced to 1/2, 1 bar, or 2 bars
- Amount: 10–25%
- Phase: try 0° for a more rhythmic pulse or 180° for wide movement
Keep the lowest harmonic content mono. Why this works in DnB: the drop needs the center lane clear for kick, sub, and main bass. If the riser spreads too much too early, it can blur the stereo image right before impact.
6. Use Echo and Reverb as air, not as wash
Add Echo for a subtle rhythmic tail:
- Feedback: 10–25%
- Time: dotted 1/8 or 1/4 depending on phrasing
- Filter: high-pass inside Echo so the tail doesn’t cloud the sub zone
Then place Reverb:
- Decay: 1.5 s to 4 s
- Pre-delay: 10–30 ms
- Low Cut: high enough to protect the low end, often 250–500 Hz
- Dry/Wet: modest, around 8–20%
If the riser needs a darker roller vibe, keep the reverb shorter and more metallic. For a more atmospheric jungle pull-up, extend the tail slightly but high-pass it aggressively.
Advanced move: automate the Reverb Dry/Wet so it rises only in the final 1–2 bars, then cuts sharply on the drop. That drop in ambience makes the sub hit feel more immediate.
7. Resample the riser and edit it like a break
This is where the advanced workflow starts paying off. Once the chain feels right, resample the riser to audio. Then edit the rendered clip like a DJ tool:
- reverse the last 1/2 bar,
- cut micro-slices,
- nudge one slice early for tension,
- or create a tiny stutter before the drop.
Use Warp only if needed; don’t over-correct the feel. In jungle, small timing imperfections can make the switch-up more convincing.
Try this arrangement idea:
- Bars 1–2: filtered vinyl heat texture
- Bars 3–4: filter opens, saturation increases
- Bar 5: a chopped break tail or vocal shard appears
- Final 1/2 bar: hard cut to near-silence or a reverse hit
- Drop lands on the first kick/sub with full mono authority
This kind of edit is especially effective when moving from a sparse intro into a drop with a sub-heavy 808-style bass note, reese, or amen-led groove.
8. Balance the riser against the drop using low-end discipline
The “switch-up balance formula” is really about spectral tradeoff. As the riser gains heat, it should lose low-end weight.
On the riser track or group:
- use EQ Eight with a high-pass around 150–300 Hz early in the build
- raise it to 300–600 Hz by the final bar if the source is still thick
- tame harshness around 2.5 kHz–5 kHz if the saturation bites too hard
Then compare with the drop:
- the first sub note should hit with clear center focus,
- kick transient should be uncluttered,
- and the bass movement should own the mids without fighting the transition.
For advanced arrangement control, automate the riser down by 1–2 dB in the final half-bar if the drop already has a strong lead-in. Sometimes less riser volume equals more perceived impact because the drop gets more room to “arrive.”
Common Mistakes
- Fix: high-pass earlier and more aggressively. In DnB, anything below roughly 150–250 Hz in a riser can start stealing sub authority.
- Fix: keep the first half narrow or centered. Open width only when the sound is mostly mid/high content.
- Fix: add vinyl-style grime, break texture, or subtle distortion. Oldskool DnB tension usually feels rougher and more mechanical.
- Fix: shorten decay, raise low cut, and automate the wet amount. A washed-out riser softens the drop.
- Fix: design the riser around the incoming bass note or drum entry. The best risers set up a specific musical event, not just generic energy.
- Fix: leave dynamic contrast. The drop needs a little space to punch through.
Pro Tips for Darker / Heavier DnB
- Drive: low to moderate
- Crunch: subtle
- Boom: usually off or very restrained, since this is a riser, not a bass enhancer
Mini Practice Exercise
Spend 10–20 minutes building two versions of the same riser in Ableton Live:
1. Make a 4-bar vinyl heat riser using a reversed break or noise sample in Simplers, plus Auto Filter, Saturator, and Reverb.
2. Make a second version that is more aggressive and darker by adding Erosion and a short Echo tail.
3. Create automation for both:
- filter cutoff,
- saturation drive,
- width,
- and reverb wet amount.
4. Place each riser before the same drop section in your DnB project.
5. Compare which one makes the first kick/sub hit feel more powerful.
Challenge:
Recap
The Vinyl Heat switch-up balance formula is about creating a riser that feels worn, alive, and pressure-filled without stealing power from the drop. In Ableton Live 12, use stock devices to build the texture, drive it with controlled saturation, shape it with filter automation, and protect the mix with mono discipline and low-end carving.
The biggest takeaways:
Used well, this technique gives your DnB arrangements that vinyl-burnt, heavyweight pull-up energy that makes the drop land harder 🔥

