Main tutorial
Lesson Overview
This lesson is about building a Vinyl Heat-style pad shape breakdown in Ableton Live 12 that feels like a dusty jungle memory, but stays light on CPU and usable in a real Drum & Bass arrangement. The goal is to create a warm, unstable, sample-based pad texture that can sit under intros, breakdowns, and switch-up sections without smearing the low end or eating processing power.
In oldskool jungle and modern darker DnB alike, these pad shapes do a lot of heavy lifting: they set mood, glue the breakbeat to the bassline, and give your intro that “records on the floor / VHS / hardware sampler” identity. The trick is not just making something lo-fi — it’s making it musically functional in a track that still has impact on club systems.
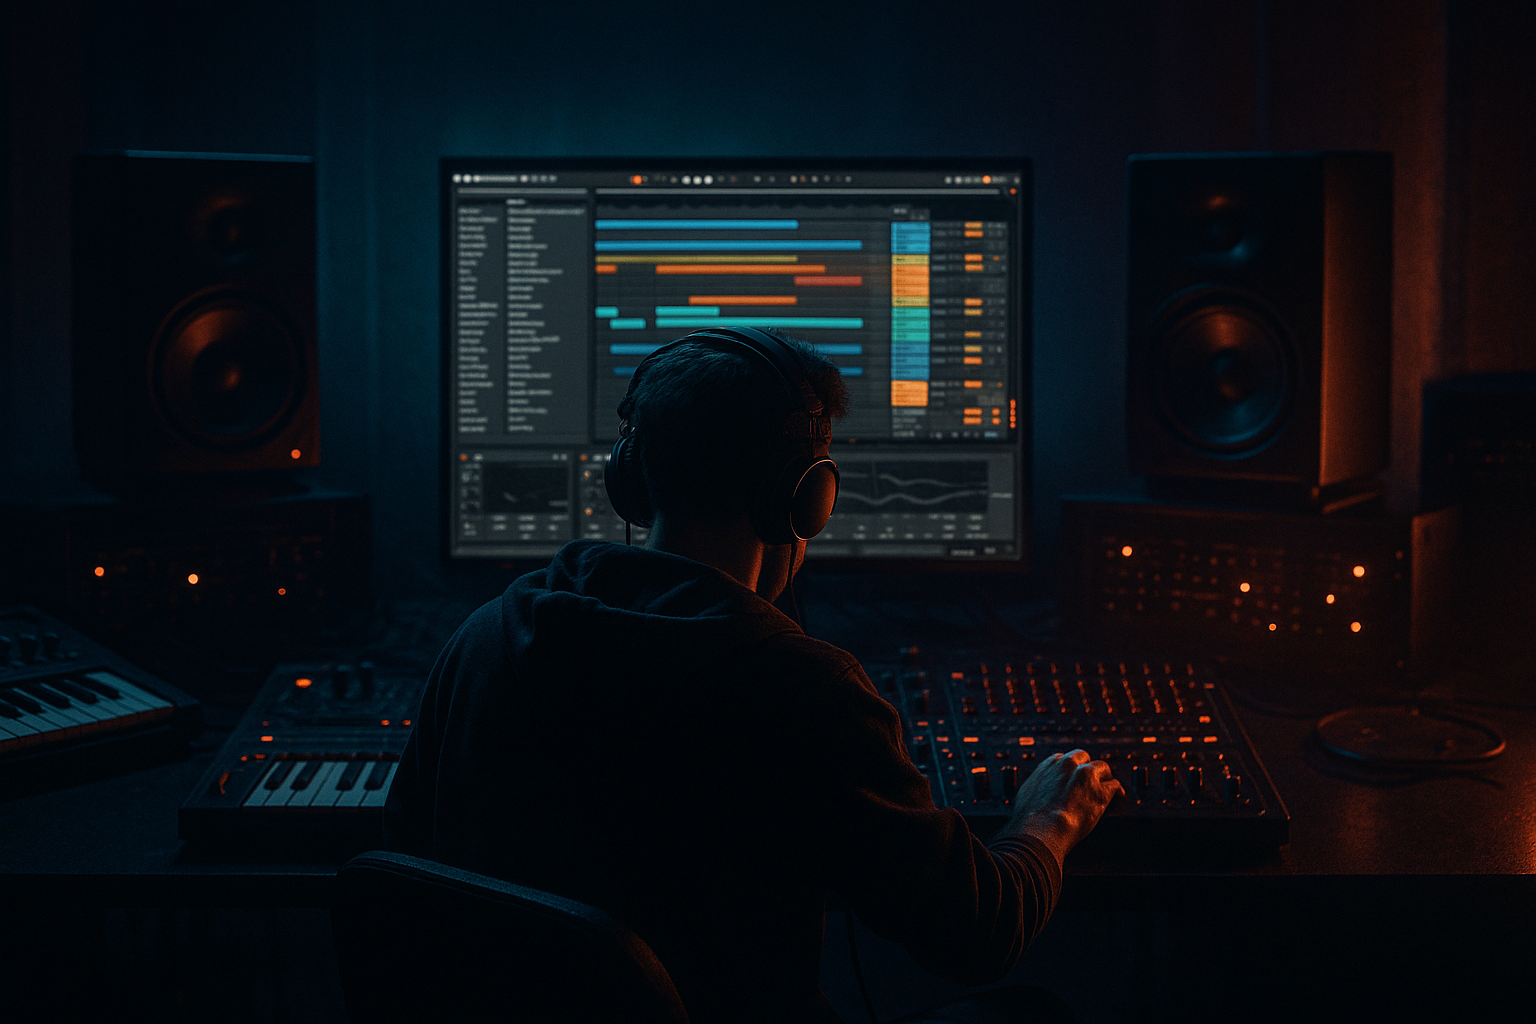
We’ll use Ableton stock devices only, mainly with a sampling-first workflow: shape the sound from a chopped vinyl-style sample, carve it into a playable pad, and resample or freeze where needed to keep CPU low. You’ll also learn how to keep the texture wide enough for atmosphere while preserving mono compatibility and leaving the sub region clean for your DnB bass.
Why this matters: in DnB, the intro and breakdown are not filler. They’re part of the drop psychology. A good pad shape can create tension, establish the record’s emotional world, and make the drop hit harder when the drums and bass come in. A bad one just muddies the mix. This lesson is about getting the first result.
What You Will Build
You will build a dark, dusty, vinyl-style pad layer based on a sampled harmonic phrase or chord hit, reshaped into a playable sustained bed with:
- a wobbly, tape-like envelope
- subtle pitch instability
- band-limited warmth
- controlled stereo width
- a minimal CPU chain suitable for long arrangements
- optional breakbeat ghosting so the pad feels connected to the drums
- an 8- or 16-bar intro texture under filtered breaks
- a breakdown bed before a drop
- a call-and-response support layer behind reese bass or rollers
- a transition element that can be automated to reveal energy slowly
- Leaving too much low end in the pad
- Over-widening the texture
- Using too much chorus or modulation
- Letting the pad fight the snare crack
- Building a pad that sounds good solo but disappears in context
- Not committing to audio
- Use a darker sample source than you think you need. The best underground pads often come from already-muted harmony rather than pristine chords.
- Blend a very quiet noise layer or vinyl hiss under the pad, but high-pass it so it doesn’t cloud the groove.
- If you want a more neuro-leaning edge, add a tiny bit of Saturator drive before filtering so the pad has harmonics that survive on smaller systems.
- For rollers, make the pad more mid-focused and less cinematic. A restrained 300 Hz–2 kHz body can feel weighty and intimate.
- For jungle, let the pad interact with the break: use gate-style motion or automate pauses so the break ghosts remain audible.
- If the track is very dark, automate the pad filter to open only slightly — sometimes the tension comes from what you refuse to reveal.
- Print reversed versions of the pad for DJ-friendly transitions. A reversed pad tail into a snare fill is a classic tension builder.
- If your bassline uses strong movement, keep the pad more static in pitch and let it move mostly in tone and amplitude.
- Start with a sample that already has character.
- Shape it into a pad using Simpler or Sampler, then filter and animate it lightly.
- Keep the low end clean with EQ Eight and use Utility to control width.
- Commit to audio when the tone is right to save CPU.
- Arrange the pad as part of the tension/release structure of the DnB track.
- In darker jungle and oldskool vibes, the best pad is warm, unstable, and restrained — enough texture to create mood, not enough to steal the drop.
Musically, the result should work as:
Think: tense, moody, sample-authentic pad energy — not glossy trance pads, not cinematic wash. More “old dubplate under a lamp” than “festival uplift.”
Step-by-Step Walkthrough
1. Choose the right source sample and trim it for character, not perfection
Start with a short vinyl-style sample, chord stab, soul fragment, Rhodes hit, string phrase, or any dusty harmonic source that already has midrange personality. For oldskool jungle vibes, the best sources are often short and imperfect: a chord stab, a piano cluster, a filtered sample from a break-era record, or a noisy melodic phrase.
In Ableton’s Sampler or Simpler, load the sample and switch to Classic mode if you want a more sampler-like behavior, or One-Shot/Trigger style if you want a fixed pad texture.
Practical trimming:
- Set start/end points to keep the most musically interesting harmonic section.
- Remove dead air, but keep a little noise tail if it adds vinyl character.
- If the source has a strong transient, don’t worry — we’ll soften it later.
- Consider pitching the sample down -3 to -7 semitones for darker jungle weight, or up +2 to +4 if it needs more eerie shimmer.
Why this works in DnB: sampled harmonic material instantly gives you the “crate-digging” identity that oldskool jungle and darker rollers rely on. The source already carries cultural texture, so your job is to shape it into a usable bed rather than over-process it.
2. Turn the sample into a playable pad shape with Simpler or Sampler
If you want low CPU and fast results, Simpler is usually the move. Set playback to Classic and use Warp OFF inside Simpler unless you specifically need time-stretch behavior. For a pad-like sustain, use the device’s internal envelope.
Suggested settings:
- Attack: 20–80 ms
- Decay: 1.5–4 s
- Sustain: 60–100%
- Release: 300 ms–2 s
If the sample is too stabby, increase Attack and use the filter to round it out. If it’s too static, shorten the release and let MIDI note length shape movement.
If you’re working with a longer sample and want a more precise pad contour, use Sampler:
- enable Loop only if the loop point is smooth
- use a very short fade at loop edges to avoid clicks
- keep loop length simple and musical, ideally around a stable harmonic section
- set Voices conservatively if playing chords, but don’t overdo polyphony
Advanced move: duplicate the sample to a second Simpler and tune it slightly differently, then layer them quietly for a denser pad without adding much processing load. One layer can carry the mids; the second can be filtered for air.
3. Build the pad shape with a low-pass filter and movement that feels alive
Insert Auto Filter after Simpler/Sampler. This is the core of the “Vinyl Heat” feeling: warm, rolled-off, animated, and slightly unstable.
Starting point:
- Filter type: Low-Pass 24
- Cutoff: 250 Hz–2.5 kHz depending on the source
- Resonance: 5–18%
- Drive: 0–6 dB if you want grit
Then add subtle modulation:
- use Auto Filter’s Envelope Follower or LFO-style movement if the source needs drift
- keep modulation shallow; think 5–15% cutoff movement, not wobble-for-the-sake-of-it
- if your sample has a nasty transient, let the filter hide it
For more movement, map an LFO from Max for Live? Don’t — this lesson stays stock. Instead, automate cutoff over 8 or 16 bars, or use Shaper if you already have it in your workflow. If not, plain automation is enough and often better for CPU.
Suggested automation ranges:
- Intro: cutoff around 300–700 Hz
- Breakdown open-up: sweep to 1.5–4 kHz
- Pre-drop tension: close back down to 500–900 Hz
Why this works in DnB: jungle and rollers thrive on contrast. A slowly opening pad under breaks creates emotional motion without fighting the kick/snare/bass relationship. The filter becomes part of the arrangement, not just a tone control.
4. Add vinyl-like instability without wrecking pitch center
You want drift, not seasickness. Keep the pitch wobble subtle and in a controlled frequency range.
Use one or more of these stock approaches:
- In Sampler, nudge Pitch Bend Range modestly and automate tiny bends
- Add Frequency Shifter very lightly for unstable analog-style motion
- Use Chorus-Ensemble at low depth to thicken and soften the source
- Use Vinyl Distortion very gently for mechanical grime and a slight pitch-like smear
Practical settings:
- Chorus-Ensemble Depth: low, around 5–15%
- Frequency Shifter Fine: tiny offsets, often 0.02–0.10 Hz style movement if used subtly
- Vinyl Distortion Tracing Model / Drive: keep it restrained, just enough to feel dust, not obvious distortion
The goal is to imitate the slight instability of a sampled record loop without making the pad out of tune with your bassline. If your bass is harmonically important — especially in a darker reese or neuro context — keep the pad’s core notes simple and stable.
5. Carve the low end and preserve headroom for the drum/bass engine
This is where the pad becomes actually usable in a DnB mix. Put an EQ Eight after your texture chain and clean up aggressively but musically.
Suggested starting points:
- High-pass: 120–250 Hz, depending on the source and arrangement
- If the pad is muddy, make a cut around 250–500 Hz by 2–5 dB
- If it’s boxy or nasal, inspect 700 Hz–1.2 kHz
- If it has harsh vinyl fizz, tame 3–6 kHz with a gentle bell or a shelf
Advanced routing move:
- Put your pad on a Return or group it with other atmospheric layers if you want to process multiple elements together
- Use Utility to narrow the pad’s width if the low mids are too wide
- Keep anything below 150 Hz essentially mono or removed entirely
For a more authentic sampler feel, try Saturator before EQ Eight:
- Drive: 1–4 dB
- Soft Clip: on
- Color: subtle
Why this works in DnB: the kick, snare, and sub need a clean lane. If your pad steals the low mids, the drop loses punch. A shaped pad that is filtered and harmonically focused gives mood without competing with the drum engine.
6. Create a broken, musical pad rhythm with envelope chopping or gate-style motion
The best jungle pads often don’t just sustain endlessly — they breathe rhythmically with the beat. You can make the pad feel like it’s “edits in the sample” rather than a static synth wash.
Use one of these methods:
- Auto Pan set to phase 0° and synced rate for rhythmic amplitude movement
- Gate if you want a chopped, sampler-like pulse
- MIDI note length patterns to create phrases that tuck around the drums
- Volume automation on the clip or track for simple oldskool stabs
Suggested rhythm ideas:
- 1/8-note pulsing under a break intro
- every other bar swells for a call-and-response feel
- 2-bar held notes with brief ducked gaps before snare fills
- offbeat entrances that leave room for break ghost notes
If you use Auto Pan:
- Amount: 10–35%
- Rate: 1/2, 1/4, or synced dotted values depending on groove
- Phase: 0° for tremolo-style movement, 180° for stereo sweep
For a classic jungle arrangement, try the pad entering in bars 1–8, then thinning out before the first full drop. Let the break samples tell the story first, then let the pad support the emotional lift.
7. Bake the sound to reduce CPU and commit to the texture
Once the tone is working, resample or freeze/flatten the track. For advanced workflow, this is where you turn a playable pad idea into a low-CPU arrangement asset.
Best options:
- Freeze Track if you want to preserve flexibility
- Flatten once you know the sound is right
- Or record the pad into a new audio track using Resampling or Audio From the pad channel
Then edit the printed audio:
- trim the start for clean note entries
- fade tails to avoid clicks
- reverse select hits for transition FX
- consolidate 2-bar or 4-bar swells into arrangement clips
This is especially useful in long DnB sessions where you may have multiple break layers, bass resamples, and FX buses eating CPU. A printed pad frees up processing for your drums, bass modulation, and automation.
8. Place it in the arrangement so it serves the drop, not the other way around
In a real DnB track, the pad should be arranged with intention. Good placement examples:
- Intro: low-pass pad under filtered break and distant FX
- Pre-drop: widen and brighten slightly, then strip away just before the drop
- Breakdown: let it bloom while drums thin out and bass drops out
- Second drop switch-up: introduce a variation with reversed tail or pitch shift
Musical example:
- Bars 1–8: pad filtered to around 400–800 Hz, break intro only
- Bars 9–16: add snare ghosts and open the pad to 1.5–2.5 kHz
- Bars 17–24: pull the pad down again while automation tension rises
- Drop: mute pad or leave a tiny high-passed fragment for continuity
This is the difference between a loop and a track. The pad should create contour, not uniformity.
9. Sidechain lightly if needed, but keep the groove natural
For modern DnB, subtle ducking can help the pad sit behind the drums and bass. Use Compressor on the pad, sidechained to the kick or a ghost kick pattern.
Suggested settings:
- Ratio: 2:1 to 4:1
- Attack: 1–10 ms
- Release: 80–250 ms
- Aim for only 1–3 dB of gain reduction most of the time
If the pad is in an intro without a full kick, you can sidechain to a hidden ghost trigger or use automation instead. Keep the ducking musical — it should breathe around the break, not pump obviously unless that’s the intentional vibe.
If the bassline is busy, duck the pad more in the 200 Hz–1.5 kHz zone using multiband-style EQ automation rather than heavy compression. Simplicity wins here.
10. Polish with width, mono checks, and transition details
Finish with Utility and EQ Eight:
- check mono occasionally to make sure the pad doesn’t disappear
- reduce width if the chorus/widening got too lush
- automate Gain or Filter Cutoff into transitions rather than adding extra FX layers
For transition energy, try:
- short reversed pad prints before the snare fill
- a filtered one-bar swell into the drop
- half-time pad stabs underneath break edits
- a final automation dip before the bass re-enters
Keep the pad intentionally imperfect. A little hiss, a little wobble, a little tape smear — that’s the point. Just make sure it supports the drop architecture.
Common Mistakes
- Fix: high-pass more aggressively, often above 150–250 Hz in dense arrangements.
- Fix: reduce stereo width with Utility or keep low mids more mono. Wide highs are enough.
- Fix: keep movement subtle. In DnB, the bass should own the drama, not the pad.
- Fix: cut muddy low mids around 250–500 Hz and avoid over-brightening the 2–5 kHz zone.
- Fix: audition with drums and bass playing. The pad should read as mood, not as a lead instrument.
- Fix: freeze/flatten or resample once the tone is right. It saves CPU and helps you make arrangement decisions faster.
Pro Tips for Darker / Heavier DnB
Mini Practice Exercise
Spend 15 minutes making three pad variations from the same sample:
1. Version A: Intro Pad
- High-pass at 180–250 Hz
- Low-pass around 700–1.2 kHz
- Long attack, long release
- Place under an 8-bar break intro
2. Version B: Breakdown Pad
- Open the filter to 2–4 kHz
- Add gentle chorus and slight saturation
- Automate a slow swell over 8 bars
- Print to audio and reverse one copy
3. Version C: Drop Shadow
- Keep it almost inaudible
- High-pass higher, around 250–350 Hz
- Use only the top harmonics and short ghost entrances
- Test how it sits behind a full reese and break
Then compare all three in the same arrangement and decide which one actually supports the drop best. The goal is not to make the biggest pad — it’s to make the most useful one.

