Main tutorial
Lesson Overview
This lesson is about making a Vinyl Heat air horn hit pull that feels ripped from a 90s jungle / oldskool DnB / darker roller record, but built cleanly inside Ableton Live 12. The move is simple in concept: an air horn stab gets pulled, stretched, filtered, and chopped so it feels like the energy is being sucked backward before the drop or switch-up lands.
In DnB, this kind of edit matters because it does two jobs at once:
1. It adds personality — that gritty, DIY, rave-system, soundclash flavor that sits perfectly in jungle and oldskool pressure.
2. It creates tension — the pull effect gives your arrangement a physical sense of drag before impact, which makes the next drum hit, bass entry, or break edit feel harder.
This technique fits especially well in:
- 8-bar or 16-bar phrase transitions
- drop teases
- DJ-friendly breakdowns
- call-and-response moments with the bassline
- oldskool-style switch-ups over amen edits or roller drums
- a short, brash air horn stab
- briefly held and centered
- then dragged backward into darkness
- with a vinyl-like smear, pitch drop, and filter pull
- followed by a tight re-entry that locks into the drum grid
- a single horn pull into a drop
- a double-hit pull for a switch-up
- a longer tape-like drag for breakdowns
- a more clipped, brutal version for neuro-influenced darker DnB
- a dusty oldskool version for jungle intros and rave-style transitions
- bar 15 to bar 16 before the drop
- after a snare fill
- on the last half-bar before the bassline returns
- between a breakbeat chop and a sub drop
- Making the horn too long
- Overprocessing the midrange
- Letting the effect clash with the sub
- Using too much wet delay or reverb
- No relationship to the drums
- Making every transition identical
- Ignoring mono compatibility
- Layer a quiet reversed version underneath the main horn pull for a more obvious suction effect.
- Automate filter resonance slightly higher during the pull for a sharper, more “angry” top end.
- Use tiny volume dips on the drum bus for 1/8 bar before the hit, then slam everything back in.
- Pair the horn with a sub drop on the next downbeat to make the transition feel massive.
- Distort the repeat, not the original. Keep the first hit readable, then dirty the tail.
- For neuro-influenced darkness, tighten the edit: shorter pull, more controlled filtering, less reverb, more saturation.
- For jungle authenticity, leave some rough edges: slightly imperfect timing, break bleed, and a dustier tone often sound better than surgical perfection.
- Print the edit to audio once it feels right. Resampling the result lets you chop it faster and build more aggressive variations in the Arrangement.
- keep the horn short, loud, and midrange-focused
- use warp, automation, filtering, and saturation to create the pull
- place it where it supports phrasing, drum edits, and bass call-and-response
- keep the sub clean and the stereo image controlled
- make at least two or three variants so your arrangement stays fresh
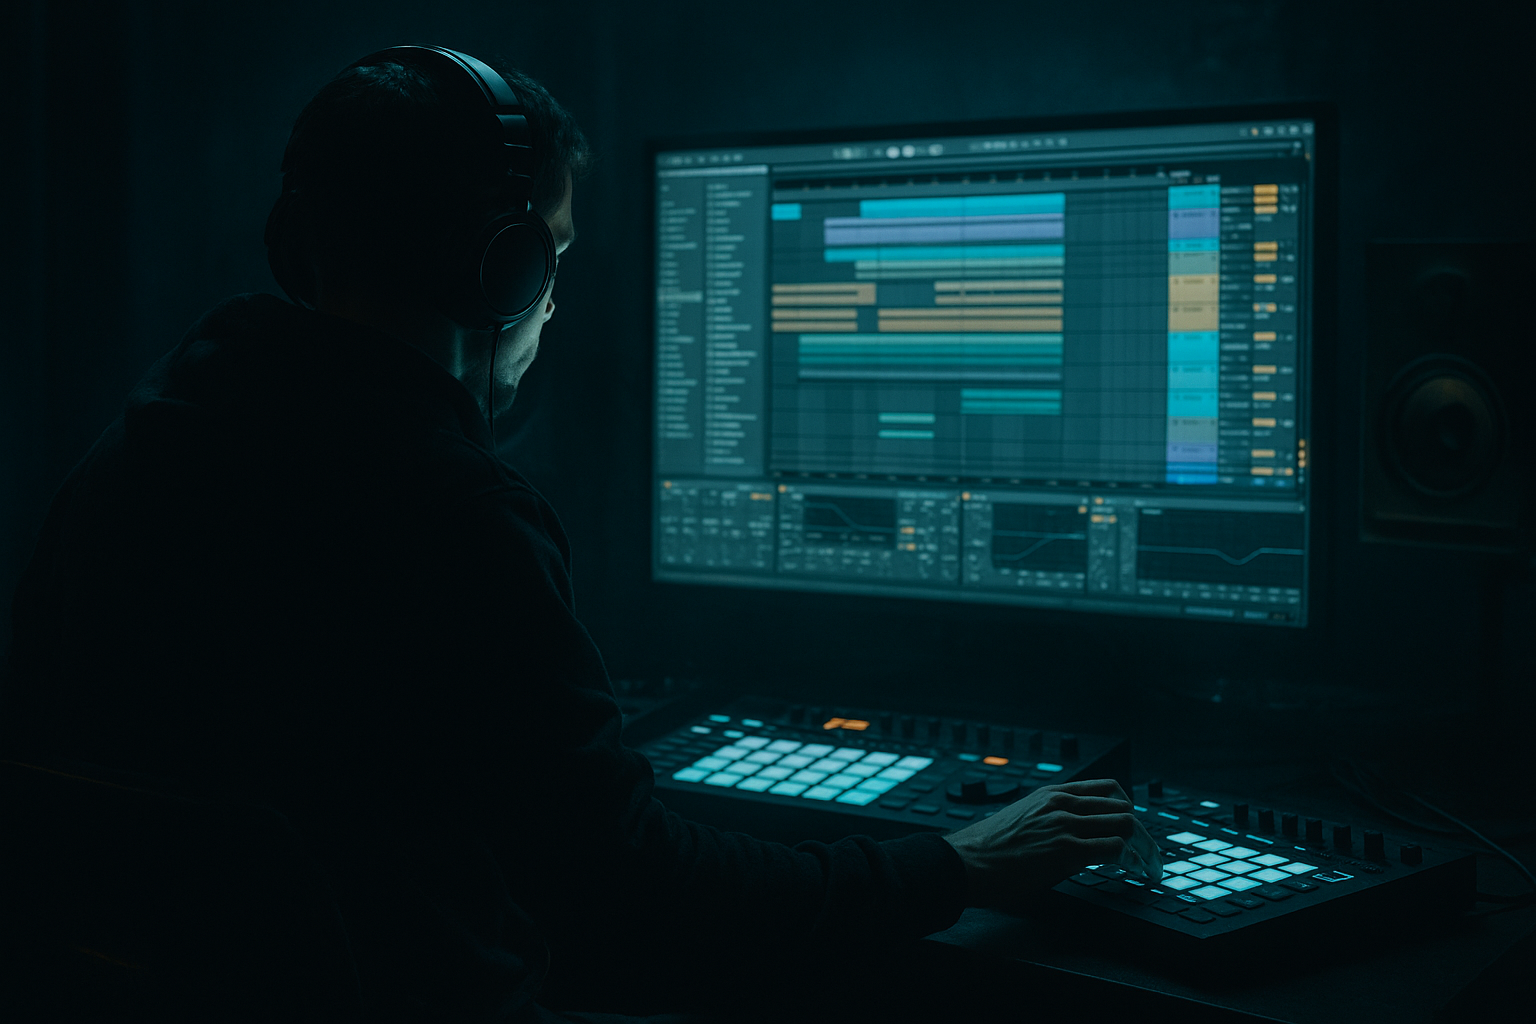
We’ll build it using Ableton stock devices only, with a workflow that lets you keep it raw, musical, and easy to reuse in future DnB projects. The focus is not just on making an effect — it’s on making an edit that sounds like it belongs in a real jungle tune.
What You Will Build
By the end, you’ll have a Vinyl Heat air horn pull edit that sounds like:
You’ll also have a reusable Ableton rack/edit chain for making variants such as:
Musically, this works best when the horn answers something else in the arrangement — for example:
Step-by-Step Walkthrough
1. Find or create a horn hit with attitude
Start with a short air horn sample or synth-style horn stab that already has a 90s rave / sound system / pirate radio attitude. In Ableton, drag the sample into an Audio Track and trim it so the transient is tight.
If you want to build a substitute from stock devices, use Wavetable or Operator:
- Wavetable: choose a bright, harmonically rich waveform and keep the envelope short.
- Add a low-pass filter and a quick decay so it behaves like a hit, not a pad.
- Layer a noise burst for extra bite if needed.
Practical starting points:
- Attack: 0–5 ms
- Decay: 150–350 ms
- Sustain: low or off
- Release: 50–120 ms
For this lesson, the exact source matters less than the attitude: loud, rude, and immediately recognizable.
2. Warp it for pull behavior, not just timing correction
Turn on Warp and choose the right mode based on the source. For a sampled horn, start with Complex Pro if it sounds fuller, or Beats if it’s very percussive and you want more artifact character.
Then create the “pull” by doing one of these:
- Extend the sample tail and use warp markers to stretch the ending slightly
- Pull the clip backward in time by automating a delay or reverse-feel effect
- Nudge the clip earlier by a few milliseconds so it feels like it’s being sucked into the groove
- Freeze the tail of the horn with a short loop-like smear using warp points
The goal is not to time-stretch wildly. In DnB, a good pull edit usually sounds more convincing when the source stays short and the motion comes from automation and editing, not just one big stretch.
Try this:
- Put warp markers near the first transient and the tail
- Stretch the final 1/8 to 1/4 of the sound slightly longer
- Keep the transient punchy, but let the body trail off with a drag
3. Build a Vinyl Heat effect chain with stock devices
On the horn track, build a chain that gives you grit, movement, and a vinyl-smoked pull without washing it out.
Suggested device order:
- EQ Eight
- Saturator
- Auto Filter
- Echo or Delay
- Utility
Starting settings:
- EQ Eight: high-pass around 120–180 Hz to keep the horn out of the sub lane; if it’s harsh, reduce 2.5–5 kHz by 1–3 dB
- Saturator: Drive +2 to +6 dB; turn Soft Clip on if the hit is too spiky
- Auto Filter: start with a low-pass around 10–14 kHz and automate downward during the pull
- Echo: short time, low feedback, and a bit of modulation if you want a smeared vinyl tail
- Utility: keep it centered; use Gain to match levels before/after processing
Why this works in DnB: the horn stays aggressive in the midrange, but the low end remains clean for your kick and sub. The saturation and filtering create the feeling of an old record or smoky dubplate without making the mix muddy.
4. Create the actual pull with automation
This is the heart of the edit. In Arrangement View, place the horn on the last beat or last half-bar before the drop, then automate a few parameters together for the pull.
Use these automation moves:
- Auto Filter cutoff: sweep downward from around 12 kHz to 2–4 kHz over the last 1/4 to 1/2 bar
- Track Volume: a subtle ramp down of 1–4 dB if you want the horn to “fall back”
- Echo dry/wet: rise slightly as the tail pulls away, then cut it right before the drop
- Pitch if your source or device allows it: drop by 1–3 semitones over the tail for a grimy descending feel
If you want a more authentic “vinyl grab” vibe:
- automate a very short retrigger feel by chopping the horn into two pieces
- make the second piece slightly quieter and slightly later
- add a tiny fade-out on the second chop
The best pulls in DnB usually feel like they’re attached to the drums. So line the beginning of the horn to the grid, then let the tail drift or smear into the next drum phrase.
5. Turn it into an edit, not just a one-off FX sound
Since this lesson is in the Edits category, think in terms of arrangement utility. You want this horn pull to become a reusable transition element.
Try making three versions on separate lanes or duplicate clips:
- Version A: clean horn pull, short and punchy
- Version B: longer pull with more filter sweep
- Version C: brutal chopped pull with more saturation and a tighter tail
Then place them strategically:
- Bar 7/8: teaser pull before the first main phrase
- Bar 15/16: stronger pull into the drop
- Bar 23/24: switch-up before a drum break or bass variation
In jungle and oldskool DnB, edits often work best when they interrupt expectation. So don’t overuse the same horn pull every 4 bars — save the strongest version for the most important transition.
6. Add breakbeat interaction so the horn feels glued to the groove
This is where the edit starts sounding like actual DnB rather than a random effect. Put the horn pull against a break edit, especially an amen or sliced break.
Good interactions:
- horn lands on the same bar as a snare fill
- horn pull happens under a ghost-note-heavy break
- horn ends just before the kick/snare backbeat returns
- horn call sits on top of a drum break gap
If the break feels crowded, use Utility to narrow the horn’s stereo field slightly or apply EQ Eight to carve a small dip around 3–5 kHz so the snare can still crack through.
For a more oldskool feel, let the horn pull leave a tiny hole in the drums. Silence, even very brief silence, is powerful in jungle arrangement.
7. Make the bass answer the horn
The strongest DnB edits often work as call-and-response between top-end FX and bass movement. After the horn pull, bring in a sub hit, reese stab, or bass wobble phrase that feels like the answer.
Example arrangement:
- Horn pull on the last half-bar
- Drums drop out for a beat or a snare pickup
- Reese or sub hits on beat 1
- Breakbeat returns on beat 2 with a fill
If your bassline is a reese:
- keep the low end mono with Utility
- use Saturator or Overdrive lightly to keep it audible after the horn
- automate a filter so the bass opens right after the pull, creating a strong release
If your bass is more oldskool/sub-heavy:
- keep it simpler and let the horn be the main character
- use the pull to frame the bass re-entry, not compete with it
8. Finish with vinyl-style texture and control
Add just enough texture to make it feel like a real edit and not a sterile digital effect.
Useful stock moves:
- Redux very lightly for bit-depth grit if the horn feels too clean
- Vinyl Distortion if you want a more obvious dusty edge, but use sparingly
- Auto Pan with very subtle phase movement if you want the horn tail to breathe
- Reverb with short decay and low wet amount for a spacey but not washed sound
Suggested ranges:
- Reverb decay: 0.4–1.2 s
- Reverb low cut: 200–400 Hz
- Wet amount: 5–12%
- Redux sample rate reduction: mild, just enough to roughen the top
Keep checking against your drums and sub. If the texture starts stealing attention from the rhythm section, back it off.
Common Mistakes
- Fix: trim the sample tighter and let the pull come from automation, not a huge tail.
- Fix: if the horn gets painful, notch a small area around 2.5–4.5 kHz with EQ Eight instead of killing all brightness.
- Fix: high-pass the horn around 120–180 Hz and keep all bass energy separate.
- Fix: shorten the decay and reduce wet amount until the edit feels punchy again.
- Fix: align the horn with snare fills, break gaps, or the final beat before the drop.
- Fix: create at least two variants — a short version and a longer, dirtier version.
- Fix: use Utility to center the horn and check your arrangement in mono, especially if the horn sits over a heavy reese.
Pro Tips for Darker / Heavier DnB
Mini Practice Exercise
Spend 10–20 minutes making three horn pull edits in one Ableton project.
1. Create one audio track with a horn sample or synthesized horn.
2. Make three clips:
- a clean short pull
- a dirty long pull
- a chopped pull with a pitch drop
3. Automate Auto Filter cutoff on all three.
4. Add Saturator and Echo to only one version so you can hear the difference.
5. Place each edit before a different 8-bar section in a drum-and-bass arrangement:
- one before a drop
- one before a breakbeat switch
- one before a bass re-entry
6. Resample the best version to a new audio track and chop one more variation from it.
Goal: by the end, you should know which pull feels best for oldskool jungle tension, which feels best for darker roller pressure, and which feels best for a harder modern DnB transition.
Recap
The key to a great Vinyl Heat air horn hit pull in Ableton Live is to treat it like a real DnB edit, not just an effect.
Remember:
If it sounds like it could slam into a jungle sound system right before the drop, you’re on the right track 🔥

