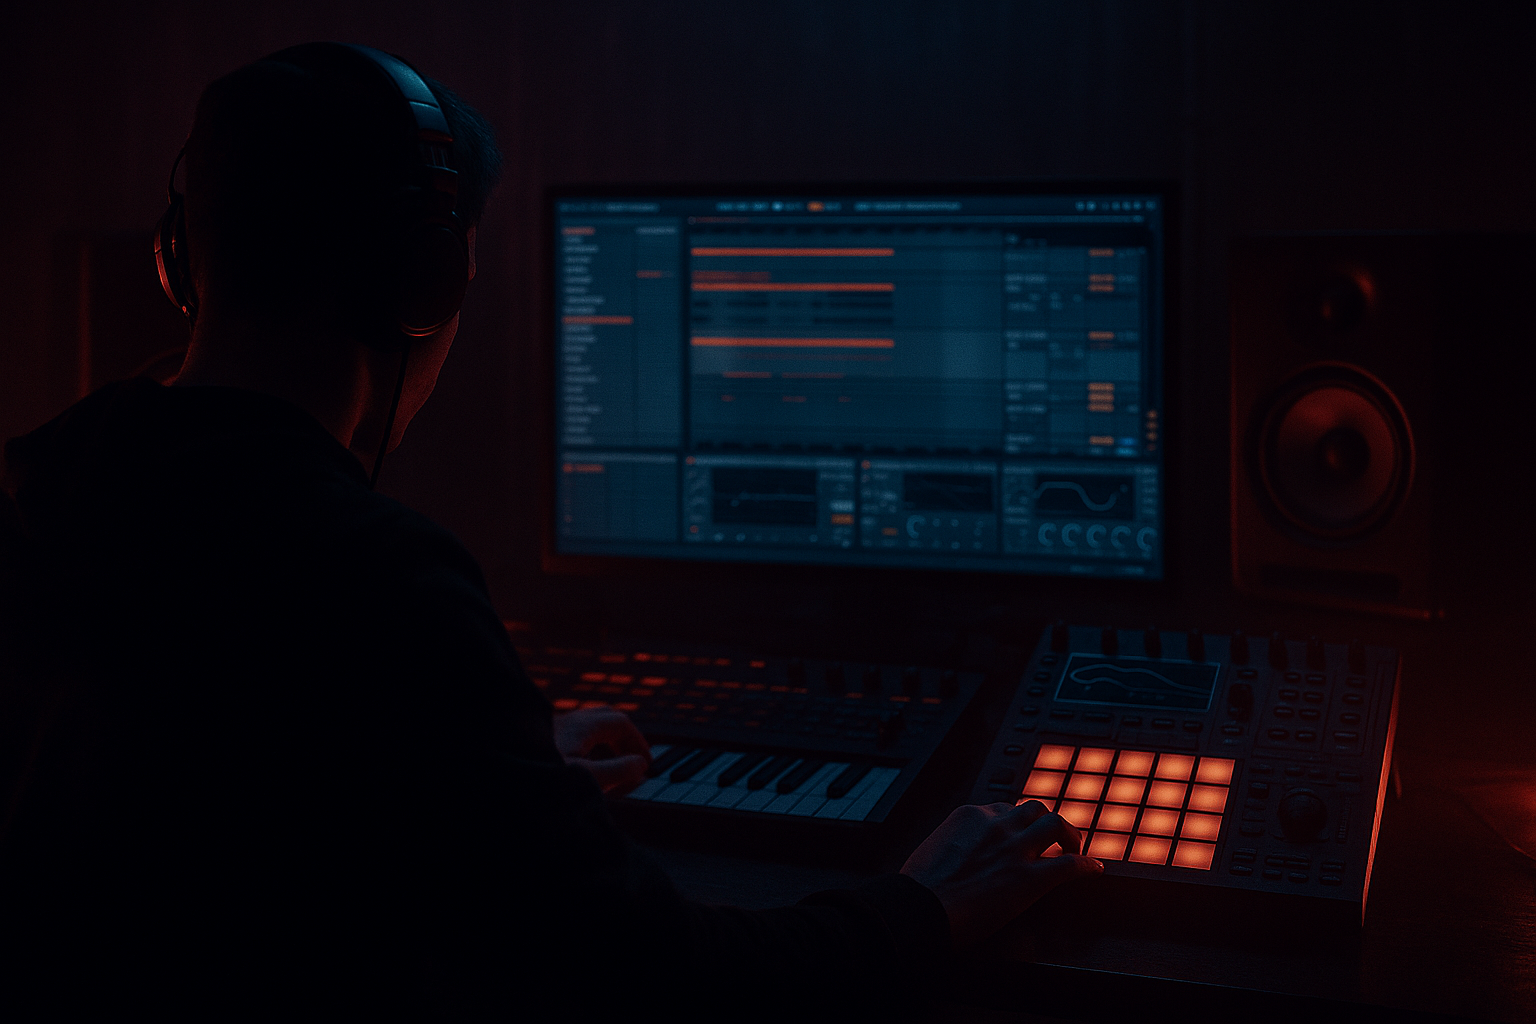
Main tutorial
Tutorial: Shuffle for Ragga-Infused Chaos in Ableton Live 12
Beginner-friendly DnB resampling lesson 🥁⚡
1. Lesson overview
In this lesson, you’ll learn how to create shuffle-based ragga chaos in Ableton Live 12 using resampling. The goal is to turn a simple drum-and-bass groove into something that feels human, broken, energetic, and dubwise, like a jungle/ragga sound system record with a modern DnB edge.
We’ll focus on:
- building a rolling DnB drum loop
- adding shuffle/swing without killing the groove
- resampling the groove into audio
- chopping, pitching, and re-arranging it for ragga-style chaos
- using stock Ableton devices to make it sound tight, heavy, and playful
- a 16-bar DnB loop
- a shuffled break layer
- a resampled audio chop track
- a ragga vocal-style glitch layer
- a simple arrangement with:
- rolling amen-style energy
- syncopated shuffle
- ragga vocal fragments
- dirty, lively, resampled movement
- Set tempo to 172 BPM
- Work in 4/4
- Create these tracks:
- kick
- snare
- closed hat
- open hat
- rim/perc
- break hits if available
- Kick: beat 1 and a few syncopated off-beat hits
- Snare: on beats 2 and 4
- Hi-hats: 16th notes or a broken pattern
- Ghost percussion: light hits around the snare
- Kick on 1
- Snare on 2 and 4
- Extra kick on the “&” of 2 or just before 4
- Closed hats on offbeats or 16ths with some velocity variation
- Drum Buss for punch and low-end weight
- Saturator for grit
- EQ Eight to clean muddy lows
- Glue Compressor for glue and movement
- Drive: 5–15%
- Crunch: small amount
- Boom: very subtle, or off if the kick gets too boomy
- Soft Clip: On
- Drive: 2–6 dB
- Ratio: 2:1
- Attack: 3 ms
- Release: Auto
- Gain reduction: aim for 1–3 dB
- Timing: 20–40%
- Velocity: 10–25%
- Random: 0–5%
- Base: usually 1/16
- Move selected hi-hats slightly late
- Push some ghost hits a little ahead
- Leave snare hits mostly straight
- Preserve: Transients
- Envelopes: Keep default
- If the break feels too stiff, try slightly changing warp markers
- Right-click the break clip
- Choose Slice to New MIDI Track
- Slice by transients
- Now rearrange slices in MIDI
- Audio From: Resampling
- Arm the track
- Make sure you’re capturing the full drum bus or selected track audio
- snare tails
- little hat flams
- ghost hits
- break fill moments
- syncopated kicks
- Split at transients: Cmd/Ctrl + E
- Duplicate a tiny slice
- Reverse a fragment
- Pitch one slice down a few semitones
- Move a vocal chop slightly late for a dragged feel
- “come again”
- “pull up”
- “whoa”
- “selecta”
- “move”
- slice it into short pieces
- offset pieces slightly off-grid
- repeat one phrase before a drop
- filtered break
- small vocal teaser
- minimal kick/snare hints
- full drum loop
- mild shuffle
- bass locked in
- resampled chop fill
- break slice pause
- vocal stab response
- heavier resampled drums
- more aggressive edits
- less predictable hat placement
- Auto Filter — sweeps and tone shifts
- Echo — dub delays and space
- Drum Buss — punch and dirt
- Saturator — harmonic grit
- Redux — lo-fi crunch
- Utility — width control and mono checks
- Shifter — pitch weirdness and texture
- Transient Shaper in Live 12 if available in your setup, for drum definition
- Automate filter cutoff on the break before a drop
- Automate Echo feedback for a vocal send
- Automate volume dips for half-beat ragga stutters
- Automate pitch on a chopped snare fill for a tape-warp feel
- Snare on 2 and 4
- Strong kick placement
- Bass and drums locked rhythmically
- Short fills before transitions
- over-swinging everything
- putting the snare too late
- making the groove so loose it stops rolling
- clean snare for punch
- break for atmosphere
- resampled chop for movement
- Saturator
- Drum Buss
- EQ Eight
- Auto Filter
- cutoff around 2–6 kHz
- moderate resonance
- 1-beat fill
- 1/2-beat stop
- tiny resampled drum glitch before the drop
- reversed cymbals
- echo throws
- vocal delay tails
- filtered noise sweeps
- Does it still roll?
- Do the chops feel intentional?
- Does the groove feel shuffled, not messy?
- Does the vocal add energy without clutter?
- Start with a solid DnB drum backbone
- Add subtle swing mainly to hats and percussion
- Record your groove as audio using Resampling
- Chop, reverse, and pitch slices for ragga chaos
- Use stock Ableton devices like:
- Keep the snare grounded so the track still feels like DnB
- Use resampled fills and vocal chops to create arrangement movement
This is especially useful if you want your drums to feel less “grid-perfect” and more like they’re falling apart in a good way 🔥
---
2. What you will build
By the end, you’ll have:
- intro
- drop
- fill
- variation
The sound target is:
---
3. Step-by-step walkthrough
Step 1: Set the project up correctly
Open a new Live 12 set and do this first:
- Good DnB range: 170–174 BPM
1. Drums MIDI
2. Break Audio
3. Vox Chop
4. Resample
5. Bass if you want to test the groove later
Why this matters
You want the project structured so your MIDI ideas can be printed to audio and mangled later. That’s the whole resampling workflow.
---
Step 2: Build a simple DnB drum groove
On the Drums MIDI track, load a Drum Rack with stock samples or your own:
Basic starting pattern
Make a classic rolling DnB backbone:
#### Example idea:
Helpful stock devices
Use these on the drum group or drum track:
Suggested settings
#### Drum Buss
#### Saturator
#### Glue Compressor
---
Step 3: Add shuffle the right way
This is where the groove gets its bounce. In DnB, shuffle should feel like movement, not sloppy timing.
Method A: Groove Pool
1. Open the Groove Pool
2. Choose a swing groove like:
- MPC 16 Swing
- Swing 16-54
- Swing 16-58
3. Drag it onto your drum clip
Suggested groove amount
Start subtle:
Method B: Manual shuffle with note placement
If you want tighter control:
Important DnB rule
Do not swing the snare too much.
Keep the snare anchored, and let the hats, ghost notes, and percussion dance around it.
---
Step 4: Make a breakbeat layer
Now add your Break Audio track.
Load a break sample
Use a classic-style break or any percussion loop with movement.
If it’s too clean, that’s okay. We’re going to destroy it a little.
Warp it correctly
1. Double-click the audio clip
2. Turn Warp on
3. Try Beats mode for drums
4. Set transient behavior so the break stays punchy
Useful warp approach
Add shuffle to the break
You have two options:
#### Option 1: Groove Pool
Apply the same groove as your main drums, but maybe with slightly more timing amount.
#### Option 2: Slice and re-sequence
This is great for ragga chaos because you can make the break feel like it’s stuttering, answering itself, and colliding with the main groove.
---
Step 5: Build the ragga chaos with resampling
Now the fun part. We’ll print the groove to audio and chop it.
Set up resampling
On the Resample audio track:
Record 4 or 8 bars
Let the loop play and record a clean pass.
You are now turning MIDI timing into audio material you can edit freely.
---
Step 6: Chop the resampled audio
Once recorded, take the resampled clip and start editing.
What to cut
Look for:
Editing approach
Best practice
Make tiny edits first. Don’t go full chaos immediately.
A few well-placed chops are more effective than destroying the whole loop.
---
Step 7: Add ragga vocal chops
Create or import a Vox Chop track with short phrases like:
You can use any royalty-free vocal one-shots or your own recorded voice.
Process the vocal with stock devices
Try this chain:
1. EQ Eight
- high-pass around 120–180 Hz
2. Saturator
- drive lightly for grit
3. Echo
- short dub-style delay
4. Reverb
- small or medium size
5. Auto Filter
- automate cutoff for movement
Ragga-style trick
Bounce the vocal line, then:
This creates that classic call-and-response, sound-system-style energy.
---
Step 8: Use resampling as an arrangement tool
This is where beginner producers often miss the magic.
Instead of looping the same 2 bars forever, resample your best drum loop variation and use it as new material.
Arrangement idea
Build your track in layers:
#### Intro
#### First drop
#### Variation
#### Second drop
Why this works
Resampling gives you finished-sounding momentum.
You stop thinking like a programmer and start thinking like a producer arranging energy.
---
Step 9: Add movement with stock devices
To make the resampled chaos feel alive, use automation and effects.
Great Ableton devices for this style
Practical automation ideas
---
Step 10: Make it feel like DnB, not house
This is crucial. Shuffle in DnB should still drive forward.
Keep these anchor points:
Avoid:
Think: controlled chaos.
---
4. Common mistakes
1. Swinging the snare too much
If the snare drifts too far, the track loses its DnB backbone.
Fix: Keep snare hits mostly straight and swing hats/percussion instead.
---
2. Resampling too early
If the groove isn’t solid, resampling just prints a weak loop.
Fix: Build a strong 4-bar idea first, then resample.
---
3. Over-chopping every hit
Too many edits can make the groove feel random, not intentional.
Fix: Chop only the most interesting moments.
---
4. Using too much bass in the resampled drum channel
The drum resample can get muddy fast.
Fix: Use EQ Eight to remove low-end rumble below 80–120 Hz if needed.
---
5. Forgetting arrangement
A great loop is not yet a track.
Fix: Use resampling to create fills, variations, and transitions.
---
5. Pro tips for darker/heavier DnB
Tip 1: Layer a dark break with clean programmed drums
Use one loop for character and one tight drum layer for impact.
---
Tip 2: Use distortion in parallel
Duplicate the drum group or use a return track.
Suggested chain:
Blend it underneath the clean drums for weight.
---
Tip 3: Low-pass the vocal chops
For a darker ragga feel, filter vocals down a bit.
Try:
This makes the vocal sit like a murky dub transmission.
---
Tip 4: Make fills shorter than you think
In DnB, a fill often works best when it is brief and sudden.
Try:
---
Tip 5: Resample your FX too
Don’t just resample drums. Print:
These become transition weapons.
---
6. Mini practice exercise
Goal
Create a 4-bar ragga-shuffled DnB loop and resample it into a new fill.
Exercise steps
1. Program a basic DnB drum groove at 172 BPM
2. Apply a light swing groove to hats only
3. Add a 2-bar breakbeat layer
4. Record 4 bars to a resampling track
5. Chop the recording into 6–10 slices
6. Reverse 2 slices
7. Pitch 1 slice down by -3 to -5 semitones
8. Add one ragga vocal chop before bar 4
9. Automate a filter sweep into the transition
10. Bounce the result and compare it to the original loop
What to listen for
Repeat this exercise with a different break and different vocal phrase.
---
7. Recap
You just built a shuffle-based ragga DnB workflow in Ableton Live 12 using resampling.
Key takeaways
- Drum Buss
- Saturator
- EQ Eight
- Echo
- Auto Filter
- Glue Compressor
Final mindset
Think of resampling as turning your groove into raw material.
That’s how you get from a loop to a living, breathing jungle/DnB section with ragga energy and controlled chaos 🎛️🔥
If you want, I can also turn this into:
1. a step-by-step Ableton project template, or
2. a MIDI + audio rack chain recipe for this exact style.

