Main tutorial
Lesson Overview
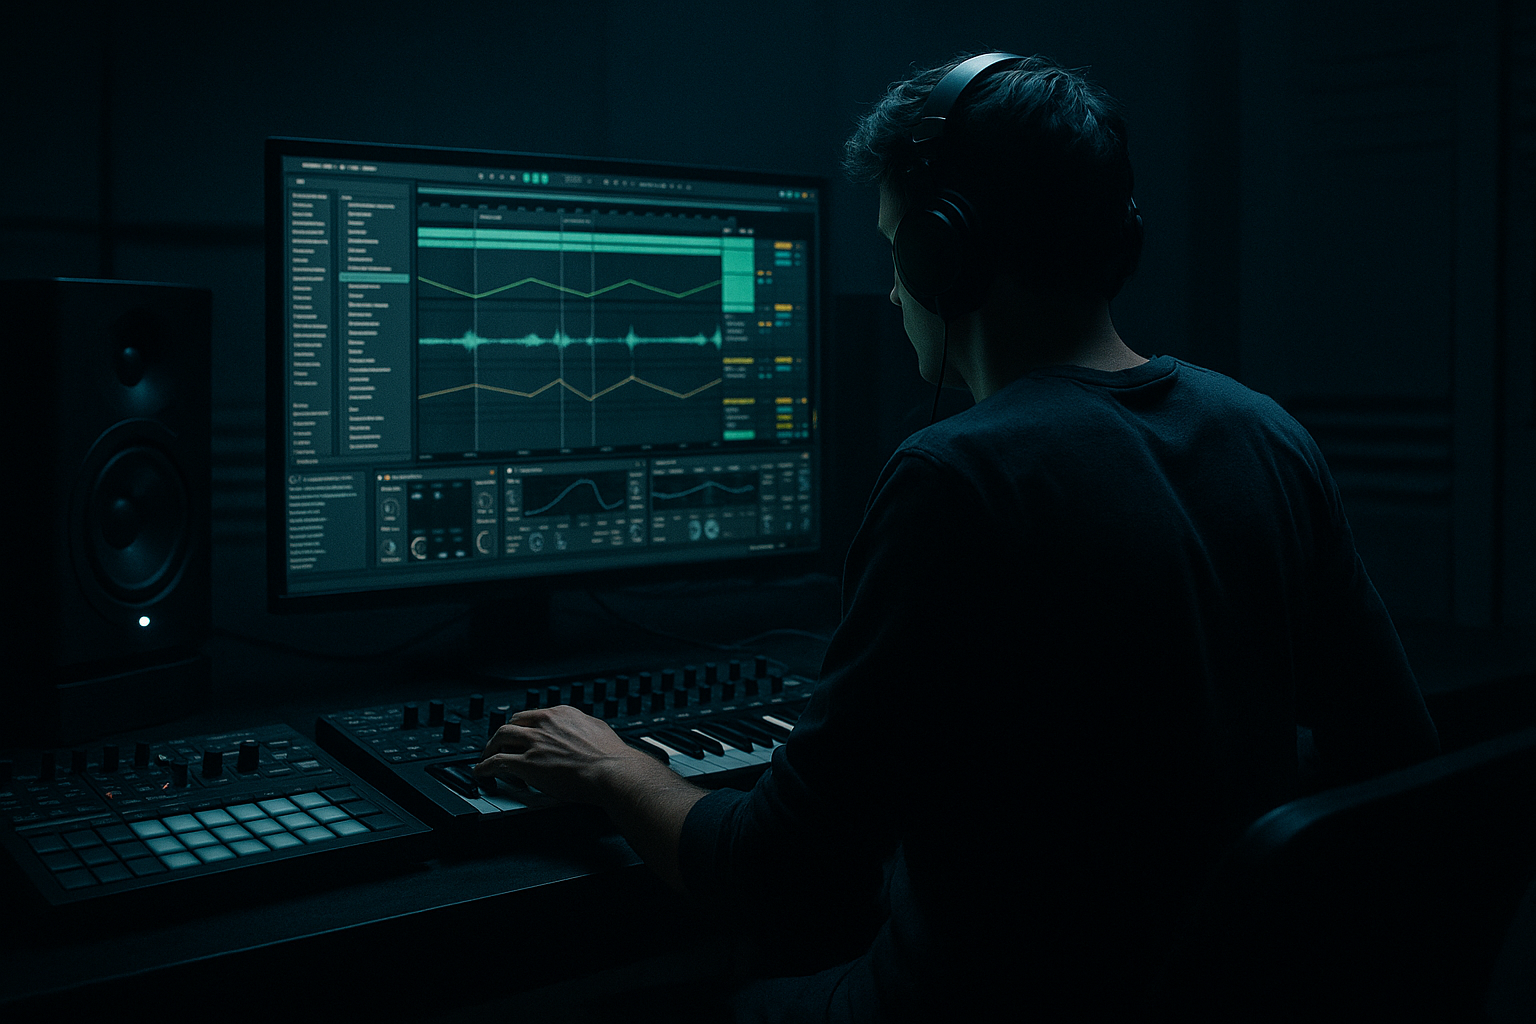
An air horn hit is one of those deceptively simple jungle and oldskool DnB tools that can instantly turn a plain loop into a statement. In the right place, it becomes a hype marker, a call-and-response answer, or a rude little punctuation mark before a drop switch. In this lesson, you’ll build a minimal CPU air horn hit inside Ableton Live 12 using stock devices only, then shape it so it sits properly in a jungle / rollers / darker DnB context without chewing up your session.
Why this matters: a lot of “horn” sounds in DnB packs are either too polished, too long, or too heavy on CPU because they use layered synths, chorus stacks, and effects racks. For oldskool jungle vibes, you usually want the opposite: short, rude, memorable, slightly raw, and easy to resample. That means you can place it in a drop, use it as a one-shot in a breakdown, or tuck it into an atmosphere layer without cluttering the mix. 🎛️
We’ll focus on:
- a fast synth-based horn made with Operator or Wavetable
- a simple Audio Effect Rack / Instrument Rack approach to keep it lean
- envelope shaping and filtering for that brassy “air horn” edge
- resampling to save CPU and lock in character
- arrangement use in DnB phrasing, especially 8- and 16-bar movement
- punches through a dense breakbeat without masking the snare
- has a bright, nasal upper-mid bite with controlled low-mid body
- uses almost no CPU when played as a resampled clip
- works as a 1-shot hit, a call-and-response accent, or a transition marker
- can be automated for filter sweeps, pitch blips, or delay tails
- sits naturally in a DnB mix with sub, breaks, and atmosphere layers
- a 2-beat or 1-bar punctuation in an oldskool drop
- a response hit after a snare fill
- a tension lift before the second phrase of a roller
- a background texture in a breakdown when processed with long reverb and filtering
- Put your drum loop, sub, and bass running
- Loop 8 bars so you can audition the horn against the groove
- Leave headroom on your master; don’t chase loudness yet
- Turn on Oscillator A only
- Use a saw waveform
- Set Voices to 1 if you want it strictly monophonic
- Keep the pitch around C3 to C4 as a starting point, then transpose later by ear
- Filter: enable the built-in filter and choose a Band-Pass or Low-Pass depending on taste
- Start with cutoff around 800 Hz to 1.8 kHz
- Add resonance around 20% to 40% for the nasal horn edge
- Keep drive subtle at first
- Amp Attack: 0–5 ms
- Decay: 120–300 ms
- Sustain: 0%
- Release: 40–120 ms
- Oscillator: saw
- Filter cutoff: 1.2 kHz
- Resonance: 30%
- Decay: 180 ms
- Assign Pitch Envelope to Oscillator A
- Set a small pitch drop from about +7 semitones down to 0 over 20–60 ms
- Keep the amount modest; too much becomes cartoonish
- Map Filter Envelope to open quickly and close slightly as the note decays
- Use a fast attack, short decay, no sustain
- Try cutoff moving from around 600 Hz at start up to 1.5 kHz, then back toward the decay tail
- Operator
- Saturator
- EQ Eight
- Compressor
- Utility
- Set Width to 80–100% if you want a tiny bit of space
- Or keep it at 0% for strict mono if the rest of the arrangement is busy
- Use Gain to trim level and leave headroom
- Drop Utility to 0% and listen
- Make sure the horn doesn’t vanish or turn hollow
- Create a new Audio Track
- Set its input to Resampling or route from the horn track
- Arm the track and record a few hits
- chop the audio more precisely
- reverse specific hits
- duplicate and pitch-shift with almost zero CPU
- freeze the exact tone so it doesn’t drift if you keep tweaking
- Consolidate the best hit into a one-shot clip
- Warp only if needed; often you can leave it unwarped
- Save it in your project’s Samples or Audio folder with a clear name like `AirHorn_Jungle_01`
- No extra FX
- Use for the main call-and-response accent
- Echo time: 1/8 or dotted 1/8
- Feedback: 10–25%
- Filter the repeats so they don’t get harsh
- Keep wet level low, around 8–15%
- Decay: 0.8–1.8 s
- Pre-delay: 10–25 ms
- Low cut: around 200 Hz
- High cut: around 5–8 kHz
- Start low-pass around 600–900 Hz
- Open toward 2–4 kHz
- Use a shallow envelope or manual automation
- After the snare on bar 4 of an 8-bar phrase
- Answering a drum fill at the end of bar 8 or 16
- On the “and” of 2 to create syncopated tension
- Before a bass drop switch-up as a one-beat shout
- Bars 1–4: drums + sub + atmosphere
- Bar 4: horn hit on the last beat or immediately after the snare fill
- Bars 5–8: horn returns once with a slightly different automation pass
- Bar 9 onward: full drop with less horn, so it keeps its impact
- Horn hit
- Two bars of groove
- Horn hit again with filter or pitch variation
- Bassline answers on the next downbeat
- Filter cutoff opening over 4 or 8 bars
- Send amount into Reverb or Echo only for the last hit of a phrase
- Saturator drive increasing slightly on the final repeat
- Pitch nudged up 1–2 semitones for a variation hit
- Utility gain down 1–2 dB when the bass drops in hard
- Roll off the highs
- Push reverb send up briefly
- Reverse one resampled horn hit into the downbeat
- Making the horn too wide
- Letting the low mids build up
- Using too long a decay
- Overdistorting it
- Placing it everywhere
- Designing it in isolation
- Resampling too late
- Layer a very quiet noise burst behind the horn using Operator noise or Wavetable noise, high-passed hard. This can add air without making the sound busy.
- Use a tiny bit of sidechain-like movement with Volume automation or a Compressor keyed from the kick if the horn overlaps a heavy drum hit.
- Pitch the horn down 1 semitone for a grimier, less playful tone. Pitch it up only if you want a more classic rave flavor.
- Try band-pass filtering instead of a full-range horn. For neuro-leaning or darker rollers, a narrower band often sits better and feels more intentional.
- Resample two versions: one dry and one processed. Then alternate them across the arrangement for call-and-response depth.
- Use Drum Buss lightly on the resampled audio if you want extra smack:
- Automate a short delay throw only on the final hit of a phrase. That one echo can make the arrangement feel bigger without washing out the mix.
- Keep the transient above the break, not inside it. If your break is very busy, make the horn slightly shorter and brighter so it lands cleanly.
- Build the horn with a single lightweight synth voice in Ableton Live, ideally Operator
- Keep the envelope short, punchy, and nasal
- Use Saturator, EQ Eight, and light compression to shape character without wasting CPU
- Resample early to save processing and lock in the sound
- Place the horn as a phrase marker in jungle / oldskool DnB arrangements
- Use automation and variation instead of layering more devices
- Keep it mono-friendly, midrange-focused, and rhythmically deliberate
By the end, you’ll have a horn hit that feels like it belongs in a dusty jungle dubplate or a grimy half-time switch, not a generic rave sample.
What You Will Build
You’ll build a short, aggressive air horn hit that:
Musically, this will feel like:
You’ll end with a sound that is more “rude system flex” than “festival brass,” which is exactly the point.
Step-by-Step Walkthrough
1) Start with a lean instrument lane and set the context
Create a new MIDI track called AIR HORN. Keep your project organized from the start: color it, and place it near your drums or FX group so you can judge it in context, not in solo.
Load Operator on the track. Operator is ideal here because it is light on CPU and easy to shape into a synthetic brass hit without layering multiple heavy oscillators.
Set your project context first:
Why this works in DnB: the horn only works if it interacts with the break and bass. In jungle especially, the impact depends on where it lands relative to the snare and kick pattern. If you design it in solo, you’ll usually make it too big or too thin.
2) Build the core horn tone in Operator
On Operator, use a simple, efficient setup:
Now shape the timbre:
Then shape the envelope for a hit:
If you want the classic “air horn” bark, slightly boost a narrow band in the upper mids later rather than cranking the oscillator too hard.
Suggested starting point:
Keep it short. A horn in DnB usually works better as a stamped statement than a long held note.
3) Give it the rude brass movement with pitch and filter
To make the sound feel like a horn hit rather than a static synth note, add movement with envelopes.
In Operator:
This creates the “hit” sensation at the front of the sound.
Then, if you want extra aggression:
If you prefer a more modern hybrid horn, swap Operator for Wavetable and use a simple saw-like wavetable with one oscillator enabled. Keep it minimal: one oscillator, one filter, one amp envelope. No need to overbuild it.
Why this works in DnB: that little pitch snap and filter pop make the horn read instantly against fast breaks. In jungle, short transients cut through busy ghost notes better than long pads, and the ear recognizes the attack as a “weapon” before the body of the sound even arrives.
4) Shape the bite with stock effects, but keep CPU low
Now add just a few Ableton stock devices after the instrument:
1. Saturator
- Drive: 2–6 dB
- Soft Clip: On
- Optional Color section: very subtle
This thickens the upper mids and gives the horn attitude without needing more oscillators.
2. EQ Eight
- High-pass around 120–180 Hz
- Small dip around 250–400 Hz if it sounds boxy
- Gentle boost around 1.5–3 kHz if it needs more bark
- If harsh, tame 4–6 kHz slightly
3. Compressor or Glue Compressor if the attack is too spiky
- Ratio: 2:1
- Attack: 10–30 ms
- Release: 50–120 ms
- Aim for light gain reduction only
Do not over-stack distortion and EQ. The goal is a horn that punches, not a horn that fries the mix. If you’re on a heavier project with reese bass and aggressively chopped breaks, keep the horn mostly midrange-focused so it doesn’t fight the sub or snare transient.
Suggested chain order:
5) Use Utility and mono discipline so it behaves in the mix
Air horns are often stereo-smeared in sample packs, but for DnB you usually want the core hit to stay stable in the center or just slightly wide.
Add Utility last:
Do a mono check periodically:
If the sound depends on stereo widening to feel exciting, it’s too fragile. A strong DnB horn should still hit in mono on a club system.
For atmosphere use, you can create a second return-style version with a larger space later, but keep the dry source focused first.
6) Resample the horn immediately to save CPU and lock the character
This is the big CPU-saving move.
Once the horn sounds right:
Now you have a rendered audio clip of the sound. This is huge for older jungle-style workflows because you can:
After resampling:
If you want maximum efficiency, disable or archive the instrument track once you’re happy. Your CPU will thank you, especially in a session with complex drum racks, reese stacks, and atmosphere buses.
7) Add tiny FX variations for oldskool jungle flavor
Now make a few variants from the resampled clip. Duplicate it and create three useful versions:
Version A: Dry hit
Version B: Short room / dub echo
Add Echo or Reverb very lightly:
Or use Reverb:
Version C: Filtered atmosphere hit
Add Auto Filter and automate it:
This version is great for breakdown atmospheres or tension bars before a drop.
You can also use Frequency Shifter very subtly for a weird metallic edge, but keep it minimal. In darker DnB, the most effective variations are often the least flashy.
8) Place it like a DnB producer, not like a sound designer
Now write the horn into a real arrangement.
Try these placements:
A classic jungle structure might be:
Do not spam it every bar unless you’re intentionally building a rave motif. In DnB, repetition is powerful, but overuse kills the punch. Treat the horn like a hook element, not wallpaper.
For a more modern roller, try a call-and-response:
This gives the arrangement a “conversation” feeling, which is especially effective in darker bass music.
9) Automate for tension without adding more layers
Instead of stacking more instruments, use automation on the horn itself.
Good automation ideas:
For a jungle breakdown, automate the horn into a longer atmosphere space:
That reverse trick is excellent in oldskool phrasing because it gives you a classic dubplate-style sweep without needing a dedicated riser. It feels intentional and period-correct.
Common Mistakes
- Fix: collapse to mono or near-mono and let reverb create the space around it.
- Fix: high-pass around 120–180 Hz and cut mud around 250–400 Hz if needed.
- Fix: shorten the amp decay to 120–300 ms so it reads as a hit, not a brass stab.
- Fix: use Saturator gently; if it becomes harsh, reduce drive and re-EQ the upper mids.
- Fix: use the horn as a phrase marker. In DnB, impact comes from contrast.
- Fix: always test against drums, sub, and bass. A horn that sounds huge solo can vanish or clutter the drop.
- Fix: freeze the character early once the sound is close. This saves CPU and keeps your session clean.
Pro Tips for Darker / Heavier DnB
- Drive very low to start
- Boom off or minimal
- Transients modestly up
This can make the horn feel more like part of the rhythm section.
Mini Practice Exercise
Set a 15-minute timer and do this:
1. Build a horn hit with Operator using one saw oscillator.
2. Make three variations:
- dry
- filtered
- delayed
3. Resample all three to audio.
4. Place them into an 8-bar jungle loop with:
- breakbeat
- sub bass
- one atmosphere layer
5. Arrange the horn so it appears:
- once at the end of bar 4
- once in bar 8
- once as a reverse lead-in to the next section
6. Do one mono check and one mix check with the full drop playing.
7. Trim any horn that overlaps the snare too much.
Goal: make the horn feel like an intentional part of the arrangement, not an extra sound pasted on top.
Recap
If it sounds rude, concise, and clearly part of the breakbeat conversation, you’ve nailed it.

