DNB COLLEGE

AI Drum & Bass Ableton Tutorials

LESSON DETAIL

Transient shaping for snares for dark rollers (Intermediate)

An AI-generated intermediate Ableton lesson focused on Transient shaping for snares for dark rollers in the Drums area of drum and bass production.

Free plan: 0 of 1 lesson views left today. Premium unlocks unlimited access.

Transient shaping for snares for dark rollers (Intermediate) cover image

Narrated lesson audio

The voice track includes the tutorial plus extra teacher commentary.

Open audio file

Main tutorial

Transient Shaping for Snares in Dark Rollers 🎧

---

Lesson Overview

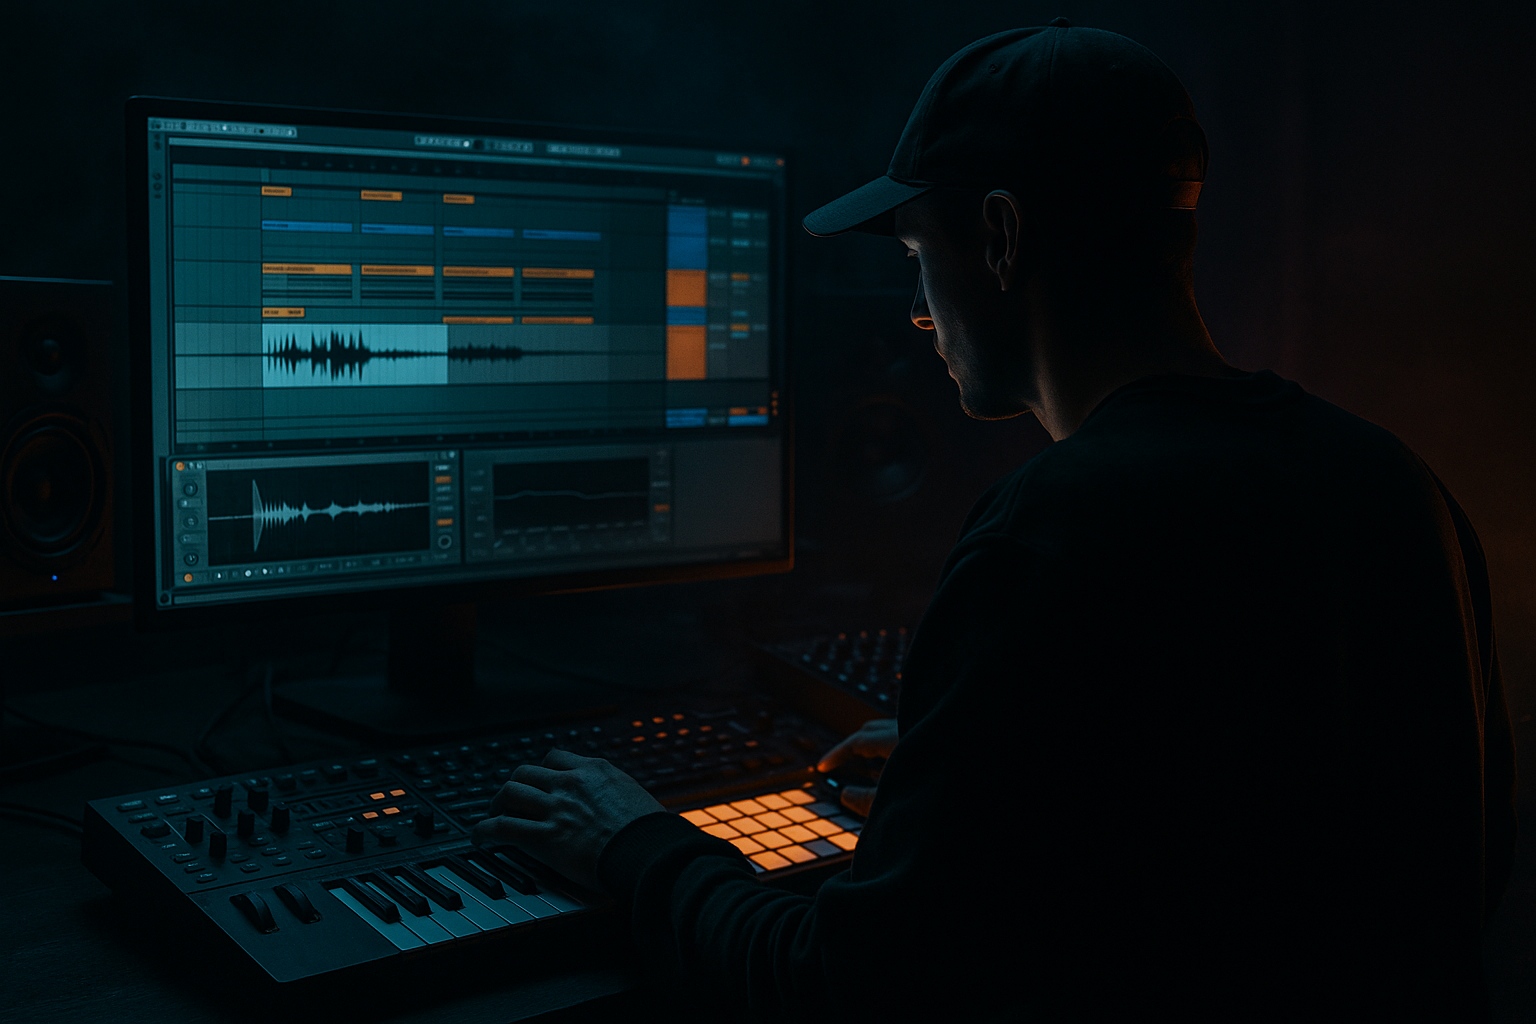
Welcome to this energetic dive into the world of transient shaping for snares in drum and bass! 🌌 In this lesson, we'll focus on making powerful, punchy snares that resonate deeply within the heart of dark rollers. You’ll learn how to manipulate transients using Ableton Live's tools, ensuring your snares cut through the mix while maintaining the deep, menacing vibe typical of the genre.

---

What You Will Build

By the end of this tutorial, you'll have designed a snare that features:

  • Enhanced punch and definition 🎯
  • A tight transient response for faster rhythms
  • A gritty and dark texture that complements heavy basslines
  • Prepare to make your snares command attention on the dance floor! 🥁

    ---

    Step-by-Step Walkthrough

    Step 1: Choose Your Snare Sample

    1. Open Ableton Live and create a new project.

    2. Load a drum rack on a new MIDI track (Shift+Command+T).

    3. Find a dark snare sample—ideally one with a natural decay and potential body. You can check out Ableton's Core Library or trusted sample packs.

    Step 2: Layering for Impact

    1. Add another snare layer if desired. Use a "snap" type snare for additional punch.

    2. Drag the second snare to another cell in the Drum Rack.

    3. Adjust the volume levels; usually, the tighter snare should be at a higher level to provide support (e.g., -6 dB).

    Step 3: Load the Drum Buss

    1. With the snare track selected, navigate to the Audio Effects section.

    2. Drag and drop Drum Buss onto your snare track.

    - Drive: Set to around 30% for added warmth.

    - Color: Adjust to Vintage for a darker tone.

    - Transient: Increase this around 4-6 dB for emphasis.

    Step 4: Apply the Utility Device

    1. To control the snare's width, add the Utility device after the Drum Buss.

    - Width: Set to 80% to maintain focus while widening the overall mix.

    - Gain: Adjust as necessary to avoid clipping.

    Step 5: Final Polishing with Saturation

    1. Add Saturator after Utility.

    - Set the Drive around 3-4 dB to introduce harmonic content.

    - Use the Output to tame levels if needed.

    - Mode: Set to "Analog Clip" for a smooth saturation curve.

    Step 6: Fine-Tuning with EQ

    1. Lastly, load the EQ Eight on your snare track.

    - Cut below 200Hz to eliminate any unnecessary low-end rumble.

    - Boost around 2-5 kHz for additional clarity and presence.

    - Optionally, a small boost around 10 kHz can add some airiness.

    Step 7: Testing in Context

    1. Create a simple drum pattern in a new MIDI clip, emphasizing your snare.

    2. Layer a deep bassline underneath to ensure your snare complements the track.

    ---

    Common Mistakes

  • Over-processing: Be cautious with the amount of transient shaping; too much can make your snare sound harsh instead of punchy.
  • Ignoring Context: Always test your snare within the mix; a sound might be great solo but could clash when layers are added.
  • Lack of Layering: A single snare often falls flat in DnB; don't hesitate to layer for extra texture and depth.

---

Pro Tips for Darker/Heavier DnB

1. Use Noise: Incorporate noise samples (like white or pink noise) layered underneath your snare for extra texture.

2. Experiment with Reverb: Try a very low wet signal of a short decay reverb to create space without muddying the mix.

3. Sample Selection: Look for snare samples from breakbeats or jungle tracks; these often have a gritty feel that's perfect for dark rollers.

---

Mini Practice Exercise

1. Choose three different snare samples from your library.

2. Create three unique layers using the steps above, tweaking the settings for each to find the perfect punch.

3. Organize a simple DnB beat and analyze how each snare fits into different contexts within the arrangement.

---

Recap

Congratulations! 🎉 You've successfully manipulated transients to create a punchy, dark snare that's ready to shake the dance floor. Remember to layer effectively, apply EQ carefully, and always consider the context in which your snares exist. Keep experimenting and pushing boundaries in your productions, and soon your tracks will stand out in the vibrant world of drum and bass!

Now go forth and make those snares slap! 🥁🔥

Ask GPT about this lesson

Chat with the lesson tutor, get follow-up help, or use quick actions.

Bigup 👽 Ask me anything about this lesson and I’ll answer in context.

Narration script

Show spoken script
Welcome to this energetic dive into the world of transient shaping for snares in drum and bass! In this lesson, we’ll focus on creating powerful, punchy snares that resonate deeply within the heart of dark rollers. Get ready to manipulate transients using Ableton Live's tools, ensuring your snares cut through the mix while embodying that deep, menacing vibe typical of the genre.

By the end of this tutorial, you’ll have designed a snare that features enhanced punch and definition, a tight transient response for faster rhythms, and a gritty, dark texture that perfectly complements heavy basslines. Prepare to make your snares command attention on the dance floor!

Let’s kick things off with Step One: Choosing your snare sample. Open Ableton Live and create a new project. Load a drum rack on a new MIDI track by pressing Shift and Command together with T. Now, find a dark snare sample, preferably one with natural decay and potential body. You can check out Ableton's Core Library or grab samples from trusted packs that you love.

Now onto Step Two: Layering for impact. If you want that extra punch, add another snare layer. Think about using a "snap" type snare to bring added definition. Simply drag that second snare into another cell in your Drum Rack. Adjust the volume levels accordingly. The tighter snare should typically sit at a higher level, around -6 dB, to really provide that support you need.

Next up, in Step Three: Load the Drum Buss. With your snare track selected, head over to the Audio Effects section and drop the Drum Buss onto your snare track. Here’s the magic: set the Drive to around 30% to bring in some warmth. For that darker tone, adjust the Color setting to Vintage. And don’t forget to boost the Transient around 4 to 6 dB for extra emphasis. That’s where the punch comes from!

Moving on to Step Four: Applying the Utility device. This step is crucial for controlling the snare’s width. Add the Utility device right after the Drum Buss. Set the Width to about 80% to maintain focus while widening your overall mix. Adjust the Gain if needed, just to avoid any clipping on the way.

Now for Step Five: Final polishing with Saturation. Add the Saturator after your Utility. Set the Drive around 3 to 4 dB to introduce some harmonious content. If the levels need taming, use the Output to adjust. And make sure to set the Mode to "Analog Clip" for that smooth saturation curve.

On to Step Six: Fine-tuning with EQ. Load the EQ Eight on your snare track. A good practice is to cut below 200Hz to eliminate any unnecessary low-end rumble. Boosting around 2 to 5 kHz will bring in additional clarity and presence. If you want to go the extra mile, a minor boost around 10 kHz can introduce some airiness to your snare.

Finally, in Step Seven: Testing in context. Create a simple drum pattern in a new MIDI clip. Make sure to emphasize your snare! Layer a deep bassline underneath and ensure your snare complements the track. This is where you really start to hear everything come together.

Remember, there are common mistakes to avoid. Be cautious with over-processing; too much can lead to harshness rather than that lovely punch we’re after. Always test your snare within the mix; it might sound amazing solo but could clash when you layer it. And don’t underestimate the power of layering— a single snare often lacks the depth needed for DnB.

Now, here are some pro tips for crafting darker, heavier DnB. Consider using noise samples, like white or pink noise, layered underneath for extra texture. Experiment with very low wet signals of short decay reverb to create space without muddying your mix. And when it comes to sample selection, look for snares from breakbeats or jungle tracks; they often have that perfect gritty feel.

Let’s do a quick mini-practice exercise. Choose three different snare samples from your library and create three unique layers using the steps we’ve covered. Tweak those settings for each snare to find your perfect punch. Organize a simple DnB beat and analyze how each snare fits into different contexts within your arrangement.

Congratulations! You’ve just manipulated transients to craft a punchy, dark snare that’s ready to take over the dance floor. Remember to layer effectively, apply EQ with care, and always consider the context in which your snares exist. Keep experimenting and pushing those boundaries in your productions, and soon your tracks will truly stand out in the vibrant world of drum and bass!

Now go forth and make those snares slap!

Mickeybeam

Go to drumbasscd.com for +100 drum and bass YouTube channels all in one place - tune in!

Any 1 Tutorial FREE Everyday
Tutorial Explain
Generating PDF preview…