Main tutorial
Lesson Overview
In this lesson, you’ll build a rewind moment that feels like a real oldskool jungle/DnB crowd reaction, but you’ll design it automation-first inside Ableton Live 12 rather than relying on a pile of random FX. The goal is to make the rewind feel intentional, musical, and DJ-friendly: the drop hits, the vocal or ragga phrase triggers the call, the music “snatches back,” and the tension resets into a nastier second impact.
This technique sits right at the end of a breakdown, before a drop replay, or as a mid-track switch-up. In authentic DnB and jungle, rewinds are not just gimmicks — they’re arrangement tools. They give you a chance to reframe the groove, reintroduce a drum break with more urgency, and create that classic “pull it back!” feeling that worked in sound system culture and still works in rollers, jungle revival, and darker bass music.
Why automation-first matters: if you automate the musical elements first — drums, bass, ragga vocal fragments, filters, mutes, sends, and reverb throws — the rewind becomes part of the composition. Then FX just support the moment. That approach keeps the section tight, readable, and mixable, while still sounding chaotic and alive. 🎛️
What You Will Build
You’ll build a two-bar rewind phrase for a DnB/jungle arrangement that includes:
- A ragga vocal call like “rewind!” or “come again!” chopped into a strong response point
- A hard stop / tape-like snap-back from the drop
- A filtered breakbeat pullback that feels like it’s being physically yanked into reverse
- A bass retrigger that lands with more menace on the replay
- A reverse-riser / impact hybrid made mostly from resampled audio and stock Ableton devices
- A final re-entry into the drop with extra weight, wider atmosphere, and a cleaner low-end reset
- Making the rewind too long
- Using too many separate FX instead of automation
- Leaving the sub muddy during the transition
- Over-bright reverse effects that clash with the break
- Forgetting the second drop variation
- Letting reverb wash out the groove
- Use mono discipline on the low end: Keep everything below 100–120 Hz strictly mono. Wide sub + rewind FX = weak replay.
- Distort the mids, not the sub: If the bass needs more attitude, saturate the reese or mid layer, not the clean sub.
- Try a fake tape stop with automation: Instead of a literal tape-stop effect, automate the final drum hit’s pitch slightly down and the gain down fast over 1/8 to 1/4 bar. It can sound more brutal and less cliché.
- Use ghost notes to foreshadow the replay: A tiny snare pickup, rim, or break slice right before the rewind makes the restart feel inevitable.
- Darken the atmosphere on the pullback: Low-pass the pads or room tone into the rewind, then reopen them only after the replay starts.
- Add controlled grit on the resampled rewind: A touch of Redux or Saturator can make the rewind feel like it came from dubplate culture, but keep it subtle.
- Make the second impact heavier than the first: Add one extra transient, one slightly longer bass note, or a more aggressive drum bus hit on the replay. The rewind should earn the heavier return.
- Build the rewind from automation first, not from FX alone.
- Let the ragga vocal cue trigger the moment.
- Fade, filter, and resample the actual drop elements so the rewind feels natural.
- Keep the sub mono and clean.
- Make the replay heavier or slightly different so the rewind has a purpose.
- Use stock Ableton devices like Auto Filter, Utility, Echo, Reverb, Drum Buss, Glue Compressor, Saturator, Grain Delay, and Redux to keep the workflow fast and authentic.
Musically, the result should feel like:
Drop A → vocal call → rewind pull → brief suspense → Drop A replay or Drop B variation
Think of it as a performance moment for the listener and a mix transition for the producer.
Step-by-Step Walkthrough
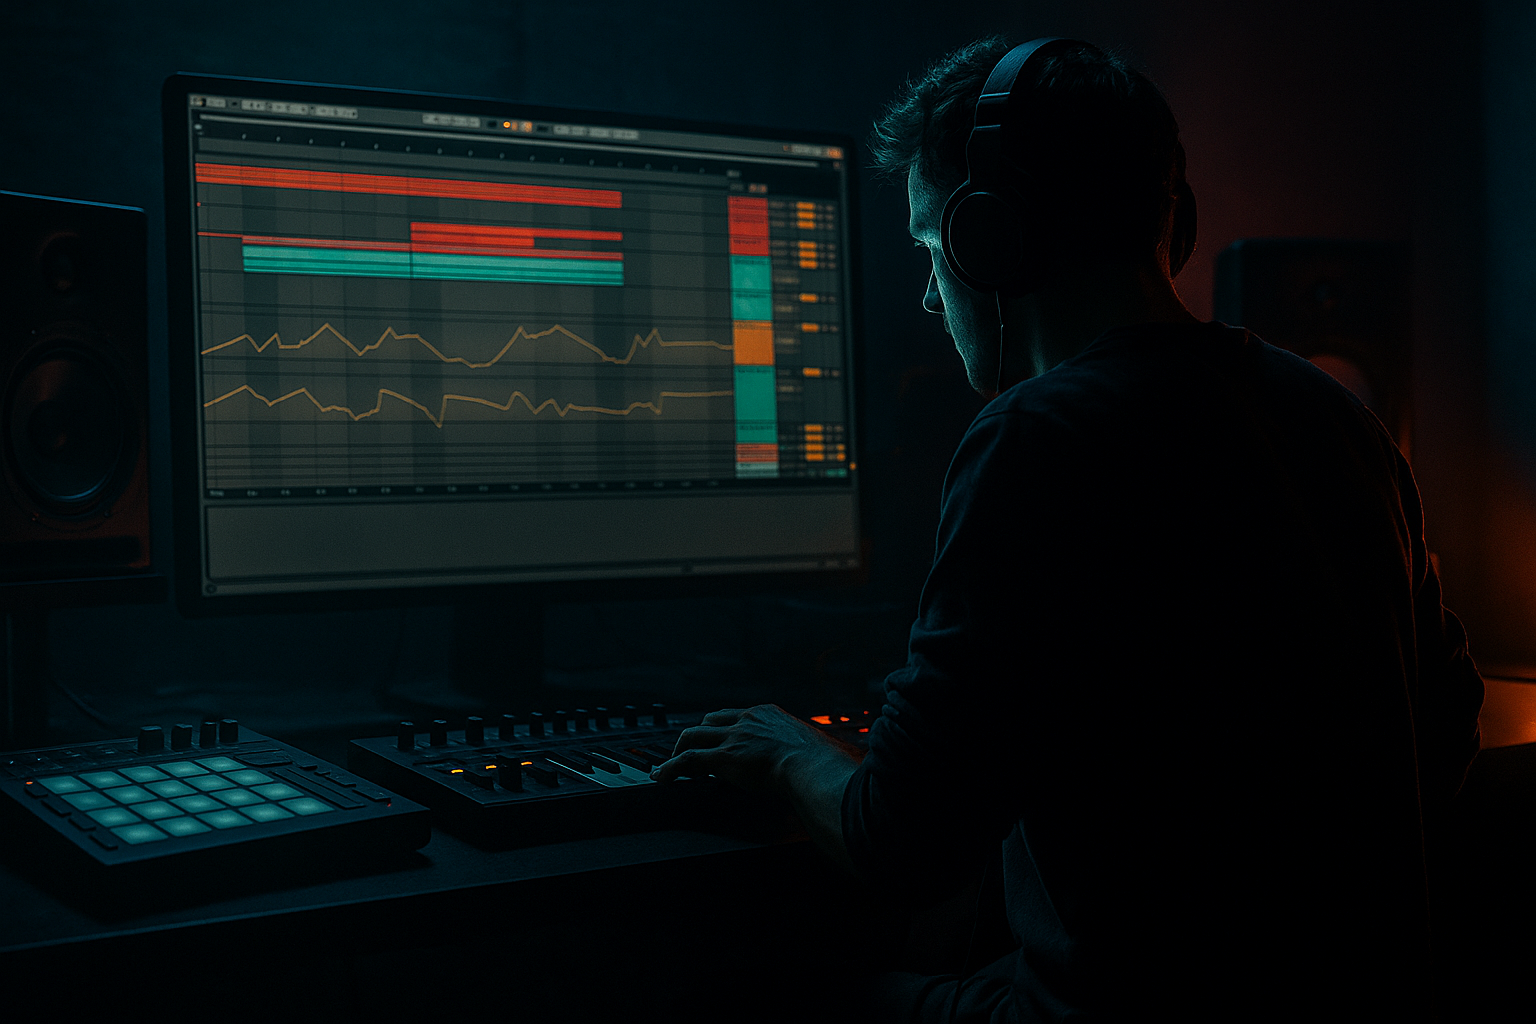
1. Set up a dedicated rewind group and prep the scene for automation
Start by grouping everything that participates in the rewind into a single “RWND” group: drums, bass, vocal chops, FX returns, and any atmosphere layer. If your session already has a drop arrangement, duplicate the 4–8 bar section leading into the rewind so you can work non-destructively.
Inside the group, keep these lanes visible:
- Drums: break loop, one-shots, snare accent, crash
- Bass: sub, reese/top layer, growl or mid-bass
- Vocal/Ragga: call phrase, response chop, shout
- FX: noise hit, reverse tail, reverb return
Use Ableton Live 12 automation lanes early. The point is to make every motion visible. For advanced workflow, map key macro controls if you’re using an Instrument/Audio Effect Rack:
- Macro 1: Drum low-pass
- Macro 2: Bass filter
- Macro 3: Reverb send
- Macro 4: Delay feedback
- Macro 5: Utility gain / drop mute
- Macro 6: Saturation drive
This lets you draw one gesture across multiple layers instead of micromanaging each clip.
2. Design the ragga trigger so the rewind feels culturally believable
A rewind moment in jungle or ragga DnB usually starts with a human cue: “rewind,” “pull up,” “run dat again,” “soundboy style,” or a chopped phrase that implies crowd interaction. The vocal should not sit like a random sample; it should act like a conductor for the transition.
Put the vocal on its own audio track and process it with:
- Auto Filter: band-pass or low-pass sweep
- Echo: short throw for the last syllable
- Reverb: large, dark space
- Utility: automate gain down after the call
Good starting points:
- Auto Filter cutoff: start around 6–10 kHz for the phrase, then pull down to 300–800 Hz into the rewind
- Reverb decay: 2.5–5.5 s
- Echo time: 1/8 or 1/4 dotted, feedback 15–35%
For a classic oldskool feel, crop the vocal so it lands just before the bar line. In jungle, that slight anticipation matters. If the phrase is “rewind,” let the final consonant fall right as the drums disappear. That creates a natural handoff into the reversal.
3. Automate the drop-out, don’t just mute it
The rewind works best when the drop doesn’t simply vanish — it gets peeled away. Use automation on the elements in this order:
- Bass mute or gain ramp
- Drum bus filter
- Snare/kick transient reduction
- Reverb and delay send increase
- Masterly controlled stop via Utility, not clipping
On the bass group, automate either:
- Utility Gain from 0 dB to -inf
- or Auto Filter cutoff from around 120–200 Hz for a dark roll-down effect if you want the bass to “suck back” before silence
On the drums, use Auto Filter on the drum bus with a low-pass sweep:
- Start cutoff around 18–20 kHz
- Sweep down to 1.5–4 kHz over 1 bar
- Add a tiny resonance bump, around 10–20%, if you want a more vocalized pullback
This is where automation-first pays off. Instead of throwing a random reverse crash on top, you’re building the rewind from the actual drop material. That sounds more authentic in DnB because the listener recognizes the groove being “taken away” rather than replaced with generic FX.
4. Build the reverse feel with resampling and sample-level editing
Now resample the rewind section. In Live, create an audio track set to resample or route the group output internally to a new audio lane. Record the 1–2 bars covering the vocal call and the drop-out movement.
Once recorded, edit the new audio clip:
- Reverse the clip using Reverse
- Warp if necessary, but avoid over-stretching transients
- Trim the start to capture the most expressive slice
- Add a short fade-in if the reversed transient is too clicky
For a more convincing rewind texture, layer a second reversed version of the snare or break tail underneath the main reverse. You can also process the resampled audio through:
- Grain Delay for a smeared tape-like tail
- Redux lightly for digital grit
- Saturator in Soft Clip mode for density
Suggested settings:
- Grain Delay: Spray 5–15, Frequency 1–3 kHz, Dry/Wet 10–25%
- Redux: Downsample modestly, keep it subtle; use only enough to roughen the tail
- Saturator Drive: 2–6 dB, Soft Clip on
This gives you a rewind that sounds “made” rather than pasted in.
5. Shape the breakbeat rewind so it still hits like jungle
Don’t let the rewind section become a bland effect wash. Your drums should still reference the original break energy. Use a sliced break or a tight drum loop and automate its behavior.
On the break or drum group:
- Insert Drum Buss for weight and transient control
- Use Glue Compressor lightly if the loop is too loose
- Add Auto Pan very subtly for motion if the section needs width without losing center
Useful drum settings:
- Drum Buss Drive: 5–15%
- Crunch: 2–8%
- Boom: keep low or off during the rewind if the sub is being cleared
- Glue Compressor: ratio 2:1, attack 10–30 ms, release auto or 0.1–0.3 s
For the rewind bar, automate the break:
- First bar: high-cut and reduced volume
- Half-bar before the rewind: a quick snare fill or ghost-note pickup
- Last beat: hard stop or micro-gate feel
If you have a classic amen, think in call-and-response phrasing: let one snare hit answer the vocal, then reverse the next break segment. The listener should hear the break being performed, not just looped.
6. Create the bass replay as a more dangerous second statement
The rewind isn’t finished until the replay feels better than the first drop. This is where advanced DnB arrangement judgment matters. Don’t simply repeat the bassline unchanged. Re-enter with a variation:
- A slightly altered note ending
- A more filtered first hit
- A reese widened in the mids but mono below 120 Hz
- A ghost note pickup leading into the first accented stab
Use Wavetable, Operator, or even a sampled bass phrase through Simpler. Then process with:
- Auto Filter for a low-pass opening
- Saturator or Roar if you’re using Live 12’s stock devices for extra harmonic edge
- Utility to keep sub mono
Smart starting points:
- Sub layer mono below 100–120 Hz
- Reese layer widened only above 200 Hz
- Filter cutoff opening from 200–500 Hz at the restart
- Saturation just enough to reveal the bass on small systems, not distort the low end into mud
Arrangement-wise, let the re-entry land on bar 1 of a fresh 8-bar phrase if possible. That makes the rewind feel like it reset the dancefloor into a new cycle. In roller or jungle structures, this is often more effective than forcing a long transition.
7. Automate FX like a DJ, not like a preset demo
Now add the finishing FX detail, but keep them in service of the moment. Use send automation rather than piling up separate tracks wherever possible.
On a return track:
- Reverb with a long, dark decay
- Echo with filtered feedback
- Delay or Hybrid Reverb if you want a more modern atmospheric tail
Automate sends so they spike only at the end of the phrase:
- Vocal send to Reverb: 0% to 25–40% briefly
- Snare send to Echo: 0% to 15–25%
- Drum bus send to Reverb: only the last hit or two
For the impact back in, layer:
- A short noise burst
- A reversed cymbal or break tail
- A sub drop or low thud if the arrangement needs a new floor
Keep the FX tonal. In darker DnB, bright white noise can feel too EDM-ish unless filtered. Try high-pass around 1.5–3 kHz on the bright layer and low-pass the ambience to stop it fighting the break.
8. Finalize the rewind as an arrangement device, not just a transition
Place the rewind where it enhances the story of the track:
- After the first drop, to remind the listener of the hook
- Before a darker second drop, to reset energy
- Before a breakdown return, to make the break feel “interactive”
A strong structure example:
- 16 bars intro
- 16 bars first drop
- 8 bars development
- 2-bar rewind moment with ragga call
- 8 bars replay with heavier bass variation
- Outro with stripped drums for DJ usability
For oldskool jungle vibes, keep the rewind short and decisive. The magic is in the confidence. A rewind that drags loses impact, but a rewind that arrives on time makes the whole track feel like it’s reacting to a live set environment.
Common Mistakes
Fix: Keep it to 1–2 bars unless the track is intentionally halftime or cinematic. In DnB, tension collapses quickly if you overextend the pause.
Fix: Automate the real musical elements first — drums, bass, vocal, sends. FX should accent the movement, not create it from nothing.
Fix: Hard-mute or rapidly fade the sub before the rewind. Use mono Utility and ensure the restart is clean.
Fix: Filter the reverse layer. A rewind should feel dusty, tense, and system-friendly, not glassy and polished.
Fix: Change at least one core element on the replay — bass articulation, snare fill, or break edit. Otherwise the rewind feels like dead air before repetition.
Fix: Automate sends narrowly. Reverb should bloom at the end of the phrase, then disappear before the next downbeat.
Pro Tips for Darker / Heavier DnB
Why this works in DnB: the genre lives on phrasing, repetition with variation, and physical low-end impact. A rewind moment is essentially a micro-arrangement that reasserts the groove while creating live-set energy. When the automation is musical, the audience feels the track being “performed” rather than edited.
Mini Practice Exercise
Spend 10–20 minutes building a rewind into an existing 16-bar drop:
1. Pick a section with drums, bass, and one vocal/ragga phrase.
2. Duplicate the last 4 bars before a drop.
3. Automate the bass and drum group down over 1 bar using Utility gain or filters.
4. Place a “rewind” vocal chop on the last strong beat.
5. Resample the transition and reverse the audio.
6. Add one reversed break slice underneath.
7. Reintroduce the drop with one variation: change the bass rhythm, add a snare fill, or switch the break edit.
8. Check the low end in mono and make sure the restart hits cleanly.
Goal: by the end, you should have a rewind that feels like a real jungle/DnB moment, not just a random effect.

