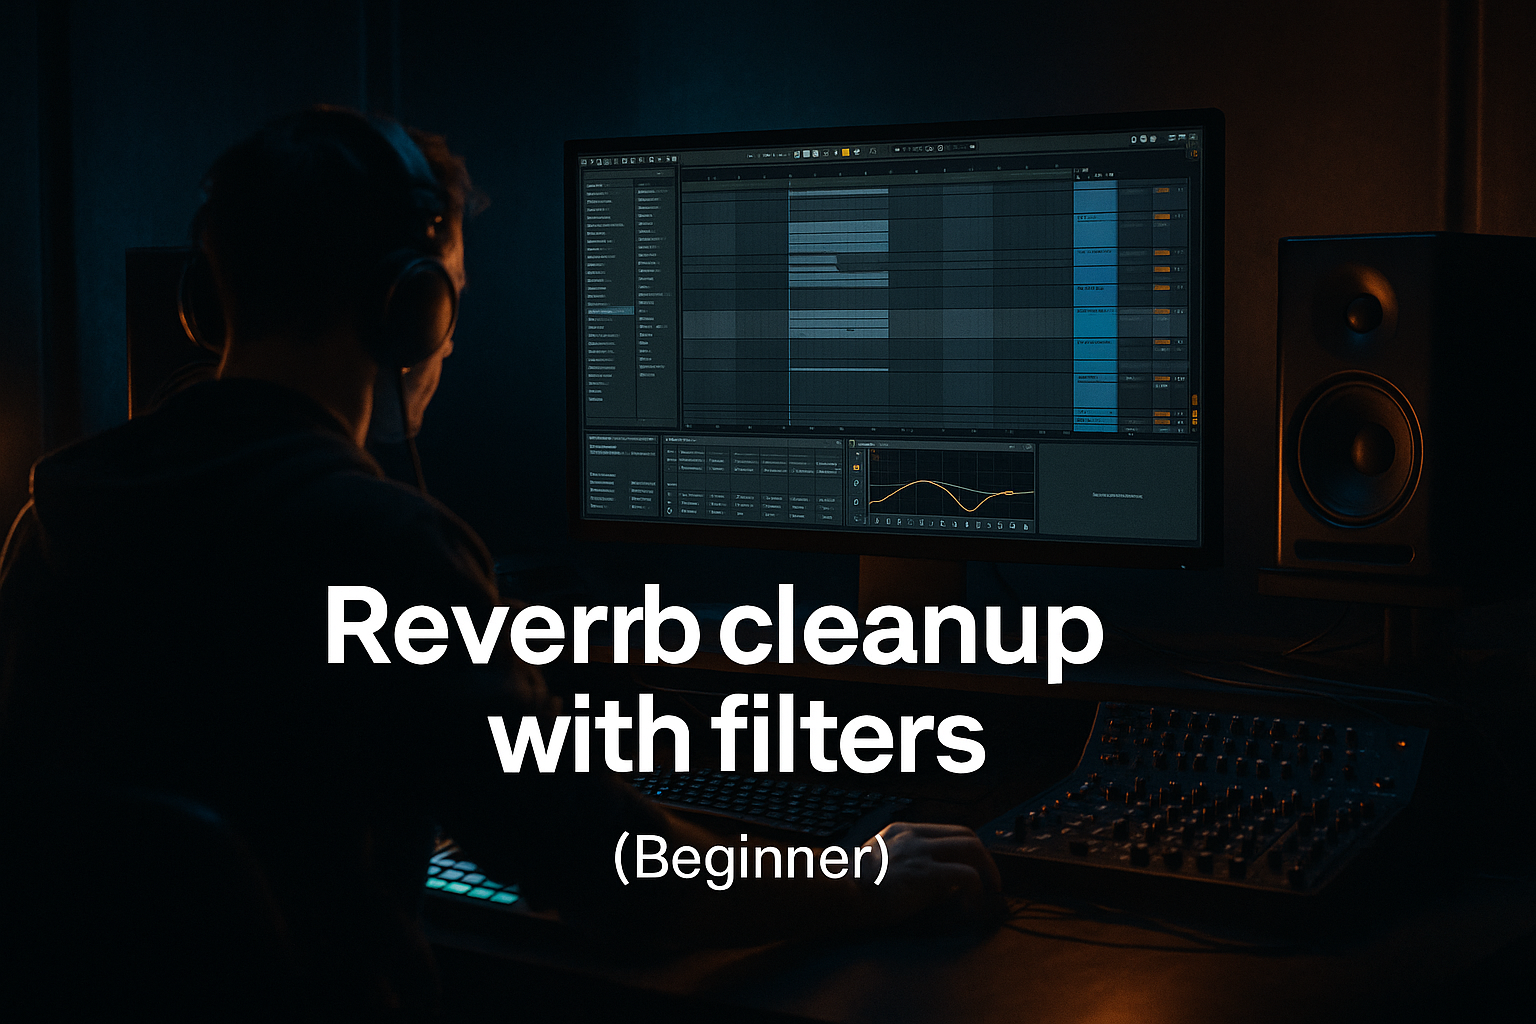
Main tutorial
Lesson Overview
This lesson is about turning a plain top loop into a dark, tension-building riser for 90s-inspired jungle and oldskool DnB in Ableton Live 12. The goal is not to make a glossy EDM lift — it’s to create that gritty, tape-worn, “something is coming” energy that works before a drop, a switch-up, or a breakdown turnaround.
In darker DnB, risers are often less about huge white-noise sweeps and more about texture evolution: chopped break tops, pitched percussion, reversed hits, filtered noise, reverb throws, and subtle automation that feels like the arrangement is pulling forward on its own. This technique fits perfectly in the bars leading into a drop, especially when you want to keep the oldskool character intact while still sounding current.
Why this matters: in jungle and 90s-influenced DnB, the build-up has to feel musical, raw, and functional. A strong top-loop transform workflow lets you create lift from material already inside the track, which keeps the vibe cohesive and saves time. Instead of reaching for generic riser samples, you’ll extract tension from your existing drums and atmospheres — which sounds more authentic in DnB and sits better with breaks, bass, and vocal chops. 🔥
What You Will Build
You’ll turn a short top-loop section into a dark, evolving riser layer made from:
- a chopped break top with increasing urgency
- filtered, pitched, or reversed percussion accents
- a controlled noise layer for lift
- reverb and delay throws that widen the transition
- a final impact-ready pre-drop build that still feels jungle-informed
- intro-to-drop risers
- breakdown rebuilds
- 2nd-drop switch-up lifts
- DJ-friendly transition tools for live arrangement
- hats and ride fragments from a break
- snare tails
- percussion shuffles
- ghosted break tops
- noisy vinyl texture or room tone layered above the drums
- Complex Pro for more tonal material
- Beats for drum-heavy slices if you want punch
- preserve transient positions where possible
- Transpose up by 2–7 semitones across 4 or 8 bars for a climbing feel
- or keep pitch static and use Re-Transpose / warp-style tension only on selected hits if the sample tolerates it
- create gradual rhythmic tightening by slicing the loop into shorter fragments near the end
- Bars 1–2: loop mostly natural
- Bars 3–4: filtered and slightly pitched up
- Bars 5–6: more chopped and more automated
- Final bar: almost entirely transitional FX and tight top-end hits
- Transients for a break-driven loop
- 1/8 or 1/16 if you want more deliberate rhythmic control
- start with sparse hat hits or break ticks
- increase note density every bar
- leave small gaps for groove
- place accented hits just before the drop to create anticipation
- Auto Filter
- Saturator
- EQ Eight
- low-pass filter for the early bars
- resonance around 0.7–2.0 for extra tension
- slowly open the cutoff across the build
- starting around 200–800 Hz if you want it dark and buried
- opening toward 6 kHz–12 kHz before the drop
- Drive around 2–6 dB
- Soft Clip ON if the source is spiky
- Keep Output trimmed so the chain doesn’t jump too hard
- high-pass around 120–250 Hz if any low junk remains
- gently dip harshness around 3–5 kHz if hats get brittle
- if needed, add a small lift around 8–10 kHz only at the end of the build
- Hybrid Reverb or Reverb
- Delay or Echo
- decay around 1.5–4.5 s
- pre-delay around 10–30 ms
- low cut high enough to keep mud out, often 200 Hz+
- high cut to tame brightness, especially on oldskool material
- try 1/8, 1/8 dotted, or 1/4 synced feedback
- keep feedback around 15–40%
- filter the repeats so they sound smoky rather than glossy
- Auto Filter in high-pass or band-pass mode
- Utility for stereo width control
- distortion or saturation if desired
- high-pass starting around 2–4 kHz
- widen slightly with Utility Width 110–130% only on the higher-frequency layer
- keep the main riser lane more centered and the noise layer wider
- clip gain or track volume
- reverb send
- delay send
- EQ and filter cutoff
- transient emphasis via timing and density
- first half: low level, dry, fewer notes
- middle: gradual rise in volume and filter opening
- last bar: increased send levels, more density, more high-end energy
- final half-bar: sudden space or a short gap before the drop
- use it in the last 4 or 8 bars before a drop
- leave room for a final snare fill or vocal stab
- let the last hit of the riser point directly into the first drum hit of the drop
- consider a DJ-friendly intro version where only the top riser and percussion grow before the bass enters
- Using a generic EDM riser sample instead of transforming your own loop
- Too much high end too early
- Over-warping break material
- Reverb washing out the drop
- Ignoring mono compatibility
- Making the riser too busy
- Use micro-pitch automation on the last 1–2 hits instead of a constant upward glide. Small bends can feel more ominous than obvious rises.
- Layer a Subtle Noise Burst underneath the top loop, but high-pass it hard so it only lifts the upper air. Keep it low in the mix.
- Put Drum Buss on the riser return with Drive and Crunch very lightly for grime. A little goes a long way.
- Try Redux at a low amount for bitty, dusty top-end texture — perfect for 90s-inspired darkness.
- If the build needs more panic, shorten the rhythmic grid at the end: go from 1/8s to 1/16s or add extra ghost hits.
- For extra underground character, send the riser into a short room reverb and then EQ out some lows. This gives you that claustrophobic warehouse vibe.
- Keep the main bass group untouched during the riser. In dark DnB, the drop feels bigger when the sub and reese stay disciplined until the exact impact point.
- Use Utility to automate a tiny reduction in width right before the drop, then let the drop open wider if needed. That contrast can feel massive.
- start with a break top, hat loop, or percussion fragment
- slice, reshape, and rebuild the rhythm
- use Auto Filter, Saturator, EQ Eight, reverb, and delay to evolve the texture
- keep the build dark early and brighter only near the drop
- print the result and arrange it like a real transition element
The result will sound like a ramp-up into a drop or switch: tight in the low end, gritty in the mids, and animated in the highs without getting too shiny. Think 8-bar or 4-bar transition energy for a roller, jungle stepper, or darker neuro-leaning DnB arrangement.
By the end, you’ll have a reusable Ableton workflow for making:
Step-by-Step Walkthrough
1) Choose the right top loop source and trim it for tension
Start with a top-only loop or a break section where the kick and sub are not dominating. In jungle and oldskool DnB, the best riser sources are often:
In Ableton, drag the loop into an audio track and warp it cleanly. If it’s a break recording, use Warp mode conservatively so you don’t destroy the swing. For this style, try:
Trim a 1-bar or 2-bar section that has movement. You want a loop that already feels alive before you process it. If the loop is too busy, isolate a more open section with a strong hat pulse or a snare drag.
Practical move: duplicate the loop track and keep one version clean as a reference. You’ll transform the duplicate into the riser.
2) Create a “riser lane” with warp, transpose, and clip automation
Now decide the musical direction of the build. In dark DnB, rising isn’t always a big upward glide — sometimes it’s a pressure increase through filter opening, pitch motion, or rhythmic densification.
Use the Clip View on the duplicated loop and automate:
A strong approach is to make the first half of the build relatively stable, then increase intensity in the last 2 bars:
If you’re building a 4-bar riser for a fast arrangement, keep the movement more aggressive and compact. For 8 bars, leave more room for atmosphere and suspense.
3) Slice the loop into drum logic and rebuild the energy
This is where the workflow becomes very DnB-specific. Right-click the audio clip and choose Slice to New MIDI Track. Use a sensible slicing preset:
Ableton will create a Drum Rack or Simpler chain with each hit available as a pad. Now you can rebuild the top loop as a tension phrase instead of a static loop.
Make a MIDI clip and program a new pattern:
Good intermediate move: create 3 versions of the phrase:
1. sparse intro pattern
2. medium-density build pattern
3. dense pre-drop pattern
Then place them across the transition so the riser evolves naturally.
Why this works in DnB: jungle and DnB builds often rely on rhythmic escalation rather than giant harmonic sweeps. A sliced top loop can behave like a drum fill, a shaker riser, and a texture lift all at once — which feels much more authentic than a generic synth whoosh.
4) Shape the tone with Auto Filter, Saturator, and EQ Eight
Now process the riser lane with stock Ableton devices. A very effective chain is:
Set Auto Filter to:
Suggested cutoff ranges:
If you want more bite, use a band-pass sweep instead of a low-pass. That can feel more “rattling” and underground for jungle transitions.
Add Saturator after filtering:
Then use EQ Eight to clean up:
For darker DnB, avoid making the riser too shiny. A slightly constrained top end often feels heavier and more believable.
5) Add reverb throws and delay motion for space without washing out the groove
A riser in DnB should gain size as it approaches the drop, but it must not destroy punch. Use Return tracks for control.
Set up a return with:
For reverb:
For delay:
Automate send levels so the last 1–2 hits bloom into space. A classic trick: keep the loop relatively dry at the start, then increase reverb and delay sends in the final bar. This creates the sense of the room opening up right before impact.
Musical context example: if your drop lands with a reese and Amen chop combo, the riser should leave a gap right before the first kick/snare hit so the impact feels huge. Don’t let the reverb tail smear over the downbeat.
6) Build a parallel noise layer from the same source for consistency
Instead of using only a separate white-noise sample, create a parallel layer from your top loop so the transition feels like part of the track.
Duplicate the riser lane and process the copy with:
Try these settings:
You can also freeze and flatten the processed duplicate if you want a more committed texture. That’s a great intermediate workflow move in Ableton Live 12: once you like the motion, print it so you can edit it like an audio element.
This gives you a layered riser that still feels like it came from the break, which is exactly what makes it fit jungle and oldskool DnB aesthetics.
7) Use automation on volume, send, and transient shape to make the rise feel alive
Now add movement beyond just filtering. Automate:
A strong transition curve is:
If you want a more aggressive oldskool edge, automate a short stop or micro-gap right before the drop. That tiny silence can make the drum return hit much harder.
A useful arrangement choice: place the riser so it peaks slightly before the drop, not exactly on it. That makes the drop feel like it resolves the tension rather than simply continuing it.
8) Print, edit, and arrange the riser like a transition instrument
Once the build feels right, freeze and flatten or resample it to audio. This lets you cut, reverse, and shape the end precisely.
At the arrangement level:
Good final touch: add a short reverse-tail hit or reversed hat just before the drop. This is especially effective in darker DnB because it hints at the incoming groove without sounding overproduced.
If the track has a halftime breakdown or atmospheric middle section, the same workflow can create a mini rebuild into the second drop with slightly more aggression and more top-end grit.
Common Mistakes
Fix: derive the riser from your break tops or percussion so it matches the groove and tone of the track.
Fix: keep the build dark at the start and open the brightness later. In DnB, early brightness can flatten tension.
Fix: use warp conservatively. If the groove starts sounding plasticky, resample and rebuild with slices instead.
Fix: automate sends carefully and high-pass the reverb return. Leave a clean gap before the downbeat.
Fix: keep the core riser material mostly centered. Use width only on the top-most layer.
Fix: tension comes from control, not constant motion. Leave pockets of space so the drop can breathe.
Pro Tips for Darker / Heavier DnB
Mini Practice Exercise
Spend 10–20 minutes making two different risers from the same top loop.
1. Pick a 1-bar break top or percussion loop from your current project.
2. Duplicate it twice.
3. On Version A, slice to MIDI and rebuild a sparse-to-dense fill over 4 bars.
4. On Version B, keep it audio and automate Auto Filter cutoff, Saturator drive, and reverb send.
5. Resample both versions.
6. Compare which one feels more like:
- a jungle-style transition
- a modern darker DnB pre-drop build
7. Choose the stronger one and place it before a drop or switch-up in your arrangement.
8. Add one final reverse hit or gap before the downbeat.
Goal: by the end, you should have a reusable riser workflow that sounds like it belongs in your track, not pasted on top of it.
Recap
The core idea is simple: turn your top loop into a tension engine.
Remember the key moves:
In DnB, the best risers are often the ones that feel like they were born from the groove itself. That’s what makes this workflow so effective for 90s-inspired darkness, jungle energy, and oldskool pressure.

