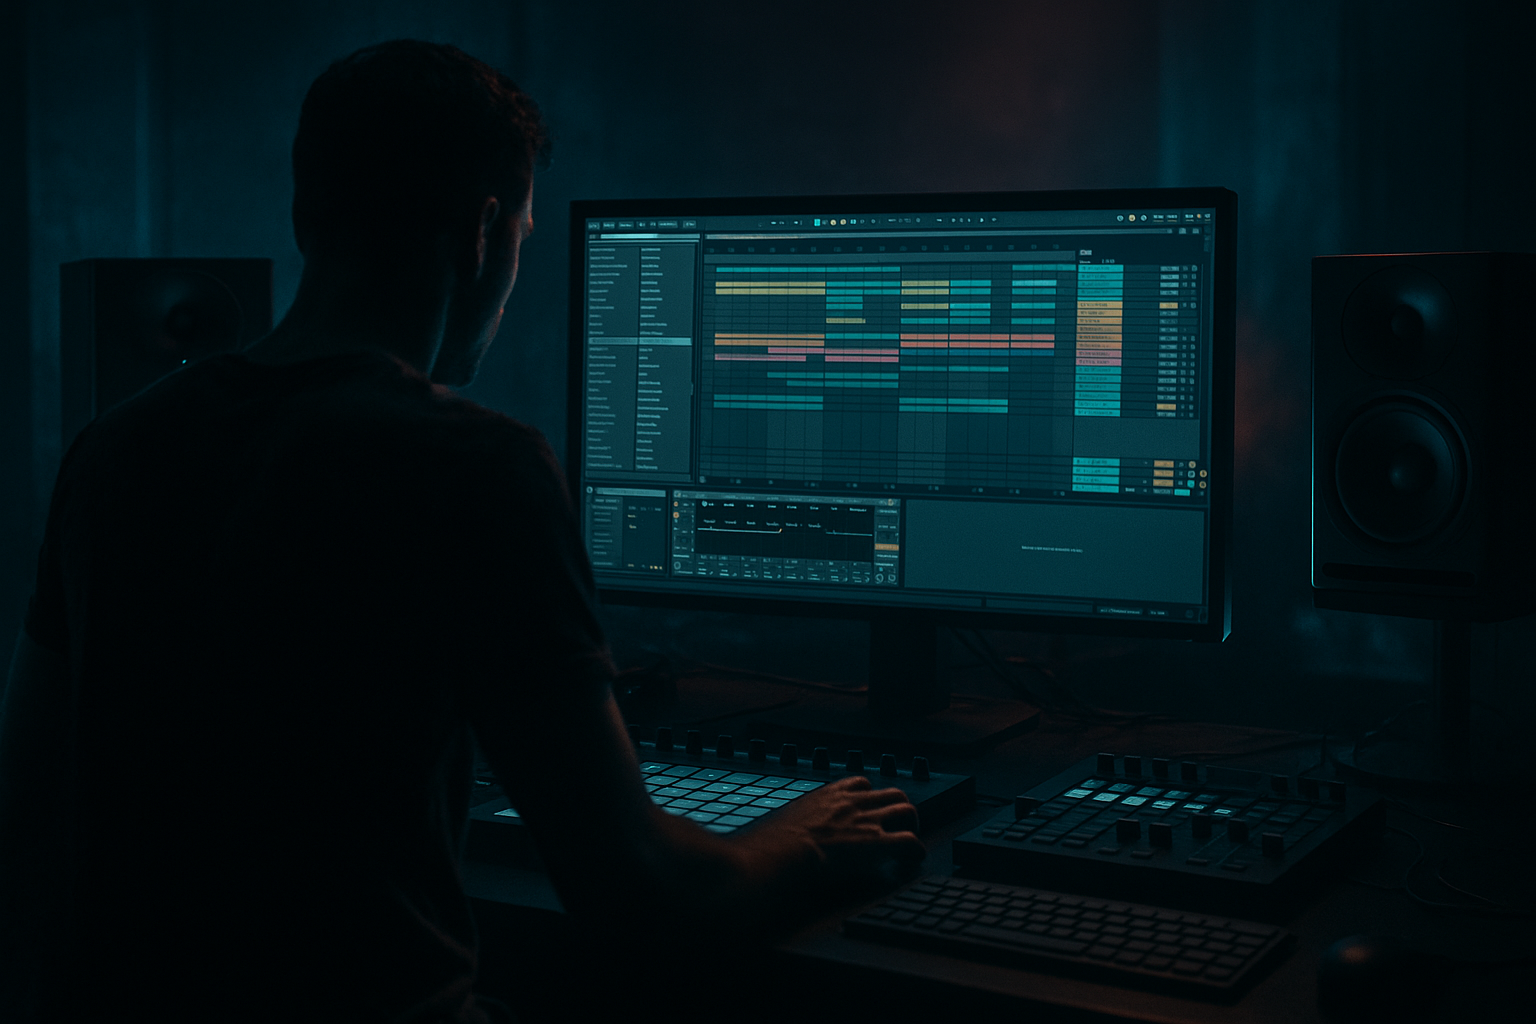
Main tutorial
1. Lesson overview
Oldskool jungle / early DnB drums aren’t just “one perfect break.” They’re often a main break + a textured top loop that adds air, grit, shuffle, and movement without stealing the punch. In this lesson you’ll learn a reliable Ableton Live workflow to blend top loop texture (hats, rides, ghost hits, room noise, vinyl grit) over your core drums for that rolling, lived-in vibe 🔥
We’ll focus on beginner-friendly steps using Ableton stock devices, and we’ll keep it rooted in classic DnB: think break-driven, swingy, crispy tops, controlled chaos.
---
2. What you will build
You’ll end up with:
- A main drum loop (your punch + weight)
- A top texture loop (high-passed, controlled, wide-ish, moving)
- A processing chain that makes the top loop:
- A simple 8–16 bar arrangement idea for intros/drops
- Main break: something with strong kick/snare identity (Amen-ish, Think, Hot Pants, etc.)
- Top texture loop: look for:
- For breaks: try Beats mode, Preserve = Transients, and adjust Transient Loop Mode if needed.
- If it gets crunchy in a bad way, try Complex (but it can smear transients).
- Enable a High-Pass filter:
- Cut harshness if needed:
- If it’s dull after high-pass:
- Drive: 5–15% (start at 8%)
- Crunch: 0–10% (start at 3–5%)
- Boom: OFF or very low (we removed lows anyway)
- Damp: adjust if hats get too bright (try 5–20%)
- Mode: Analog Clip
- Drive: 2–6 dB
- Soft Clip: ON
- Attack: 3 ms
- Release: 0.3 s (or Auto)
- Ratio: 2:1
- Threshold: lower until you get 2–4 dB gain reduction
- Makeup: adjust so level matches before/after
- Bass Mono: ON, set around 200–300 Hz (even though you high-passed—this keeps it safe)
- Width: 110–140% (start at 120%)
- Decay Time: 0.4–0.9 s
- Pre-Delay: 0–10 ms
- High Cut: 6–10 kHz
- Low Cut: 500 Hz+
- Dry/Wet: 5–12%
- more movement
- more high-end detail
- more energy
- Slice a 1-bar section of the top loop and duplicate.
- Nudge certain hits slightly off-grid (just a few ms).
- Main break: filtered or low-passed (EQ Eight low-pass at 6–10 kHz)
- Top texture: on (to build anticipation)
- Add riser/noise if you want, but keep it jungle-y (vinyl, atmos)
- Main break: full spectrum
- Top texture: full + slightly louder (automate +1 to +2 dB)
- Add a crash or ride hit (oldskool style)
- Every 4 bars, do a 1/2 bar mute of the top texture for variation
- Or automate the top loop HPF from 500 → 300 Hz to “open up” subtly
- Leaving lows in the top loop → muddy kicks, weak snare.
- Top loop too loud → hats dominate, snare loses identity.
- No peak control → random hat spikes hurt your ears.
- Too much width → phasey highs, weak mono playback.
- Warp artifacts (metallic hats) → ruins natural break vibe.
- Darker tops = less 10–12k, more 6–8k control
- Parallel distortion for menace
- Gate the reverb to keep it tight
- Make tops pump with the main snare (sidechain)
- Oldskool DnB drum energy comes from layering a controlled top texture loop over a strong main break 🎚️
- The winning formula in Ableton Live:
- Add movement with groove, micro-timing, and simple arrangement mutes/automation.
- sit behind the main break
- stay consistent (no harsh spikes)
- feel oldskool (slight saturation, room, subtle resample vibe)
---
3. Step-by-step walkthrough
Step 0 — Session setup (fast + correct for DnB)
1. Set tempo to 170–174 BPM (try 172 BPM).
2. Set your project to 1/16 grid for editing.
3. Create 2 audio tracks:
- Track 1: MAIN BREAK
- Track 2: TOP TEXTURE
Tip: Color code them. You’ll thank yourself later ✅
---
Step 1 — Choose your source loops (what works for oldskool)
- busy hats/ride wash
- room tone / mic bleed
- small ghost notes
- shuffly percussion loop
- even a “crackly” loop with noise
Important: The top loop does not need to have good kick/snare. In fact, it’s better if it’s messy—because we’ll carve it.
Ableton tip: Use Warp in Complex/Beats modes depending on material:
---
Step 2 — Tighten timing (so it rolls, not flams)
1. Warp both loops.
2. Make sure bar starts align (first kick/snare lands where you expect).
3. If the top loop feels late/early:
- Nudge the clip using Track Delay (bottom right in mixer section):
- Try -5 ms to -20 ms for top loop if it feels behind.
- Try +5 ms to +15 ms if it feels too on-top and jittery.
Goal: Main break punches; top loop “dances” around it, not fighting it.
---
Step 3 — Carve the top loop (the core of this lesson) 🎛️
#### Device chain (TOP TEXTURE track)
Put these stock devices in this order:
1) EQ Eight
2) Drum Buss (or Saturator)
3) Compressor (or Glue Compressor)
4) Utility
5) Reverb (optional, subtle)
---
#### 3A — EQ Eight: high-pass + harsh control
On TOP TEXTURE:
- Frequency: 250–500 Hz (start at 350 Hz)
- Slope: 24 or 48 dB/oct (steeper = cleaner separation)
- Sweep around 6–10 kHz
- If it’s “spitty,” try a gentle dip: -2 to -5 dB, Q about 1.5–3
- Add a small shelf: +1 to +3 dB at 10–12 kHz
DnB mindset: Your main break owns the body. The top loop owns the “air” and “tick.”
---
#### 3B — Drum Buss: grit + glue without taking over
On TOP TEXTURE:
You’re aiming for that slightly chewed texture you hear in old recordings/resampled breaks.
Alternative: Saturator
---
#### 3C — Control peaks so the top loop doesn’t “randomly scream”
This is huge. Oldskool tops can be dynamic, but for a clean blend you need control.
Use Compressor (simple) or Glue Compressor (vibe).
Glue Compressor starting point:
If the top loop feels too “flat,” reduce gain reduction to 1–2 dB.
Key idea: You’re taming spikes so you can turn the top loop up without pain.
---
#### 3D — Utility: width + mono management
On TOP TEXTURE:
If your main break already has wide tops, keep it closer to 100–110%.
Oldskool often feels wide in the top end, but don’t overdo it—wide hats can get phasey fast.
---
#### 3E — Optional Reverb: tiny room, not a trance wash 🏚️
Add Reverb only if your top loop feels too dry:
This gives that “in a room” break feel.
---
Step 4 — Blend levels (the secret is quieter than you think)
1. Pull the TOP TEXTURE fader all the way down.
2. Play the main break.
3. Slowly raise top texture until you miss it when it’s gone—not until it’s obvious.
Typical range: top texture ends up -12 to -20 dB relative to the main break, depending on the loops.
Check: Mute/unmute the top loop. You should hear:
…but the snare/kick should still feel like they belong to the main break.
---
Step 5 — Make it roll: groove and micro-variation 🥁
Oldskool vibes come from subtle imperfections.
Option A: Groove Pool
1. Drag a groove like Swing 16 (or any MPC-ish swing) onto the TOP TEXTURE clip.
2. Amount: 20–40% (start 30%)
3. Timing: 50–70%
4. Random: 5–15% (tiny humanization)
Apply groove more to tops than to the main break.
Option B: Manual micro edits
---
Step 6 — Arrangement idea (8–16 bars that feels like DnB)
Try this classic structure:
Bars 1–8 (intro / pre-drop):
Bar 9 (drop):
Bars 9–16 (drop groove):
---
Step 7 — Quick resample trick (optional, very oldskool) 📼
To glue everything like it came from the same source:
1. Create a new audio track called DRUM RESAMPLE.
2. Set its input to Resampling.
3. Arm it and record 8 bars of your drums.
4. Now process that resample lightly:
- EQ Eight: tiny tilt if needed
- Drum Buss: Drive 2–5%
- Limiter: just catching peaks (1–2 dB)
This “prints” your blend and often instantly sounds more cohesive.
---
4. Common mistakes
Fix: HPF at 250–500 Hz, steep slope.
Fix: pull it down until it’s felt more than heard.
Fix: Glue/Compressor for 2–4 dB GR.
Fix: Utility width closer to 100–120%, check in mono.
Fix: try different warp modes, or reduce warp markers.
---
5. Pro tips for darker/heavier DnB
Try a gentle dip around 8–10 kHz and add a touch around 5–7 kHz if needed.
Send TOP TEXTURE to a return track with:
- Saturator (Analog Clip, Drive 6–10 dB)
- EQ Eight (HPF 1 kHz)
- Blend return very low (-20 dB-ish)
Put Gate after Reverb on the top loop:
- Threshold: set so reverb tail cuts quickly
- This creates that punchy, controlled room vibe.
Put Compressor on TOP TEXTURE:
- Sidechain input: MAIN BREAK
- Ratio 2:1, fast attack, medium release
- Just 1–3 dB duck on snare hits = cleaner punch.
---
6. Mini practice exercise (10 minutes)
1. Pick one main break and two different top loops.
2. For each top loop, do:
- EQ Eight HPF at 350 Hz
- Glue Compressor: 2–4 dB GR
- Utility width 120%
3. Blend each top loop to taste.
4. Render/export 8 bars of each version.
5. Compare:
- Which one adds groove without harshness?
- Which one makes the break feel faster/more rolling?
Bonus: Automate the top loop volume up by +1.5 dB in the last 2 bars before the drop.
---
7. Recap
- High-pass the top loop
- Add gentle grit
- Compress to tame spikes
- Use width carefully
- Blend quieter than you think
If you tell me what kind of main break you’re using (Amen/Think/clean modern break) and your target vibe (1994 jungle vs 1998 techstep vs modern rollers), I can suggest exact top-loop choices and a tighter chain.

