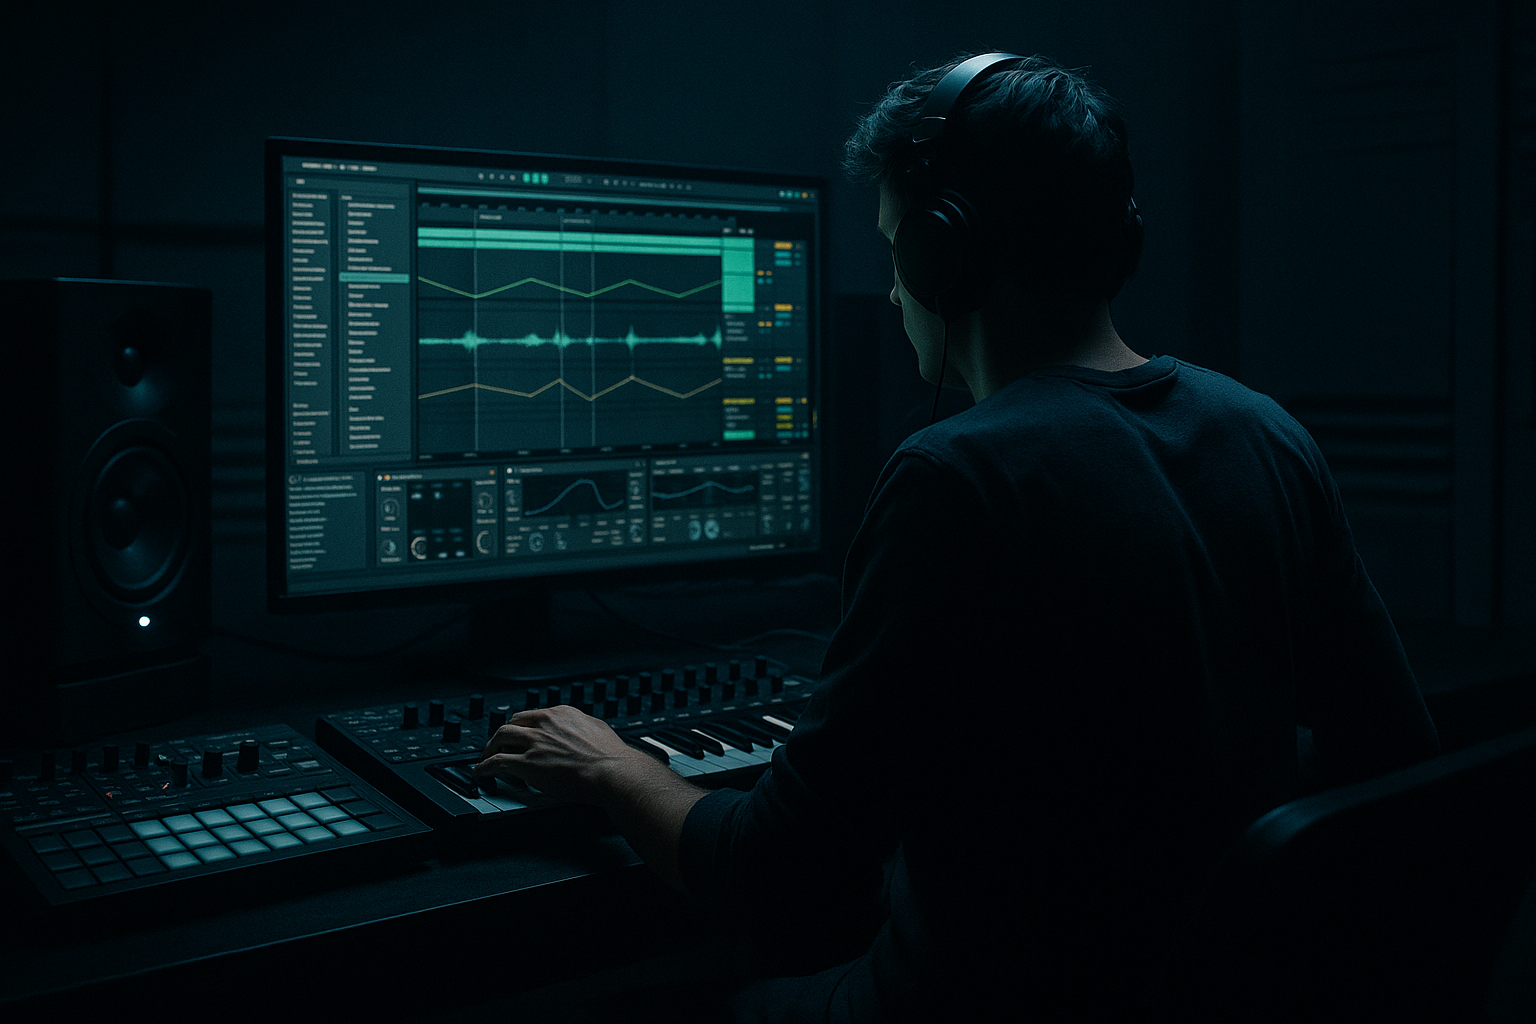
Main tutorial
```markdown
Top Loop Shape Blueprint (No-Headroom-Loss) in Ableton Live 12
For Jungle / Oldskool DnB vibes 🥁⚡
---
1) Lesson overview
In jungle/oldskool DnB, the top loop (break tops + hats + rides + ghosty percussion) is the engine of speed, swing, and urgency. The trap: making it “exciting” by smashing it into clipping, eating all your headroom, and forcing your master to work too hard.
This lesson gives you a repeatable blueprint to shape your tops so they feel bright, forward, crunchy, and moving—while staying controlled, transient-safe, and headroom-friendly in Ableton Live 12.
We’ll do it with stock devices, with a mastering mindset (gain staging, crest factor, controlled saturation, and intentional peak management).
---
2) What you will build
A reusable Top Loop Buss chain + arrangement method that delivers:
- Oldskool break crispness without harshness
- Stable peaks (no random hat spikes stealing 2–4 dB of headroom)
- Punch preserved (transients still slap)
- Width + air (but mono-safe)
- Consistent energy across 16/32-bar phrases
- Break Top (high-passed break layer, or break with lows removed)
- Hats (closed + open)
- Ride/Shaker (optional, but very jungle)
- Perc FX (rim ghosts, little ticks, vinyl bits)
- High-pass:
- Optional notch:
- Attack: 3 ms (or 1 ms if it’s too spiky)
- Release: 0.1 s (or Auto if the groove varies a lot)
- Ratio: 2:1
- Threshold: aim for 1–2 dB gain reduction on average peaks
- Soft Clip: OFF (for now)
- Makeup: OFF (we’ll gain stage manually)
- Hats should feel more “together,” not smaller.
- If the snare crack in the break loses bite, your attack is too fast or threshold too low.
- Mode: Soft Sine (safe) or Analog Clip (more bite)
- Drive: +2 to +6 dB (start at +3 dB)
- Output: pull down to match level (critical!)
- Soft Clip: ON
- Color: ON if you want extra upper harmonic bite (try 1–2)
- Ceiling: -1.0 dB
- Lookahead: 1 ms (default usually fine)
- Only 0–1 dB gain reduction on worst spikes.
- Set bands roughly:
- On the High band:
- High shelf at 10–14 kHz
- Gain: +0.5 to +2 dB
- Q: ~0.7
- Bass Mono: ON
- Width: 110–140% (start 120%)
- If hats disappear in mono, reduce width and instead use subtle short ambience (next step).
- Algorithmic or Room
- Decay: 0.2–0.6 s
- Pre-delay: 0–10 ms
- Hi-cut: 7–10 kHz (prevents fizzy wash)
- Lo-cut: 300–600 Hz (keeps low mids clean)
- Keep return low: send hats/break tops just until you miss it when muted.
- Bars 1–8: break tops + tight hat, minimal width (Utility 105–115%)
- Bars 9–16: introduce ride/shaker layer, slightly more send to TOP ROOM
- Bars 17–24 (drop impact): automate EQ shelf +0.5–1 dB, add a hat fill every 4 bars
- Bars 25–32: pull shelf back, reduce ride density, add a little vinyl tick/percussion for movement
- EQ shelf gain (tiny moves)
- Reverb send (tiny moves)
- Width (small moves like 115% → 125%)
- Hihat pattern density (MIDI/clip edits), not volume
- Make the tops darker, not quieter:
- Use “controlled grit”:
- Sidechain tops subtly to the snare (optional):
- Transient shaping without plugins:
- For “metallic” rides:
- Version A: your chain
- Version B: no chain
- Your top loop should feel fast and alive, not loud and clipped.
- Headroom is groove insurance: control peaks early so the master stays open.
- Use the blueprint:
- Arrange energy with density/tone/space automation, not volume.
You’ll end with a rack/preset you can drop into any jungle/DnB session.
---
3) Step-by-step walkthrough
A) Session + gain staging: set the mastering-friendly foundation 🎛️
1. Set project tempo: 160–174 BPM (classic jungle often 160–170).
2. On your Master, add Meter (stock) at the end.
- Watch True Peak and RMS/LUFS as you build.
3. Target rough mix headroom:
- Master peaks around -8 to -6 dBFS while arranging.
- If you’re already near 0 dB, you’re mixing into a wall.
Why: Top loops have lots of fast peaks. If you don’t leave space early, your “fix” becomes limiting, which kills groove.
---
B) Build your Top Loop group (the core architecture)
Create tracks (or consolidate your existing ones):
Select them → Group (Cmd/Ctrl+G) → name it: TOPS BUSS
On the TOPS BUSS, we’ll build a chain that shapes tone + controls peaks without flattening.
---
C) Cleanup first: remove low junk that steals headroom 🧹
On each top element (or at least the group):
EQ Eight (per track or on TOPS BUSS first in chain)
- Hats/Rides: HP 200–400 Hz, 24 dB/oct
- Break tops: HP 120–220 Hz depending on the break
- If “boxy”: dip 300–600 Hz by 1–3 dB, Q ~1.5
- If “ice pick”: dip 7–10 kHz by 1–2 dB, Q ~2
Rule: Don’t brighten before you de-mud. Brightening mud = louder mud.
---
D) Glue the movement without squashing transients (bus compression done right)
On TOPS BUSS, add Glue Compressor:
Suggested starting settings (then adjust):
Listen for:
---
E) Peak control without “limiter dullness”: the two-stage headroom trick 🔥
Instead of one limiter doing all the work, do two light stages:
#### Stage 1: Soft clipping for micro-peaks (tone + peak shaving)
Add Saturator after Glue:
Goal: shave tiny transient needles and add that crunchy oldskool edge.
A/B properly: keep perceived loudness similar by matching output level.
#### Stage 2: Transparent ceiling catch (not a loudness war)
Add Limiter after Saturator:
If it’s doing 3–5 dB regularly, go back: the issue is earlier (levels, EQ harsh peaks, too much drive, or too hot individual hats).
---
F) Shape the “top loop smile” without losing headroom (dynamic > static)
Now we do the actual top loop shape—the blueprint.
#### 1) Dynamic de-harsh: tame 6–10k spikes (break cymbals, hat shards)
Add Multiband Dynamics (stock) or EQ Eight with dynamic mode (Live 12 supports per-band dynamics).
Option A: Multiband Dynamics (simple + effective)
- Low: up to ~200 Hz (mostly irrelevant for tops; keep neutral)
- Mid: 200 Hz–6 kHz (body/attack)
- High: 6 kHz–20 kHz (air/harsh)
- Set to Compress lightly
- Ratio around 2:1
- Threshold so it’s only doing 1–2 dB GR when hats get spicy
This keeps air, but prevents “headroom theft” from sharp cymbal peaks.
#### 2) Add air in a controlled way (without spikes)
Add EQ Eight after dynamics:
If your limiter starts working harder after this, back off the shelf and increase de-harsh slightly instead.
---
G) Width that stays mono-safe (classic jungle spread) 🌌
On TOPS BUSS, add Utility near the end:
Optional: Utility > Gain -1 to -3 dB if the buss is eating headroom.
---
H) Short “room” for oldskool glue (but keep it tight)
Instead of a long reverb, use micro-space.
Create a Return track: `A - TOP ROOM`
Add Hybrid Reverb (or Reverb):
This gives that “togetherness” you hear in jungle without smearing the groove.
---
I) Arrangement: top loop energy automation that doesn’t increase peaks 📈
Instead of turning hats up (peak disaster), automate tone and density.
Classic 32-bar DnB phrase idea:
Key automation targets (headroom-safe):
---
J) Quick reference: a solid TOPS BUSS device chain (stock)
TOPS BUSS (in order):
1. EQ Eight (HP + cleanup)
2. Glue Compressor (1–2 dB GR)
3. Saturator (soft clip, drive +3 dB, output matched)
4. Multiband Dynamics (light high-band control)
5. EQ Eight (gentle air shelf)
6. Utility (width + bass mono)
7. Limiter (ceiling -1 dB, catches <1 dB)
Save this as a preset or group it into an Audio Effect Rack called:
“Jungle Tops Headroom Blueprint” ✅
---
4) Common mistakes
1. Turning up hats to add energy
→ Adds peaks, steals limiter headroom, makes the mix brittle. Use density/tone automation instead.
2. One big limiter on the tops doing 4–8 dB GR
→ Dulls transients and makes hats “spitty.” Use the two-stage approach (clip + light limit).
3. Boosting 8–12 kHz before taming harshness
→ Sounds exciting for 30 seconds, then fatigue city. De-harsh first.
4. Stereo widening with no mono check
→ Tops vanish on club systems. Use Utility width moderately and check mono.
5. Not high-passing top layers
→ Low-mid trash accumulates, reducing punch and eating headroom.
---
5) Pro tips for darker/heavier DnB 🖤
Slight dip 10–12 kHz and boost 4–6 kHz a touch for bite without hiss.
Try Saturator → Analog Clip, Drive +2–4 dB, then reduce harshness with dynamic high-band control. This gives that worn break crunch.
Use Compressor on TOPS BUSS keyed by snare (or drum buss), only 0.5–1 dB dip. The snare cracks through without raising overall level.
In Saturator, increasing Drive + lowering Output often feels like more sustain/less spike—perfect for fast hats.
Keep rides slightly narrower than hats. Put ride track Utility Width ~90–110% while hats can be 120%.
---
6) Mini practice exercise (15 minutes) ⏱️
1. Load a classic-style break (Amen-ish or similar) and high-pass it to make Break Tops.
2. Add a 16th hat pattern and an offbeat open hat.
3. Route all to TOPS BUSS and apply the chain:
- EQ Eight → Glue → Saturator (soft clip) → Multiband Dynamics → EQ air → Utility → Limiter
4. Goal targets:
- TOPS BUSS peaks around -10 to -8 dBFS soloed
- Limiter on tops: <1 dB GR most of the time
5. Automate for 32 bars:
- Bars 1–16: width 115%
- Bars 17–24: width 125% + reverb send +1–2%
- Bars 25–32: shelf -0.5 dB + reduce ride density
Render and A/B:
Listen for: more urgency, less random spikes, no brittle pain.
---
7) Recap
- Clean (HP + notch)
- Glue (1–2 dB GR)
- Clip (Saturator soft clip)
- Control harsh highs dynamically
- Add air gently
- Widen safely
- Catch peaks lightly
If you want, tell me what your current tops are made of (break sample + hat sources + tempo), and I’ll suggest exact crossover points and EQ targets for your loop.
```

