Main tutorial
Lesson Overview
This lesson is about turning a plain top-loop idea into a swung, dirty, authentic jungle / oldskool DnB movement inside Ableton Live 12 using resampling as the main creative engine. The goal is not just to “add swing” with a groove template and call it done — it’s to create a top loop that feels like it was chopped from a real break, pushed through a system, and re-formed into something that grooves hard over a 174 BPM roller or a darker jungle drop.
In DnB, the top loop is doing a lot of work. It carries the high-frequency energy that makes a section feel fast, the ghost-note detail that makes it breathe, and the syncopation that keeps the drop moving without overcrowding the sub. For oldskool and jungle-flavoured music, the top loop often needs that slightly unstable, human, half-live feel: hats leaning late, shuffles around the snare fills, micro-edits that imply broken amen logic, and enough grit to sit above a reese or rewired sub line.
Why this matters: if your top loop is too rigid, the track feels like a flat grid. If it’s too loose, the groove falls apart. The sweet spot is a loop that feels swung, chopped, and intentionally “worn” — like it has been resampled through a few passes and shaped with taste. That’s where the energy lives. 🔥
What You Will Build
You will build a 4-bar top loop at 174 BPM that combines:
- a swung break-derived hat/snare top layer
- ghost-note movement and micro-edits from resampling
- a filtered, slightly crushed return pass for texture
- a controllable groove that locks with a half-time or rolling bassline
- a DJ-friendly loop that can evolve into a drop, switch-up, or breakdown
- Over-quantizing the swing
- Letting the top loop compete with the snare
- Using too much compression on transient-heavy material
- Making the loop too bright
- Ignoring arrangement variation
- Resampling too early
- Resample through subtle saturation twice
- Use Utility for mono discipline
- Parallel grit with a Return track
- Automate tiny filter dips before bass phrases
- Slice around ghost notes, not only obvious hits
- Let the loop breathe in call-and-response with the bass
- Use short, dirty transitions
- Build the groove first, then resample it to commit character.
- In DnB, the top loop should add swing, texture, and motion without fighting the kick, snare, or bass.
- Use Ableton stock devices like Groove Pool, EQ Eight, Drum Buss, Saturator, Auto Filter, Utility, and Echo to shape feel and weight.
- Make small arrangement variations and print multiple loop states for drop movement, intros, and switch-ups.
- The best jungle / oldskool top loops feel slightly imperfect, tightly controlled, and full of rhythmic intent.
The result should sound like an advanced jungle / oldskool DnB top loop: tight enough to sit over a heavy sub, but human enough to feel lifted from a break. Think: crisp hats, skittering shuffles, occasional snare chatter, and a controlled amount of dirt that helps the groove read on club systems.
Step-by-Step Walkthrough
1. Set the foundation: tempo, clip length, and reference role
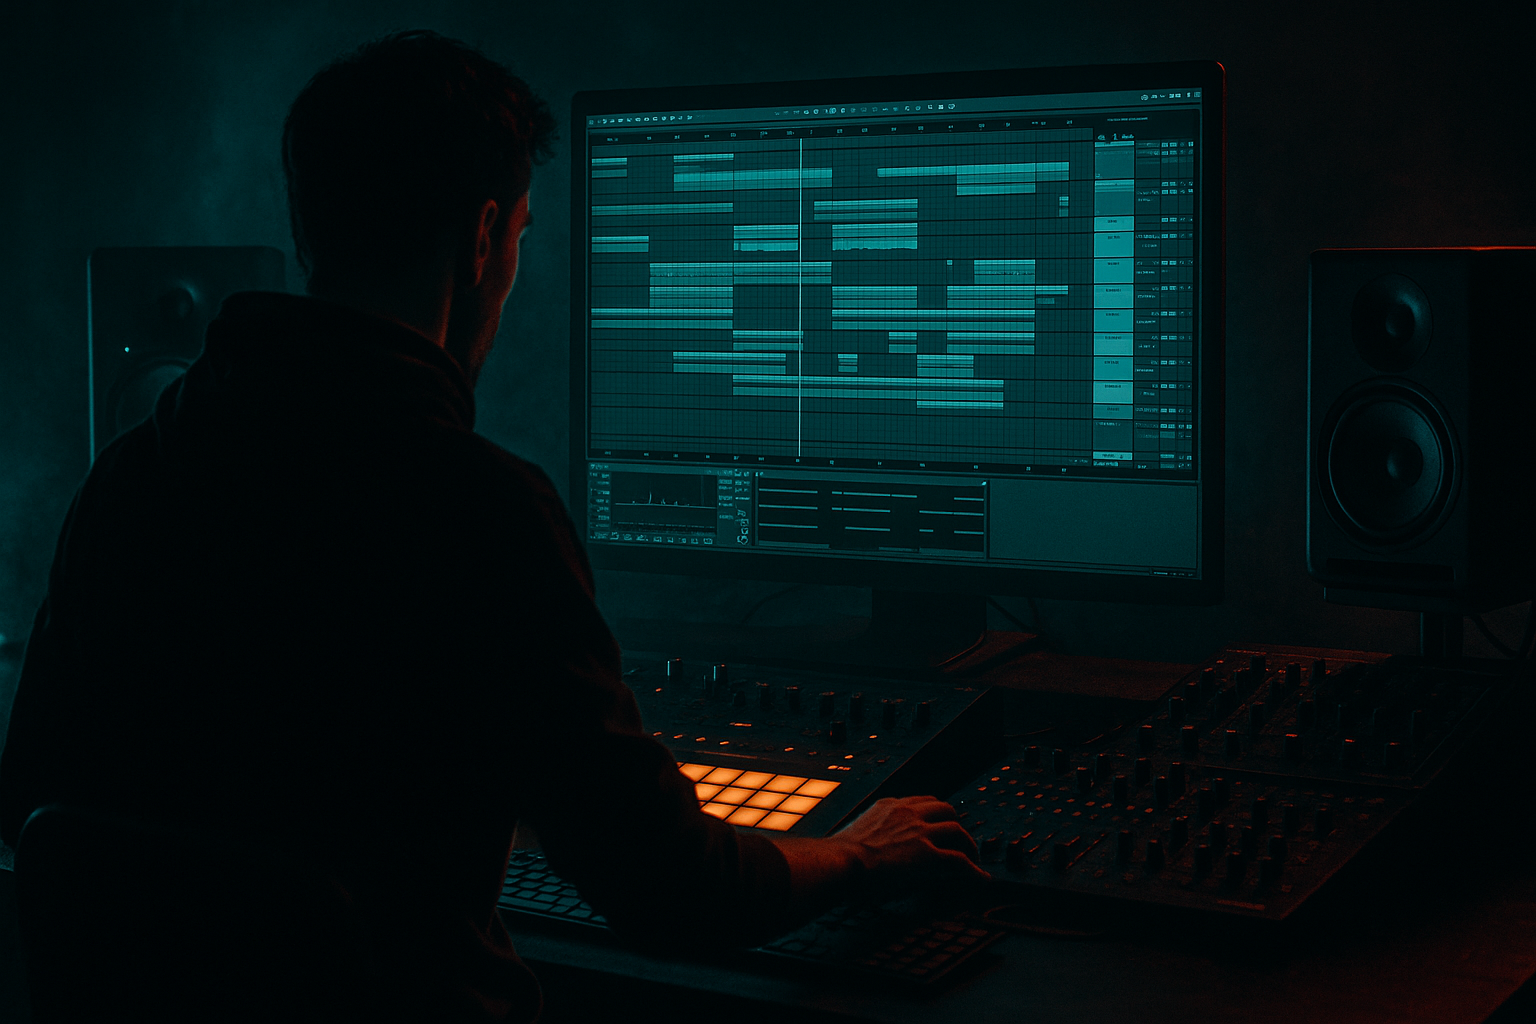
Start at 174 BPM and create a new Audio Track for your top loop source. The loop should be conceived as a supporting rhythmic layer, not the full drum kit. In a DnB arrangement, the top loop usually works best when it complements the main kick/snare or break rather than replacing it.
Load or record a simple source: a short break top, a hat loop, or a light drum loop with enough transient detail. If you don’t have a ready sample, use a stock drum rack pattern and print it later. For this lesson, keep the source dry and rhythmically simple — you want material that can be swung and reshaped.
Put Warp on, but don’t immediately over-edit the timing. Try Beats mode with:
- Preserve: 1/16 or 1/8
- Transients around 80–100
- Loop length: 1 or 2 bars
The goal is to keep transient energy while giving yourself enough material to resample.
2. Build a crude groove first, then make it human
Before adding any fancy processing, program or edit the top loop so it already implies a DnB pocket. If you’re using a break, duplicate a few hat hits and snare ghosts by hand in the clip. If you’re programming in MIDI, use a Drum Rack with hats, closed hats, open hats, and a few light percussion hits.
For a jungle / oldskool feel, push the groove away from perfect grid symmetry:
- Place some hats slightly late by 10–20 ms
- Add ghost hits just before or after main snare accents
- Let one or two 1/16 notes “stick out” on the upbeats
- Leave small gaps so the loop breathes
A useful approach in Ableton Live 12 is to duplicate the clip across 4 bars and vary each bar slightly. Bar 1 can be the base pattern, bar 2 can include one extra hat pickup, bar 3 can drop a few hits, and bar 4 can set up the loop restart with a mini fill. This gives you a proper DnB phrase, not just a static one-bar repeat.
3. Shape the groove with Groove Pool, but don’t let it do the whole job
Add a groove from Ableton’s Groove Pool to the clip. For oldskool/jungle swing, try something with a noticeable shuffle feel, then back it off until it feels like part of the loop rather than an obvious template.
Practical starting points:
- Groove Quantize: 55–62%
- Timing: moderate, not extreme
- Velocity: around 10–25% if the source needs life
- Random: very subtle, if used at all
The reason this works in DnB is that the genre already has strong syncopation from the break and bass interplay. A little groove exaggerates the “human” pull without destroying the forward motion. If the groove is too obvious, the top loop starts sounding like a house shuffle pasted onto a DnB track. You want the loop to swing like it was played by someone who understands breakbeat phrasing.
4. Resample the loop internally to commit the character
This is the core of the lesson. Route your top loop track to a new Audio Track set to Resampling or set its audio input to the original track. Arm the new track and record 4–8 bars of the loop playing through your groove and edits.
Why resample now? Because committing the groove lets you:
- capture the micro-timing and transient feel as audio
- create new editorial decisions from the printed waveform
- process the loop more aggressively without losing the original source
- make the loop feel like part of the record, not a loop preset
After recording, zoom in and make a clean loop region. You’re looking for any interesting transient asymmetries: late hats, snare rattles, slightly clipped edges, or a ghost-note cluster that gives the loop personality. Don’t aim for perfection — aim for a loop that sounds like it already has a history.
5. Chop the resample into a call-and-response top pattern
Now use the printed audio as your main material. Slice it manually with Transient markers or drag it into Simpler in Slice mode if you want faster reassembly. For advanced control, I’d keep it in the Arrangement and make edits directly, because top loops often benefit from humanized clip regions and small overlap decisions.
Build a 4-bar call-and-response:
- Bar 1: establish the main swing
- Bar 2: answer with a lighter, more open version
- Bar 3: add a ghost-note flurry or hat drag
- Bar 4: create a fill into the loop restart
A strong DnB arrangement example: use the same top loop under the first 16 bars of a drop, but every 4 bars, remove one high hat layer or insert a reversed tail so the listener feels motion without the bassline having to overwork. This is especially useful in rollers where the bass can stay repetitive and the top loop carries the evolving detail.
6. Process the loop with Ableton stock devices for grit and control
Build a focused processing chain on the resampled audio. A good stock chain for this style might be:
- EQ Eight
- Drum Buss
- Saturator
- Auto Filter or Filter Delay
- optional Redux for controlled digital bite
Suggested settings:
- EQ Eight: high-pass around 180–300 Hz to keep the top loop out of the sub and kick zone; cut harshness around 5–8 kHz if the hats stab too hard
- Drum Buss: Drive 5–15%, Crunch 5–20%, Boom usually off or very low for a top loop
- Saturator: Soft Clip on, Drive 2–6 dB, Output trimmed to match level
- Auto Filter: gentle band-pass or high-pass movement; automate cutoff for fills
- Redux: subtle bit reduction only if you want grime; don’t obliterate the transients
The top loop should support the kick/snare and bass, not fight them. Keep the low end clean and let the texture live above the fundamental drum weight.
7. Use automation to make the loop behave like an arrangement element
Instead of looping the same processed audio for the whole drop, automate small changes that make it feel like a record move.
Good automation targets:
- Auto Filter cutoff opening slightly into a new 8-bar section
- Saturator drive up by 1–2 dB for the second half of a drop
- Dry/Wet on Drum Buss for breakdown-to-drop transitions
- Reverb return level on a single bar for a fill or transition
- Utility Width narrowing before the drop, widening on impact
Keep automation musical. In jungle and darker DnB, tiny changes in top-loop brightness can feel like a huge energy shift because the drums are moving so fast. A small rise in hat sheen before a drop can create serious anticipation.
8. Layer a complementary one-shot texture if needed
If the loop is still not reading as “oldskool enough,” add a light layer of one-shots: a rim, a low-level ride, a tambourine fragment, or a shuffled hat. Put these in a separate Drum Rack or audio track, then resample that layer together with the main loop for one final composite pass.
Keep the layer subtle:
- High-pass it aggressively
- Pan it slightly if it helps the groove
- Keep transients shorter than the main loop
- Let it provide movement, not attention
This is especially effective in darker neuro-adjacent tracks where the bass design is heavy and precise, and the top loop needs to add nervous motion without sounding busy.
9. Print a final version and make one “performance” variant
Once the loop feels right, resample one more time into a final audio clip. Then create a second version:
- Version A: clean, full top loop for the main drop
- Version B: filtered or thinned loop for the breakdown or intro
- Version C: fill version with extra snare chatter or reversed tails
This gives you instant arrangement options without rebuilding anything. In DnB, especially with DJ-friendly intro/outro writing, having multiple loop states makes it easier to create long blends, tension builds, and switch-ups that don’t feel copied and pasted.
Common Mistakes
- Fix: back off groove strength and let the printed resample keep the imperfect timing.
- Fix: high-pass more aggressively and cut narrow resonances around the snare’s presence zone if needed.
- Fix: use Drum Buss or light saturation first; only compress if the loop truly needs leveling.
- Fix: tame 6–10 kHz with EQ Eight or soften with gentle saturation before boosting highs.
- Fix: create at least two or three resampled variants so the loop evolves across sections.
- Fix: establish a groove first, then commit. Otherwise you print a loop that feels indecisive.
Pro Tips for Darker / Heavier DnB
- One light pass into Saturator, then a second committed resample can give the loop a worn, tape-smashed attitude without total distortion.
- Keep the top loop mostly mono below the high-mid region if it starts smearing. A tighter mono image helps heavy bass and kicks stay stable underneath.
- Send the resampled loop to a Return with Corpus or Echo very subtly, then resample the return if it adds useful texture. Blend it low for atmosphere.
- A brief dip in brightness right before a bass re-entry makes the bass feel bigger when it returns.
- In jungle, the “in-between” hits often define the character. Preserve those tiny rattles.
- When the bassline drops out for half a bar, let the top loop answer with a fill or ride lift. This keeps the track aggressive without becoming crowded.
- Resample a 1-bar fill with a little reverse, a tiny tape-like delay from Echo, or a crushed crash tail. These make drop switches feel more underground.
Mini Practice Exercise
Spend 10–20 minutes making a 4-bar top loop using only stock Ableton tools.
1. Start at 174 BPM and pick a short break or hat loop.
2. Add groove with Groove Pool and set it around 58–62%.
3. Duplicate the loop across 4 bars and vary one hit per bar.
4. Resample the result onto a new audio track.
5. Chop the resample into 4–8 meaningful edits.
6. Process with EQ Eight, Drum Buss, and Saturator.
7. Automate a filter sweep over the last bar.
8. Make a second version with less high end for an intro or breakdown.
Goal: make one version that feels like a full drop top loop and one stripped version that could sit under a DJ mix intro.

