Main tutorial
Top Loop Humanize Masterclass (Chopped‑Vinyl Character)
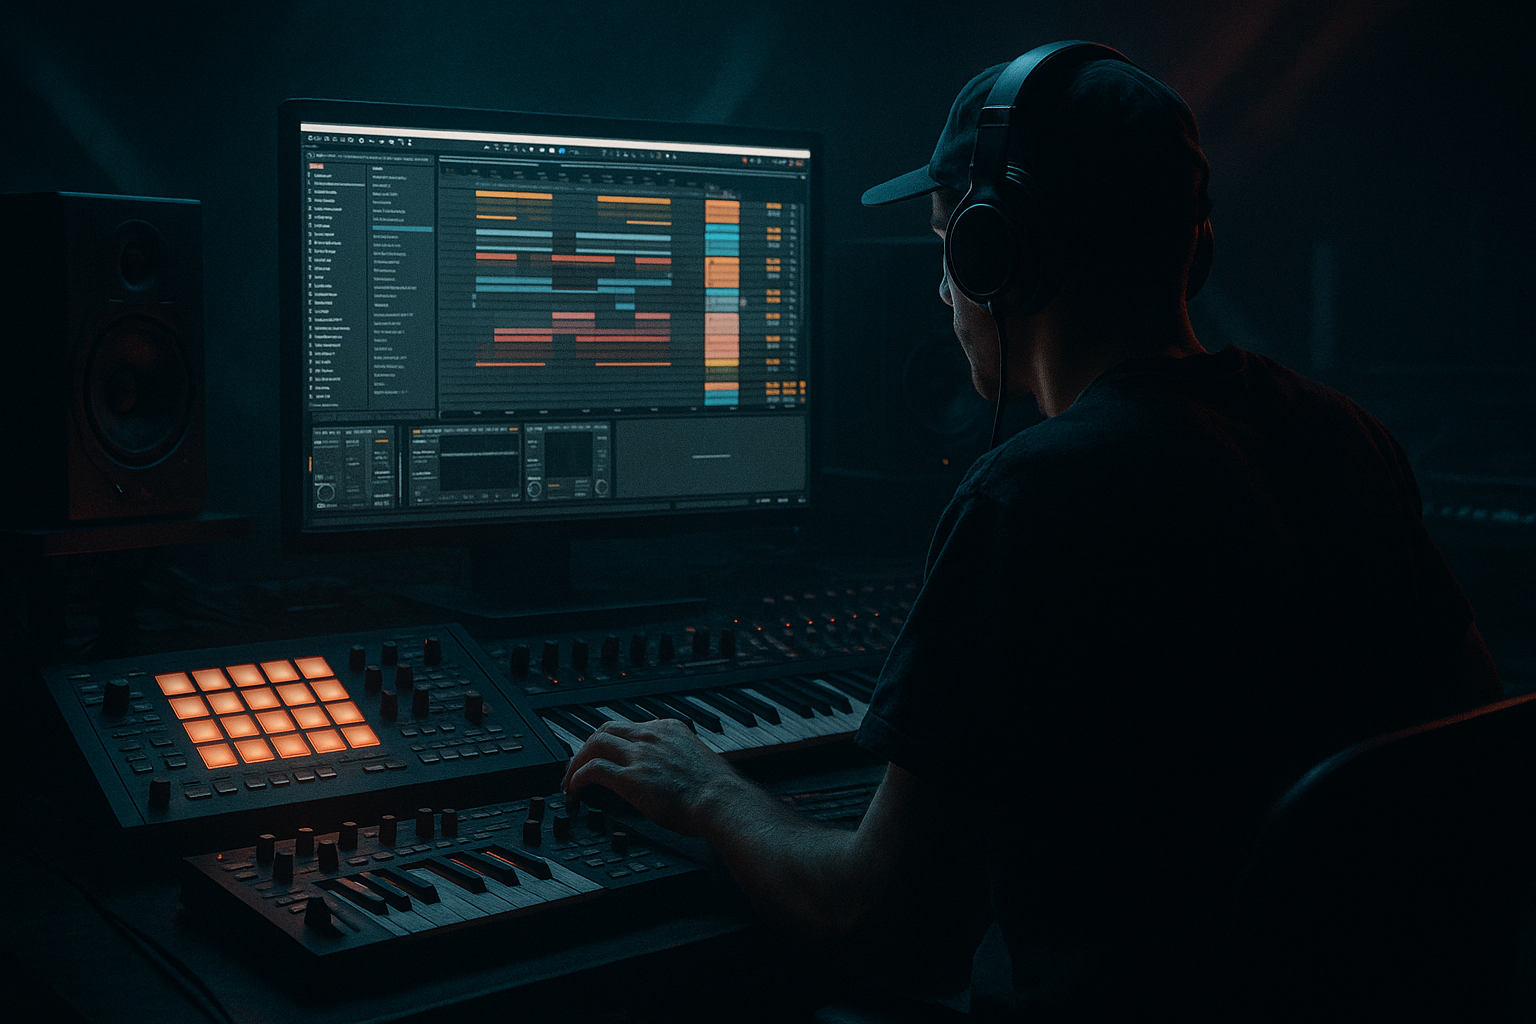
Ableton Live 12 • Jungle / Oldskool DnB • Beginner • Arrangement 🥁💿
---
1. Lesson overview
In jungle and oldskool DnB, the top loop (hats, rides, shakers, ghost hits, crunchy ambience) is what makes the break feel alive—even if your kick/snare are tight and modern.
In this lesson you’ll learn a reliable Ableton Live 12 workflow to:
- Build a top loop layer that feels sampled from vinyl (but controlled)
- Humanize timing and velocity without losing the groove
- Chop and rearrange for classic jungle “lift” and forward motion
- Create arrangement variation across 16–64 bars like real DnB records 🎛️
- A section (16 bars): cleaner, more space for bass
- B section (16 bars): denser + more chops + extra grit
- Fills every 8 bars to keep it “oldskool alive”
- Look for: hats/ride loop, shakers, percussion with room tone
- Avoid: loops with loud kicks/snares (you want “tops”)
- Bonus: vinyl crackle or tape noise baked in
- If it already has vibe, keep it slightly late/early.
- You can add a few warp markers, but avoid slicing every transient.
- Place only 3–6 warp markers across 1–2 bars
- Correct the “big drift,” but leave micro timing intact
- Trigger the main slice (the one that sounds like the “core groove”)
- Keep it simple: one hit each 1 bar (or every 1/2 bar)
- Repeat a tiny slice on the last 1/8 or 1/16
- Swap in a different slice on beat 4 for a “lift”
- Add a quick stutter right before the snare (very jungle)
- Keep chops mostly in beats 3–4
- Leave beat 1 cleaner so the drop still punches
- Turn grid to 1/16
- Nudge a few hits late by 5–15 ms (not a full 1/16!)
- Keep the “main pulse” stable
- Clip view → Start/End and/or
- Select note(s) → nudge (use keyboard nudges if set up)
- Or do it in audio later with clip start offsets
- Make every 2nd or 4th hat quieter
- Add small rises into the snare (tiny velocity ramp)
- Loud hats: 90–110
- Quiet hats: 50–75
- Ghosty bits: 20–45
- Adjust Gain per pad
- Use Velocity → Volume in Simpler (if visible) for dynamic response
- High-pass around 150–300 Hz (remove low rumble)
- Optional: small dip at 3–5 kHz if harsh
- Gentle shelf boost 8–12 kHz if dull
- Mode: Soft Sine or Analog Clip
- Drive: 2–6 dB
- Turn on Soft Clip
- Output: trim so it’s not louder than before
- Use subtly: a touch of drive + filtering
- Mix: 10–25% if it’s getting too heavy
- Downsample: 1.5–6 kHz (start subtle)
- Bit Reduction: 10–14 bit (don’t go 4-bit unless you want chaos)
- Mix via Dry/Wet: 5–20%
- Filter type: LP12 or LP24
- Cutoff: 8–14 kHz
- Add tiny movement:
- Drive: 2–10
- Crunch: 0–20 (light!)
- Boom: usually off for top loops
- Damp: adjust if too bright
- Width: 120–160% for airy tops
- If it messes with mono compatibility, reduce to 110–130%
- Drop a vinyl crackle sample (or field noise)
- High-pass at 300–600 Hz with EQ Eight
- Very low volume: -24 to -36 dB (it should be felt more than heard)
- Use Top Loop A (steady)
- Filter slightly darker (Auto Filter cutoff lower)
- Fewer chops
- A 1/2-bar stutter chop or a quick stop
- Switch to Top Loop B (chopped)
- Open filter a bit (cutoff higher)
- Add an extra layer: a ride or shuffled hat
- 1 bar of more aggressive chop + quick filter sweep down into bar 25
- Remove top loop for the last 1/4 bar (silence creates impact) ✂️
- Make the tops darker but louder:
- Transient control:
- Sidechain the tops lightly to the kick/snare:
- Widen only the “air”:
- Automate degradation in breakdowns:
- A great jungle top loop is controlled chaos: stable pulse + human micro-variation.
- Use Warp lightly, then Slice to MIDI for classic chopped feel.
- Humanize with Groove Pool + subtle timing nudges + velocity shaping.
- Add vinyl character with stock tools: Saturator, Redux, Auto Filter, Drum Buss.
- Arrange in sections: clean A, busy B, with fills every 8 bars for movement.
---
2. What you will build
A 2‑layer top loop system:
1) Core Top Loop (tight): consistent hats/shakers to glue the beat
2) Vinyl Chop Layer (messy + character): micro‑edits, swing, noise, pitch drift, filtering
Plus an arrangement plan:
---
3. Step-by-step walkthrough
Step 0 — Session setup (DnB basics)
1. Set tempo to 165–172 BPM (try 170 BPM).
2. Start with your drums (kick/snare or a break) in a Drum Rack or audio track.
3. Create a new Audio Track named: `TOP LOOP - VINYL`.
Arrangement tip: Keep your kick/snare relatively fixed, then let the top loop do the “human” movement.
---
Step 1 — Choose the right source loop (or make one)
You’ve got two good beginner options:
Option A: Use a real top loop sample
Option B: Build a simple top loop inside Ableton
1. Create a MIDI Track → load Drum Rack
2. Add:
- Closed hat (tight)
- Open hat (short)
- Shaker
- Ride (optional)
3. Program a 1–2 bar pattern:
- 1/8 closed hats as the base
- A shaker on off-beats
- Occasional open hat on the “and”
Goal: Something steady that you can later “mess up” in a controlled way.
---
Step 2 — Warp for oldskool movement (the secret sauce)
Drop your loop onto `TOP LOOP - VINYL`.
1. Enable Warp
2. Try Warp Mode: Complex (or Complex Pro if it’s very textured)
3. Set Seg. BPM correctly by right-click → Warp From Here (Straight) if needed.
Now the important bit:
✅ Don’t fully “perfect-grid” it.
Micro-groove method (easy):
This preserves that sampled feel 🧠
---
Step 3 — Slice to MIDI for chop control (without losing character)
1. Right-click the loop → Slice to New MIDI Track
2. Choose Slicing preset: `Transient` (good start)
3. Choose Create one slice per: `Transient`
4. In the dialog, set the new track to Drum Rack (default)
Now you’ve got your vinyl-ish loop sliced into playable chunks.
Key beginner concept:
You’re not chopping to show off—you’re chopping to create variation and fills like classic jungle edits.
---
Step 4 — Create “Top Loop A” (steady) and “Top Loop B” (chopped)
Make two MIDI clips (both 1–2 bars):
#### A) Steady clip
#### B) Chopped clip
Add tasteful edits:
DnB rhythm idea (1 bar):
---
Step 5 — Humanize timing (without flam chaos)
This is where beginners often either do nothing… or destroy the groove. We’ll do it cleanly.
#### 5A) Use Groove Pool (best beginner tool)
1. Open Groove Pool (hotkey varies; or View → Groove Pool)
2. Drag in a groove like:
- Swing 16 (subtle)
- MPC 16 Swing style grooves if available
3. Apply to your top loop MIDI clips:
- Timing: 10–25%
- Velocity: 5–15%
- Random: 2–8%
4. Press Commit only if you want it permanent (optional).
Tip: Use less groove on your kick/snare, more on tops.
#### 5B) Manual micro‑nudge (for jungle authenticity)
In the MIDI clip:
In Live you can nudge with:
---
Step 6 — Humanize velocity (so it breathes)
In the MIDI editor:
Starter values:
If using audio slices, use Simpler inside Drum Rack:
---
Step 7 — Add chopped-vinyl character (stock Ableton chain)
On your `TOP LOOP - VINYL` (or the Drum Rack track), build this chain:
1) EQ Eight
2) Saturator (warm crunch)
3) Roar (optional, for texture) 🔥
4) Redux (dusty digital edge)
5) Auto Filter (moving “vinyl” tone)
- LFO amount: 3–8%
- Rate: 0.05–0.20 Hz
- Phase: try 0° to keep it consistent
6) Drum Buss (glue + smack)
7) Utility (final control)
---
Step 8 — Make it feel like it’s from a record: noise + wobble (simple)
Create a new audio track: `VINYL NOISE`.
Optional: add Auto Filter slight movement or Chorus-Ensemble very lightly for drift.
Pro arrangement move: fade noise in for intros/breakdowns, tuck it down at the drop.
---
Step 9 — Arrange like a jungle record (practical 32-bar plan)
Here’s a simple oldskool arrangement approach:
#### Bars 1–16 (A section: clean roll)
At bar 8: add a small fill
#### Bars 17–32 (B section: busier + more edits)
At bar 24: bigger fill
At bar 32: turnaround
---
4. Common mistakes
1. Over-quantizing everything
- Jungle needs micro-wobble; keep some imperfections.
2. Too much swing on the whole drum kit
- If kick/snare swing too hard, it can feel drunken. Swing the tops more than the core.
3. Over-chopping the loop
- Constant edits become noise. Save the busiest chops for transitions and B sections.
4. Too bright + harsh hats
- Oldskool tops are often darker, with grit instead of pure sparkle.
5. Layering tops without high-pass filtering
- Low-mid build-up kills headroom and makes the mix cloudy.
---
5. Pro tips for darker/heavier DnB
Filter down (LP) a bit, then push level—this feels heavier without harshness.
Use Drum Buss or Saturator to thicken without spiky transients.
Use Compressor sidechain (2–4 dB gain reduction) for extra punch and separation.
Use EQ Eight in Mid/Side: boost highs on the Sides slightly, keep mids tighter.
Increase Redux / filter movement during breakdown → return cleaner at the drop for contrast.
---
6. Mini practice exercise (15 minutes) ⏱️
1. Pick any 1-bar top loop sample.
2. Warp it with only 4 warp markers (don’t over-fix).
3. Slice to MIDI (transients).
4. Make:
- Clip A: one main slice per bar
- Clip B: add 3 chops in beat 4
5. Add this chain: EQ Eight → Saturator → Auto Filter → Drum Buss
6. Arrange 16 bars:
- Bars 1–8: Clip A
- Bars 9–16: Clip B
- Add a 1/2-bar dropout at bar 16 end
Export a quick bounce and listen: does it “nod” like jungle?
---
7. Recap
If you want, tell me what kind of drums you’re using (break-only vs kick/snare + break layer) and I’ll suggest a top-loop chop pattern that fits your groove (classic Amen, Think, or more modern jungle-steppers).

