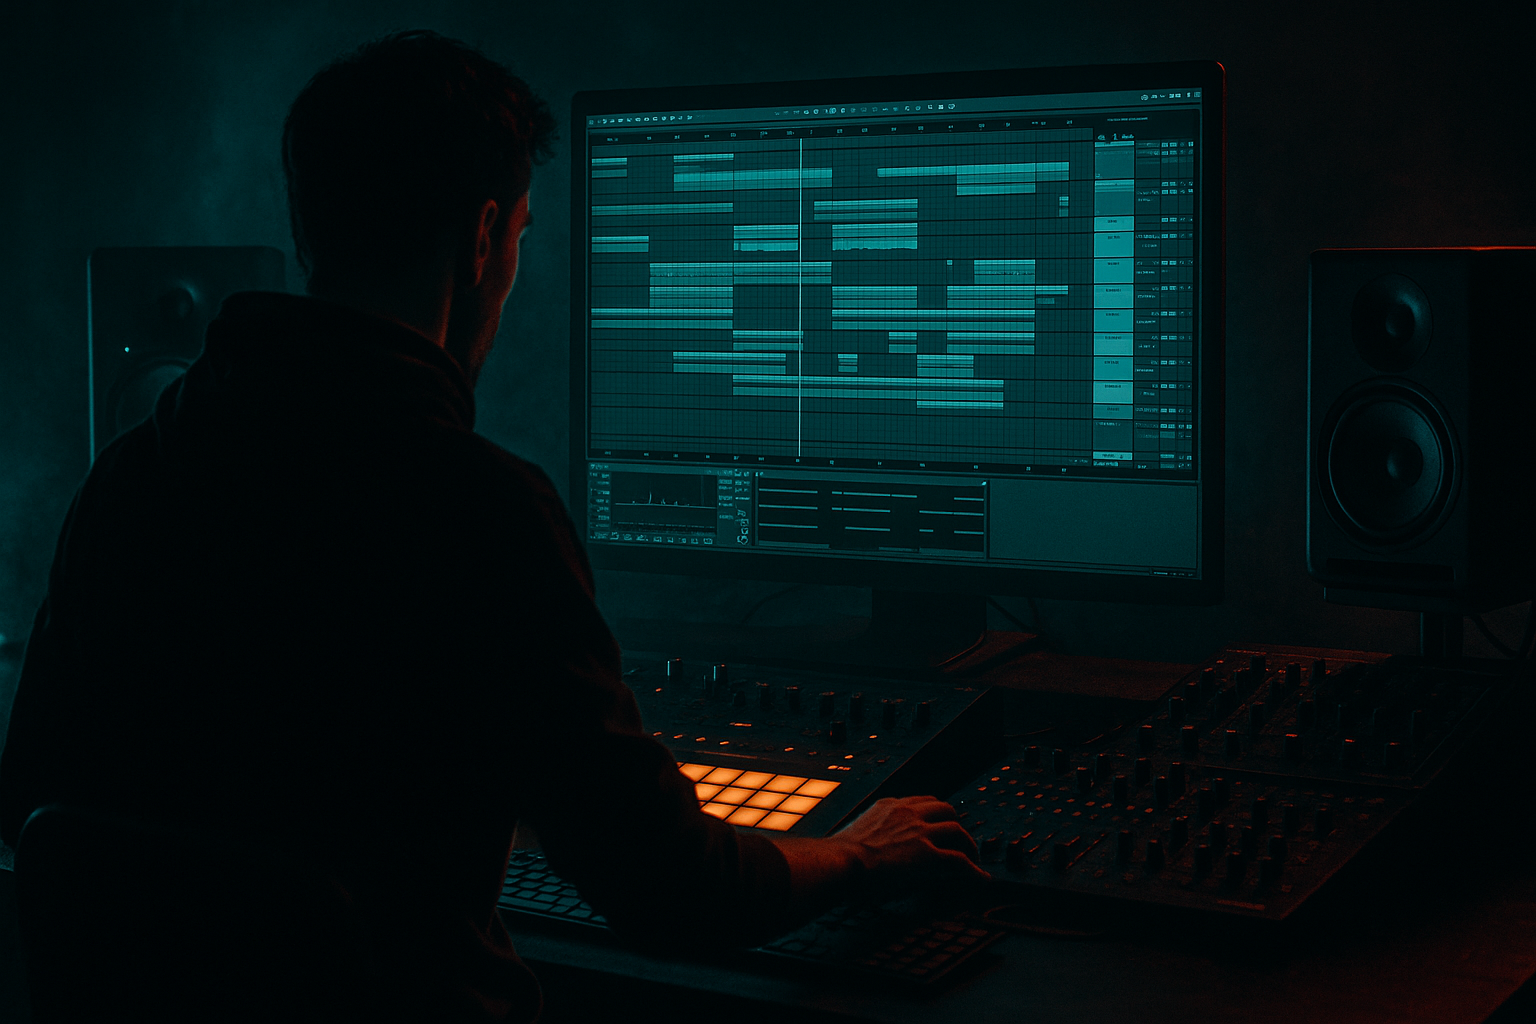
Main tutorial
Lesson Overview
Oldskool DnB mid bass is one of the most useful sounds you can build in Ableton Live: gritty, restrained, and rhythmically locked to the drums without stealing the sub. In a classic jungle, roller, or darker oldskool-influenced tune, the mid bass is the part that gives the drop its attitude. It sits above the sub, below the bright lead elements, and often acts like a moving “engine” that answers the kick, snare, and break edits.
In this lesson, you’ll build a tight mid bass from scratch in Ableton Live 12 and then use automation to make it breathe like a real DnB instrument rather than a static synth patch. The focus is on control: mono-compatible low mids, aggressive but clean movement, and arrangement-ready automation that helps the bass evolve across the drop.
Why this matters: in DnB, the bassline is not just a note choice — it is groove, phrasing, and tension. A tight mid bass lets your sub stay powerful, your drums hit harder, and your arrangement feel intentional. If the mid bass is too wide, too static, or too loud in the wrong band, the whole tune loses urgency. This lesson shows you how to avoid that and make something that works in a proper mix.
What You Will Build
You’ll create a classic oldskool-style DnB mid bass patch in Ableton Live with these qualities:
- A focused mono low-mid core with a slight reese edge
- Controlled saturation and filtering for movement
- Short rhythmic note phrasing that supports a breakbeat or roller groove
- Automation that opens the bass during key moments and tightens it in transitions
- A drop-ready bass loop that can be arranged into 8- or 16-bar phrases
- A sound that works with a separate sub layer, not instead of one
- Kick on the 1 and a light pickup before the snare
- Snare on 2 and 4
- A chopped break or ghost-note layer for movement
- Operator: use a saw or square-based oscillator
- Unison: keep it minimal or off at first
- Mono mode: on
- Glide/portamento: short, around 20–50 ms if you want a subtle slide feel
- Envelope: short decay, medium sustain, quick release
- Start with a saw-ish wavetable or a basic analog-style wave
- Set voices to 1 for mono
- Use a low amount of unison only if it stays centered and stable
- Filter cutoff around 200–600 Hz, depending on note range and distortion
- Filter resonance low to moderate, around 10–25%, so it adds shape without whistling
- Mode: Low-pass 24 dB or 12 dB
- Cutoff: start around 250–700 Hz
- Resonance: 15–35%
- Drive: 3–8 dB if needed for character
- Envelope amount: subtle, if you want the attack to speak a little more
- Soft Clip: on
- Drive: 2–6 dB to start
- Output: compensate so you are not just making it louder
- If needed, use Color modes sparingly for extra bite
- High-pass gently around 80–110 Hz to clear space for the sub
- If the bass gets boxy, cut 200–350 Hz by 2–4 dB with a medium Q
- If it gets harsh, watch 1.5–4 kHz and tame with a narrow cut
- Short notes on offbeats
- A longer note or slide into the snare answer
- Small gaps for the break to breathe
- Repetition with slight variation in bar 2
- Use 2–4 root-based notes to start
- Add one passing note a 5th or octave away
- Keep the phrase tight and syncopated
- Auto Filter cutoff
- Saturator drive
- Wavetable position or Operator FM amount if used
- Amp envelope decay/release
- Pan only if you are automating a special effect moment, not the core bass
- Utility gain for controlled level changes between phrases
- Keep the main loop groove stable
- Open the filter slightly on the last hit of the phrase
- Increase drive by 1–3 dB on louder note accents
- Pull the cutoff down during breakdowns or before a fill
- Use automation to create a “question/answer” feel between bars 1 and 2
- Bars 1–2: cutoff fairly closed, tighter drive
- Bar 3: automate a small cutoff lift
- Bar 4: increase drive and slightly shorten release for impact
- Transition into next 8 bars: close filter and reduce bass level briefly for tension
- LFO device: map to filter cutoff or wavetable position for slow, musical movement
- Chorus-Ensemble: use very carefully, mostly on upper mids only; too much will smear the mono center
- Phaser-Flanger: can work on a duplicate layer or in a resampled version, but keep the main bass clean
- Echo or Delay: only for special fills or transition moments, filtered heavily and automated
- LFO depth: small, around 5–15%
- Rate: 1/2, 1 bar, or free-running very slow movement
- Smoothing: moderate, so it doesn’t sound wobbly or cartoonish
- Freeze and flatten, or resample to a new audio track
- Trim the transient and tighten the start/end of notes
- Use fades to remove clicks
- Consolidate any good 1- or 2-bar loops
- Nudge up the first note of a phrase by 1–2 dB
- Pull down overly long notes that mask the snare
- Make a note hit harder before a switch-up
- Bass width: 0% or very narrow
- Bass mono check: on the main low-mid layer, at least below a chosen crossover if you split bands
- Reduce any stereo widening that hurts center impact
- If the snare loses punch, reduce low-mid bass around 180–300 Hz
- If the kick disappears, clear more room below 120 Hz in the mid bass layer
- If the break loses energy, shorten bass release or reduce note lengths
- Making the mid bass too subby
- Using too much stereo width
- Leaving the filter static
- Overdriving before the low end is organized
- Programming notes that are too long
- Ignoring the drums while sound-designing
- Making the bass too bright
- Use a separate sub layer and keep it simple: a sine or triangle-like tone, mono, with minimal processing.
- Add subtle frequency movement with Auto Filter automation rather than huge modulation amounts. Small changes feel heavier because they stay controlled.
- Duplicate the bass and process the top copy for grit only, then low-cut it aggressively. Blend it quietly under the main bass for extra attitude.
- Use Drum Buss very lightly on a bass return or duplicate layer for punch and transient edge, but don’t crush the low end.
- Automate a tiny cutoff lift into fills and then snap it shut for the drop reset. That contrast is very effective in darker rollers.
- If the bass line feels polite, add rhythmic note repetition rather than more distortion. Groove usually beats brute force in DnB.
- For a more oldskool edge, resample and chop the bass like a break: tiny edits, hard cuts, and micro level changes can give it that sample-based tension.
- Keep an eye on the 200–400 Hz zone. That area gives bass body, but in DnB it can quickly become muddy if the drums and bass both live there too heavily.
- Build the bass in context with the drums
- Keep the mid bass focused above the sub range
- Use filtering and saturation for character
- Automate cutoff, drive, and note energy for phrasing
- Resample if you want a tighter, more committed result
- Check mono compatibility and low-mid balance constantly
By the end, you’ll have a bass that feels suitable for a darker jungle/roller tune: raw, percussive, and adaptable. It should sit under a chopped break, answer the snare, and create tension without washing out the mix.
Step-by-Step Walkthrough
1. Set up a focused bass track and reference your drum context
Create a MIDI track named something like “Mid Bass.” Before designing the sound, place it in a musical context: loop a breakbeat, kick/snare pattern, or your main drum bus first. Oldskool DnB basses are judged against the drums, not in solo.
Use a simple reference groove:
Keep the project at a DnB tempo, typically around 170–174 BPM. The bass line will feel different once the drums are in place, so don’t design it in isolation.
Why this works in DnB: the bass and drums are inseparable. If the mid bass grooves against the break from the start, your automation decisions will be more musical and less random.
2. Build the core synth in Operator or Wavetable
For a clean but aggressive starting point, use Operator or Wavetable from stock Ableton devices.
A solid starting patch:
If using Wavetable:
Aim for a mid bass that has harmonics in the 100–500 Hz area, with enough character to cut through a dense break but not so much top-end that it becomes noisy.
Two useful starting points:
3. Shape the tone with filtering and Drive
Add Auto Filter after the synth. This is where the bass becomes more “oldskool” and less like a plain synth tone.
Recommended Auto Filter setup:
Then add Saturator after the filter:
A good DnB mid bass often needs harmonics that can survive a busy drum loop. Saturation brings those harmonics forward so the bass can be felt on smaller systems while still sitting under the sub.
4. Tighten the low end and split the sub mentally
Even if you are only building the mid bass here, think like a bass engineer. The sub should remain separate, usually as its own sine or simple mono layer. Your mid bass should not dominate below roughly 70–90 Hz unless that’s a deliberate sound-design choice.
Use EQ Eight after Saturator:
Practical move: A/B the bass with and without the high-pass while the sub is playing. The goal is not to make it thin — it’s to make the sub clean and powerful.
This is one of the biggest reasons basses fail in DnB: too much low-mid information from both the sub and the mid layer causes the kick to lose authority and the drop to feel cloudy.
5. Write a short, rhythmic MIDI phrase
Now program the actual bassline. In oldskool DnB, the mid bass often follows a call-and-response rhythm with the drums rather than continuous notes.
Try a 1- or 2-bar pattern with:
Good note choices for an intermediate DnB workflow:
Example musical context:
If your tune is in F minor, a phrase might sit around F, Eb, and C, with short repeated hits before the snare and a slightly longer held note at the end of the second bar to set up the next phrase.
Keep note lengths short unless you specifically want a rolling hold. In DnB, long notes can work, but only if the automation and filter movement keep them alive.
6. Add motion with MIDI and device automation
This is the core of the lesson. Your bass should not be static.
Automate or map these key parameters:
Best automation approach:
A useful pattern:
In Ableton Live 12, use arrangement automation for longer changes and clip automation for loop-level variations. That gives you both repeatable bass motion and arrangement control.
7. Add movement with modulation tools and subtle FX
If the patch still feels too static, add movement without losing punch.
Stock device options:
For the main bass, subtle modulation is usually enough. A slow LFO on cutoff, synchronized to 1/2 or 1 bar, can create movement that feels like the bass is breathing with the loop.
Good parameters:
Why this works in DnB: the genre relies on repetitive elements that evolve just enough to stay exciting. Tiny modulation changes stop a loop from feeling copy-pasted, especially over 16 bars.
8. Resample and tighten the character
Once the synth and automation feel good, resample the bass to audio. This is especially effective in oldskool DnB because it gives you a more committed, edited result.
Workflow:
Then use Clip Envelopes or Arrangement automation to make tiny level changes to individual notes. This is where you can shape the bass like a sample:
Resampling is particularly strong for darker DnB because it forces commitment. The bass becomes a performance object, not just a plugin preset.
9. Lock the bass against the drums and check mono discipline
Now listen in full context with kicks, snares, hats, and break edits.
Use Utility on the bass bus:
Use EQ Eight or a spectrum view to compare bass and snare interaction:
Musical arrangement context: in a 16-bar DnB drop, the first 8 bars can be relatively restrained, with the filter mostly closed. Bars 9–16 can open the bass more, add a little extra drive, and include one fill where the bass drops out for a snare roll or break turnaround.
Common Mistakes
Fix: high-pass the mid layer and let the sub carry the lowest frequencies.
Fix: keep the core bass mono or nearly mono; save width for effects or upper textures.
Fix: automate cutoff, drive, or envelope amount so the bass phrase evolves.
Fix: clean up the frequency balance first, then add saturation.
Fix: shorten note lengths and let the break breathe around them.
Fix: always judge the bass against the actual drum loop, not solo.
Fix: tame harshness around 2–5 kHz and keep the edge controlled.
Pro Tips for Darker / Heavier DnB
Mini Practice Exercise
Spend 10–20 minutes building a bass loop with this exact challenge:
1. Make a 2-bar DnB drum loop at 172 BPM using a kick, snare, hats, and a chopped break.
2. Build a mono mid bass in Operator or Wavetable with Auto Filter, Saturator, and EQ Eight.
3. Program a 2-bar MIDI phrase using only 3 notes.
4. Automate cutoff so bar 2 opens slightly more than bar 1.
5. Automate drive so one note in each bar hits harder than the others.
6. Resample the result and trim it into a tight loop.
7. Listen in full context and make one improvement to the bass/drum relationship.
Goal: make the loop feel like a real drop element, not a sound design demo. If it doesn’t move with the drums, adjust note lengths and automation before adding more effects.
Recap
The key to tightening an oldskool DnB mid bass is control: mono focus, separate sub thinking, short rhythmic notes, and automation that adds movement without muddying the groove.
Remember the essentials:
If the bass feels solid against the break and still leaves room for the kick, snare, and sub, you’re in the right zone. That’s the DnB difference: not just a sound, but a groove that hits hard and stays clean.

