DNB COLLEGE

Drum & Bass Ableton Live 12 Tutorials

LESSON DETAIL

Think transition warp formula with jungle swing in Ableton Live 12 (Beginner)

An AI-generated beginner Ableton lesson focused on Think transition warp formula with jungle swing in Ableton Live 12 in the Automation area of drum and bass production.

Back to lessons
Think transition warp formula with jungle swing in Ableton Live 12 (Beginner) cover image

Narrated lesson audio

The voice track includes the tutorial plus extra teacher commentary.

Open audio file

Main tutorial

```markdown

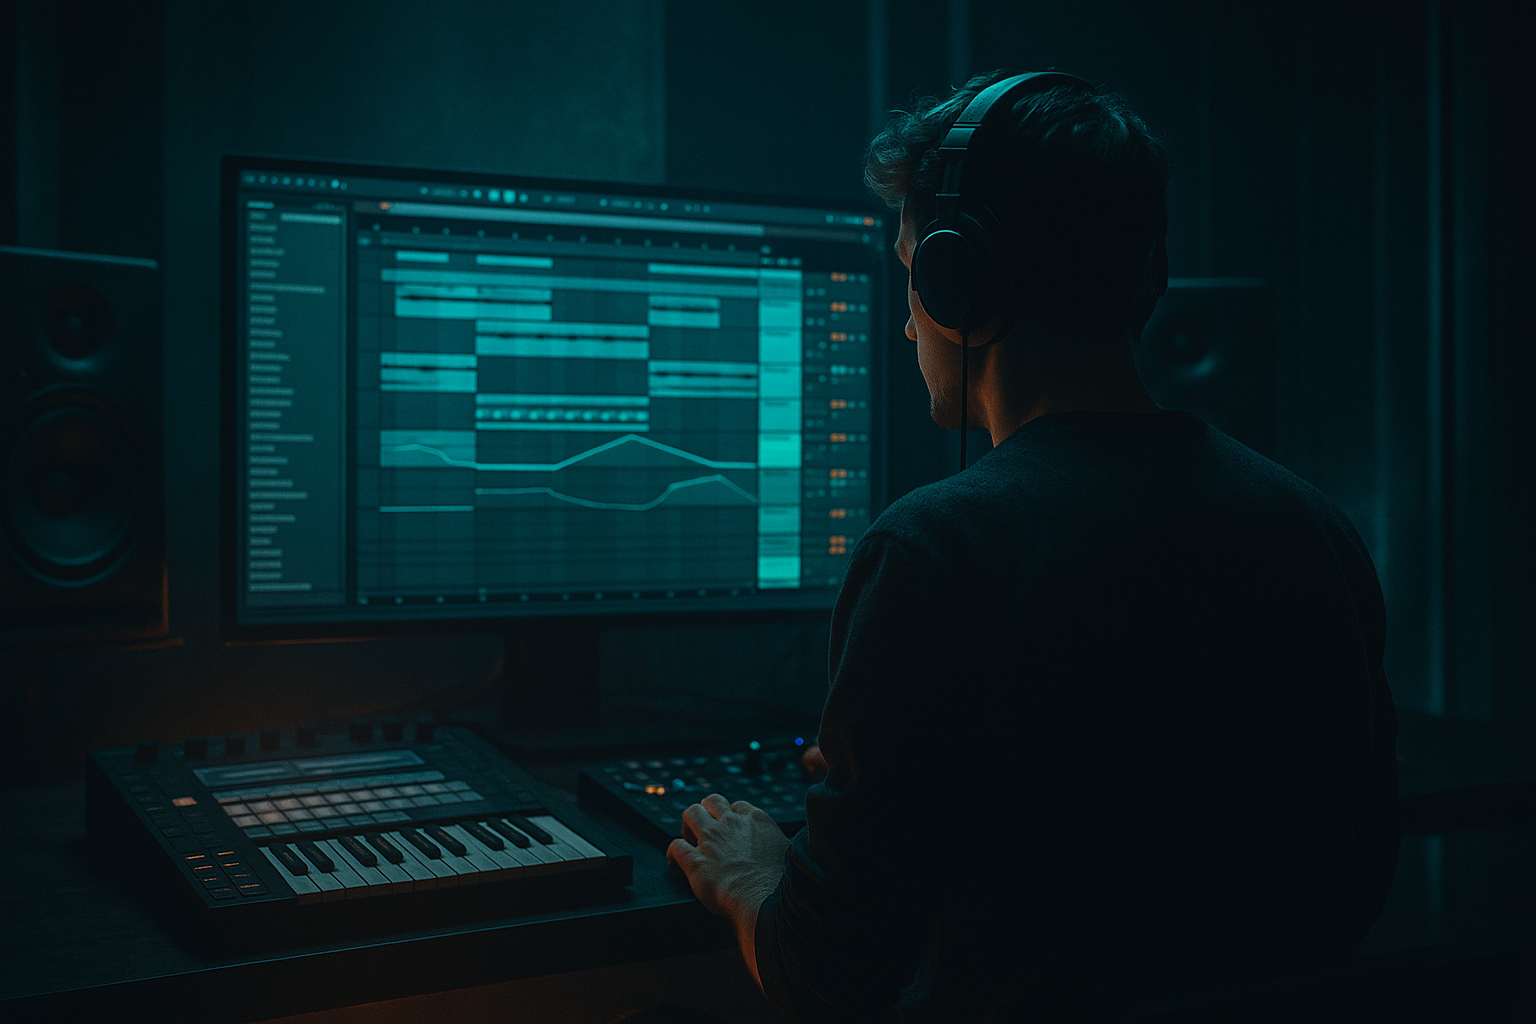
Think Transition Warp Formula with Jungle Swing in Ableton Live 12 (Automation) 🥁⚡

1. Lesson overview

In drum & bass, transitions aren’t just “fills” — they’re energy management. This lesson shows you a practical “Think transition warp formula” using the legendary Think break style phrasing (tight edits, snare rushes, micro-stutters) plus jungle swing. You’ll build a repeatable workflow in Ableton Live 12 that uses Warping + Automation to turn one break into:

  • a rolling groove (with swing), and
  • a high-impact 8-bar build → 1-bar drop-in transition.
  • We’ll stick to stock Ableton devices and beginner-friendly methods, but the results will feel authentic to jungle / rolling DnB. 🎛️

    ---

    2. What you will build

    You’ll end up with:

  • A 2-bar Think-style break loop warped cleanly to your project tempo
  • A jungle swing feel using Ableton Groove + timing nudges
  • A transition formula you can reuse:
  • 1. Tighten (reduce reverb/space, add focus)

    2. Accelerate (warp/repitch + shorter slices)

    3. Tension (filter + resonance + rising noise)

    4. Impact (snare rush / tape-stop / stutter into drop)

  • A clean automation layout for filter, pitch, reverb throws, and stutters
  • ---

    3. Step-by-step walkthrough

    Step 0 — Project setup (DnB-friendly)

    1. Set tempo to 172 BPM (classic rolling range: 170–175).

    2. Set global Launch Quantization to 1 Bar (top-left) so edits snap musically.

    Arrangement idea: Plan an 8-bar phrase ending in a 1-bar transition into the drop.

    ---

    Step 1 — Import and warp your Think-style break 🎚️

    1. Drag a Think break (or any classic break) onto an Audio Track in Arrangement.

    2. Double-click the clip to open Clip View.

    3. Turn Warp ON.

    4. Choose Warp Mode:

    - Beats mode for tight transient control

    - Set Preserve to Transients

    - Start with Transient Loop Mode: Off (cleaner)

    5. Right-click the waveform → Warp From Here (Straight) if the downbeat is correct.

    6. Find bar 1 downbeat:

    - Zoom in, locate the first kick, right-click → Set 1.1.1 Here

    7. Check timing over 2 bars. If it drifts:

    - Add a Warp Marker on key hits (kick/snare), drag gently into place.

    Goal: Your break hits should sit cleanly on the grid without sounding “torn”.

    ---

    Step 2 — Make a clean 2-bar loop foundation

    1. Set the clip loop braces to 2 bars (e.g., 1.1.1 → 3.1.1).

    2. Turn on Loop in Clip View.

    3. Consolidate if needed:

    - Select 2 bars in Arrangement → Cmd/Ctrl + J

    This makes editing and slicing easier later.

    ---

    Step 3 — Add jungle swing (the correct way) 🕺

    Jungle swing is NOT just quantize-off. It’s a controlled late/early feel.

    #### Option A: Groove Pool (beginner-friendly, musical)

    1. Open Groove Pool (click the wave icon at bottom-left).

    2. In the Browser → Grooves:

    - Try MPC 16 Swing 57–63 (start at 59)

    - Or SP 1200 swing variants if available

    3. Drag the groove onto your break clip.

    4. In Groove Pool settings:

    - Timing: 60–80%

    - Random: 2–8% (tiny only)

    - Velocity: 0–15% (optional; breaks already have dynamics)

    5. Click Commit only if you want it permanent (I recommend leaving it uncommitted while learning).

    #### Option B: Micro-nudge for “Think” authenticity (simple + effective)

  • Identify key “push/pull” moments:
  • - Often the ghost notes and hat ticks are slightly late.

  • In Clip View, add warp markers to small hits and nudge a few milliseconds late.
  • Keep kicks/snare anchors stable; move the “in-between” hits.
  • DnB tip: Your snare on 2 and 4 should feel solid — swing lives in the supporting hits.

    ---

    Step 4 — The “Think Transition Warp Formula” (8 bars → 1 bar)

    We’ll build an 8-bar section where the break evolves, then a 1-bar “Think” style transition.

    #### Create the layout

    1. Duplicate your 2-bar loop to fill 8 bars.

    2. Label sections:

    - Bars 1–4: Stable groove

    - Bars 5–8: Tension + edits

    - Last 1 bar before drop: Transition hit

    ---

    Step 5 — Automation core: filter + space control (energy shaping) 🎛️

    Add devices to the break track:

    Device chain (stock):

    1. EQ Eight

    2. Auto Filter

    3. Drum Buss (light)

    4. Reverb (as a Send is better, but we’ll do both options)

    #### EQ Eight (clean low-end)

  • High-pass slightly to make room for bass:
  • - Enable HP filter around 80–120 Hz (depends on break)

    - Use a gentle slope (12 dB/oct) to start

    #### Auto Filter (the classic build tool)

  • Mode: Lowpass
  • Slope: 24 dB
  • Resonance: 10–25% (careful; too much whistles)
  • Map automation for:
  • - Frequency (main build)

    - Resonance (slight rise near the end)

    Automation plan (example):

  • Bars 5 → 8:
  • - Frequency slowly closes (e.g., 18 kHz → 2–4 kHz)

    - Resonance rises slightly (e.g., 10% → 20%)

    This “closes the room” and creates anticipation.

    #### Reverb “throw” (transition splash) 🌊

    Best practice: use a Return track.

    1. Create Return A: Reverb

    2. Settings:

    - Decay: 1.8–3.5s

    - Pre-delay: 15–30 ms

    - High Cut: 6–10 kHz (darker, less hiss)

    3. Automate the Send amount on the break:

    - Mostly low (0–5%)

    - Spike on the last snare hit before the drop (e.g., 20–40%)

    4. After the throw, automate back down quickly so the drop hits clean.

    ---

    Step 6 — Warp-based acceleration (the “Think” vibe) 🧨

    Here’s the key trick: in the final bar, make the break feel like it’s speeding up without changing project tempo.

    #### Method 1: Warp Mode “Beats” + transient loop (fast stutter)

    1. Duplicate the last bar of your 8-bar phrase to a new clip (or just edit in place).

    2. In Clip View:

    - Warp Mode: Beats

    - Transient Loop Mode: On

    - Set Transient Loop to 1/16 or 1/32

    3. Choose a busy region (snare + ghost notes) and tighten the loop region.

    Automation move:

  • Automate the transient loop length from 1/16 → 1/32 over the last 1/2 bar.
  • This creates a “snare rush” feel without MIDI.

    #### Method 2: Repitch dive (tape-stop style) 🎚️

    For darker/heavier transitions, a quick pitch drop is money.

    1. Duplicate the last 1/2 bar into its own clip.

    2. Set Warp Mode to Re-Pitch.

    3. Add a warp marker near the end and stretch that region slightly.

    - The audio slows down and drops pitch naturally.

    Keep it subtle for rolling DnB; go harder for neuro-ish drops.

    ---

    Step 7 — Add the “Think edit”: one-shot slice hits (beginner slicing)

    To get that chopped break feel, we’ll slice to a Drum Rack.

    1. Right-click the break clip → Slice to New MIDI Track

    2. Slicing preset:

    - Slice By: Transients

    - Choose Built-in slicing preset (defaults are fine)

    3. You now have a Drum Rack with slices.

    #### Create a transition fill with MIDI

    1. Create a 1-bar MIDI clip before your drop.

    2. Program:

    - Snare slice on beats 2 and 4

    - Add extra snare hits leading into the drop:

    last 1/2 bar: 8th notes, last 1/4 bar: 16ths

    3. Add swing:

    - Apply the same groove to the MIDI clip for consistent feel.

    #### Control chaos with Drum Buss (glue + smack)

    On the Drum Rack (or its group):

  • Drive: 5–15%
  • Boom: Off or very low (break already has lows)
  • Transient: +5 to +20 (more snap)
  • Dry/Wet: 50–80%
  • ---

    Step 8 — Final transition polish: noise riser + downlifter (stock)

    Add a simple riser to support your break edits.

    #### Noise riser (Operator)

    1. Create a MIDI track → load Operator

    2. Set Operator to Noise (in oscillator or via noise sample depending on patch)

    3. Add Auto Filter after it:

    - Highpass, 24 dB

    4. Automate:

    - HP Frequency rising (e.g., 200 Hz → 6 kHz)

    - Volume rising slightly

    5. Add Reverb lightly

    #### Downlifter (Reverse crash)

    1. Drag a crash sample to audio track

    2. Reverse it (R key when clip selected)

    3. Warp mode: Tones or Complex (whichever sounds smoother)

    4. Fade out into the drop

    ---

    Step 9 — Arrange it like real DnB

    A reliable 16-bar pre-drop phrase could be:

  • Bars 1–8: break + bass stable
  • Bars 9–12: filter closes a bit, tension rises
  • Bars 13–15: more edits + reverb throws
  • Bar 16: warp acceleration + snare rush + quick silence
  • Drop: full bandwidth back in (filter opens instantly)
  • Pro move: Add a 1/8 or 1/4 bar mute right before the drop. Silence makes the drop feel bigger.

    ---

    4. Common mistakes

  • Over-warping the whole break: too many warp markers can create flams and weird phasey transients. Anchor kicks/snares; don’t “grid-force” every hat.
  • Too much swing: if swing is extreme, the break loses drive at 172 BPM. Start around 57–61 style swing.
  • Reverb washing the drop: if your reverb throw isn’t automated down, the drop hits like a wet blanket.
  • Pitch tricks on sub-heavy sections: repitch/tape-stop on full-spectrum audio can wobble your low end. Use it mostly on the break or high-passed audio.
  • ---

    5. Pro tips for darker/heavier DnB 🖤

  • Parallel distort the break (but keep transients):
  • - Create Return B: Saturator → EQ Eight → Glue Compressor

    - Saturator: Soft Clip ON, Drive 4–10 dB

    - EQ after: cut harshness around 3–7 kHz if needed

    - Blend via send for controlled aggression

  • Make the transition “suck in” before the drop:
  • - Automate Utility gain down 1–2 dB in the last 1/2 bar

    - Then restore at drop (or even +0.5 dB for impact)

  • Use Auto Filter resonance like a weapon (carefully):
  • - A small resonance rise near the end adds that “jungle radio whine”.

  • Layer a tight clap/snare transient:
  • - Add a one-shot on top of your break snare during the transition only.

    - High-pass it (EQ Eight) so it doesn’t fight the main snare body.

  • Tight mono focus in the final bar:
  • - Utility: Width automate from 120% → 0–60% approaching the drop.

    - Then snap back wider on the drop for contrast.

    ---

    6. Mini practice exercise ✅

    Do this in 15 minutes:

    1. Warp a 2-bar break cleanly at 172 BPM (Beats mode).

    2. Apply a groove: MPC 16 Swing 59 at Timing 70%.

    3. Build an 8-bar phrase:

    - Bars 1–4 normal

    - Bars 5–8 filter closes (Auto Filter LP 24 dB)

    4. In the last bar:

    - Add a reverb throw on the final snare (Return track)

    - Add a 1/16 → 1/32 stutter using Beats transient loop

    5. Add a 1/8-bar silence right before the drop.

    6. Render/export a quick loop and listen: does the drop feel bigger?

    ---

    7. Recap

    You learned a repeatable DnB transition method using Warp + Automation:

  • Warp your break cleanly (anchor the big hits)
  • Add jungle swing using Groove Pool (and small nudges if needed)
  • Shape energy with Auto Filter + reverb throws
  • Create “Think” urgency using stutters (Beats mode) or Re-Pitch slowdowns
  • Arrange with contrast: tension → silence → impact

If you want, tell me your target subgenre (jungle, rollers, neuro, dancefloor) and I’ll give you a specific 16-bar automation map (exact bar-by-bar moves) that fits it.

```

Ask GPT about this lesson

Chat with the lesson tutor, get follow-up help, or use quick actions.

Bigup 👽 Ask me anything about this lesson and I’ll answer in context.

Narration script

Show spoken script
Welcome back. Today we’re doing a super practical drum and bass move in Ableton Live 12: a “Think transition warp formula” with jungle swing, built with warping and automation.

The big idea is this: in DnB, transitions aren’t just little fills. They’re energy management. You’re literally deciding how focused, how tense, and how explosive the next moment feels. And once you learn this as a repeatable formula, you can do it on basically any break, not just the Think.

By the end, you’ll have a clean, swung two-bar break loop, and then you’ll stretch it into an eight-bar phrase that evolves into a one-bar transition that actually feels like jungle: tight edits, a little snare rush urgency, and that controlled swing that keeps it rolling at 172.

Let’s set up the session.

Set your tempo to 172 BPM. That’s right in the rolling zone. Now, go to the top-left and set Launch Quantization to 1 Bar. Even if you’re working in Arrangement, this keeps a lot of actions feeling musically “snapped,” and it helps you stay in phrase-thinking instead of random edit-thinking.

Mentally, I want you to picture an eight-bar section that leads into a one-bar transition right before the drop. So we’re not just making a cool sound. We’re building a moment that’s designed to land.

Now import your break. Drag in a Think break if you have one, or any classic break with good transients. Put it on an audio track in Arrangement.

Double-click the clip to open Clip View, and turn Warp on.

For Warp mode, choose Beats. Beats mode is your best friend for breaks when you want tight transient control. Set Preserve to Transients. And for now, set Transient Loop Mode to Off. We’ll turn it on later when we do the stutter acceleration trick.

Now here’s where beginners either win or suffer: getting the downbeat right.

Zoom in and find the first real kick that feels like “bar one.” Right-click and choose Set 1.1.1 Here. If your downbeat is already correct, you can also right-click and use Warp From Here, Straight, to get it aligned quickly.

Then play it for two bars with the metronome. Don’t stare at the waveform, listen. If it drifts, don’t go crazy with warp markers. Anchor the big hits first: the main kick and the main snare. Add a warp marker on a key kick, and a warp marker on a key snare, and gently nudge them into place.

Teacher tip: if you try to force every single hat tick perfectly onto the grid, you’ll tear the break. You’ll get little flams, phasey transients, and it’ll sound like the drum loop is made of paper. In this style, the anchors matter most. The in-between stuff can breathe.

Once it’s sitting well, set up a clean two-bar loop. Set the loop braces from 1.1.1 to 3.1.1. Turn Loop on in the clip. If your audio in Arrangement is messy or chopped, highlight those two bars and consolidate with Cmd or Ctrl J. Consolidation just makes everything easier when you start editing.

Now we add jungle swing, and we do it the correct way.

Jungle swing is not “turn quantize off and pray.” It’s controlled push and pull. You want the main snare on 2 and 4 to feel solid, and you want the supporting hits, like ghost notes and hats, to be where the swing lives.

Option A is Groove Pool, and it’s beginner-friendly and musical.

Open the Groove Pool. That’s the little wave icon near the bottom-left. In the Browser, find Grooves. Start with something like MPC 16 Swing around 59. If you go too extreme you’ll feel it immediately, and not in a good way at 172.

Drag that groove onto your break clip. In the Groove Pool settings, try Timing around 70 percent. Set Random very low, like 2 to 8 percent max. If it starts feeling drunk, Random goes back down toward zero. Velocity can be subtle, maybe 0 to 15 percent, but breaks already have dynamics, so don’t overdo it.

And here’s a really important workflow detail: don’t commit the groove yet. Leave it uncommitted while you’re learning, so you can easily tweak the feel.

Option B is the authenticity move: micro-nudging a few small hits.

In Clip View, find some ghost notes or hat ticks that feel like they should sit slightly late. Add a warp marker and nudge just a few milliseconds. Tiny moves. Kicks and main snares stay anchored. This is how you get that “Think” phrasing vibe without destroying the groove.

Now we build the transition formula.

Duplicate your two-bar loop until you’ve filled eight bars. So now you’ve got an eight-bar phrase. Think of it like: bars 1 to 4 are stable groove, bars 5 to 8 are tension and edits, and then the last bar before the drop is the real transition hit.

Before we do any fancy warp tricks, we’re going to shape energy with automation. This is where your transition starts feeling intentional.

On the break track, add a simple device chain: EQ Eight, Auto Filter, Drum Buss. Reverb we’re going to do as a return, because throws are way cleaner that way.

On EQ Eight, do a gentle high-pass around 80 to 120 hertz. The exact spot depends on your break, but the goal is to clear room for the sub and bass later. Use a gentle slope like 12 dB per octave to start. If you go too steep too early, the break can feel thin.

Now Auto Filter. Set it to Lowpass, 24 dB slope. Resonance somewhere around 10 to 25 percent, and be careful because too much resonance turns into a whistle.

Now press A to show automation lanes in Arrangement. This is one of those “I wish someone told me earlier” things. Use lanes. Stay organized. Put your main transition controls on separate lanes: filter frequency, filter resonance, reverb send, utility gain, utility width. You want to see the shape of the build at a glance.

And another coach note: don’t draw linear ramps. Most DnB builds feel better as slow start, fast finish. So instead of a straight line, put a breakpoint in the middle, then make the last part steeper so it snaps in the last beat or two.

Automation plan: starting around bar 5, slowly close the filter. Maybe from fully open down toward 2 to 4 kilohertz by bar 8. Then let resonance rise slightly as you approach the end. That “closing the room” effect creates anticipation without needing extra sounds.

Now for the reverb throw.

Create Return Track A with Reverb. Set decay around 1.8 to 3.5 seconds, pre-delay 15 to 30 milliseconds, and high cut around 6 to 10 kHz so the verb is darker and doesn’t hiss all over your mix.

On your break track, automate the send to that reverb. Most of the time it’s basically off, like 0 to 5 percent. Then you spike it on the last snare hit before the drop, something like 20 to 40 percent depending on how dramatic you want it.

And crucial: right after the throw, you automate it back down fast. If you don’t, your drop hits like a wet blanket. The throw is the splash, not the new permanent weather.

Alright. Now we add the signature Think vibe: warp-based acceleration.

This is the trick that makes it feel like the break is freaking out and speeding up without changing the project tempo.

Take the last bar before the drop. You can duplicate it into its own clip if that’s easier to manage.

In Clip View, keep Warp Mode on Beats, but now turn Transient Loop Mode on. Set the transient loop length to 1/16 or 1/32. Find a busy region, usually around snare and ghost note activity, and let it loop.

Now automate the transient loop length so it tightens over time. For example, over the last half bar, go from 1/16 to 1/32. This creates that snare-rush urgency without even touching MIDI.

If you want a different flavor, you can do a Re-Pitch dive, kind of tape-stop style.

Duplicate the last half bar into its own clip. Set Warp Mode to Re-Pitch. Add a warp marker near the end and stretch that region slightly. The audio slows down and drops pitch naturally. For rolling DnB, keep it subtle. If you do it on full-spectrum audio with heavy low end, it can wobble your subs in a bad way, so this works best on the break or on a high-passed layer.

Now let’s add the “Think edit” chops in the most beginner-friendly way: slicing.

Right-click the break clip and choose Slice to New MIDI Track. Slice by Transients. Use the built-in preset, defaults are fine.

Now you’ve got a Drum Rack full of slices. Create a one-bar MIDI clip right before the drop, and program a simple fill.

Start with snare slices on beats 2 and 4 to keep it grounded. Then in the last half bar, add extra snare hits as eighth notes. In the last quarter bar, go to sixteenths. That’s the classic density ramp that signals “something’s about to happen.”

Apply the same groove to this MIDI clip too. That keeps the swing consistent. Otherwise your break is rolling and your fill is straight, and it’ll feel like two different drummers arguing.

To control the chaos and make it hit, add Drum Buss on the Drum Rack or the group. Drive around 5 to 15 percent, Transients up a bit, maybe plus 5 to plus 20. Keep Boom off or very low, because breaks already have low content you probably high-passed earlier anyway. Dry/Wet somewhere around 50 to 80 so you’re not completely rewriting the sound.

Now we support the transition with one extra layer: a simple riser and a downlifter, stock-only.

For a noise riser, create a MIDI track and load Operator. Use a noise source in Operator. Put Auto Filter after it, set to Highpass, 24 dB. Automate the highpass frequency rising from around 200 Hz up toward 6 kHz across the build, and bring the volume up slightly too. Add a touch of reverb so it sits behind the drums.

For a downlifter, grab a crash sample, put it on an audio track, reverse it. Warp it in Tones or Complex, whichever sounds smoother. Fade it so it pulls you into the drop.

Now arrangement, because this is where people finally start sounding like “real DnB” instead of “a loop with effects.”

A reliable pre-drop map is: bars 1 to 8, stable break and bass. Bars 9 to 12, filter closes a bit and tension rises. Bars 13 to 15, more edits and a couple of reverb throws. Bar 16, your signature move: warp acceleration or slice fill, and then a clean gap.

And yes, do the silence trick. Mute the drums for 1/8 or 1/4 bar right before the drop. That negative space is impact. You’re basically resetting the ear so the drop feels bigger without you turning anything up.

Quick quality control before we wrap.

A/B your swing. Duplicate the clip: one with groove, one without. Toggle mute to compare. If the swung version feels sloppy, reduce timing a bit, or drop random nearly to zero.

If you’re getting CPU spikes because you’re stacking warp stutters plus automation plus devices, freeze the track once you like the transition. You can always go back, but freezing keeps you moving.

And one more pro-style variation that’s insanely effective: two-layer Think.

Duplicate your break track. On the duplicate, high-pass hard at like 250 to 500 Hz so you’re keeping mostly hats and ghosts. Do the aggressive stutter and warp tricks only on that top layer. Keep your original break mostly clean and anchored. That gives you frantic movement without destroying the punch of the groove.

Now a quick 15-minute practice exercise to lock this in.

Warp a two-bar break cleanly at 172 using Beats mode. Apply MPC 16 Swing 59 at Timing 70. Duplicate it out to eight bars. Bars 1 to 4 normal. Bars 5 to 8 filter closes with Auto Filter lowpass. In the last bar, do a reverb throw on the final snare with a return track, then do a stutter that tightens from 1/16 to 1/32. Add a 1/8-bar silence before the drop. Render it and listen: does the drop feel bigger?

If it does, you just built a real DnB transition, not a random effect.

Let’s recap the formula so you can reuse it on anything.

First you warp the break cleanly, anchoring kicks and main snares. Then you add jungle swing with Groove Pool and subtle nudges. You shape energy with filter automation and reverb throws. You create Think urgency with stutters in Beats mode or a subtle Re-Pitch slowdown. And you arrange for contrast: tension, then silence, then impact.

If you tell me what subgenre you’re aiming for, like jungle, rollers, neuro, or dancefloor, I can give you a bar-by-bar automation map for a full 16 bars, with exact moves and where to steepen curves so it hits right.

mickeybeam

Go to drumbasscd.com for +100 drum and bass YouTube channels all in one place - tune in!

Generating PDF preview…