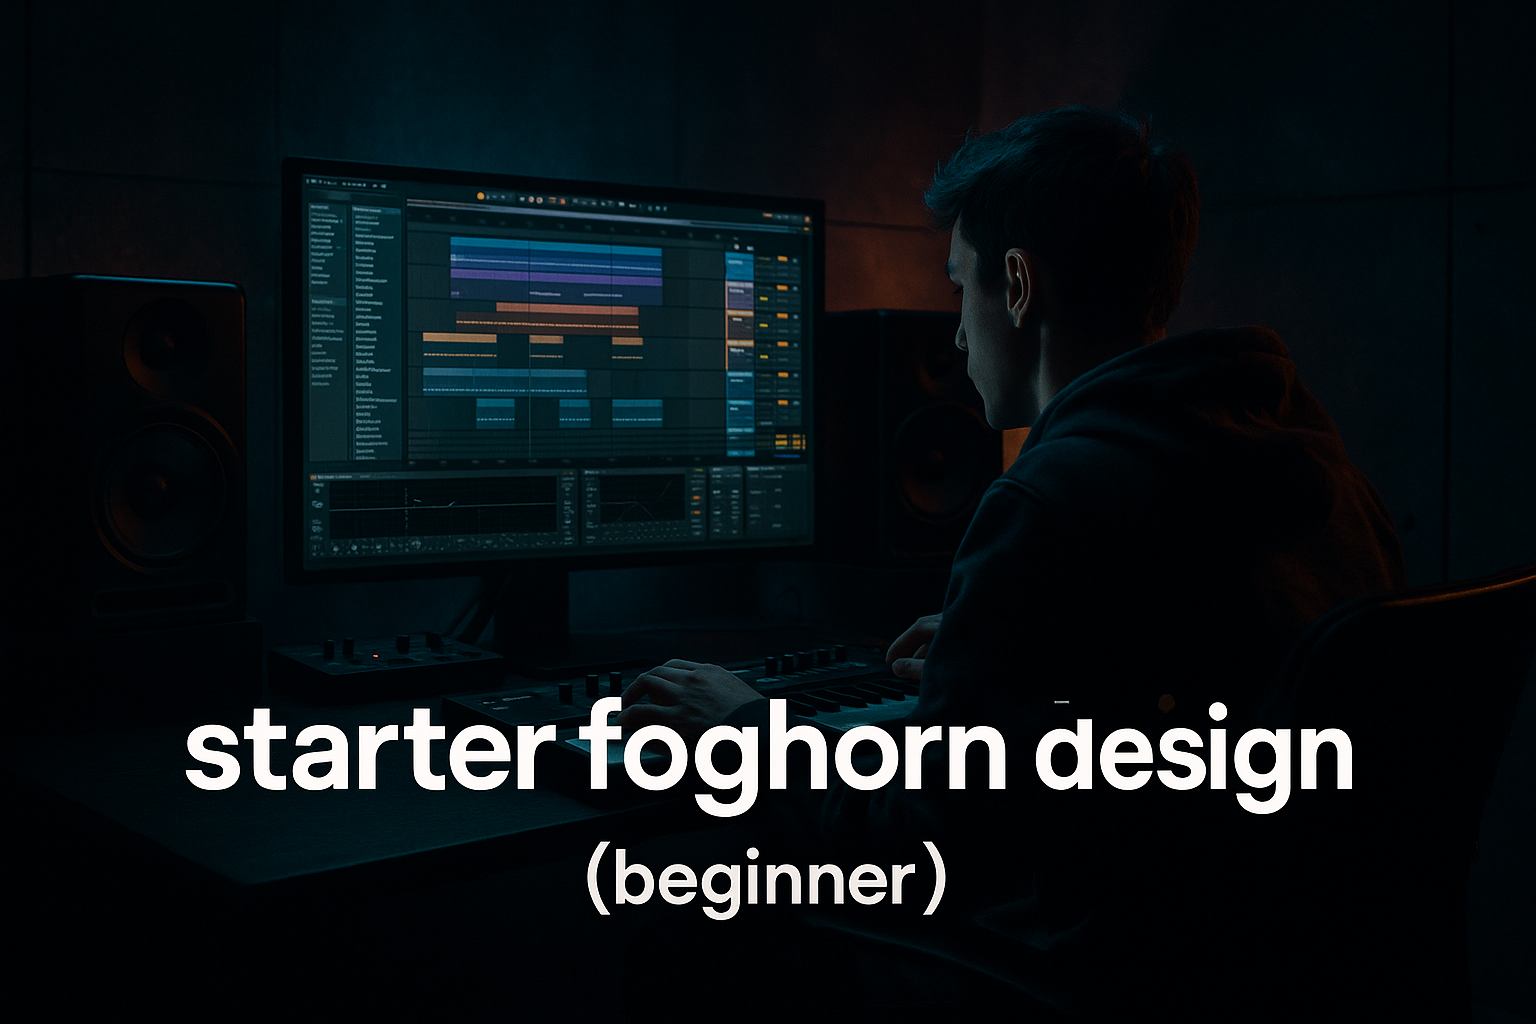
Main tutorial
1. Lesson Overview
This lesson teaches an advanced, system-based workflow in Ableton Live 12 for creating a ragga vocal layer drive specifically tailored to jungle oldskool Drum & Bass vibes. Think system approach: a ragga vocal layer drive in Ableton Live 12 for jungle oldskool DnB vibes — that means building a modular, routable vocal system (clean lead, crushed drive, pitched doubles, and a vocoder texture) with shared buses and returns so you can dial in energy, grit and intelligibility quickly in context with breaks and bass.
You’ll learn routing, carrier/modulator vocoder setup, band and intelligibility shaping, parallel distortion buses, creative pitch/formant layering, and mixing tips using only Ableton Live 12 stock devices.
2. What You Will Build
- A modular vocal system (Audio Track + Instrument Track carriers + Return buses) that lets you:
- Vocoder Bands: 32–40
- Vocoder Attack: 1–5 ms; Release: 30–80 ms
- Saturator Drive (R-Drive): 3–6 dB
- Glue Compressor (group): Ratio 2:1, Attack 10 ms
- HPF on main vocal: 80–120 Hz; R-Voc HPF: 200–300 Hz
- Send levels: R-Drive 10–25%; R-Doubler 10–20%; R-Voc 8–18%
- Over-driving every chain: Too much saturation on both the send and the group will kill articulation. Use parallel routing and trim after distortion.
- Vocoder muddying the sub/bass: Forgetting to high-pass the vocoder output or carrier can conflict with bass frequencies.
- Too few vocoder bands for intelligibility: Using 8–12 bands makes it robotic but unintelligible for lyrical ragga unless that’s the aesthetic you want. Use 32+ for clarity.
- Routing carrier incorrectly: Not routing the carrier audio specifically to the Vocoder device will result in silence or only carrier sound. Follow the External carrier routing method precisely.
- Over-EQing the dry vocal: Removing too much midrange before vocoding removes consonant energy and makes lyrics unintelligible.
- Not using a parallel dry vocal: Relying solely on the vocoder for lyric clarity; keep a low-level dry vocal in the mix.
- Use two carriers: A dense Wavetable pad for body + a subtle sine/train of sines (Sine Bank in Vocoder) routed and blended to add sub harmonic content.
- Automate vocoder band count (or emulate it via band emphasis with EQ) — reduce bands for special robotic fx on one bar, raise them for readable phrases.
- Use transient shaping (Amp Envelope in Wavetable or third-party) on the carrier to match the vocal attack; this increases consonant clarity.
- Create macros on the Vocal_System group for quick performance controls: Drive, Vocoder Wet, Doubler Amount, and Width. Map them to a MIDI controller for live ragga-style toasting.
- If you want oldskool grit, bounce a copy of R-Drive to audio, reduce resolution with Redux (bit reduction) and a small tape-saturation chain, then blend it low under the main system.
- For more authentic jungle feel, automate stereo image of the doubler and vocoder out-of-phase to create dancefloor width that complements break fills.
- Think system approach: a ragga vocal layer drive in Ableton Live 12 for jungle oldskool DnB vibes means building a modular, routable vocal architecture that keeps the ragga vocal intelligible while adding grit, pitch-stacked doubles and vocoder textures.
- Use return buses for Drive, Doubler, and Vocoder; route the Wavetable carrier to Vocoder (External) and shape intelligibility by band count, pre-EQ, de-essing and parallel dry blending.
- Keep processing parallel, high-pass the vocoder output to protect the low end, and automate sends and vocoder parameters for dynamic arrangement.
- With this system you can quickly dial vintage jungle character while preserving the toasting clarity that defines ragga vocal energy.
- Keep a clear ragga lead vocal
- Add parallel crunchy/lo-fi drive
- Create pitched doubles and formant-shifted layers
- Add a vocoder texture (modulator = ragga vocal, carrier = Wavetable pad) with controls for intelligibility
- Blend all layers in context with drums and bass for jungle/oldskool DnB energy
3. Step-by-Step Walkthrough
Prereqs: Live 12 (Suite recommended for Wavetable), a ragga vocal sample or recorded phrase, a few MIDI notes for the carrier pad.
A. Project setup & routing (Think system approach)
1. Create tracks:
- Audio Track: Vocal_Main (drop/import your ragga vocal)
- Audio Track: Vocal_Clean (duplicate of Vocal_Main for alternate processing)
- MIDI Track: Vocoder_Carrier (Instrument: Wavetable)
- Create 3 Return Tracks: R-Drive (Distort), R-Doubler (Pitch/Delay), R-Voc (Vocoder texture + HPF)
- Group Vocal_Main and Vocal_Clean into a Group called Vocal_System
2. Set Sends A, B, C to correspond to the 3 returns (rename return channels A=R-Drive, B=R-Doubler, C=R-Voc).
B. Prepare the ragga vocal (modulator)
1. Warp mode: On Vocal_Main, set Warp to Beats (if percussive) or Complex Pro (if long phrases). For ragga delivery, Beats with transient preservation usually works — set transient loop to preserve attack.
2. Cleanup: Insert an EQ Eight on Vocal_Main:
- High-pass at 80–120 Hz (sweep with drums/bass)
- Gentle cut around 300–500 Hz if boxy (-1.5 to -3 dB)
- Small presence boost 1–2 kHz (+1.5 to +3 dB)
- Air shelf around 8–12 kHz (+1–2 dB)
3. Gain staging: Add Utility to manage level; target -6 dB RMS before heavy processing.
C. Build the drive/parallel distortion bus (R-Drive)
1. On Return A (R-Drive) chain:
- EQ Eight: HPF at 120 Hz, gentle low-mid cut 250–400 Hz
- Saturator: Mode “Analog Clip” or “Soft Sine,” Drive 3–6 dB (adjust by ear), Output trim to unity
- Drum Buss: Drive 2–4, Distortion 2–4, Sub off or low; use Tone to add harmonic weight
- Glue Compressor: 2:1, Attack 10 ms, Release Auto, Threshold -6 to -12 dB to glue
- EQ Eight: Re-sculpt — boost 1.2–2.5 kHz for presence (+1.5 dB)
2. Send amounts: On Vocal_Main, send ~10–25% to R-Drive. Use Vocal_Clean sends lower, or none.
D. Doubler / pitch-layer bus (R-Doubler)
1. On Return B:
- Pitch processing: Use Frequency Shifter for subtle detune +/- 6–20 cents
- Chorus/Flanger: Chorus small depth for width
- Ping Pong Delay: 1/8 or dotted 1/16 with low feedback for rhythmic slap
- EQ Eight: roll off under 200 Hz, add presence around 3–5 kHz
2. Use send amounts to taste to create stereo spread and motion. Automate send for fills.
E. Vocoder texture bus and system vocoder setup (R-Voc)
You must include modulator/carrier setup, configuring Ableton Vocoder, shaping intelligibility and blending.
1. Carrier creation (Instrument Track: Vocoder_Carrier)
- Load Wavetable. Patch:
- Osc A: Saw wave, unison 4 voices, detune 12–18 cents
- Osc B: Square or another saw octave lower, mix ~30%
- Filter: Low-pass with cutoff around 4–6 kHz, resonance moderate
- Amp Env: Medium attack (3–6 ms), sustain ~0.8
- Add thickening: unison voices, some noise at low level if desired
- MIDI: Program a sustained pad chord that matches the vocal key (long notes across the phrase). Use 1–2 octaves spread to give harmonic density.
2. Routing carrier -> Vocoder (Ableton external carrier routing)
- Insert Ableton Vocoder on Vocal_Main (this is the modulator).
- In the Vocoder device, set Carrier to "External".
- On the Vocoder_Carrier track, set its "Audio To" to Vocal_Main and in the dropdown choose the Vocoder device (Live lets you target the device). Set Monitor to "In" or keep it as Track = Auto and use a MIDI clip to play the carrier.
- Alternatively, route the Vocoder_Carrier's output to the Vocal_Main track and set the Vocoder’s Carrier to External; ensure the carrier track is producing audio even if muted (Monitor In/Auto).
3. Vocoder device settings (shaping intelligibility)
- Bands: start at 32–40 bands for high intelligibility (more bands = better clarity). For an oldskool texture, you can automate down to 16 for robotic parts.
- Attack: 1–5 ms (fast to capture transients)
- Release: 30–80 ms (shorter release keeps clarity; longer gives smoother sustain)
- Dry/Wet: 40–70% depending on how prominent you want the texture
- Formant: Vocoder in Live doesn’t have a dedicated “formant preserve” control, so preserve intelligibility by:
- Pre-EQ the modulator: boost midrange (1–4 kHz) on Vocal_Main before the Vocoder
- Use band count increase
- Optionally run a copy of the dry vocal in parallel to retain syllable clarity
- Sidechain/Pre-processing: On the modulator (vocal), add light compression: Compressor ratio 3:1, attack 1–3 ms, release 60 ms; this evens the amplitude so the vocoder receives steady energy.
4. Shaping intelligibility detailed tips
- De-ess the vocal before Vocoder: use EQ Eight notch at 5–8 kHz or a dynamic De-Esser (Compressor with sidechain) to remove harsh sibilance that the vocoder will amplify.
- Use an EQ after the Vocoder on the R-Voc return to carve out low end (HPF 200–300 Hz) to avoid masking the bass.
- If the vocoder feels muddy, automate the Vocoder bands or supplement with a doubled clean vocal (Vocal_Clean) at -6 to -12 dB below the lead.
5. Blending the effected voice in context
- Keep the Vocoder texture as a textural layer: send modest amount (10–20%) from Vocal_Main to R-Voc; control wetness via Vocoder’s Dry/Wet.
- Use an EQ after the Vocoder: HPF at 250 Hz, slight boost around 2–4 kHz for presence; shelf at 10 kHz for brightness.
- Sidechain the R-Voc (or entire Vocal_System group) to kick/breaks using Compressor with sidechain input to the drums; set ratio 3:1, attack 1–3 ms, release 80–150 ms for pumping.
- Use Utility on R-Voc to control width: narrow during busy sections (width 60–80%) and widen on breakdowns (120–150%) using Automations.
F. Vocal doubling, pitch/formant stacking on Vocal_Clean
1. Use Simpler or Sampler to slice and re-trigger short phrases for rhythmic chops.
2. Create a layered pitch-shifted duplicate:
- Duplicate Vocal_Main to Vocal_Clean.
- Insert Pitch (Frequency Shifter) + Formant shifting: Frequency Shifter set to +/- 3–6 semitones for harmonies; use Resonator or Vocoder_Carrier trick for formant correction.
- Add a small slap delay (20–50 ms) for compound doubling.
- Route Vocal_Clean to both R-Drive and R-Doubler with different send levels for thickness.
G. Final group processing (Vocal_System Group)
1. On Vocal_System group:
- Multiband Dynamics: light smoothing to control extremes (low band gentle gain reduction)
- Glue Compressor: ratio 1.5–2:1, attack 10 ms, release 100 ms — glue layers together
- Saturator (optional): Soft Clip low drive 1–3 dB
- Final EQ Eight: global surgery; cut any remaining 200–300 Hz build-up.
H. Automations and arrangement for Jungle vibe
1. Automate send levels for energy:
- High send to R-Drive on drops
- Reduce send during verses to keep intelligibility
2. Automate Vocoder bands or Dry/Wet for transitions (e.g., more vocoder during breakdowns for atmosphere).
3. Use delay throws to double-time elements on fills to match break beats.
Preset starting values summary (use as a reference):
4. Common Mistakes
5. Pro Tips
6. Mini Practice Exercise
Objective: Build the full vocal system for a 16-bar vocal phrase and create two automation points: one for a chopped vocoder fill and one for a ramped drive increase on the drop.
Steps:
1. Load your ragga phrase into Vocal_Main, clean with EQ Eight (HPF 100 Hz, presence +1.8 dB at 1.6 kHz).
2. Create R-Drive and R-Voc returns with the chains described above.
3. Set up Wavetable carrier on Vocoder_Carrier; route to Vocoder on Vocal_Main (External).
4. Configure Vocoder: Bands 36, Attack 2 ms, Release 45 ms, Dry/Wet 50%. De-ess the vocal before the Vocoder.
5. Send 18% to R-Drive and 12% to R-Voc. Tweak Saturator to taste.
6. Automate Vocoder Dry/Wet: 0% at bar 8 rising to 70% over one bar for a breakdown fill.
7. Automate Vocal_Main send to R-Drive: start 12% then ramp to 35% on the drop.
8. Render a 4-bar loop and compare with/without the system processing to hear the difference.
7. Recap
Apply these steps in your Live 12 session and adapt the send levels and vocoder band counts to taste for the specific vocal and break you’re working with.

