Main tutorial
Lesson Overview
This lesson is about creating a rewind moment workflow in Ableton Live 12 for jungle / oldskool DnB vibes, while keeping your session light on CPU and easy to arrange. A rewind moment is that classic DJ-style “pull back” or “reload” feeling: the track seems to stop, reverse, or snap back for impact, then drops back in with more energy.
In Drum & Bass, this matters because the rewind is a powerful composition tool. It can turn a simple 8-bar idea into a memorable breakdown, give your drop more personality, and create tension without needing tons of extra sounds. For beginner producers, it’s also a smart way to learn arrangement: instead of building a huge track full of heavy effects, you can get a big result using simple editing, automation, stock Ableton devices, and resampling.
The key idea here is:
- build a solid drum + bass loop
- create a tape-stop / rewind-style transition
- add a short reload moment
- keep everything efficient so the project stays smooth on a normal laptop
- a 1–2 bar jungle drum loop with break-style energy
- a simple sub + reese-style bass movement using stock Ableton devices
- a rewind moment built from audio warp, reverse editing, or automation
- a short drop reset that feels like a proper reload
- an arrangement idea you can place in an intro → drop → rewind → re-drop structure
- Bars 1–8: filtered intro with break fragments and atmospheres
- Bars 9–16: main drop with breakbeat drums and sub bass
- End of bar 16: a rewind moment that pulls the listener back
- Bars 17–24: re-drop with extra drum variation or bass call-and-response
- Using too many heavy devices
- Making the rewind too long
- Letting the bass overlap the rewind too much
- Over-reversing everything
- Forgetting mono low end
- Too much reverb on drums
- No clear phrase structure
- Make the rewind darker with filtering
- Add controlled grit to the bass
- Use ghost notes in the drums
- Keep the bass call-and-response
- Use a short silence before the re-drop
- Resample your best loop
- Check the reload on low volume
- lower the bass filter
- mute the kick for one beat
- add a short reversed crash or snare tail
- build your DnB idea around a tight drum + bass loop
- use reverse audio, automation, and short silence for the rewind moment
- keep it CPU-light with stock Ableton devices
- make the rewind part of the arrangement, not just a random effect
- use phrase structure, mono low end, and bass/drum contrast to make it hit
This is especially useful for oldskool jungle, rollers, and darker DnB where the vibe is often raw, rhythmic, and sample-driven rather than overproduced.
What You Will Build
By the end, you’ll have a small Ableton Live 12 composition idea that includes:
Musically, imagine this:
The final result should feel like an old tape being spun back for effect, but still punchy and club-ready. 🎛️
Step-by-Step Walkthrough
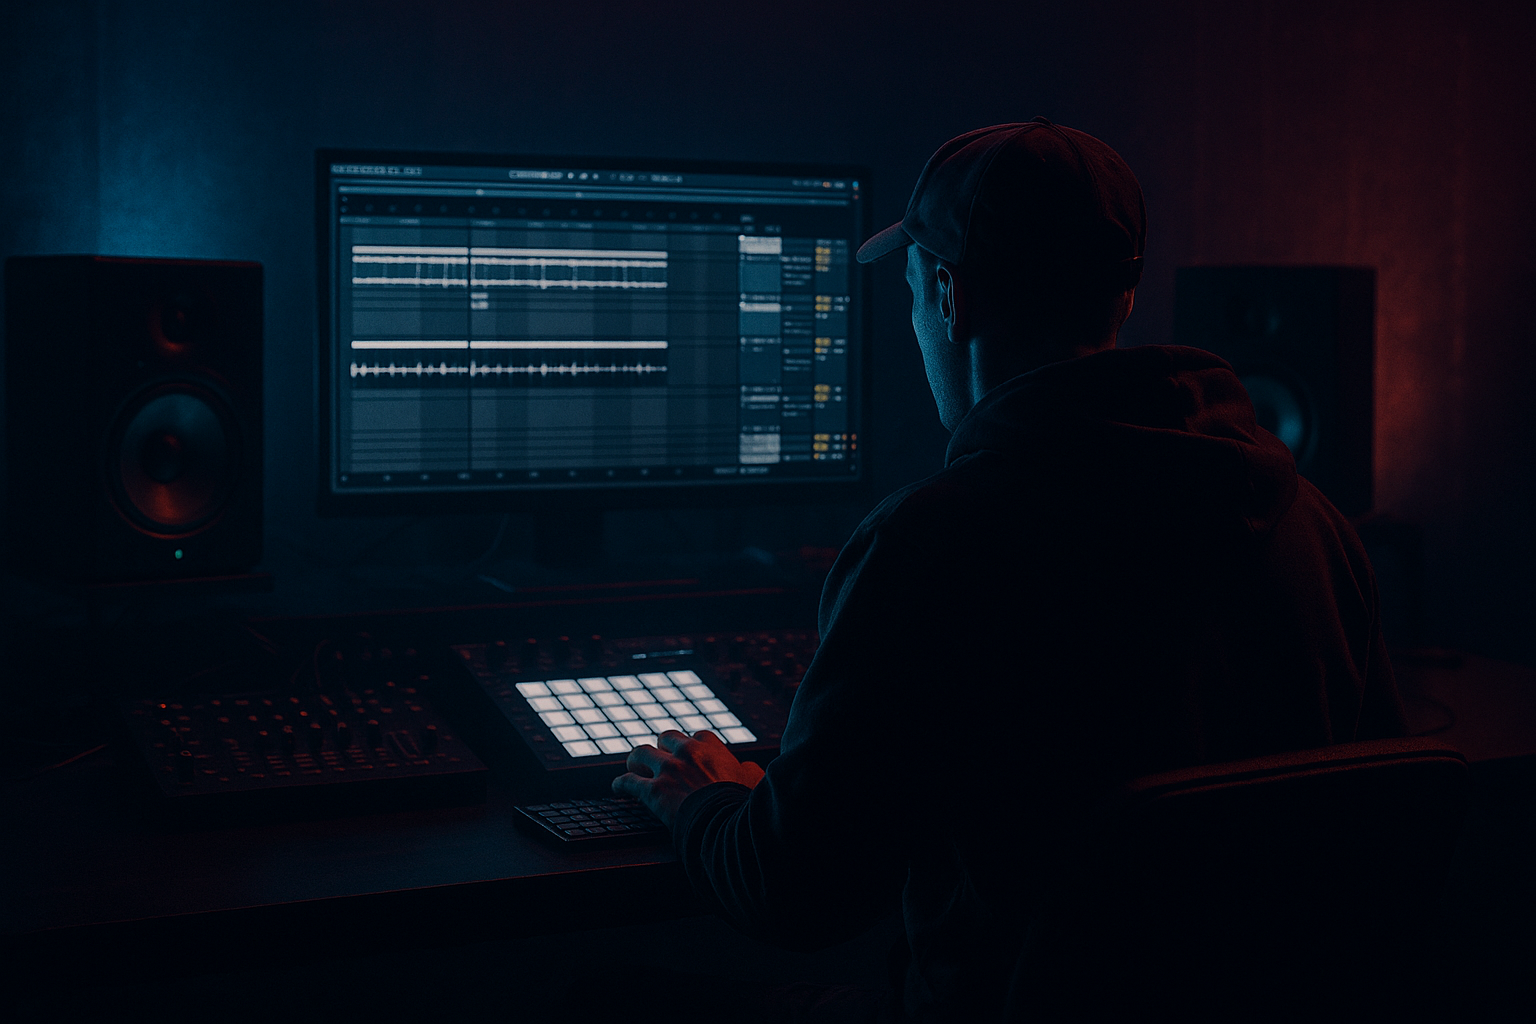
1. Set up a low-CPU project and basic DnB tempo
Start with a clean Live 12 Set and set the tempo to 170 BPM. That sits right in the core jungle / DnB zone, and it works well for oldskool energy.
Create these tracks:
- Drums track
- Bass track
- Atmosphere/FX track
- optional Return track with reverb or delay
To keep CPU low:
- use simple stock devices
- avoid stacking too many heavy instruments
- keep long reverb tails on Return tracks, not on every channel
- freeze/flatten any parts you’re happy with later
For a beginner-friendly setup, use:
- Drum Rack for drums
- Operator or Wavetable for bass
- Auto Filter, Saturator, Utility, and Reverb for shaping
Why this works in DnB: drum and bass music depends on tight timing and fast decisions. A lightweight setup helps you focus on groove and arrangement instead of getting lost in plugin overload.
2. Build a simple jungle drum foundation
Load a break sample into an Audio Track or into Simpler if you want to chop it inside a Drum Rack. For beginner workflow, the easiest approach is to drag one break into an audio track and loop a 1-bar or 2-bar section.
Use Ableton’s Warp:
- turn Warp on
- set warp mode to Beats for drum breaks
- keep transients crisp
- if the break sounds too chopped, increase transient preservation slightly
You’re aiming for a classic syncopated feel, not a perfect grid. Let the break breathe a little.
Add a simple kick and snare reinforcement if needed:
- kick on 1
- snare on 2 and 4
- use the break for movement and ghost notes
If you want extra control, put the break into a Drum Rack and layer:
- one pad for the main break
- one pad for a clean snare
- one pad for a short kick
Keep the drum bus simple:
- EQ Eight to remove unnecessary low rumble below about 25–35 Hz
- Saturator with Drive around 1–3 dB for mild glue
- Utility to check mono if needed
Arrange a 2-bar groove first. In jungle and oldskool DnB, the rhythm itself is often the hook.
3. Create a sub bass and a simple moving bass layer
On your Bass track, load Operator for an efficient sub. Use a sine wave or very clean waveform:
- oscillator = sine
- octave = low
- amp envelope = short attack, steady sustain, moderate release
Keep the sub simple and mono:
- place Utility after the instrument
- set Width to 0% or keep it fully centered
For movement, duplicate the bass track or make a second layer using Wavetable or Operator with a slightly dirtier tone. A beginner-friendly reese-like texture can be made with:
- two detuned saws in Wavetable
- subtle unison or detune
- Auto Filter movement around 150–400 Hz for midrange motion
- Saturator or Overdrive for edge
Keep the bass pattern short and rhythmic. Try call-and-response phrasing:
- bass hits on the off-beats
- answer with a longer note or slide in the next bar
- leave spaces for the drums
This matters in DnB because the bass should support the break, not fight it. The groove is usually a conversation between drums and bass, not a wall of constant notes.
4. Shape the “rewind” moment with reverse audio and automation
This is the core technique.
There are a few beginner-friendly ways to make a rewind moment in Ableton Live 12 without heavy CPU use:
Method A: Reverse a short audio segment
- Duplicate the last 1 bar or last 2 beats of your drum break
- Consolidate it if needed
- Reverse the clip
- Move it so it leads into the drop or re-drop
Method B: Automate a tape-stop-style feel
- Use Warp on the audio clip
- Draw automation on Clip Volume or use Utility Gain
- Quickly pull the level down over 1/2 bar or 1 bar
- Combine with a reverse or silence moment
Method C: Use resampled FX
- Record a short section of the drop to a new audio track
- Reverse that printed audio
- Add a filter sweep for a lo-fi rewind texture
For a simple beginner version, do this:
- take the last snare hit before the drop end
- duplicate it across 1 bar
- reverse the duplicates
- reduce volume with an automation curve
- add a short Reverb send at the end of the phrase
Good settings to try:
- Auto Filter: low-pass, cutoff moving from about 12 kHz down to 300–800 Hz
- Reverb: short decay, around 1.0–1.8 s, low dry/wet if inserted, or better on a return
- Delay: very subtle for the tail if needed, but keep it controlled
Why this works in DnB: a rewind creates a strong phrase boundary. In fast music, listeners need clear signals for “something is ending” and “something is about to hit.” The rewind gives that signal instantly.
5. Make the rewind feel like a proper DJ reload
Now turn the technical rewind into a musical moment.
For a jungle-style reload, try this arrangement idea:
- at the end of an 8-bar or 16-bar phrase, cut the drums briefly
- let one snare or vocal-style chop hang for a moment
- reverse the last break hit
- add a short silence or near-silence
- bring the drop back in with extra energy
A useful structure is:
- 1 bar tension
- 1/2 bar rewind
- 1 bar re-entry
You can automate:
- drum bus volume down by -6 to -inf during the rewind
- bass filter closing down before the reset
- atmosphere rising slightly in the background
- a return reverb tail to glue the stop
Keep it DJ-friendly. Many DnB tracks work best when the intro and outro are clean enough for mixing, while the rewind happens in the main body where it becomes a performance moment.
Musical context example: in an oldskool jungle tune, the rewind often happens after a big snare fill or a chopped amen roll. The listener expects a return of the groove, so the reload feels exciting rather than random.
6. Use automation lanes to make the energy curve obvious
In Ableton Live, automation is your best friend for composition. For beginners, keep it simple and dramatic.
Automate these parameters:
- Bass filter cutoff: open for the drop, close slightly for the rewind
- Drum bus volume: dip during the stop
- Reverb send: rise on the last snare or hit
- Auto Filter resonance: small boost for tension, but don’t overdo it
- Utility Gain: use for quick level pulls if you want a “tape-stop” illusion
A practical automation shape:
- last 2 beats: open filter or slightly increase brightness
- final beat: reduce bass or drum volume
- rewind section: reverse audio + filtered tail
- first beat after reload: full impact
If you’re working in Session View, you can still record your move into Arrangement View later. But for composition, Arrangement View makes the rewind phrase easier to see and repeat.
7. Add a simple transition layer using stock FX only
You do not need a huge FX stack. One or two stock devices are enough.
Good choices:
- Echo for a quick tail or rhythm smear
- Reverb for space before the stop
- Auto Filter for sweeping tension
- Vinyl Distortion for gritty jungle character if used lightly
- Saturator for extra bite on the reload
Suggested safe settings:
- Echo: low feedback, short time, dry/wet around 10–20% on a send or automation hit
- Vinyl Distortion: very subtle, just enough to roughen the edges
- Saturator: Drive around 2–5 dB for selected moments, not the full track
Keep FX focused on the phrase ending. In DnB, too much FX can blur the groove. The drums need to stay sharp, especially during a rewind where the contrast is the whole point.
8. Finish the loop into a real arrangement
Turn your 2-bar or 4-bar loop into a mini track shape.
Try this beginner arrangement:
- Intro: 8 bars of filtered drums and atmosphere
- Build: 8 bars with bass entering gradually
- Drop 1: 16 bars of full groove
- Rewind: 1 bar or 2 beats of reverse / stop / reload
- Drop 2: 16 bars with a variation, such as a new drum fill or bass answer phrase
- Outro: strip back the bass and simplify the drums
Add one small variation after the rewind:
- change one snare fill
- remove one bass note
- introduce a new hat pattern
- switch from full break to tighter chopped drums
That small change stops the second drop from feeling identical. In DnB composition, repetition is important, but variation keeps the listener locked in.
Common Mistakes
- Fix: stick to stock Ableton devices and freeze/flatten when happy.
- Fix: keep it short and impact-driven. A rewind often works best in 1/2 bar to 1 bar.
- Fix: automate bass down or mute it briefly so the effect reads clearly.
- Fix: reverse only one or two key hits, like a snare, break slice, or FX tail.
- Fix: use Utility on the bass and check that the sub stays centered.
- Fix: use short tails and prefer return tracks so the groove stays tight.
- Fix: build around 8-bar or 16-bar sections so the rewind feels intentional.
Pro Tips for Darker / Heavier DnB
- Use Auto Filter to close the top end before the reload. A cutoff around 300–1,000 Hz during the rewind can create that tunnel-like feeling.
- Use Saturator with soft clipping or a small drive boost. Keep the sub separate and clean, then dirty only the mid layer.
- Even beginner drum edits can sound more advanced if you add tiny off-grid hits or quieter snare taps before the rewind.
- Let the bass answer the drums instead of playing nonstop. Space makes the reload feel bigger.
- A fraction of a beat with almost nothing playing can make the drop feel massive.
- Once you like the groove, record it to audio. This saves CPU and makes it easier to reverse, chop, and rearrange into a more authentic jungle-style composition.
- If the rewind still feels dramatic quietly, it will usually hit hard in a club mix too.
Mini Practice Exercise
Spend 15 minutes making a rewind moment using only stock Ableton tools:
1. Set your tempo to 170 BPM.
2. Build a 2-bar drum loop from a break sample.
3. Add a simple Operator sub on the off-beats.
4. Duplicate the last 1 bar of the drums.
5. Reverse that duplicated audio.
6. Automate Utility Gain or clip volume down over the last 1/2 bar.
7. Add one Reverb send hit on the final snare.
8. Bring the full drums and bass back in with one small variation.
Goal: by the end of the 15 minutes, you should have a loop that clearly says “rewind” and then “drop again.”
If you finish early, try a second version where the rewind is darker:
Recap
The essential takeaway is simple:
In jungle and oldskool DnB, a rewind moment works because it amplifies the groove you already built. Keep it short, musical, and clear — and your reload will feel like a real part of the track, not just a gimmick.

