Main tutorial
1. Lesson Overview
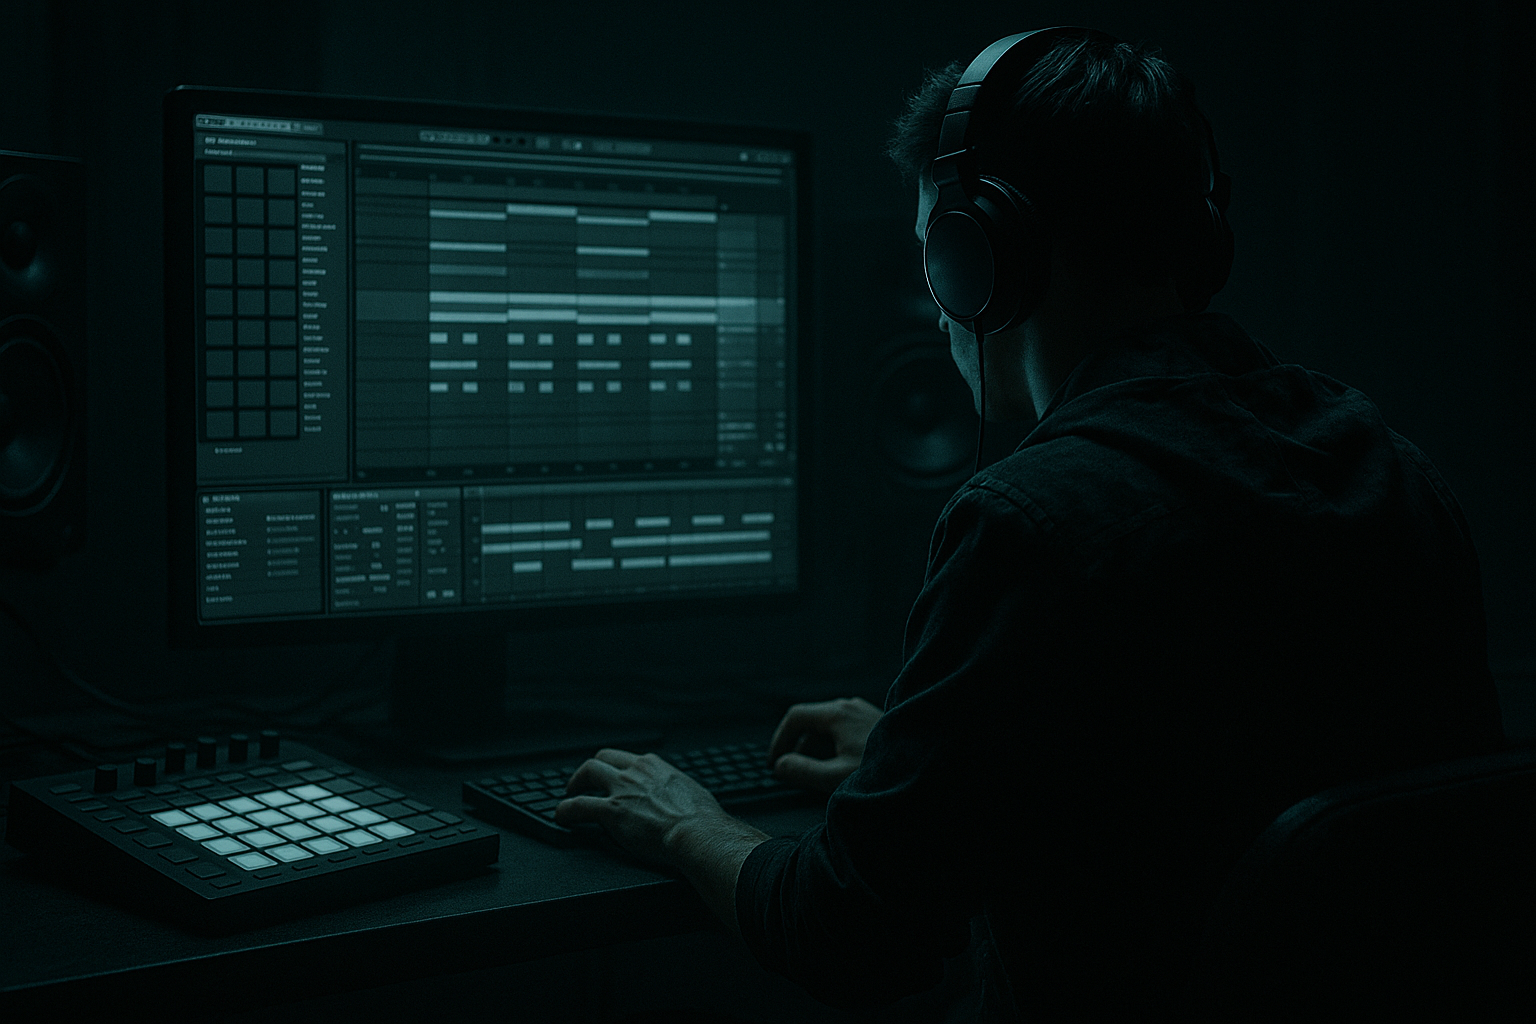
This advanced FX lesson walks you through "Taxman edit: rebuild a bass pressure from scratch in Ableton Live 12 for breakbeat science". You'll design a three-way split bass (SUB / MID GRIT / TOP TEXTURE), build a modular Audio Effect Rack for processing and rhythmic motion, and glue it to a breakbeat using tight sidechain, transient shaping and gated chops. The goal: recreate that heavy, pushing "bass pressure" feel used in Taxman-style edits but optimized to lock with chopped breakbeats. All workflows use Ableton Live 12 stock devices and practical routing that you can drop into any DnB/breakbeat template.
2. What You Will Build
- A single bass instrument (Sampler or Wavetable) routed into an Audio Effect Rack with three chains: SUB (clean mono low-end), MID (distorted growl with formant movement), TOP (textured top-end with rhythmic modulation).
- A breakbeat sidechain bus that feeds compressor and gate modulation to create groove-locked pumping and chopped bass hits.
- Macro controls for Drive, Pressure (multiband compression), Rhythm Shape (chain volume / gate timing), and Width.
- Export-ready techniques for low-end phase alignment and final glue compression to sit the bass under breakbeat transients.
- Leaving the SUB chain stereo: widening sub frequencies causes phase cancellation when played on club systems. Always mono the sub.
- Over-saturating the sub: applying the same distortion across the whole band will muddy and destroy low-end headroom. Use separate chain processing and light saturation on the sub.
- Incorrect sidechain routing: using the full break loop as the sidechain without pre-processing can cause inconsistent pumping. Send a dedicated bus with only the transients you want (or adjust the sidechain track’s own EQ).
- Too-fast compressor attack: setting attack to 0ms can choke transients unnaturally; for realistic pumping use 0–5 ms but tune vs the break’s transient shape.
- Heavy filtering that causes the bass to lose character: filter automation should be musical; extreme low-pass cuts can remove the harmonic content you need to hear on small speakers.
- Ignoring phase alignment when layering sources: phase flip one layer if you notice low-end thinning when played together.
- Use an extra "Transient Accent" track: extract transient hits from the break (cleaned with EQ) and route to a send that triggers a separate short, high-passed bass click sample layered with MID. This helps the bass punch through snare transients.
- For super-tight timing use Utility’s Phase invert and nudging clip start times by a few ms to align bass clicks with break transients.
- Map an XY Macro with two parameters (Drive on X, Multiband Mid Threshold on Y) so one knob trades grit for pressure instantly during arrangement.
- When exporting stems for mastering, keep the SUB chain as a separate stem to allow the mastering engineer to control sub energy.
- Use small amounts of frequency shifting or chorus on the TOP chain to maintain presence on small speakers without touching the sub.
- If your break has lots of midrange energy causing collision, sidechain the MID band heavier than SUB — do this by routing MID band through its own compressor with sidechain.
- Load a 174 BPM break with pronounced kick/snare pattern.
- Using Wavetable, build the dual-oscillator source described above.
- Construct the three-chain Audio Effect Rack (SUB @ 90 Hz, MID 80–1.5kHz, TOP >800Hz).
- Create a sidechain compressor on the MID chain triggered by the break and set it to give ~5 dB of gain reduction on snare hits.
- Create a Gate on the MID chain sidechained to the break and set it so the bass opens on snare transients only (adjust threshold and release).
- Save the rack and export a 16-bar loop with the break playing; compare with and without the rhythmic gate engaged.
- Designing a sub + mid + top architecture inside an Audio Effect Rack.
- Using separate chain processing to keep subs clean while adding distortion and texture to mids and tops.
- Locking the bass to a breakbeat via sidechain compression and gated rhythmic shaping.
- Applying multiband control and final glue compression to create cohesive “pressure”.
- Saving a reusable rack and practical macros for real-time performance and arrangement decisions.
3. Step-by-Step Walkthrough
Preparation
1. Create two audio/MIDI tracks:
- Breakbeat_Audio: drop your chopped breakbeat loop (48–170 BPM typical for DnB; assume ~174 BPM for this lesson).
- Bass_MIDI: create a MIDI track for the bass instrument.
2. Load the sound source (instrument)
- Option A — Wavetable (recommended): Load Wavetable on Bass_MIDI. For a deep sub + growl approach, set oscillator 1 to a sine or triangle (for sub), and oscillator 2 to a wavetable with rich harmonics (e.g., "Bite / Harmonic" table). Tune oscillator 2 an octave or a perfect fifth above oscillator 1 for harmonic content to be shaped later.
- Option B — Sampler: Load a pure sine/sub sample into a Simpler (Classic mode) or Sampler, then layer a second instance in the same track containing a mid-grit sample or a wavetable-style texture. For simplicity use Wavetable for advanced modulation.
Raw instrument settings (Wavetable)
3. Wavetable routing:
- Osc1: sine wave (Sub) — Level 0.8, Octave -1.
- Osc2: harmonic wavetable — Level 0.7, Octave 0 or +1 depending on desired pitch.
- Set Osc2 to mono-unison 1–2 and slightly detuned for texture (but keep sub clean).
- Filter: start with a low-pass (24 dB) to taste; we’ll open it later with automation.
- Amp envelope: slowish attack ~2–5 ms to avoid clicks, decay 300–600 ms for sustain shape, sustain ~0.7, release 30–60 ms. These are starting points; adjust to taste per patch.
Split into three processing chains using an Audio Effect Rack
4. Create an Audio Effect Rack on the Bass_MIDI track after Wavetable. Open the rack and create three chains: SUB, MID, TOP. We'll process each frequency band separately.
5. Define chains with frequency-based splitting:
- SUB chain:
- Place EQ Eight first. Use low-pass band or a steeper slope: set a High Cut at 90 Hz (or 80–100 Hz depending on your tune).
- Follow with Utility: set Width to 0% (mono) to ensure low-end is mono.
- Minimal saturation via Saturator set to very light Drive (0.5–1.0 dB) with Soft Clip to keep subs tight. Avoid harsh harmonics here.
- MID chain:
- EQ Eight: High Cut at ~1.5–1.8 kHz, Low Cut at ~80 Hz. Boost or carve 150–400 Hz as needed for body.
- Place Saturator (Medium Curve) with Drive ~2–4 dB, then Overdrive stage for more edge. Add a subtle Redux (downsample) set very low rate only if you want digital grit; otherwise skip.
- Add Resonator or Hybrid Reverb very lightly to introduce formant-like motion (Hybrid Reverb in short setting then dry/wet ~5–10%) — keep swampy modulation minimal.
- TOP chain:
- Use EQ Eight to cut below ~800 Hz and a gentle top boost around 2–6 kHz for presence.
- Add Frequency Shifter very subtly (amount 0.1–0.4) for micro pitch drift and stereo interest.
- Delay / Ping Pong Delay at low feedback (10–15%) and very low dry/wet (~5–10%) set to time synced to 1/16 or 1/32 — this creates motion that helps breakbeat science textures blend.
6. Chain volume balancing and macros:
- Use the Rack’s Chain Volumes to balance SUB/MID/TOP.
- Map these chain volumes to Macros: Macro 1 = SUB Level, Macro 2 = MID Level, Macro 3 = TOP Level.
- Map a global Drive macro (Macro 4) to the Saturator Drive and Overdrive Amounts across MID & TOP chains (use map ranges for smooth control).
Rhythmic locking with sidechain and gating
7. Create a sidechain bus for the breakbeat:
- Duplicate Breakbeat_Audio (or create a small send bus): create Break_Sidechain_Send (Audio track), route Breakbeat_Audio to send A (Send knobs) or set up an internal routing: set Breakbeat_Audio with Sends enabled to Send A and enable the Send on the Break_Sidechain_Send track receiving it. Alternatively, use the original break as a sidechain source directly on devices that accept sidechain input.
- On the MID and TOP chains of your rack, insert Compressor (not Glue yet) and enable Sidechain. Choose input = Breakbeat_Audio (or Break_Sidechain_Send). Set Ratio 4:1–8:1, Attack 0–5 ms (fast), Release 60–120 ms. Adjust Threshold until you get 3–8 dB of gain reduction on strong hits. This creates pumping in time with breaks.
8. Create a rhythmic gate for extreme chops:
- After Compressor on the MID chain, add Gate and enable sidechain from Breakbeat_Audio. Set Threshold so the Gate closes between hits and opens on break transients. Use the Release to control tail length (try 70–140 ms). This lets the bass "poke" with break hits for that choppy feel.
- Alternatively, on the rack level create a dedicated Gate chain that mutes the entire rack via Macro-controlled utility gain, and map Gate threshold to Macro to toggle between smooth and chopped modes.
Transient shaping and "pressure" control
9. Add Drum Buss (stock) on the Bass_MIDI track after the Audio Effect Rack for analog-style saturation and transient shaping. Settings:
- Drive moderately (2–4), Transients knob: increase to taste to bring attack forward, Distortion type: Tube.
- Use the Snap and Boom controls subtly to emphasize low-end body.
10. Glue and Multiband control:
- Insert Multiband Dynamics after Drum Buss. Use three bands to tighten the sub separately:
- Low band: gentle compression (2:1, medium attack/release) to control peaks.
- Mid band: heavier compression to create "pressure" (4:1–6:1), low threshold to glue.
- High band: light expansion or transparent compression.
- Alternatively, use Glue Compressor on the master bass track after Multiband for final bounce.
Stereo and phase alignment
11. Use Utility:
- Before any stereo widening, use Utility to check polarity. If your sub starts to cancel in mono, flip phase on MID or TOP chains until sub is solid.
- Keep SUB chain Width at 0% (mono) and MID/TOP at modest width (30–60%). Map WIDTH to a macro.
Automation & tempo-synced movement
12. Automate Filter and Drive:
- Map Wavetable filter cutoff and the Rack macro "Drive" to automation clips or draw automation to accent transitions.
- For rhythmic movement, place Auto Filter (on MID or TOP) set to band-pass or low-pass with LFO enabled and synced to 1/8 or dotted 1/16. Set small depth and map LFO rate to Macro to vary movement with arrangement.
Tightening to the breakbeat (practical tuning)
13. Tune sidechain compressor envelope settings to the break:
- For snare-driven pumps, increase Release so the bass breathes between snare hits; for more staccato, shorten Release to 30–60 ms.
- Use the Compressor’s "Knee" to taste (hard knee yields snappier ducking).
14. Fine EQ-ing:
- Insert EQ Eight after the Multiband and do subtractive EQ: cut 300–600 Hz muddiness, notch any resonant build-ups. Use Spectrum to observe energy and peaks. Use low shelf at ~40–60 Hz to gently shape sub presence.
Final limiting and metering
15. Limiter and meters:
- Add Limiter at the end of track only if needed for mastering level control; keep ceiling -0.3 dB.
- Use Utility and Spectrum to verify mono sum and sub energy; ensure no clipping in the mix bus.
Saving your rack
16. Save the Audio Effect Rack as "Taxman Bass Pressure Rack" with a descriptive preset note of your split frequencies and recommended BPM range.
4. Common Mistakes
5. Pro Tips
6. Mini Practice Exercise
Time: 30–45 minutes
7. Recap
In this lesson you followed "Taxman edit: rebuild a bass pressure from scratch in Ableton Live 12 for breakbeat science" by:
Use the rack on different break patterns, tweak sidechain attack/release to match each break’s feel, and keep the SUB chain strictly mono to preserve club-ready low-end.

