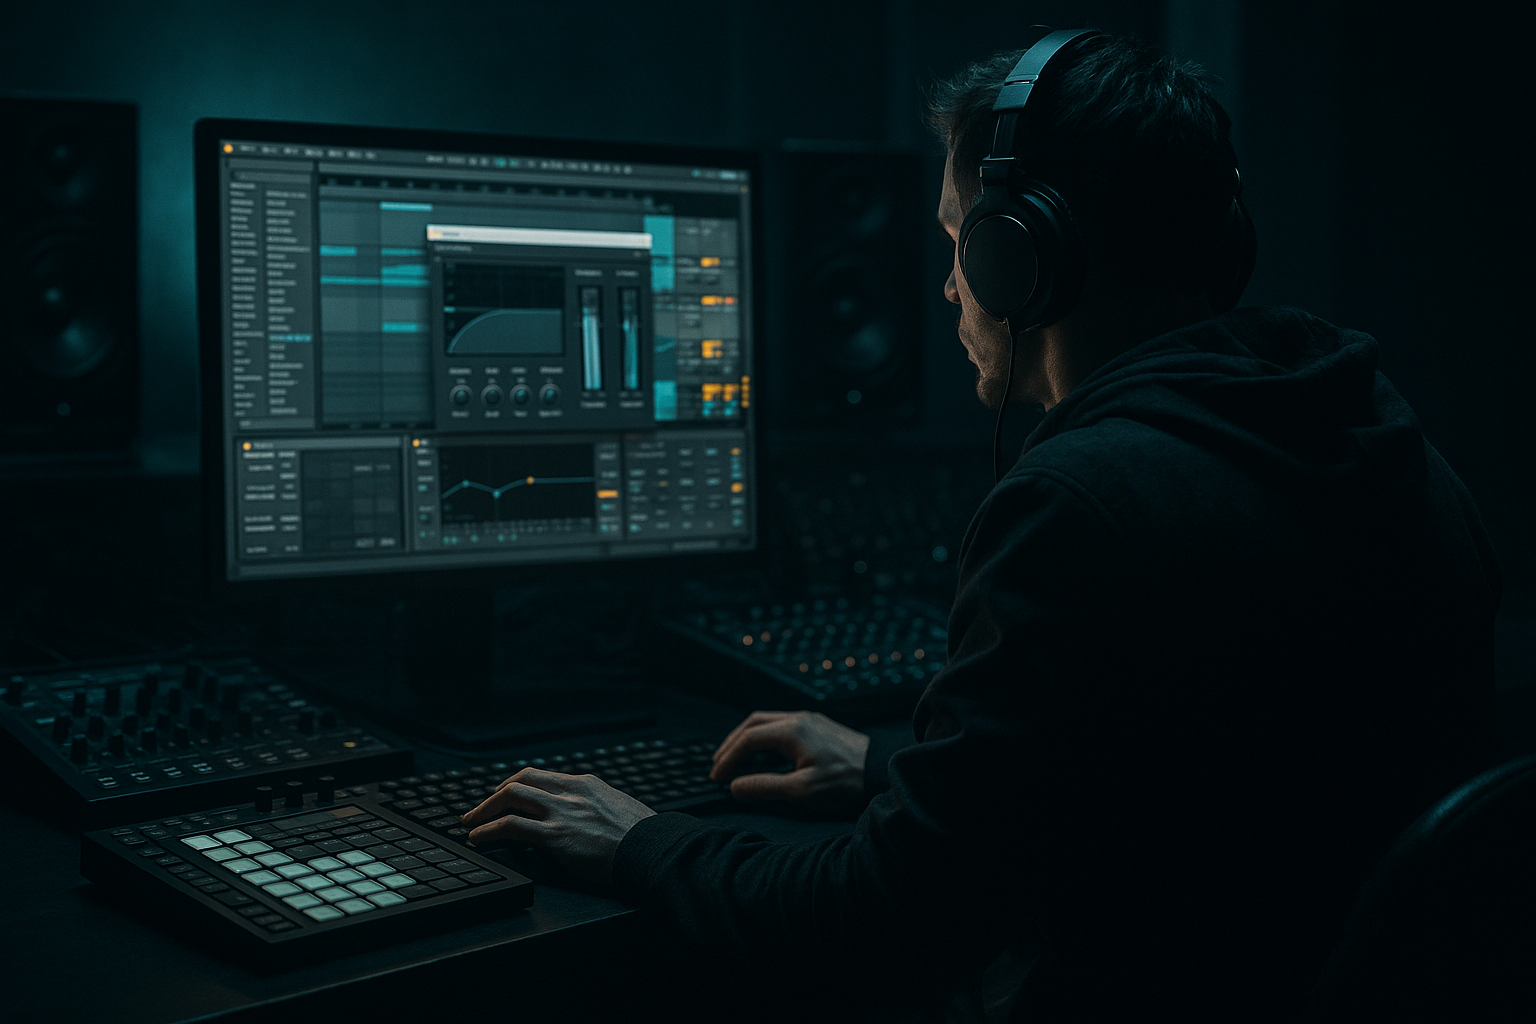
Main tutorial
Lesson Overview
A Tape Haze edit is a short, musical switchup that makes a drum & bass bassline feel like it’s been pulled through a warped cassette machine: a little blurred, a little unstable, and full of motion. In this lesson, you’ll build one from scratch in Ableton Live 12 using stock devices only, with the focus on basslines and how they can pivot inside a think-break style edit.
In DnB, these edits matter because they solve a big problem: once a loop is running, the energy can flatten fast. A Tape Haze switchup gives you a moment of controlled chaos — a bar or half-bar where the bass line mutates, the drums ghost and chop, and the groove resets with tension. You’ll hear this kind of move in rollers, darker jungle-influenced tracks, and heavier neuro-leaning sections where the drop needs variation without losing the dancefloor.
This lesson is beginner-friendly, but the result will still feel like a proper production tool you can drop into a track. You’ll learn how to:
- create a simple but strong bass patch,
- make it “hazy” with Ableton stock effects,
- edit it against a think-break rhythm,
- and arrange it as a switchup that sounds intentional, not random.
- a clean sub foundation,
- a mid-bass layer with tape-like instability,
- a think-break inspired drum switchup with chopped break hits and ghost notes,
- automated filtering, saturation, and reverb throws,
- and a short arrangement that can work as a drop variation, fill, or 8-bar switch section.
- bars 1–2: a strong rolling bass phrase,
- bar 3: the bass starts to smear and bend,
- bar 4: the drums and bass briefly “haze out” into a chopped switchup,
- then the groove snaps back in with more pressure.
- Making the sub too busy
- Putting reverb on the sub
- Overdoing saturation and losing bass weight
- Using a switchup that feels random
- Too much stereo on low frequencies
- No automation, so the edit doesn’t “arrive”
- Clashing kick and sub
- Use slight pitch movement on the mid-bass
- Add ghost notes in the break edit
- Make the haze frequency-specific
- Try a resampled bounce with a tiny bit of silence
- Use Drum Buss lightly on the drum group
- Accent one note in the bass phrase
- Reference the structure, not just the sound
- Keep the sub clean and mono.
- Put the haze on the mid-bass or resampled edit, not the low end.
- Use a think-break style drum switchup to make the variation feel rooted in DnB.
- Automate filter, saturation, echo, or reverb to create movement.
- Resample when the idea works — it gives you control and makes editing faster.
- In drum & bass, the best switchups are usually small, musical, and rhythm-first.
The main goal: make a bassline edit that feels like the track briefly smears, ducks, and reappears with more weight. That’s a very DnB move, and it works because the genre thrives on contrast, micro-edits, and low-end control.
What You Will Build
By the end, you’ll have a 4-bar bassline loop with:
Musically, the result will feel like:
Think of it as a small but powerful arrangement device: not a full breakdown, not a full fill — just a tension reset that keeps the drop moving.
Step-by-Step Walkthrough
1. Set up a simple DnB-friendly project
- Open a new Live set and set the tempo to 174 BPM. That’s a classic starting point for drum & bass.
- Create two MIDI tracks:
- one called SUB
- one called MID BASS
- Create one drum track or drum rack for the break edit.
- Keep your first session small: 4 bars, 1 bass idea, 1 break edit. Beginner workflow = faster decisions.
- If you want a reference frame, imagine a dark roller with a short switchup in the middle of the drop, not a huge cinematic breakdown.
2. Build a solid sub on the SUB track
- Add Operator or Analog. For beginners, Operator is excellent because it’s clean and simple.
- Use a sine wave:
- In Operator, turn on Oscillator A only
- Set it to Sine
- Write a short bass MIDI pattern around F minor, G minor, or A minor if you want a dark DnB feel. Keep notes short and mostly low.
- Useful note length: start with 1/8 notes and leave space between hits.
- Add Compressor after the synth and enable Sidechain from the kick if your kick is on a separate track.
- Ratio: 3:1 to 5:1
- Attack: 1–10 ms
- Release: 50–120 ms
- Why this works in DnB: the sub needs to stay stable and centered while the drums and mid-bass move around it. A clean, steady sub gives the switchup something to lean on.
3. Create a gritty mid-bass layer
- On the MID BASS track, add Wavetable, Operator, or even Simpler if you want to resample a tiny texture. For beginners, start with Wavetable using a basic saw or square-based sound.
- Keep the sound simple and playable:
- Oscillator: saw or square blend
- Unison: low or off
- Filter: low-pass around 120–250 Hz to begin
- Add Saturator after the synth.
- Drive: 2–8 dB
- Turn on Soft Clip if needed
- Add Auto Filter after Saturator.
- Use a low-pass or band-pass
- Add a small amount of LFO modulation if you want motion
- Add Chorus-Ensemble very lightly if you want width in the mids only.
- Keep it subtle: 10–20% wet
- Important: keep the sub track and mid-bass separate. That makes the low end easier to control and helps the edit stay clean.
4. Write a simple bass phrase with space for the edit
- Make a 4-bar MIDI clip on the MID BASS track.
- Use a call-and-response shape:
- Bars 1–2: one rhythmic idea
- Bar 3: a slightly different answer
- Bar 4: a gap or longer note before the switchup
- Keep the notes mostly short and punchy. DnB basslines often work best when the rhythm is more important than the number of notes.
- Try this beginner-friendly phrasing idea:
- bass hits on the 1, the “&” of 2, and 3
- then leave a small silence before the next phrase
- This gives room for the drums to breathe and makes the edit feel intentional.
- If the bass feels flat, try moving one note earlier or later by a tiny amount. In DnB, micro-timing changes can create a lot of energy.
5. Add the Tape Haze character with stock effects
- On the MID BASS track, after Saturator and Filter, add Redux very lightly if you want a degraded tape-like edge.
- Downsample: keep it subtle, around 1.5x to 4x
- Bit reduction: very light, or off if it gets too crunchy
- Add Echo or Delay for a smeared tail.
- Keep feedback low: 10–25%
- Use low cut and high cut to keep the delay from cluttering the mix
- Add Reverb sparingly to create haze.
- Decay: 0.8–2.0 s
- Pre-delay: 5–20 ms
- Wet: very low, often 3–10%
- The goal is not “big reverb bass.” The goal is a blurred edge around the sound so the switchup feels like it’s been smeared by tape, not washed out.
- If the low end starts to get messy, use EQ Eight and cut some low mids on the mid-bass around 150–400 Hz.
6. Program the think-break style switchup on the drums
- Create a drum rack or audio track with a short break loop. You can build it from a stock break sample or any clean drum loop you’ve chopped.
- If you’re using a break sample, load it into Simpler in Slice mode or use Warp markers in the Clip View to chop it manually.
- Make a 1-bar switchup pattern using:
- kick
- snare
- ghost snare taps
- hats or break fragments
- In a think-break style edit, the key is syncopation and little gaps. Don’t overfill every beat.
- Try this structure:
- beat 1: kick + low break hit
- beat 2: snare
- between 2 and 3: one or two ghost hits
- beat 3: another kick or chop
- beat 4: snare pickup into the next bar
- Add Drum Buss on the drum group.
- Drive: 5–15%
- Crunch: light to moderate
- Boom: usually low or off if the sub is already strong
- Why this works in DnB: the switchup keeps the groove alive while the break fragments add human movement and historical jungle energy. This is the “think-break” feel — restless, chopped, and driving.
7. Automate the haze so the edit feels like a transition
- Open Automation Mode and automate at least two parameters:
- the Auto Filter cutoff on the mid-bass
- the Reverb wet or Echo feedback
- For the last half of bar 3 into bar 4:
- lower the filter cutoff from around 200 Hz down to 80–120 Hz
- increase reverb wet slightly for the transition only
- You can also automate Saturator drive up by a small amount for the switchup section.
- Keep automation simple and musical. One or two moves is enough.
- If you want a tape-warp feel, automate the pitch of a short resampled bass fragment very slightly downward for the edit, then return to normal. Even a tiny movement creates drama.
8. Resample the edit for control and speed
- Once the bass and break interaction feels good, route them to a new audio track and record the result, or freeze/flatten if you prefer.
- Resampling is powerful in DnB because it turns a complex layered moment into one editable audio phrase.
- After resampling:
- trim the audio tightly
- fade the edges to avoid clicks
- use Warp if needed to keep it locked to the grid
- Then take the resampled audio and slice the best moments:
- one clean hit
- one smeared hit
- one tail or noise burst
- This becomes your Tape Haze edit component you can drop into the arrangement.
9. Arrange the switchup in a real DnB context
- Put the main drop idea in a 16-bar section.
- Use the Tape Haze edit at the end of bar 8 or bar 16 as a reset:
- bars 1–7: main groove
- bar 8: bass filter movement and break tease
- bar 9: switchup with the think-break edit
- Another good context: use it in the last 2 bars before a DJ-friendly halftime-feeling transition back into full pace.
- Keep the intro/outro practical:
- a clean drum intro
- a bassless build or stripped section
- the switchup after the drop has already established the core groove
- In DnB arrangement, edits land best when the listener already understands the main loop. Then the haze moment feels like variation, not confusion.
10. Check the mix and make it hit harder
- Put Utility on the bass group and check mono. Keep the sub in mono.
- The mid-bass can be wider, but the sub should stay centered.
- Use EQ Eight to make space:
- cut muddy low mids in the mid-bass
- high-pass non-bass elements that don’t need low end
- Use your kick and sub together as the foundation. If the kick disappears, reduce bass overlap rather than just turning everything up.
- Keep headroom. A good beginner target is to leave the master peaking around -6 dB while building.
- If the tape haze effect feels cool but weak, turn it down and let the arrangement carry the drama. In DnB, less haze often means more punch.
Common Mistakes
- Fix: simplify the MIDI. Use fewer notes and shorter lengths. Let the rhythm breathe.
- Fix: keep sub clean. Add haze to the mid-bass or the resampled edit, not the pure low end.
- Fix: reduce drive, or split the sound into sub and mid layers so the distortion only hits the mids.
- Fix: base it on the existing groove. Reuse the same kick or snare placement, then change only 1–2 elements.
- Fix: use Utility to keep the sub mono. Keep width above the low end only.
- Fix: automate filter cutoff, reverb wet, or delay feedback over 1–2 bars. Small moves make the moment feel designed.
- Fix: shorten note lengths, use sidechain compression, and compare kick/sub balance at lower volume.
Pro Tips for Darker / Heavier DnB
- A tiny pitch drift or quick downward bend can add tape-like instability without sounding cheesy.
- Very low-velocity snare taps or hat fragments make the switchup feel alive and more jungle-inspired.
- Blur the mids, not the sub. A dirty mid-bass with a clean low end usually sounds much heavier.
- Leaving a micro-gap before the edit can make the next hit feel bigger by contrast.
- A little drive and transient shaping can make chopped breaks sit more like a proper DnB record.
- In heavier styles, a single louder or longer note can act like a hook. This is especially effective before a switchup.
- Listen to how dark rollers and neuro tracks create space before a variation. The impact often comes from phrasing, not just distortion.
Mini Practice Exercise
Spend 10–20 minutes making a one-bar Tape Haze switchup:
1. Build a basic 174 BPM sub and mid-bass.
2. Write a 2-bar bass loop with only 3–5 notes.
3. Add Saturator, Auto Filter, and a touch of Echo to the mid-bass.
4. Chop a 1-bar drum break into a think-break style rhythm.
5. Automate the filter cutoff down over the last half of the bar.
6. Resample the result.
7. Make one variation:
- version A: more haze and more reverb
- version B: drier and punchier
8. Compare which version keeps the groove stronger.
Goal: make the switchup feel like part of the track, not an effect pasted on top.

