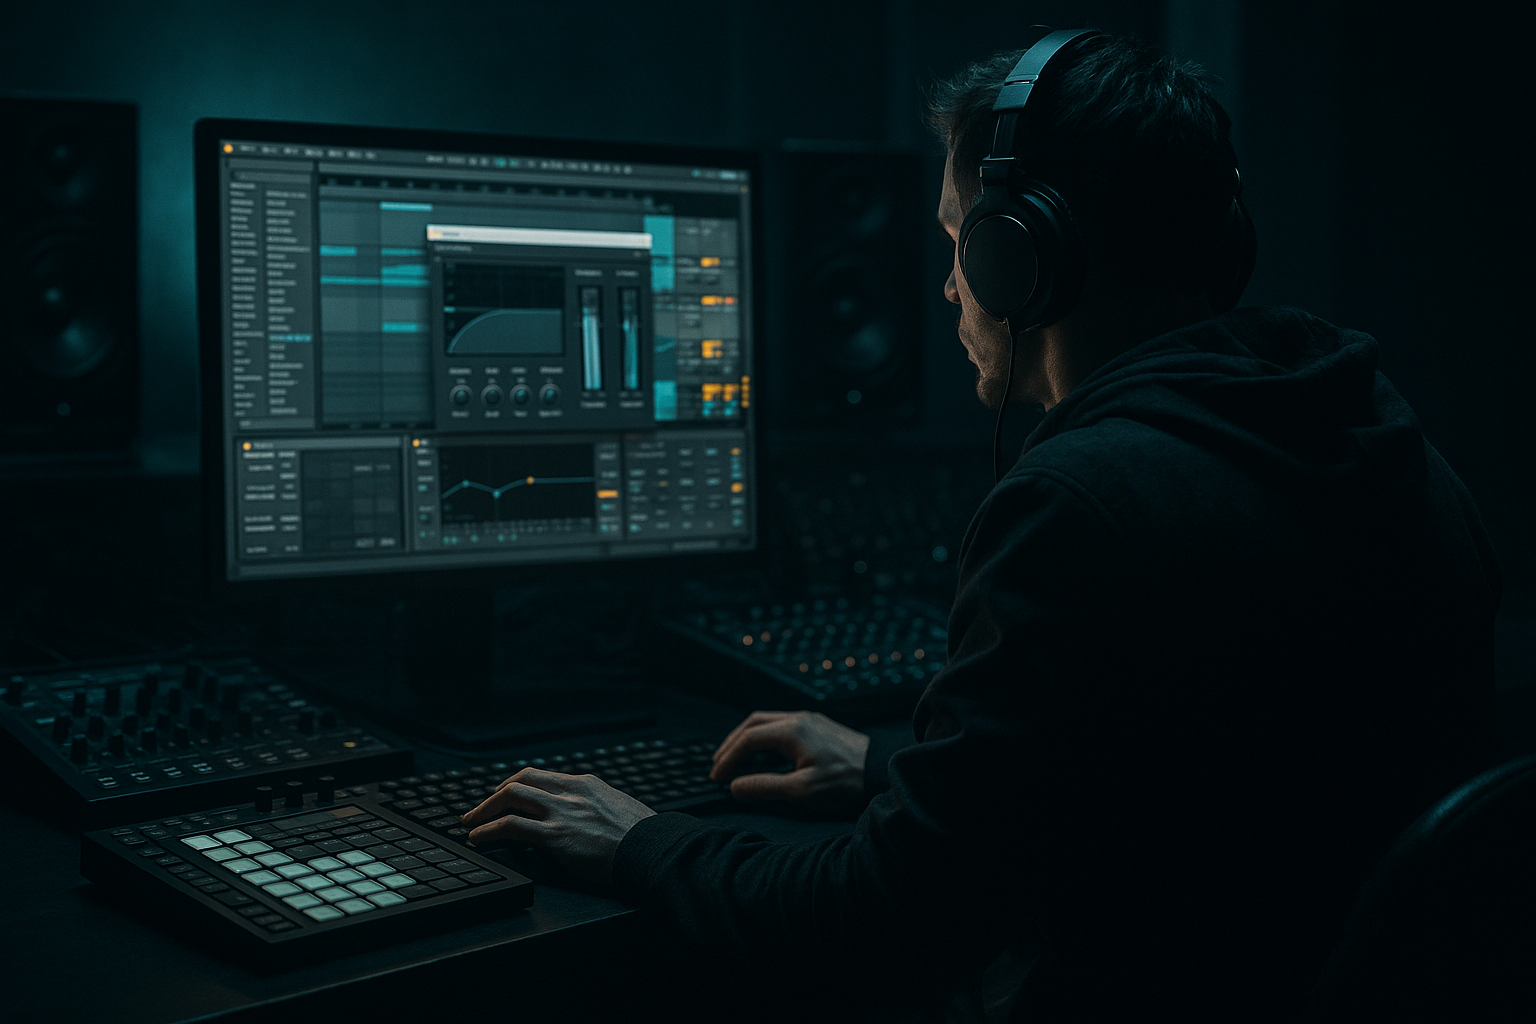
Main tutorial
Lesson Overview
This lesson is about building a Tape Haze edit: a short, high-impact DnB bass-and-drums edit that feels like the track has been dragged through worn tape, then tightened back up for the drop. The goal is not lo-fi novelty. The goal is subweight with attitude — a roller-style edit that has grit, movement, and a hazy top layer while the low end stays controlled, mono, and dancefloor-safe.
In a DnB track, this kind of edit usually lives in:
- a pre-drop turnaround
- a mid-drop switch-up
- a 2-bar or 4-bar fill
- a second-drop variation
- or a DJ-friendly transition where you need tension without losing sub pressure
- dark rollers
- sub-heavy halftime-influenced DnB
- jungle-influenced edits inside modern rollers
- darker minimal / neuro-leaning DnB with atmosphere
- second-drop versions that need a more degraded, worn-out identity
- a sub-led bass phrase
- a broken drum edit or chopped break layer
- a tape-style degradation layer that adds drift, smear, and saturation
- a tight low-end core that stays mono and punchy
- a controlled arrangement turn that can act as a pre-drop or a second-drop variation
- dark and worn, but not washed out
- low-passed and hazy in the upper mids
- stable in the sub
- slightly unstable in the midrange
- rhythmically restless, but still locked to the kick/snare grid
- Use contrast instead of constant destruction. A dark edit feels heavier when one bar is relatively controlled and the next bar opens up into grime. If everything is crushed, nothing feels like a drop.
- Keep the sub boring on purpose. The sub should do one job: deliver weight. Put the personality in the mid layer, the break edits, or the tape smear.
- Let the haze sit above the kick fundamentals. If your haze is clouding the punch zone, you will lose impact long before you gain atmosphere.
- Create menace with omission. Dropping one ghost note or cutting one top hit can make the section feel more dangerous than adding another layer.
- Resample the best version and make one more destructive pass. Often the final version is not the most processed one. It is the version where the first print was then edited more musically.
- Use slight timing asymmetry. A tiny late ghost hit, a clipped repeat, or a one-beat filtered drag can make the groove feel more human and more threatening without breaking the pocket.
- Protect the kick/snare hierarchy. Darker DnB still lives or dies by the drum spine. If the edit blurs the backbeat, the whole thing loses authority.
- Keep the second drop more damaged than the first. That evolution is classic DnB psychology: the listener gets the familiar weight, then a more degraded version that feels like the system is under stress.
- Use only Ableton stock devices
- Build two layers only: one sub core and one haze layer
- Use no more than three devices on the haze layer before printing
- Include at least one automation move
- Keep the sub mono
- a 4-bar section that loops cleanly and can be dropped into a DnB arrangement as a pre-drop or second-drop variation
- In mono, does the bass still feel weighty?
- Does the snare still cut through?
- Does the haze add menace without masking the groove?
- If you mute the haze layer, does the sub still function as a proper DnB bass phrase?
Why it matters musically: a Tape Haze edit gives the listener a controlled drop in clarity and a rise in menace. It can make a bassline feel deeper, a break feel older and dirtier, and a section change feel intentional instead of pasted together. Technically, it matters because you are balancing character processing with low-end discipline. The bass can smear quickly if you overdo warble, saturation, or stereo width, so the edit is really about shaping chaos into something that still hits in a club.
This works especially well in:
By the end, you should be able to hear a section that feels like it has been printed to tape, aged, and reintroduced as a focused, rolling phrase: dusty in the mids, weighty in the sub, rhythmically alive, and still clean enough to sit with drums and arrangement without collapsing the groove.
What You Will Build
You will build a 4-bar Tape Haze edit that combines:
Sonically, the result should feel:
The role in the track is to create a section that sounds like the tune is moving through a damaged memory of the main groove, then snapping back into focus. It should be mix-ready enough that you can leave it in the arrangement without immediately feeling the need to rescue it later.
A successful result should sound like a rolling DnB edit with character in the mids, pressure in the sub, and enough rhythmic definition that you can still nod to it on first listen.
Step-by-Step Walkthrough
1. Start with a clean 4-bar grid and define the function first
In Ableton Live, open an empty MIDI or audio track setup and decide what this edit is doing in the arrangement before you touch sound design. For this lesson, treat it as a 4-bar section with a clear function: either a pre-drop tension builder or a mid-drop variation.
Put markers in your head:
- bars 1–2: establish the hazy groove
- bar 3: introduce a twist or degradation
- bar 4: resolve into a pickup, stop, or drop handoff
If you’re building for a pre-drop, make the last bar lean toward anticipation. If it’s a second-drop switch-up, make bar 3 or 4 feel more unruly. This matters because Tape Haze edits fail when they sound like a texture test instead of an arrangement event.
Why this works in DnB: club DnB depends on phrase clarity. Even an abstract edit needs to feel like it belongs to the 8-bar and 16-bar grammar of the drop. If the listener can’t sense where the turnaround is, the tension loses impact.
2. Build the core bass on one MIDI track: sub first, movement second
Use a single instrument track to sketch the bass phrase. Keep the first pass simple:
- one or two notes that define the root movement
- short rests to leave space for the snare
- a little syncopation so the groove breathes against the drums
A strong starting point for this style is a two-note or three-note phrase with note lengths around 1/8 to 1/4 bar, depending on tempo and drum density. If the tune is around 172–174 BPM, keep the bass rhythm tight enough that it doesn’t smear across snare hits.
For the sound source, use an Ableton stock synth such as Wavetable or Operator. Keep the patch functional:
- sine or triangle-based low end
- minimal stereo spread
- no huge unison yet
- envelope decay in the short-to-medium range so the note speaks clearly
Suggested starting points:
- Wavetable: use a simple wavetable position and a low-pass filter to keep the tone centered
- Operator: sine or sine-plus-harmonic structure for the sub, with a second operator or filter shaping the presence
Don’t overbuild the sound yet. You want a phrase that can survive processing later.
3. Separate the low-end job from the haze job
This is the key architectural decision. The edit works best when the sub is not doing the same job as the degraded mids.
Make two layers:
- Layer A: Sub core
- Layer B: Haze / mid texture
On the sub layer, keep it mono and disciplined:
- low-pass it aggressively if needed
- keep the envelope smooth
- avoid chorus or width devices
- leave headroom so the kick still wins the transient fight
On the haze layer, duplicate the bass MIDI or resample the same phrase later and push it into character processing.
A practical chain for the sub core:
- EQ Eight: low-pass or gentle cleanup above the needed harmonic range
- Saturator: very light drive, enough to audibly firm up the low notes
- optional Utility: mono on the low end if the source has any stereo drift
A practical chain for the haze layer:
- Auto Filter: low-pass or band-pass to narrow the focus
- Saturator
- Echo or Delay only if you are intentionally smearing the upper layer
- Redux very sparingly if you want a more degraded tape-like edge
Decision point — A versus B:
- A: Cleaner roller haze = keep the sub pure, let the mids be cloudy
- B: Dirtier tape collapse = allow more saturation and subtle modulation into the low-mids, but be prepared to tame it later
For most club-ready DnB, A is the safer and more usable route. B is better if the track is already sparse and needs character to carry the section.
4. Create the tape motion with resampling or audio printing
If you want the edit to sound like a genuine tape fragment, commit the hazy layer to audio. In Ableton, record the processed haze layer onto an audio track or freeze/flatten if that suits your workflow. This is one of the biggest speed wins in this lesson.
Once printed, edit the audio clip:
- nudge the start point by a few milliseconds to tighten the transient relationship
- trim breaths of silence so the phrase hits with intention
- warp only if needed; avoid over-warping something that should feel organic
If you keep the clip in audio form, you can create more convincing tape-like imperfections by:
- short fades at clip edges
- tiny timing offsets between sub and haze layers
- micro edits where the texture drops out for a beat before the re-entry
Stop here if the printed haze layer already feels emotionally right. Don’t keep adding devices because the tone is “not finished.” In this style, a committed audio pass often gives you the most convincing result fastest.
5. Shape the haze layer with a controlled stock-device chain
Now process the printed haze layer into the Tape Haze character. A solid stock chain might be:
Chain 1: Cleaner degraded haze
- Auto Filter
- Saturator
- Echo
- EQ Eight
Suggested starting ranges:
- Auto Filter cutoff around the lower midrange if you want murk, or higher if you want more attack retained
- Saturator drive around subtle-to-moderate levels, not full destruction
- Echo feedback low to moderate so the groove doesn’t blur
- EQ Eight: tame any harsh band that jumps out around the upper mids
Chain 2: Dirtier tape-worn edit
- Redux very lightly, mainly for edge
- Saturator
- Auto Filter
- Utility if stereo image needs rein in
Use these chains differently:
- if the track already has dense drums, choose the cleaner degraded haze
- if the arrangement is sparse and needs more identity, the dirtier chain can work, but keep the sub isolated
What to listen for:
- does the midrange become cloudy without losing note identity?
- does the bass still “read” after the effect chain?
- does the tail of the sound support the groove, or does it blur the snare?
6. Program the drum interaction, not just the bass sound
A Tape Haze edit becomes convincing when the drums participate. Add or derive a chopped break, ghost hits, or a stripped roller kit over the bass phrase.
Use one of two approaches:
Option 1: Break-led edit
- take a jungle or classic break fragment
- slice it into 1/8 and 1/16 pieces
- keep the kick/snare hierarchy clear
- let the hats and ghosts carry the movement
Option 2: Drum-bed plus accent edit
- use a clean kick/snare backbone
- layer a few break ghosts or top loops
- keep the edit more modern and controlled
In either case, the drums should leave room for the bass haze. If the break is too busy, the tape character becomes unreadable. If it is too sparse, the edit loses momentum.
Check the groove against the bass:
- snare should still land with authority
- kick should not fight the sub bloom
- ghost notes should feel like they are pushing the phrase forward, not cluttering it
What to listen for: when the bass and drums hit together, does the edit feel like one mechanism, or like two separate loops stacked on top of each other?
7. Automate the haze instead of leaving it static
This is where the edit becomes a real arrangement tool. Automate a few specific things over the 4 bars:
- filter cutoff on the haze layer
- Saturator drive
- Echo feedback or dry/wet
- clip gain on a degraded accent hit
- subtle panning only on the higher haze elements, not on the sub
A useful phrasing approach:
- Bars 1–2: stable haze, groove established
- Bar 3: increase tension with a slightly darker filter or more drive
- Bar 4: either strip back to near-dry for impact, or push into a more broken, degraded tail
Keep the automation small but purposeful. In DnB, a 5–10% change in character can be enough if the rhythm is already strong.
Arrangement example: use the first 4 bars of the edit as a setup, then in the second 4 bars change only one thing — for example, mute the highest haze hits and leave the sub phrase intact. That contrast makes the second pass feel evolved without losing the DJ-friendly loop logic.
8. Check the edit in context with kick, snare, and the main bass
Pull the full drum pattern and your primary bassline into the session, then audition the Tape Haze edit in context. This is where weak edits get exposed fast.
Pay attention to:
- whether the snare still cuts through at full level
- whether the sub phrase collides with the kick fundamental
- whether the haze steals attention from the main hook
- whether the edit makes the drop feel bigger or just murkier
If the kick and sub are colliding, solve it with arrangement and tone before you reach for heavy compression:
- shorten the bass note length
- move a bass note off the kick transient
- reduce low-end content in the haze layer
- trim the sub's envelope release slightly
This is the point to decide whether the edit is functioning as a foreground event or a supporting texture. If it is fighting the main drop, make it more disciplined. If it is too polite, let the haze layer get a little more daring.
9. Tighten the mix so the haze stays wide in vibe, not wide in the wrong place
This lesson only works if the low end stays mono-compatible. Keep the sub centered, and if you use stereo information, keep it in the upper haze layer or in very controlled echo tails.
Use Utility to monitor width:
- keep sub elements mono
- avoid wide processing on the fundamental
- check phase if a stereo effect starts making the bass disappear in mono
A practical mix move:
- high-pass the haze layer enough that it doesn’t cloud the kick/sub zone
- use EQ Eight to carve a small dip where the snare presence needs space if the haze is masking the backbeat
- leave the main bass hook with enough dry transient that the edit remains readable
Mix-clarity note: if the edit sounds massive in stereo but collapses in mono, the club system will punish you. The fix is usually not “more width control.” It is usually “less low-frequency stereo information and less effect return in the core of the note.”
10. Finish with a purposeful payoff or transition
Decide how the edit lands:
- into a full drop
- into a drum break
- into a half-bar stop
- or into a reversed pickup
For a more DJ-friendly result, let the last bar contain a clear signal:
- a snare drag
- a filtered bass cut
- a short reverse swell
- or a final sub hit that leaves space for the incoming phrase
For a more aggressive second-drop version, let bar 4 be the most degraded moment, then snap the following section back into focus. That contrast makes the return hit harder.
If the edit is looping too neatly, introduce one small irregularity:
- a missing ghost note
- a clipped audio repeat
- a one-beat filtered collapse
- or a shortened tail before the turnaround
This is the difference between a loop and an edit. A loop repeats. An edit tells the listener that something has shifted.
Common Mistakes
1. Letting the tape haze swallow the sub
- Why it hurts: the edit loses dancefloor pressure and the low end turns vague.
- Fix: split the sub and haze into separate layers; keep the sub mono and reduce processing on that layer.
2. Overusing saturation so the bass stops speaking
- Why it hurts: too much drive turns the note into flat noise and masks the groove.
- Fix: back off the Saturator drive, then add harmonic weight with a little more note length or cleaner low-mid shaping instead of more distortion.
3. Making the haze layer too wide
- Why it hurts: wide low-end or low-mid stereo content collapses badly in mono and weakens the drop.
- Fix: use Utility to narrow or mono the core, and keep stereo effects above the sub region only.
4. Ignoring the snare pocket
- Why it hurts: the haze masks the backbeat and the roller loses its spine.
- Fix: carve a small EQ dip in the haze around the snare’s presence range and shorten any tails that crowd the hit.
5. Using random warble without phrase intent
- Why it hurts: the motion sounds like an effect demo instead of a musical transition.
- Fix: automate motion only on chosen bars, especially bar 3 or the last beat of bar 4, so the movement supports arrangement.
6. Printing audio too late and over-editing the MIDI version
- Why it hurts: MIDI keeps inviting endless micro-tweaks that blur the result.
- Fix: commit the haze layer to audio once the character is right, then edit with confidence.
7. Forgetting to audition the edit with the full drums
- Why it hurts: a bass-only loop can sound great alone and fail completely in context.
- Fix: check the section against kick, snare, and main bass before finalizing any processing decisions.
Pro Tips for Darker / Heavier DnB
Mini Practice Exercise
Goal: build a 4-bar Tape Haze edit that can sit over a roller drop without losing sub clarity.
Time box: 15 minutes
Constraints:
Deliverable:
Quick self-check:
Recap
Tape Haze works when you separate weight from wear. Keep the sub core clean and mono, print the hazy character to audio, and shape the edit around DnB phrase logic instead of just sound design. Automate movement with intent, check the full drum context early, and protect the snare and kick from being swallowed by texture. If it feels dark, rolling, damaged, and still dancefloor-clear, you’ve built it right.

