Main tutorial
Lesson Overview
A Tape Haze amen variation transform is a workflow for turning a clean or familiar Amen break into a foggier, more unstable, more DJ-friendly DnB variation that still feels musical. Instead of just chopping the Amen into a random mess, you’re using Ableton Live 12 to reshape it into a textured rhythmic tool: slightly warped, darker, more atmospheric, and ready to sit in a roller, jungle section, or breakdown-to-drop transition.
This technique matters because the Amen is so recognizable that your job isn’t to “reinvent” it from scratch — it’s to reinterpret it. In modern Drum & Bass, especially darker rollers, jungle-inflected halftime sections, neuro-adjacent atmospheres, and atmospheric intro passages, a hazy Amen variation can do a lot of heavy lifting:
- create movement without overcrowding the arrangement
- add grit and tape-like drift between full drum phrases
- bridge the gap between clean programmed drums and organic break energy
- give your track a more human, less grid-locked feel
- build tension before a drop without needing a huge riser
- a tight but imperfect break chop
- tape-style pitch instability and micro movement
- filtered haze and texture around the midrange
- controlled transients so the kick/snare still hit
- a resampled version you can place in an intro, build, or drop switch-up
- a version that can be layered with sub, reese bass, or a clean drum bus
- a ghosted intro break under atmospheres and vinyl noise
- a 16-bar tension layer that evolves before the drop
- a switch-up inside a roller where the main drum loop briefly dissolves
- a call-and-response break variation between full drum hits and bass phrases
- a darker jungle-textured phrase that feels “worn in” rather than overly polished
- Over-hazing the break until it loses the Amen identity
- Too much low end in the break layer
- Using heavy stereo widening on the drum break
- Making every hit equally degraded
- Ignoring the snare’s role in DnB
- Not committing to audio soon enough
- Layer your hazy Amen with a clean transient-only drum layer if you need more impact while keeping the atmosphere.
- Use a parallel return with Drum Buss + Saturator for grit, instead of over-processing the main break.
- For neuro-leaning tension, automate a band-pass filter momentarily so the break feels like it’s being sucked through machinery.
- Add a subtle Reverb return with short decay and filtered top end to create a damp room feel — great for dark jungle and underground rollers.
- If the break needs more menace, use Frequency Shifter very lightly on a send or sublayer for unstable metallic haze.
- For tougher drops, make the Amen variation answer the bassline in a call-and-response format: drums on bar 1, bass on bar 2, haze on bar 3, full hit on bar 4.
- Keep the bass and break fighting less by giving the bassline a clearer sub lane and letting the break live more in the mid punch + texture zone.
- In darker arrangements, a hazy Amen works especially well as a pre-drop memory: it reminds the listener of the groove before the drop hits harder.
- slice and reshape the Amen with intention
- use stock Ableton devices for controlled degradation
- resample early to lock in the character
- keep the snare and transient identity strong
- automate haze across arrangement sections
- place the variation where tension, switch-ups, or atmosphere are needed
The “Tape Haze” angle is about making the break feel like it’s been passed through worn tape, room air, and time — but still keeping the groove solid enough for DnB. The key is control: enough haze to add character, not so much that the break loses punch.
What You Will Build
By the end of this lesson, you’ll have a 4-bar Amen variation that feels like a degraded, atmospheric break layer for DnB. It will have:
Musically, the result should work as one of these:
Think of it as a break that has been turned into a film sequence: the same scene, but under different light.
Step-by-Step Walkthrough
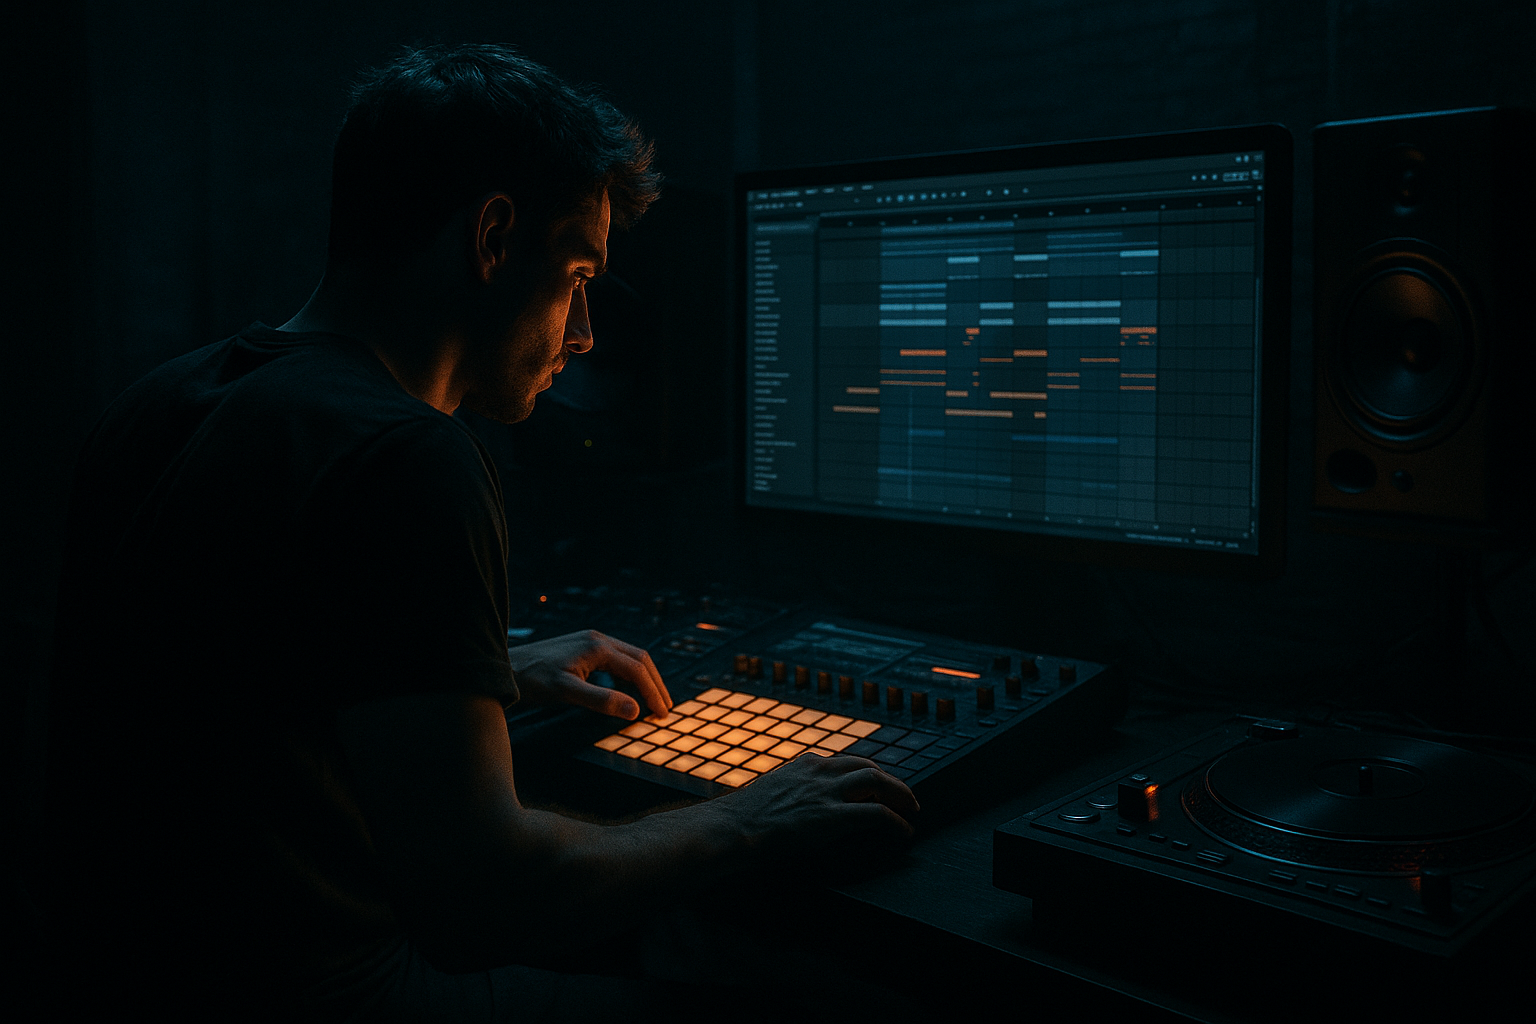
1. Load the Amen and set up a clean workflow lane
Start with a new audio track and drop in a clean Amen break sample. If you already have a favorite break, great — but for this lesson, choose one with a clear kick, snare, and some hat detail. In Ableton Live 12, switch to Warp mode and make sure the break is tempo-locked to your project.
Useful starting points:
- Set warp mode to Beats for a more rhythmic, punchy chop
- Try Transient Loop Mode for better preservation of attack
- If the break is long and looser, test Complex Pro sparingly, but don’t overuse it if you want that gritty break character
Set your project around a DnB tempo, such as 172–174 BPM. Now create a duplicate track and label it something like:
- `Amen Clean`
- `Amen Haze`
- `Amen Resample`
This keeps your workflow fast and helps you compare clean vs transformed versions without guessing. In DnB, speed matters because you’ll often want to make decisions in the arrangement, not in theory.
2. Slice the break into a playable pattern
Right-click the Amen clip and choose Slice to New MIDI Track. For the slicing preset, use:
- Transient for the most flexible drum edits
- or 1/8 if you want a more grid-based jungle chop workflow
Ableton will create a Drum Rack with slices mapped to pads. This is the foundation for your variation transform.
Now program a 4-bar MIDI pattern that keeps the break’s identity but rearranges the flow. Don’t overcomplicate it yet. Aim for:
- a recognizable snare placement
- at least one kick variation
- one ghosted or skipped hit
- one small fill or reverse-feel moment at the end of bar 2 or 4
Good DnB thinking here: preserve the “answer” of the break while changing the “sentence.” If the original Amen is the full statement, your variation is the edited version that still keeps the room moving.
Practical move: duplicate bar 1 into bar 2, then remove or shift 1–2 slices only. Small edits often feel more musical than full rewrites.
3. Build the Tape Haze chain with stock Ableton devices
On the sliced Drum Rack track, place a tight effects chain. The goal is controlled degradation, not mush.
A strong starting chain:
- Drum Buss
- Saturator
- EQ Eight
- Corpus or Resonators very lightly, if you want extra tonal haze
- Auto Filter
- Utility
Suggested settings:
- Drum Buss Drive: 5–15%
- Drum Buss Crunch: subtle, around 5–20%
- Boom: keep low, often 0–10%, unless you want extra thump for a stripped break
- Saturator Drive: +2 to +6 dB, with Soft Clip on if needed
- EQ Eight: high-pass around 25–35 Hz, gentle dip around 250–450 Hz if it gets boxy, small shelf cut above 8–10 kHz if the hats get brittle
- Auto Filter: low-pass sweeping between 8–14 kHz for haze control, or use a band-pass for intro-style fog
Why this works in DnB: drum breaks need transient identity to cut through dense bass design. Tape-like saturation gives the break body and density, while filtering trims the top so it sits behind the main snare and reese instead of fighting them.
4. Create tape-style instability with subtle modulation
The “Tape Haze” feel comes from instability, but it has to be microscopic. In Ableton Live 12, you can achieve this with stock modulation tools and clip automation.
Try these approaches:
- Automate clip Transpose on the Amen slices in tiny moves: ±1 to ±3 semitones on selected hits
- Use Auto Filter frequency automation to gently drift the brightness over 4 bars
- Add Redux lightly if you want bit-reduced haze; keep it subtle so the break stays usable
- Use Simple Delay or Echo on a send, not directly on the core break, for smear without destroying punch
Concrete parameter ideas:
- Auto Filter Resonance: low, around 0.70–1.20, so it doesn’t whistle
- Redux Downsample: light use only, around 2–4 if needed
- Echo Feedback: 10–20% on a send if you want a trailing ghost tail
Automate movement in a slow shape:
- bars 1–2: slightly darker
- bar 3: open a little for tension
- bar 4: filter dips again before the transition
That creates a worn-tape feel without turning the break into a special effect. In DnB, subtle evolution often reads bigger than dramatic FX because the drums are already moving fast.
5. Resample the processed break for commitment and texture
Once your MIDI chop and effects chain feel good, route the output to a new audio track labeled `Amen Print`. Arm the track and resample the performance. This is a classic intermediate workflow move: once the texture feels right, commit it.
Why resample?
- you can visually edit waveforms for tighter groove
- you can reverse tiny tails or trim noise precisely
- you can treat the break like a sound design asset, not just a loop
- it freezes the haze into a playable audio phrase
After resampling, take the new audio clip and:
- consolidate it into a 4-bar or 2-bar phrase
- warp only if needed
- add very small fade-ins/fade-outs to remove clicks
- duplicate the best bar and vary it slightly for bar 4
This is where Tape Haze becomes a proper arrangement tool. A resampled break can sit under a drop as texture, or replace a full drum phrase in a pre-drop switch.
6. Shape the transient balance so it still hits in a DnB mix
Hazy doesn’t mean weak. In Drum & Bass, the snare needs authority, and the kick/bottom needs enough shape to survive bassline energy.
Use Drum Buss and EQ Eight to protect punch:
- If the snare loses impact, reduce saturation before you boost anything
- If the kick gets swallowed, use a small bell boost around 80–120 Hz on the break only if the sub is not dominating there
- If the hats are harsh after processing, cut gently around 6–9 kHz
A useful workflow:
- solo the break with your bass
- then check in full mix
- then switch to mono with Utility on the master or drum bus
- make sure the groove still feels stable without stereo width
For a roller, the break usually should not compete with the bassline’s low-mid engine. Let the break own the mid punch and texture while the bass owns the sub and lower foundation. Keep the sub clean and centered.
7. Add ghost notes and micro-edits for human swing
The “amen variation transform” becomes more believable when you add little editorial details that feel like a player recovering the groove.
In the MIDI editor or audio clip:
- add a ghosted snare 1/16 before a main snare
- shorten one kick slice so it feels tighter and less looped
- move a hat hit slightly late for drag
- reverse a small slice leading into bar 4
Keep these edits subtle. You’re not making a glitch break; you’re making a worn performance variation.
Consider using Groove Pool lightly if your project feels too grid-locked. A touch of MPC-style swing or a subtle extracted groove can give the break a more human push-pull. For DnB, swing can be powerful if it doesn’t make the kick and snare feel lazy.
A strong target is a break that feels:
- just behind the beat in places
- but still locked enough to drive a 172 BPM system
8. Place the variation in arrangement context
Now decide where the Tape Haze Amen lives in the track. This is crucial, because the same drum idea works differently depending on arrangement role.
Strong DnB placements:
- 8-bar intro layer: filtered haze under atmos and sub hits
- 4-bar pre-drop tension loop: rising filter and thinner top end
- drop switch-up in bar 17 or 33: the main drum arrangement drops out and the hazy Amen becomes the center of gravity
- breakdown bridge: use the resampled break as a memory of the groove before the drop returns
Example arrangement context:
- Bars 1–8: filtered haze version at low volume, supporting atmosphere
- Bars 9–16: cleaner drums enter
- Bars 17–20: full drop
- Bars 21–24: Tape Haze version replaces the main drums for a switch-up
- Bars 25–32: return to full power
In darker jungle and rollers, this kind of contrast is gold because it keeps the tune moving without needing a brand-new drum idea every 8 bars.
9. Automate the transition so the haze feels intentional
Use automation to make the transform feel like a musical event. The best Tape Haze sections are not static loops — they evolve like a scene change.
Automate:
- Auto Filter cutoff: slowly open over 4 or 8 bars
- Drum Buss Drive: slightly increase into the switch-up, then pull back
- Utility gain: tiny lift of 0.5 to 1.5 dB on a section if needed
- Send to reverb/delay: increase only on fill hits or last slice of a bar
If you use Reverb or Echo on returns:
- keep them filtered
- high-pass the return around 200–400 Hz
- low-pass it if the top gets too shiny
A great move is to automate haze density into the last beat before a drop, then cut it hard at the drop impact. That contrast creates impact without requiring a giant riser.
10. Finish with mix discipline and a reference check
Once the break variation works musically, check that it still behaves like a DnB drum element and not a lo-fi feature sound.
Final checks:
- compare against a clean Amen or your main drum bus
- check mono compatibility
- make sure the sub remains clear if the break overlaps with bass
- keep peaks under control so the drums leave headroom for the bass and master processing
Practical workflow trick: place your reference track on a muted track and level-match it mentally. You’re listening for function, not loudness. If your Tape Haze break feels exciting at a lower level, it will usually work in the actual mix.
Common Mistakes
Fix: reduce saturation, open the filter a little, and keep at least one clearly recognizable snare-kick relationship.
Fix: high-pass around 25–35 Hz, and if needed trim some low-mid around 200–400 Hz so it doesn’t fight the sub or bassline.
Fix: keep the core break mostly mono or narrow; use width on textures, returns, or atmospheres instead.
Fix: vary the haze across the 4 bars. Let some hits stay clearer so the ear has anchors.
Fix: if the snare is losing punch, back off the effects chain before adding more EQ boosts.
Fix: resample once the idea works. Audio editing is often faster and more musical than endlessly tweaking the rack.
Pro Tips for Darker / Heavier DnB
Mini Practice Exercise
Set a 15-minute timer and do this:
1. Load one Amen break and slice it to MIDI.
2. Build a 2-bar pattern with one clear snare anchor and two small edits.
3. Add Drum Buss, Saturator, and Auto Filter.
4. Automate the filter to darken over the first bar and open slightly in the second.
5. Resample the result to audio.
6. Duplicate the audio and make one version slightly darker, one slightly more open.
7. Place both versions into an 8-bar arrangement:
- version A in bars 1–4
- version B in bars 5–8
8. Check it against your bassline or a simple sub note.
Goal: make the break feel like it evolves, not just loops. Focus on one question: does the Amen still drive the tune while sounding worn and atmospheric?
Recap
The Tape Haze amen variation transform is about turning a familiar break into a darker, more textural DnB tool without losing groove. The winning formula is:
If it still feels like a break but sounds like it’s been through time, you’re doing it right.

