Main tutorial
Lesson Overview
This lesson is about building a tape-hazy jungle pad drift in Ableton Live 12 that supports timeless roller momentum without cluttering the low end. In DnB, pads are not just “pretty background chords” — they’re part of the groove system. In oldskool jungle, rollers, darker liquid, and atmospheric DnB, a drifting pad can sit behind the breaks and bassline, creating motion, tension, and emotional glue between sections.
The goal here is to create a pad that feels:
- slightly worn, like it came from a dusty sampler or tape loop
- wide enough to fill the stereo field, but controlled in mono
- alive with slow movement, so it never feels static
- subtle enough to support a drum-led arrangement
- useful in intros, breakdowns, drop fills, and outro phrasing
- a warm chord pad with a soft attack
- slightly detuned for width
- filtered and darkened so it sits behind breakbeats
- gently modulated for drift and tape-like instability
- processed with subtle saturation, reverb, and delayed echoes
- arranged so it works in a DnB intro, breakdown, and transition into a drop
- an Amen break intro
- a sub-heavy roller bassline
- a darker jungle call-and-response phrase
- a 16-bar build into a drop
- a DJ-friendly outro with atmosphere only
- Wavetable for a flexible pad
- or Analog if you want a more classic, rounder character
- or Simpler if you want to resample a chopped texture later
- color-code the track
- group it later with other atmospheres if needed
- keep the pad at a lower gain than you think you need
- Am – G – F – G
- Dm – C – Bb – C
- or just a two-chord loop for a roller feel
- minor 7ths
- sus2 or sus4 movement
- notes that hold tension without sounding “happy pop”
- Am7 voicing: A–E–G–C
- Dm7 voicing: D–A–C–F
- 1 to 2 bars
- with some overlap for smooth changes
- avoid super-short stabs at this stage
- increase Attack to around 100–300 ms
- set Release around 1.5–4 seconds
- soften the filter slightly with a low-pass tone
- make sure the amp envelope has a gentle attack
- use a longer release so the chord tail blends naturally
- Attack: 150 ms
- Decay: medium or modest
- Sustain: around 60–80%
- Release: 2–3 seconds
- LFO on wavetable position or filter cutoff
- very slow rate
- small depth
- LFO rate: 0.05–0.20 Hz or very slow synced movement
- mod depth: small, around 5–15% feel
- add slight detune between oscillators if available
- automate a single macro for “Drift”
- map it to filter cutoff, wavetable position, or chorus amount
- make tiny changes between sections
- High-pass filter around 120–250 Hz
- If the pad is too boxy, cut gently around 250–500 Hz
- If it feels harsh, tame 2.5–5 kHz with a narrow or medium dip
- HPF at 180 Hz
- small cut of 2–4 dB around 350 Hz
- gentle high shelf down if the pad is too bright
- Drive: 1–4 dB
- Soft Clip: on if needed
- Output: compensate so you don’t get fooled by loudness
- keep the rate slow
- keep the depth moderate
- don’t over-widen it
- Chorus Amount/Depth: low to medium
- Rate: slow
- Mix: around 15–30%
- place Chorus-Ensemble before reverb for softer diffusion
- or after saturation if you want the color to feed into the width
- Decay: 1.8–4.5 seconds
- Pre-delay: 10–30 ms
- Dry/Wet: 10–25% on insert, or better, use a return track
- Low cut in reverb: if available, reduce muddy low-mid build-up
- put the reverb on a Return track
- send only as much pad as needed
- automate send level during breakdowns or transitions
- Feedback: 10–25%
- Filter: darkened
- Stereo offset/width: modest
- Mix: low, around 8–15% if inserted
- bars 1–8: pad is low and filtered
- bars 9–12: open the filter slightly and increase reverb send
- bars 13–16: add delay throw on the final chord
- drop lands: reduce pad volume and keep only a filtered ghost layer if desired
- create a new audio track
- set input to Resampling
- record 4 or 8 bars of the pad
- chop the audio
- reverse sections
- fade in/out specific phrases
- freeze moments of texture
- process the resampled audio with Simpler or Warp
- resample the pad with reverb and delay tail included
- then cut the audio so only the most musical drift moments remain
- Intro: filtered pad + break tease
- Pre-drop: pad opens up as tension rises
- Breakdown: fuller chord version for emotional lift
- Drop: only a thin, dark, filtered layer if needed
- Outro: pad can return to give the DJ a clean blend point
- 1–8 bars: filtered pad + drums
- 9–16 bars: more movement, automation opens up
- 17–24 bars: bassline enters, pad ducks slightly
- 25–32 bars: drop with reduced pad or a ghost layer
- Breakdown: bring pad back full with more reverb
- Layer a filtered noise texture under the pad using Operator or Analog noise, very quietly, to create gritty air.
- Use Auto Filter with a slow LFO for subtle motion, but keep the depth small so it doesn’t turn into a distraction.
- Add a touch of Drum Buss if you want the pad to feel denser and more “finished,” but keep the boom low and the drive modest.
- For darker jungle, try pitching the pad down 12 semitones in resampled form, then filtering it heavily for a haunted background layer.
- If the track is more neuro or tougher roller style, let the pad act like a tension layer: darker, narrower, and more rhythmic with automation.
- Use sidechain compression from the kick or full drum bus very lightly if the pad masks the groove. Even 1–3 dB of movement can help the track breathe.
- In the drop, automate the pad to become more midrange-focused and less wide. That keeps the sub and reese dominant while preserving atmosphere.
- If you want oldskool character, chop the resampled pad into 2- or 4-bar phrases and reintroduce them like sampled vinyl fragments.
- A jungle pad drift is a supporting atmosphere layer for DnB, not the main focus.
- Keep the harmony simple, moody, and loopable.
- Use slow attack, long release, light modulation, EQ cleanup, saturation, chorus, and controlled reverb.
- Protect the low end so the kick, snare, and sub can dominate.
- Automate the pad across sections so it helps the arrangement breathe.
- Resampling is a great workflow move for adding oldskool character and making faster decisions.
Why this matters in DnB:
A lot of beginner productions either leave the top end empty or overfill the track with huge bright chords that fight the break and bass. A drifting tape-haze pad gives you atmosphere without stealing the energy from the drums. It helps your track feel like a real journey, especially in roller phrasing where the groove needs to stay locked but still evolve. 🎛️
---
What You Will Build
You will build a lo-fi, moving jungle pad layer inside Ableton Live 12 using stock devices only. The sound will be:
Musically, this could sit under:
By the end, you’ll have a reusable workflow for making pads that feel “oldskool” rather than glossy or pop-synth.
---
Step-by-Step Walkthrough
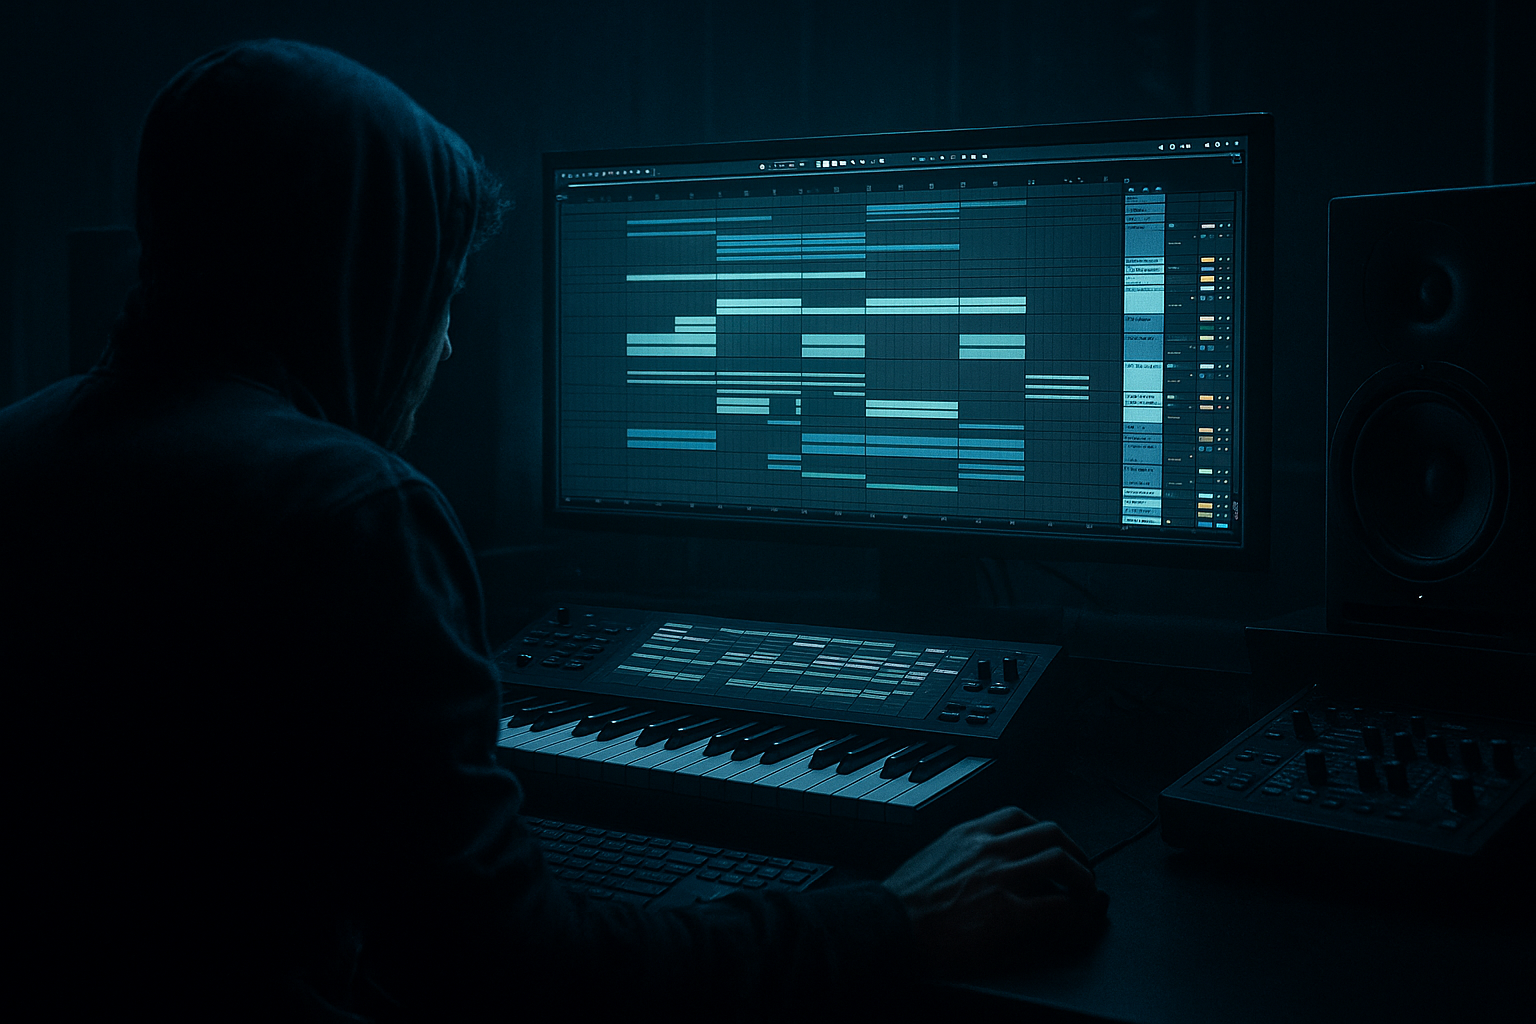
1) Set up a simple pad track and keep the session tidy
Create a new MIDI track and name it something like Pad Drift. Workflow matters here because DnB sessions get messy fast, especially when drums, bass, breaks, FX, and atmospheres all start piling up.
Use a stock instrument to start:
For a beginner-friendly start, choose Wavetable and load a basic saw-based patch or initialize it if you’re comfortable. Keep the MIDI clip short: 1 or 2 bars, so you can hear how the pad behaves in looped DnB phrasing.
Good workflow move:
Target level: the pad should feel present, but not compete with the snare or bass.
2) Build a simple chord shape that supports jungle movement
In DnB, pad chords usually work best when they are simple, moody, and loop-friendly. Don’t overcomplicate the harmony.
Try a minor or modal progression such as:
If you want a classic jungle mood, use chords with:
For example:
Why this works in DnB:
Rollers and jungle tracks often rely on repetition with micro-change. A simple chord loop gives your drums and bass room to breathe while the pad creates emotional continuity. This keeps the track hypnotic instead of busy.
Keep note lengths around:
3) Shape the pad envelope so it drifts instead of punches
On your instrument, set a slower, smoother response.
If using Wavetable:
If using Analog:
Aim for a pad that fades in like tape or air, not a bright synth stab.
Suggested starting points:
If the pad feels too forward, lower the oscillator volume or filter it more rather than just turning the track down. That keeps the character but stops it from poking through the drums.
4) Add slow drift with modulation, not obvious wobble
This is where the “tape haze” feeling starts.
Use very gentle modulation in Wavetable:
Try:
If you want movement without sounding like an EDM pad, keep it subtle. You want the sound to breathe over 4, 8, or 16 bars.
Useful workflow idea:
This is especially effective in jungle intros, where the break is already busy. The pad should shift around the groove, not compete with it.
5) Use EQ Eight to clear the low end and darken the tone
Now place EQ Eight after the instrument.
This step is crucial for DnB because the sub and kick need space. Pads should not blur the low end, especially in rollers or darker neuro-influenced tunes.
Start with these moves:
Example settings:
Why this works in DnB:
DnB mixes are all about low-end separation. The kick, snare, sub, and bassline need dominance. A pad that’s cleaned up with EQ can still feel huge because the ear reads movement and stereo width more than raw volume.
Think of the pad as atmosphere, not the main event.
6) Add tape-style color with Saturator and subtle movement with Chorus-Ensemble
Now add Saturator.
Use it lightly to create that dusty, slightly compressed “tape haze” quality:
This gives the pad a bit more density and vintage weight without relying on third-party plugins.
Next, add Chorus-Ensemble for width and motion:
Good starting points:
If the sound gets seasick or too glossy, reduce the amount. In DnB, width should feel controlled. A pad that is too wide can blur the groove and make the drop feel less focused.
Optional workflow choice:
7) Create space with Reverb, but keep the pad behind the drums
Add Hybrid Reverb or Reverb from Ableton stock devices.
For jungle and rollers, the pad often lives in a small-to-medium space that suggests atmosphere without washing out the rhythm.
Suggested settings:
Best workflow:
For a more authentic oldskool feel, use a darker reverb tone. You want the pad to feel like it is floating behind the break, not sparkling on top of it.
8) Add echo tails and automate the atmosphere over 8 or 16 bars
Add Echo or Delay very subtly.
This is great for creating that drifting haze between phrases.
Try:
A smart DnB workflow is to automate delay sends only at the end of a 4-bar or 8-bar phrase. That creates a sense of movement into the next section.
Arrangement example:
This is a classic way to support a roller without overloading the drop.
9) Resample if you want more oldskool dust and control
This is a powerful beginner-friendly workflow step.
Once your pad sounds good, resample it into audio:
Now you can:
Why resample?
Jungle and oldskool DnB often feel more alive when textures have been committed to audio. It also helps you make fast arrangement decisions instead of endlessly tweaking the instrument.
A nice trick:
That can sound beautifully worn and “found” in a track.
10) Place the pad in the arrangement like a support layer, not the lead
In DnB, arrangement is about energy control. Your pad should help the track breathe.
Use it in these places:
A strong beginner structure for this lesson:
Use volume automation and filter automation to make the arrangement breathe. Even small moves make a track feel more intentional.
---
Common Mistakes
1) Making the pad too bright
Fix: use EQ Eight to low-pass or gently cut the upper mids. DnB needs space for hats, breaks, and snare bite.
2) Leaving too much low end in the pad
Fix: high-pass higher than you think, often around 150–250 Hz depending on the sound.
3) Overusing reverb
Fix: reduce wet level and put reverb on a return so you can control the send. Too much wash kills roller drive.
4) Using fast, obvious modulation
Fix: slow it down. The pad should drift, not wobble like a synth lead.
5) Making the pad too loud in the mix
Fix: lower the track and listen with drums and bass. If you notice the pad too much, it’s probably already too much.
6) Ignoring mono compatibility
Fix: check the pad in mono. If it vanishes or sounds phasey, reduce stereo width and chorus depth.
7) Not arranging the pad with purpose
Fix: automate it. A pad that stays identical for 64 bars usually feels lazy in DnB.
---
Pro Tips for Darker / Heavier DnB
---
Mini Practice Exercise
Spend 10–20 minutes making one pad drift loop for a DnB intro.
1. Create a MIDI track and load Wavetable or Analog.
2. Write a 2-bar minor chord loop using only 2 chords.
3. Set a soft attack and long release.
4. Add EQ Eight and high-pass around 180 Hz.
5. Add Saturator with 2 dB of drive.
6. Add Chorus-Ensemble gently for width.
7. Put Hybrid Reverb on a return track and send the pad to it.
8. Automate the filter cutoff over 8 bars.
9. Duplicate the clip and make the second version slightly darker.
10. Resample 4 bars and listen to which version feels more “jungle.”
Goal: make the pad sound like it belongs under breaks and bass, not like a standalone synth patch.
---
Recap
If you build pads this way, your DnB will feel more immersive, more timeless, and more like a real roller journey.

