Main tutorial
Lesson Overview
A “tape haze” subweight roller is that deep, smoked-out DnB low-end that feels slightly blurred, warm, and alive — like the bass has been run through an old tape machine, then stitched back into a modern roller arrangement. The goal here is not lo-fi mush. It’s controlled haze: a sub that stays solid, a reese or mid-bass layer that flickers with movement, and a drum groove that lets the bass breathe while still hitting hard.
This technique sits perfectly in a darker roller, halftime-flavoured drop, or a locked-in 174bpm tune where the bassline carries the energy more than huge lead hooks. It’s especially useful in the first drop of a club track when you want pressure and depth without overloading the mix. Think of it as a bassline that feels “taped,” worn in, and physically weighty — but still clean enough to work on a proper sound system.
Why it matters: in DnB, low-end identity is everything. If your sub is too pure, the bass can feel sterile. If it’s too distorted or wide, the drop collapses. Tape haze gives you the middle ground: density, character, and forward motion. Done well, it helps the roller feel expensive and underground at the same time.
What You Will Build
By the end of this lesson, you’ll have a full Ableton Live 12 drop section built around:
- A mono sub layer with stable fundamentals
- A slightly detuned reese/mid-bass layer with tape-like saturation
- Controlled movement from filtering, envelope shaping, and automation
- Drum programming that leaves space for the bass while still driving hard
- A DJ-friendly intro and transition into the drop
- A mix-balanced low end with clear separation between kick, sub, and bass texture
- Making the sub too wide or too distorted
- Stacking too much low-mid energy
- Overusing saturation on every layer
- Writing bass notes with no relationship to the snare
- Using too much stereo widening
- Looping 1 bar forever
- Use a parallel distortion return for bass grit, then blend it in quietly so the main layer stays intact.
- Try a slightly detuned reese with filtered top end plus a clean sub underneath for a classic darker roller feel.
- Add tiny note-length variations to create human push and pull — especially on offbeat notes.
- If the drop needs more menace, automate the mid-bass cutoff down for 1–2 bars before opening it back up.
- Use break chops under the main drums to add jungle tension without stealing the low-end focus.
- For extra pressure, let one bass note land just before the snare and another just after it — that “lean” creates drive.
- Keep some sections drier than others. Too much reverb on bass kills impact fast in this style.
- If you want more underground character, resample the bass, then edit it like audio so the phrasing feels more intentional and less synthetic.
- Keep the sub focused and mono
- Let the reese/mid layer carry the haze
- Use phrasing and rests to create roller pressure
- Manage low-end separation with EQ, width control, and headroom
- Shape the arrangement in 4- and 8-bar phrases for impact
Musically, the result should feel like a tense 16-bar roller: restrained in the intro, then opening into a heavy, snaking bass phrase that lands with authority. The bassline won’t just “play notes” — it will answer the drums, push and pull against the snare, and evolve through arrangement changes so the drop stays engaging.
Step-by-Step Walkthrough
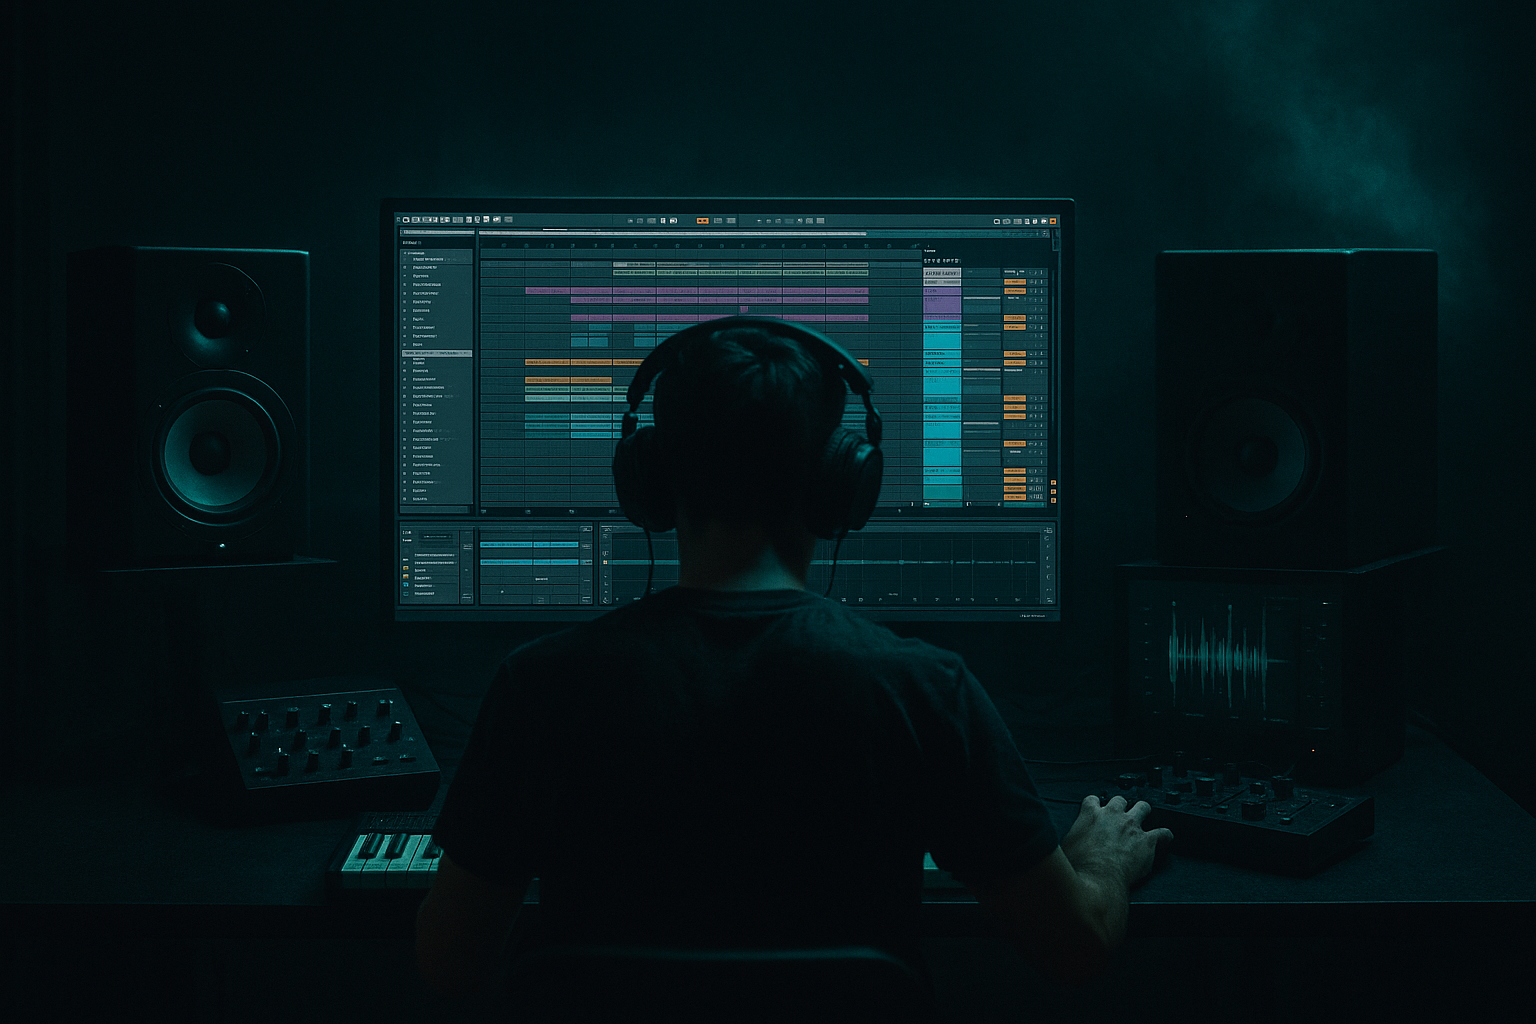
1. Set the project and build the core session structure
Start with Ableton Live 12 at 174 BPM. Set up a clean template with these tracks:
- Drum rack for kick/snare/hat/break layers
- Sub bass MIDI track
- Mid-bass/reese MIDI track
- Atmosphere/texture track
- FX riser/impact track
- Return tracks for reverb and delay
For a roller, use a clear 16-bar phrase structure right away:
- Bars 1–8: tension / intro to drop
- Bars 9–16: main groove variation
- Bars 17–24: second phrase with a bass switch-up
- Bars 25–32: breakdown or reset
This is useful because DnB arrangement is often about repeated pressure with small changes. If you start organized, it’s easier to shape the low end and not overbuild the track. Keep your master peaking around -6 dB during production so the bass and drum relationship stays honest.
2. Program the drum foundation with space for the bass
Build a tight DnB drum groove before designing the bass motion. Use an Ableton Drum Rack with:
- Kick on beat 1, plus a few syncopated hits
- Snare on 2 and 4 as the anchor
- Layered break chops or ghost break percussion between snares
- Closed hats with slight swing and velocity variation
A strong roller often uses a “busy but not crowded” groove. Try:
- Kick: short, punchy, tuned to sit above the sub
- Snare: body around 180–220 Hz, crack around 2–5 kHz
- Hats: use subtle off-grid placement
- Ghost notes: low-volume snare or break fragments to keep momentum
Use Groove Pool lightly if your break feels stiff. A subtle MPC-style groove around 55–58% can give the drum loop movement without making it sloppy. In the mix, keep the kick and snare central and let the bass sit around them, not over them.
Why this works in DnB: the drum pocket defines the drop’s energy. If the drums are too busy in the low midrange, the subweight loses impact. If they’re too empty, the bassline feels disconnected.
3. Design the sub layer first: pure, controlled, mono
Create a MIDI track with Operator for the sub. Keep it simple:
- Oscillator: sine
- Voicing: mono
- Glide: very short, around 20–60 ms if you want slight slide between notes
- Filter: usually unnecessary, but a gentle low-pass can help if harmonics creep in
Write a bassline that follows the emotional contour of the drop rather than just the kick pattern. For a roller, good note choices are often root, fifth, octave, and occasional passing tones. Keep note lengths varied:
- Some notes short and percussive
- Some notes held slightly longer to create pressure
- A few rests for negative space
In MIDI, use velocity only if it drives the instrument response; for a pure sub, focus more on note length and placement. Keep the sub absolutely centered with Utility set to Width = 0% on the sub track if needed. If your sub feels inconsistent, add Compressor with gentle control or use Glue Compressor on the bass bus later.
A solid starting sub level is one that feels loud in context but doesn’t dominate the kick. Don’t judge it soloed for long.
4. Build the tape haze mid-bass layer with saturation and motion
On a second MIDI track, use Wavetable, Operator, or even a resampled instrument to create the bass texture. The goal here is a reese-like layer with a slightly worn, taped edge.
Try this with Wavetable:
- Osc 1: saw
- Osc 2: saw or square
- Unison: light, around 2–4 voices
- Detune: subtle, not huge
- Filter: low-pass with moderate resonance
- Envelope amount: enough to give the attack a little bite
Then add:
- Saturator: Drive around 2–6 dB, Soft Clip on if the tone needs glue
- Chorus-Ensemble or a very subtle Phaser-Flanger for motion, but keep it restrained
- Auto Filter with slow automation on cutoff for phrase movement
- Echo or Delay only if you can keep it out of the sub range
The “tape haze” part comes from controlled harmonic blur. Use Redux very lightly if you want a grainier edge, but don’t overdo it; a tiny amount can make the bass feel aged and textured. Another very effective move is to resample the layer into audio, then trim and warp the sample so it feels more “performed” and less synthetic.
Keep this layer in the low-mids and upper bass — not in the sub zone. If the waveform is fighting the sub, high-pass it gently around 80–120 Hz depending on the patch.
5. Separate sub and texture with precise EQ and routing
Route the sub and mid-bass to a dedicated Bass Group. Inside the group, manage the layers separately, then use the group for glue and movement.
On the mid-bass track:
- Use EQ Eight
- High-pass around 80–120 Hz
- If it gets boxy, reduce around 200–400 Hz
- If it’s harsh, tame 2.5–5 kHz with a narrow dip
On the sub track:
- Keep it clean
- Low-pass only if harmonics are making it audible in the wrong place
- Avoid stereo widening
- Check mono compatibility with Utility
On the Bass Group:
- Add Glue Compressor with gentle settings, around 1–2 dB of gain reduction
- Add a small amount of saturation if needed
- Use Utility to check width and phase
This separation is crucial for DnB mixing. The sub gives you the weight, while the reese/tape layer gives the personality. If both layers occupy the same low-end area, the drop becomes muddy and the kick loses definition.
6. Write bass phrasing that feels like a roller, not a loop
Now turn the bass into a musical idea. A subweight roller works best when the notes interact with the drums. Don’t just loop 1 bar endlessly.
Try a 2-bar or 4-bar motif with:
- A long root note on beat 1 or just after the snare
- A shorter response note off the snare
- A syncopated pickup before bar 2
- A rest or cut to create tension
A practical example: in a minor key, the bass might hit the root on the downbeat, then move to the fifth after the first snare, then drop to the octave lower on the next bar. That gives you a strong call-and-response shape without needing a flashy lead.
Use Legato or short glide on the sub where appropriate. In the mid-bass, automate filter cutoff or wavetable position so each 4-bar phrase subtly evolves. If the bass feels too static, duplicate the MIDI and alter the last 1–2 notes for the second half of the phrase.
This is very DnB-friendly because rollers need repetition for hypnosis, but variation for tension. The groove should feel inevitable, not repetitive.
7. Add tape-style haze with automation and resampling
To get the “tape” quality, don’t rely only on one effect. Build the vibe through layered control:
- Automate Saturator Drive up slightly in fill sections
- Automate Auto Filter cutoff down on transition bars for a darker pullback
- Use Reverb very short and low-mixed on mid-bass sends for a smeared tail
- Resample 4 or 8 bars of the bass into audio and chop the best phrases
A great technique is to freeze and flatten the mid-bass, then edit the audio manually:
- Pull down the clip gain on loud hits
- Fade the ends of notes for smoother transitions
- Add tiny crossfades on chopped audio regions
- Reverse one short tail before a drop for tension
If you want a more “aged tape” feel, automate a gentle low-pass on the bass texture during the intro, then open it in the drop. That gives the impression of the sound coming into focus. It’s a simple move, but in DnB it can make the drop feel much bigger because the listener experiences the bass as a reveal.
8. Shape the drop arrangement for impact and DJ usability
Build the arrangement like a real club record. Start with a DJ-friendly intro:
- 16 bars of drums, atmospheres, and filtered bass hints
- Tease the sub with short pickups
- Use a low-pass or band-pass version of the bass for early tension
At the drop:
- Let the first 4 bars establish the main bass figure
- In bars 5–8, add a variation: a different final note, an extra ghost hit, or a reversed fill
- In bars 9–16, open the top-end texture slightly or introduce a second reese layer
- Use small switch-ups every 8 bars so the roller doesn’t flatten out
A good musical context example: after an 8-bar atmospheric intro, bring in a filtered 2-step drum loop with a hint of sub on bar 7, then slam into the full bassline on bar 9. That kind of pre-drop setup feels classic and effective in darker DnB because it lets the sub impact land harder when the full arrangement arrives.
Keep transitions clean with risers, downlifters, and snare fills. Don’t overfill every bar — save bigger transitional gestures for phrase ends.
9. Mix the low end with mono discipline and headroom
This is where the subweight becomes believable. Start by listening in mono occasionally. Use Utility on the master or bass bus to check for phase issues. If the bass falls apart in mono, reduce stereo width on the mid-bass or simplify the chorus/detune settings.
Mixing priorities:
- Kick and sub should not fight for the same instant of energy
- The bass texture should be audible without masking the snare body
- Low mids must stay controlled so the track doesn’t cloud up
Use EQ Eight to carve small pockets rather than massive cuts:
- Remove muddiness around 250–400 Hz if needed
- Tame harsh resonance around 3–6 kHz
- Keep sub fundamentals clean and stable
If the kick needs more space, try a subtle sidechain with Compressor on the bass group, or manually shape note lengths so the sub leaves a tiny pocket on kick hits. In DnB, tight note programming is often cleaner than heavy pumping. The best results usually come from a combination of musical phrasing and light dynamic control, not extreme ducking.
10. Finalize with reference checks and section contrast
Compare your track to a reference roller with a similar mood. Don’t copy the sound; compare the balance:
- Is your sub too loud or too quiet?
- Does the bass have enough movement in the mids?
- Are the drums punching through the haze?
- Does the drop evolve every 8 bars?
Check these details:
- Master peak headroom: around -6 dB while arranging
- Bass in mono: stable and centered
- Snare presence: crisp but not piercing
- Transitions: clear enough to guide DJs and listeners through the tune
If the drop feels flat, introduce a switch-up:
- Remove the reese layer for 1 bar
- Add a higher octave stab
- Use a fill with break chops
- Automate the filter to open slightly on the next phrase
The result should feel like a controlled pressure system, not just a loop. That is the difference between a decent DnB bassline and a roller that people remember.
Common Mistakes
Fix: keep the sub mono, simplify the synthesis, and let the texture layer handle grit.
Fix: high-pass the mid-bass, clean up 200–400 Hz, and reduce overlapping layers.
Fix: choose one or two stages of harmonics, not six. Let the drums keep some clean attack.
Fix: treat the snare as a punctuation mark. Answer it with bass movement or space.
Fix: keep the weight center-focused. Use width sparingly above the sub region only.
Fix: build 2-, 4-, and 8-bar variations. DnB needs evolving repetition.
Pro Tips for Darker / Heavier DnB
Mini Practice Exercise
Spend 15 minutes building a mini roller drop in Ableton Live 12.
1. Set the tempo to 174 BPM.
2. Program a basic 2-bar DnB drum groove with kick, snare, hats, and one break layer.
3. Build a mono sub using Operator with a sine wave and write a 2-bar bassline.
4. Create a second bass layer in Wavetable with light detune and add Saturator and EQ Eight.
5. High-pass the mid-bass and keep the sub clean.
6. Add one automation move: filter cutoff, saturation drive, or volume swell.
7. Duplicate the 2-bar loop into 8 bars and change the last 2 bars with a bass switch-up or drum fill.
8. Check the whole loop in mono and make one fix if the bass collapses.
9. Bounce or resample the bass layer and chop one audio phrase for extra texture.
Goal: make the bass feel heavy, hazy, and controlled without losing drum impact.
Recap
A great tape-haze subweight roller is built from contrast: clean mono sub, textured mid-bass, disciplined drums, and arrangement movement that keeps the tune evolving.
The biggest wins are:
If you get the balance right, the bass will feel smoked-out and heavy, but still precise enough to hit properly in a DnB mix 🔥

