Main tutorial
```markdown
Tape Dust Ride Groove Method (Ableton Live 12, Stock Only)
Jungle / oldskool DnB ride “dust” that feels sampled, lazy-tight, and relentless 🌀🥁
---
1) Lesson overview
This lesson is a ride-driven groove method that mimics that old tape / sampler “dust” you hear in jungle and early DnB—where the ride isn’t just a cymbal, it’s a timekeeper and a texture layer.
You’ll build a ride loop that “breathes” through:
- micro-timing and groove extraction,
- velocity “tape wobble” movement,
- transient shaping + saturation,
- subtle noise/air and stereo management,
- resampling for that “printed” vibe.
- a Ride Group (clean + dust layer),
- groove that can be extracted and applied to hats/ghost snares,
- a resampled audio ride loop that feels like it came from a record 📼
- Snare: beat 2 and 4
- Kick: typical 2-step: beat 1 and beat 3 (with variations)
- Simpler (Classic mode)
- Voices: 1 (monophonic feel keeps it “printed”)
- Filter: On
- Pitch/Transpose: try -2 to -5 st for older/darker vibe
- Volume: pull down so it’s not dominating (-12 dB-ish as a starting point)
- Use 1/8 notes across 2 bars.
- Then add select 1/16 anticipations (little pushes) near snares.
- Bar 1: 1/8 notes all the way.
- Add extra hits at:
- Downbeats (1.1, 1.3, 2.1, 2.3): 80–95
- Offbeats: 55–75
- Anticipation 1/16s: 35–55 (small but noticeable)
- Add subtle velocity variation: do not repeat the exact same 2-bar shape.
- Slightly soften hits near snares (so snare stays king).
- Mode: Random
- Random: 8–18
- Drive: 5–15
- Out Hi: 95–110 (cap it, stops harsh spikes)
- Out Low: 25–35
- Drop an audio break (Amen/think/any classic break) onto an audio track.
- Right-click the clip → Extract Groove.
- Use a Groove Pool preset (e.g., MPC-style or swing), then refine.
- Timing: 35–55% (avoid full chaos)
- Random: 5–12%
- Velocity: 10–25%
- Base: 1/16 (usually best for DnB rides)
- EQ Eight: band-limit it
- Redux: (old sampler grit)
- Auto Filter: (subtle “wobble”)
- Utility:
- Duplicate the printed audio.
- Nudge one copy -5 to -15 ms and low-pass it.
- Blend quietly for thickness.
- Intro (16 bars): filtered break + bass atmos, no ride
- Pre-drop (8 bars): add ride dust only (thin)
- Drop (32 bars): full ride groove + breaks + bass
- Mid-drop (8 bars): remove clean ride, keep dust layer for tension
- Second drop: bring back clean ride, raise groove amount slightly
- Groove Timing: 40% → 55% on second 16 bars (subtle escalation)
- Auto Filter cutoff on dust chain: open 6 kHz → 9 kHz in fills
- Drum Buss Transient: -10 → -18 for “more tape” in darker sections
- Sidechain ride to snare (micro-duck):
- Make the ride feel “behind” the break:
- Midrange control for skullstep/techy weight:
- Clip the ride bus slightly:
- You programmed a ride engine pattern (1/8 with smart 1/16 pushes).
- You added “tape dust” movement using Velocity random + groove extraction.
- You shaped the tone with EQ Eight → Drum Buss → Saturator → Glue Compressor.
- You created a parallel Dust layer using Redux + Auto Filter drift.
- You resampled the ride to audio to get that authentic oldskool “printed loop” feel 📼.
All stock Ableton Live 12 devices only.
---
2) What you will build
A 2-bar rolling ride groove that sits on top of classic jungle drums (Amen-style) and locks with a 2-step / roller kick-snare grid.
You’ll end with:
---
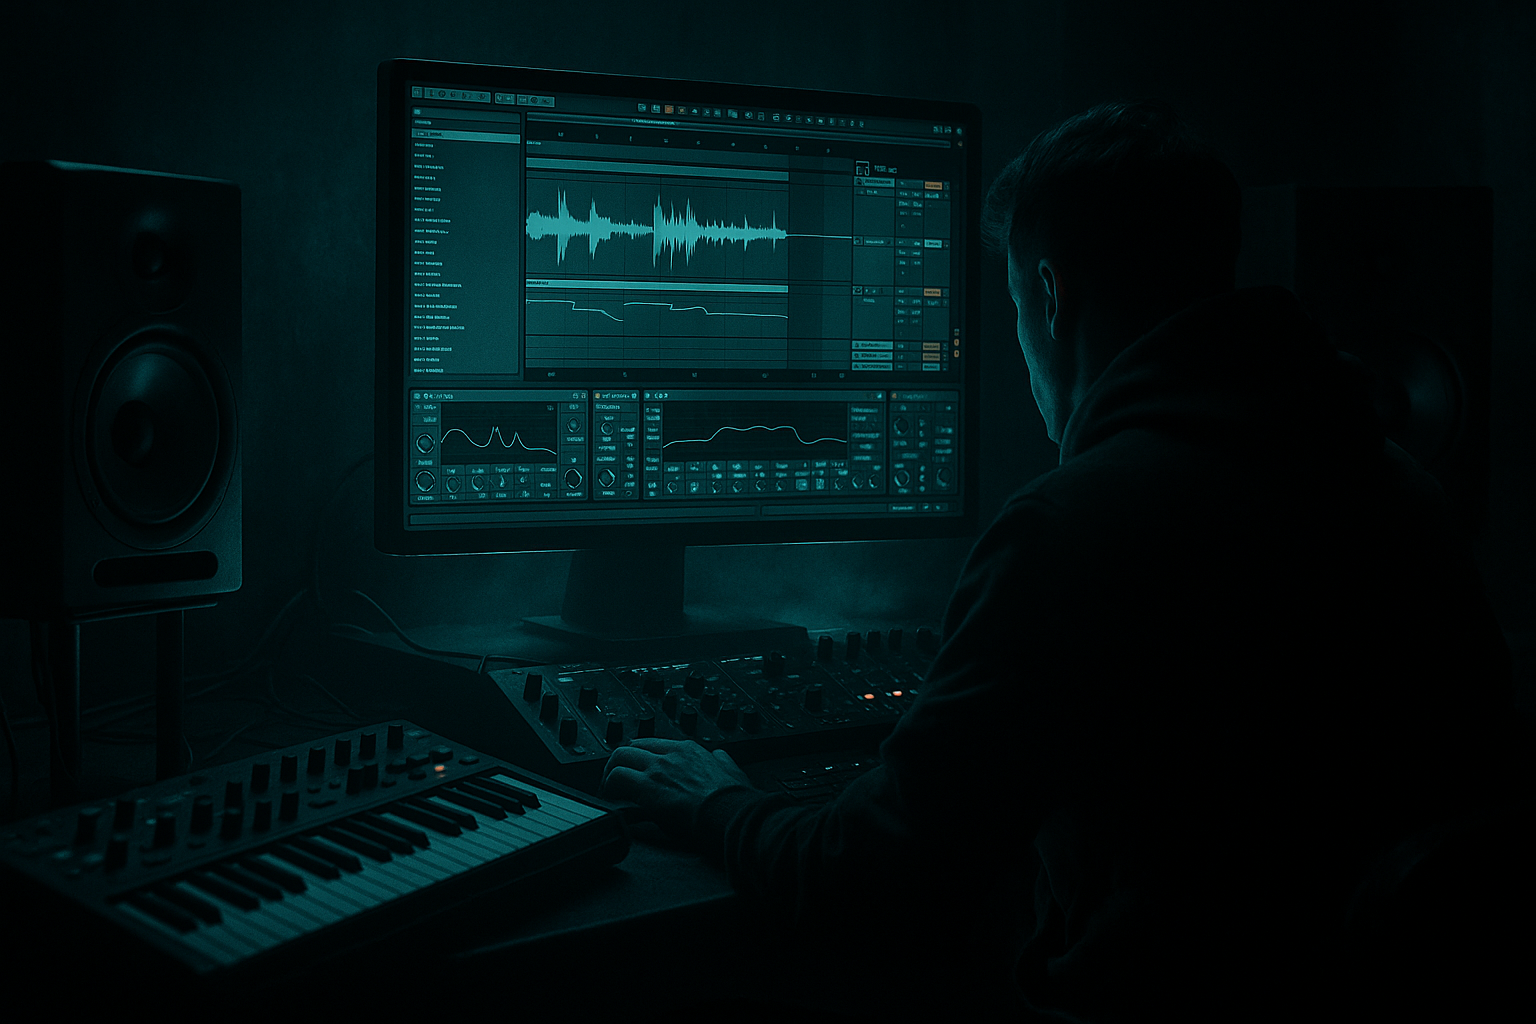
3) Step-by-step walkthrough
Step 0 — Session setup (important for feel)
1. Set tempo to 165–172 BPM (start at 170 BPM).
2. Create a 2-bar loop in Arrangement or Session.
3. Set Global Quantization to 1 Bar (keeps experimentation tight).
DnB grid reference (classic):
---
Step 1 — Create the ride instrument (stock only)
1. Create a MIDI Track → Drum Rack.
2. Load a ride cymbal sample from your library (Core Library has usable cymbals).
- If you don’t have a ride you like: pick any cymbal/hat-like sample and we’ll shape it.
In Drum Rack (Ride pad), open the chain:
Simpler settings (starting point):
- Type: LP24
- Freq: 9–12 kHz (depending on brightness)
- Res: 0.20–0.40
> The “oldskool” feel often comes from rides that aren’t ultra-bright. Let the break and bass own the top; the ride is time + dust.
---
Step 2 — Program the base ride pattern (the “engine”)
Create a 2-bar MIDI clip.
Pattern A (classic rolling ride):
Practical grid:
- 1.4.4 (last 1/16 before beat 2)
- 2.4.4 (last 1/16 before beat 4)
These create that “rushing into the snare” jungle urgency.
Velocity starting curve:
---
Step 3 — Add “Tape Dust” movement with velocity + random (controlled)
We’ll make the ride feel like it’s been recorded/resampled and is “alive” rather than robotic.
#### 3A) Clip Modulation (fast + musical)
In the MIDI clip:
#### 3B) Use MIDI device: Velocity
Add MIDI Effects → Velocity before Drum Rack.
Suggested settings:
This gives “tape inconsistency” without losing groove.
---
Step 4 — Groove extraction + swing that feels like a break
This is the “method” part: your ride becomes a groove template for the whole drum kit.
#### 4A) Make a groove source
Option 1 (best for jungle feel):
Option 2 (stock-only without breaks):
#### 4B) Apply groove to the ride clip
Open Groove Pool and drag the groove onto the ride MIDI clip.
Advanced starting settings (in Groove Pool):
Now click Commit only once you like it (or keep it live for flexibility).
> Jungle rides feel best when they inherit break timing, not “house swing.”
---
Step 5 — The “Tape Dust” audio chain (stock devices)
Now shape the ride into gritty, slightly compressed, slightly smeared oldskool texture.
Add these Audio Effects on the ride track (or inside the Drum Rack pad chain):
#### Device Chain (Ride Tone)
1) EQ Eight
- HP filter: 250–450 Hz (24 dB/oct)
- Small dip: 3–5 kHz by -1.5 to -3 dB if harsh
- Gentle shelf: 10–12 kHz -1 to -4 dB (older vibe)
2) Drum Buss (core “printed” vibe)
- Drive: 5–15%
- Crunch: 5–25% (go easy; cymbals get ugly fast)
- Boom: 0% (off for rides)
- Damp: 5–20% (tames fizz)
- Transient: -5 to -20 (soften spikes = tape-ish)
3) Saturator (glue + density)
- Mode: Soft Sine or Analog Clip
- Drive: 2–6 dB
- Output: match level (don’t fool yourself)
4) Glue Compressor (subtle “bus” feel)
- Attack: 3–10 ms
- Release: Auto or 0.3s
- Ratio: 2:1
- Aim: 1–2 dB GR on peaks
- Soft Clip: On (very helpful for cymbal control)
---
Step 6 — Build the “Dust Layer” (parallel texture)
This is where it starts sounding like a sampled loop instead of a clean cymbal.
1. Duplicate the ride chain (or create an Audio Effect Rack with two chains):
- Chain A: Clean Ride
- Chain B: Dust Ride
#### Dust Ride chain (parallel)
- HP: 700–1200 Hz
- LP: 6–9 kHz
- Downsample: try 2.0–6.0
- Bit Reduction: 0–3 (tiny amounts!)
- Keep Dry/Wet via rack chain volume
- Type: LP12
- Freq: 5–9 kHz
- LFO Amount: small (3–8%)
- Rate: 0.10–0.30 Hz (slow drift)
- This simulates tape drift without obvious wobble
- Width: 0–40% (keep dust narrow so it doesn’t smear the mix)
Blend Dust Ride chain at -12 to -20 dB under the clean ride.
You should feel it more than hear it ✨.
---
Step 7 — “Print it”: resample to audio (major oldskool move)
This is crucial: printing makes it behave like a loop.
1. Create a new Audio Track named `RIDE_PRINT`.
2. Set its input to Resampling (or the ride track output).
3. Record 2–4 bars of the ride.
4. Warp mode on the recorded audio:
- Try Beats mode
- Preserve: 1/16
- Transients: 0–25 (lets it smear a bit)
5. Now fade the clip edges slightly to remove clicks.
Optional “tape splice” trick:
---
Step 8 — Arrangement integration (how to use it in a DnB tune)
Classic jungle arrangement suggestion:
Automation ideas:
---
4) Common mistakes
1. Too bright, too wide rides
Oldskool rides are often narrower and darker. Keep highs controlled and stereo tight.
2. Overdoing Redux / bit reduction
Cymbals turn into brittle sand fast. Use parallel and keep it low.
3. Groove at 100%
That usually sounds drunken. Jungle groove is confident but human. Stay around 35–60%.
4. No velocity hierarchy
If every hit is the same, it screams MIDI. Make downbeats and pushes intentional.
5. Ride fighting the snare
If your ride masks snare crack (2–5 kHz), dip the ride slightly there or reduce transient.
---
5) Pro tips for darker/heavier DnB 🖤
Use Compressor on the ride, sidechain from snare track.
- Fast attack (0.3–1 ms), short release (40–80 ms), just 1–2 dB duck.
Keeps snare impact huge while ride stays constant.
Nudge the printed audio ride +5 to +12 ms (tiny!) for heavier roll.
Add Multiband Dynamics (gentle) on the ride bus:
- Tame high band lightly so it never gets splashy in loud sections.
Saturator (Analog Clip) with soft drive can “pin” the ride into the drums without being loud.
---
6) Mini practice exercise (15–25 minutes)
1. Build two ride clips:
- Clip 1: straight 1/8 + anticipation hits
- Clip 2: more 1/16 density in bar 2 only
2. Extract a groove from a break (or use a groove preset) and apply:
- Clip 1: Timing 40%, Random 8%
- Clip 2: Timing 55%, Random 10%
3. Create the Clean + Dust rack and print both to audio.
4. In an 8-bar loop with drums + bass:
- Use Clip 1 for first 4 bars
- Switch to Clip 2 for the last 4 bars (mini “lift”)
5. Bounce a quick demo and check:
- Does the snare still lead?
- Does the ride feel like a loop, not a plugin?
---
7) Recap
If you want, tell me your target subgenre (deep jungle, techstep, modern roller, skullstep) and your current drum sources (breaks vs one-shots), and I’ll tailor a ride groove template + rack for that exact vibe.
```

