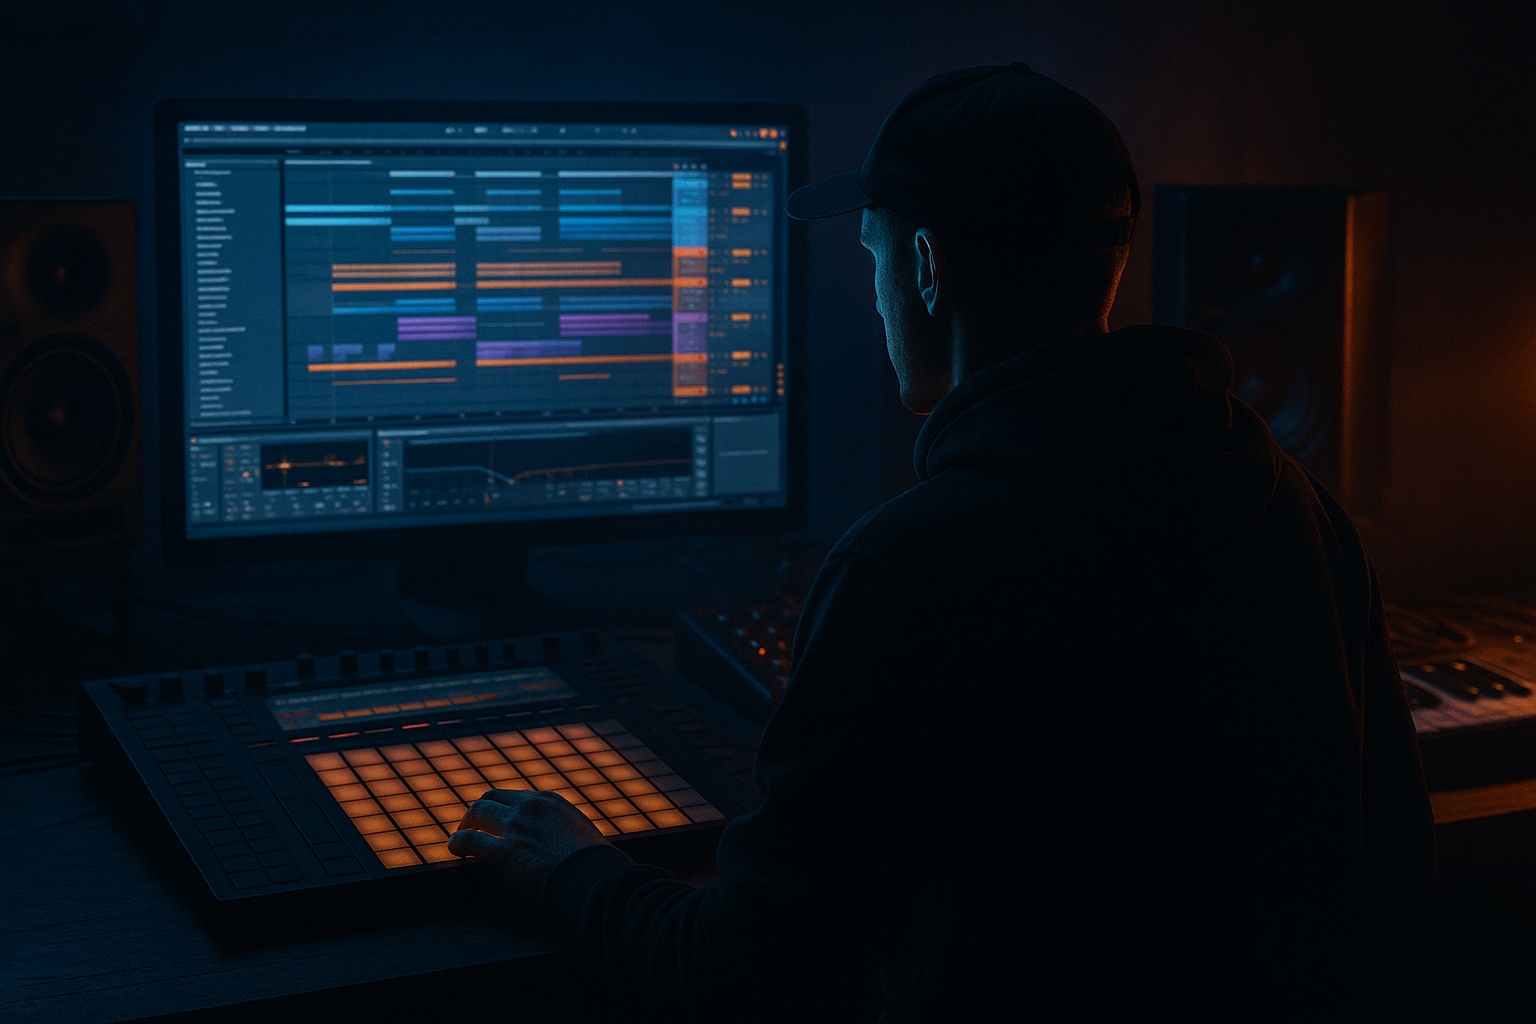
Main tutorial
Lesson Overview
In this lesson, you’ll build a Tape Dust-style bass wobble riser in Ableton Live 12 that feels like it belongs in a deep jungle / darker DnB atmosphere. The goal is not just to make a “whoosh” effect — it’s to create a musical transition tool that can push energy into a drop, a switch-up, or a half-time breakdown while still sounding gritty, organic, and sub-heavy enough for Drum & Bass.
This technique matters because in DnB, risers are not just decoration. They help shape the 8-bar and 16-bar phrasing that makes a track feel intentional. A good riser can:
- signal a new section without using a huge crash
- add tension before a bass drop
- connect a jungle break edit into a heavier reese section
- make a DJ-friendly intro or breakdown feel alive
- Operator or Wavetable for the bass source
- Auto Filter for wobble movement
- Saturator and Drum Buss for grit
- Redux or Erosion for dusty texture
- Reverb and Delay for atmosphere
- Utility for mono control and low-end discipline
- Audio Effects Rack for easy macro control
- a sub-heavy bass note swelling up underneath the mix
- a reese-like wobble that grows in movement
- a lo-fi dusty texture that feels old, broken, and atmospheric
- a riser that can sit before a drop, a drum edit, or a bass switch
- automate wobble speed
- filter the low end so it doesn’t muddy the mix
- add controlled distortion and stereo width
- bounce the result to audio for easy arrangement
- Oscillator A: sine wave
- Oscillator B: off or very low level
- Envelope: short attack, medium decay, low sustain, short release
- Add a little pitch glide only if you want a more liquid movement
- Attack: 0–5 ms
- Decay: 300–700 ms
- Sustain: 20–40%
- Release: 50–120 ms
- Use 1 or 2 notes only
- Hold the first note longer
- Let the second note rise slightly higher if you want tension
- Leave space for drums or breaks to breathe
- root note
- octave above root
- minor 3rd or 5th if you want darker movement
- Filter type: Low-pass
- Resonance: 10–25%
- Frequency: start around 150–300 Hz
- Drive: small amount if needed
- Start: 150–300 Hz
- End: 3–8 kHz depending on how bright you want the riser
- Rate: 1/8 or 1/16 for faster jungle-style motion
- Amount/Depth: subtle at first, around 10–30%
- Shape: triangle or sine for smooth movement
- Drive: 2–6 dB
- Soft Clip: on
- Output: compensate so it doesn’t get too loud
- Downsample: very light at first, around 1.1x to 2x
- Bit Reduction: subtle, just enough to roughen the texture
- Mix: 10–30%
- Drive: 5–15%
- Damp: adjust to remove harsh top end if needed
- Boom: usually low or off for a riser unless you want extra sub bloom
- Width: 0% to keep the low end centered
- If you want a wider upper layer later, do it above the low frequencies only
- High-pass gently if the riser is too sub-heavy for the build
- Try a low cut around 30–50 Hz only if needed
- If the sound gets boxy, reduce 200–400 Hz a little
- If harshness appears, tame 2–5 kHz carefully
- Filter cutoff on Auto Filter
- Drive on Saturator
- Dry/Wet on Reverb
- Frequency mode or amount on an LFO if available in your setup
- Wavetable position if using Wavetable instead of Operator
- Bar 1: dark, low, narrow
- Bar 2: brighter, dirtier, slightly wider
- Last half-bar before the drop: most open, most aggressive, then cut sharply
- Decay: 1.5–4 seconds
- Dry/Wet: 10–25%
- Low Cut: raise it so the reverb doesn’t cloud the sub
- it makes the wobble feel less sterile
- you can edit the audio like a break or FX hit
- you can reverse pieces, chop tails, or add fades
- it speeds up arrangement in a beginner-friendly way
- a chopped Amen-style break or any broken drum loop
- a low vinyl crackle or field-style atmosphere
- your bass riser entering over the last 1 or 2 bars before the drop
- 8-bar intro → break edit → 2-bar riser → drop
- 16-bar section → half-bar silence → riser swell → bass re-entry
- start with less energy than the drums
- rise over the final 1–2 bars
- stop or cut hard right before the drop so the kick and sub land cleanly
- trim the clip so it ends cleanly
- add a short fade-out if needed
- if the last moment feels too long, cut it early for a sharper transition
- if you want more tension, reverse the final tail and place it into the drop
- hard cut into silence before the drop
- short reverse swell into the first kick
- tiny impact hit layered with the riser stop
- Making the riser too wide in the low end
- Overusing distortion until it becomes fuzzy and flat
- Letting the filter open too fast
- Using too many wobble sources at once
- Leaving the riser too loud
- Forgetting the arrangement context
- Keep the sub mono, always
- Layer atmosphere, not clutter
- Use call-and-response thinking
- Try small pitch movement for tension
- Resample and chop the best moment
- Use short mutes before the drop
- Control harsh top end
- Reference the groove, not just the sound
- build a clean bass source in Ableton
- add wobble with filter movement
- dirty it up with tasteful saturation and dust
- keep the low end controlled
- resample to audio for authentic jungle-style transitions
- place it in an arrangement where it creates tension before the drop
For this workflow, we’ll keep everything inside Ableton using stock devices like:
This is a beginner lesson, so the focus is on a repeatable workflow: build a simple bass tone, make it wobble, resample it, and turn it into a riser that feels like tape dust drifting through jungle smoke 🌫️
What You Will Build
By the end of this lesson, you’ll have a short 1- to 2-bar bass riser that starts deep and murky, then rises into a tense, dusty wobble with a tape-worn edge.
Musically, it will sound like:
You’ll also create a simple Ableton workflow that lets you:
This is especially useful in deep jungle and dark roller tracks, where the atmosphere often needs to feel alive but not overproduced. The riser should sound like it’s coming out of a weathered tape machine buried in the fog — not like a glossy EDM uplifter.
Step-by-Step Walkthrough
1) Set up a simple rack-friendly bass track
Create a new MIDI track and load Operator. If you prefer, Wavetable also works, but Operator is excellent for clean beginner bass control.
Start with a very simple synth patch:
Keep the patch basic. For this kind of riser, the movement comes more from automation and processing than from a super-complex synth sound.
Suggested starting points:
Why this matters for DnB: a clean synth source gives you better control over the sub region, which is crucial when you later add wobble and tape-style texture. In jungle and rollers, the bass often needs to stay powerful even when it gets dirty.
2) Program a short bass phrase that feels like a transition, not a full bassline
In the MIDI clip, write a simple 1-bar or 2-bar phrase. Keep it sparse.
Try this beginner-friendly phrasing:
Good note choices for a riser:
Example context: if your track is in A minor, try A1 to A2, or A1 to C2, depending on how dark you want it.
This works in DnB because transition sounds usually need to be easy to read rhythmically. If your bass phrase is too busy, it will fight the breakbeat and make the build feel messy.
3) Add wobble motion with Auto Filter
Now place Auto Filter after Operator.
Set it to a low-pass filter so the sound opens up over time:
Next, automate the Frequency knob so it rises across the bar or two-bar phrase. A good beginner move is to draw a smooth curve from darker to brighter:
Now add wobble movement using the filter’s LFO:
If the wobble feels too random, keep it simple and use automation instead of heavy modulation. For beginners, one clear movement is better than five competing ones.
Why this works in DnB: wobble movement creates tension without needing a giant melodic climb. In darker bass music, a filter opening is often enough to make the listener feel the drop is approaching.
4) Add grit and tape dust with Saturator, Redux, and Drum Buss
After the filter, add a chain of Saturator, Redux, and optionally Drum Buss.
Start with Saturator:
Then add Redux for dusty digital degradation:
If the sound starts to feel too harsh, back off Redux and use a little more Saturator instead.
Then use Drum Buss carefully:
This gives you the “Tape Dust” feeling: not pristine, but worn and energetic. The goal is a bass that feels like it’s been recorded through old gear in a jungle warehouse.
5) Shape the low end so the riser stays usable in a DnB arrangement
Now add Utility and EQ Eight.
Use Utility:
Use EQ Eight:
Beginner tip: don’t over-EQ. Use only the cuts you need to make the riser sit above the drums and bass groove.
This is important in DnB because the kick and sub have to stay clear. A riser that owns too much low end can weaken the impact of the drop instead of supporting it.
6) Create movement with automation on one or two key parameters
This is where the riser becomes musical.
Automate one or two of these:
A simple automation plan:
Add Reverb lightly if you want atmosphere:
You can also automate the Reverb Dry/Wet to swell in the last beat before the drop. That creates a classic tension lift without needing a separate riser sample.
7) Resample the sound into audio for a more authentic jungle feel
Now comes the part that gives this workflow real character: resampling.
Create a new audio track and set its input to Resampling or route your bass track output to it. Record the riser performance into audio.
Why resample?
Once recorded, listen for the best part of the motion. If one section feels especially nasty or atmospheric, slice that part and keep it. You can even duplicate the audio clip and reverse the final tail for a classic transition effect.
This is very DnB-friendly because a lot of strong bass transitions are built from audio edits, not just live MIDI automation.
8) Add a breakbeat or atmosphere behind it for deep jungle context
To make the riser feel like it belongs in deep jungle, place it against a break or atmosphere layer.
Try a simple context setup:
You can also place the riser after a drum fill or before a switch-up:
For arrangement, the riser should usually:
This is why it works in DnB: the genre depends on contrast. If the riser keeps growing endlessly, the drop loses force. A focused build gives the groove more impact.
9) Clean the clip and shape the ending
The end of the riser matters just as much as the beginning.
After resampling:
Try one of these endings:
For beginner arrangers, this is a huge win: it teaches you that transitions are not just about “more energy,” but also about controlled removal of energy.
Common Mistakes
Fix: Use Utility to keep the sub centered. If needed, high-pass the riser gently above 30–50 Hz.
Fix: Use smaller amounts of Saturator and Redux. You want character, not a crushed mess.
Fix: Spread the automation across 1–2 bars so the build feels intentional and musical.
Fix: Stick to one clear movement first. Add complexity only after the basic riser works.
Fix: Pull it down and check it against the kick and sub. In DnB, the drop must always feel stronger than the build.
Fix: Always audition the riser with drums and bass, not solo. A sound that is cool alone may clash in the full mix.
Pro Tips for Darker / Heavier DnB
Use Utility on the low end and avoid stereo widening on anything below the bass fundamental.
A soft room reverb or foggy noise layer can make the riser feel deeper without stealing attention.
Let the riser answer the break or bassline instead of constantly competing with it.
A subtle pitch rise of a semitone or whole tone can make the build feel more urgent, especially before a dark drop.
A single 1/2-bar audio slice can often sound more authentic than a perfectly looped MIDI riser.
One beat of space can make the bass return hit much harder than another layer of FX.
If the tape dust texture gets too sharp, use EQ Eight to soften 4–8 kHz instead of killing the whole sound.
In darker DnB, the riser should push the rhythm forward. If it feels disconnected from the break, simplify it.
Mini Practice Exercise
Spend 10–20 minutes making three tiny versions of this riser so you can hear what changes matter most.
1. Make a basic Operator bass note with one MIDI note.
2. Add Auto Filter and automate the cutoff from dark to bright over 1 bar.
3. Duplicate the track twice:
- Version A: clean and subtle
- Version B: with Saturator only
- Version C: with Saturator + Redux
4. Resample all three into audio.
5. Arrange them before a simple drum loop and compare which one feels most like a deep jungle transition.
6. Choose the version that best supports the drop, not the one that sounds biggest solo.
Goal: by the end of the exercise, you should be able to tell the difference between a riser that sounds impressive and a riser that actually works in a DnB arrangement.
Recap
The core of this workflow is simple:
If you remember just three things, make them these:
1. Keep the sub clean and centered
2. Let the wobble and filter automation do the tension work
3. Resample and arrange it like a real DnB transition, not just a sound effect
That’s how you turn a basic bass wobble into a Tape Dust Ableton Live 12 riser that feels at home in deep jungle atmosphere.

