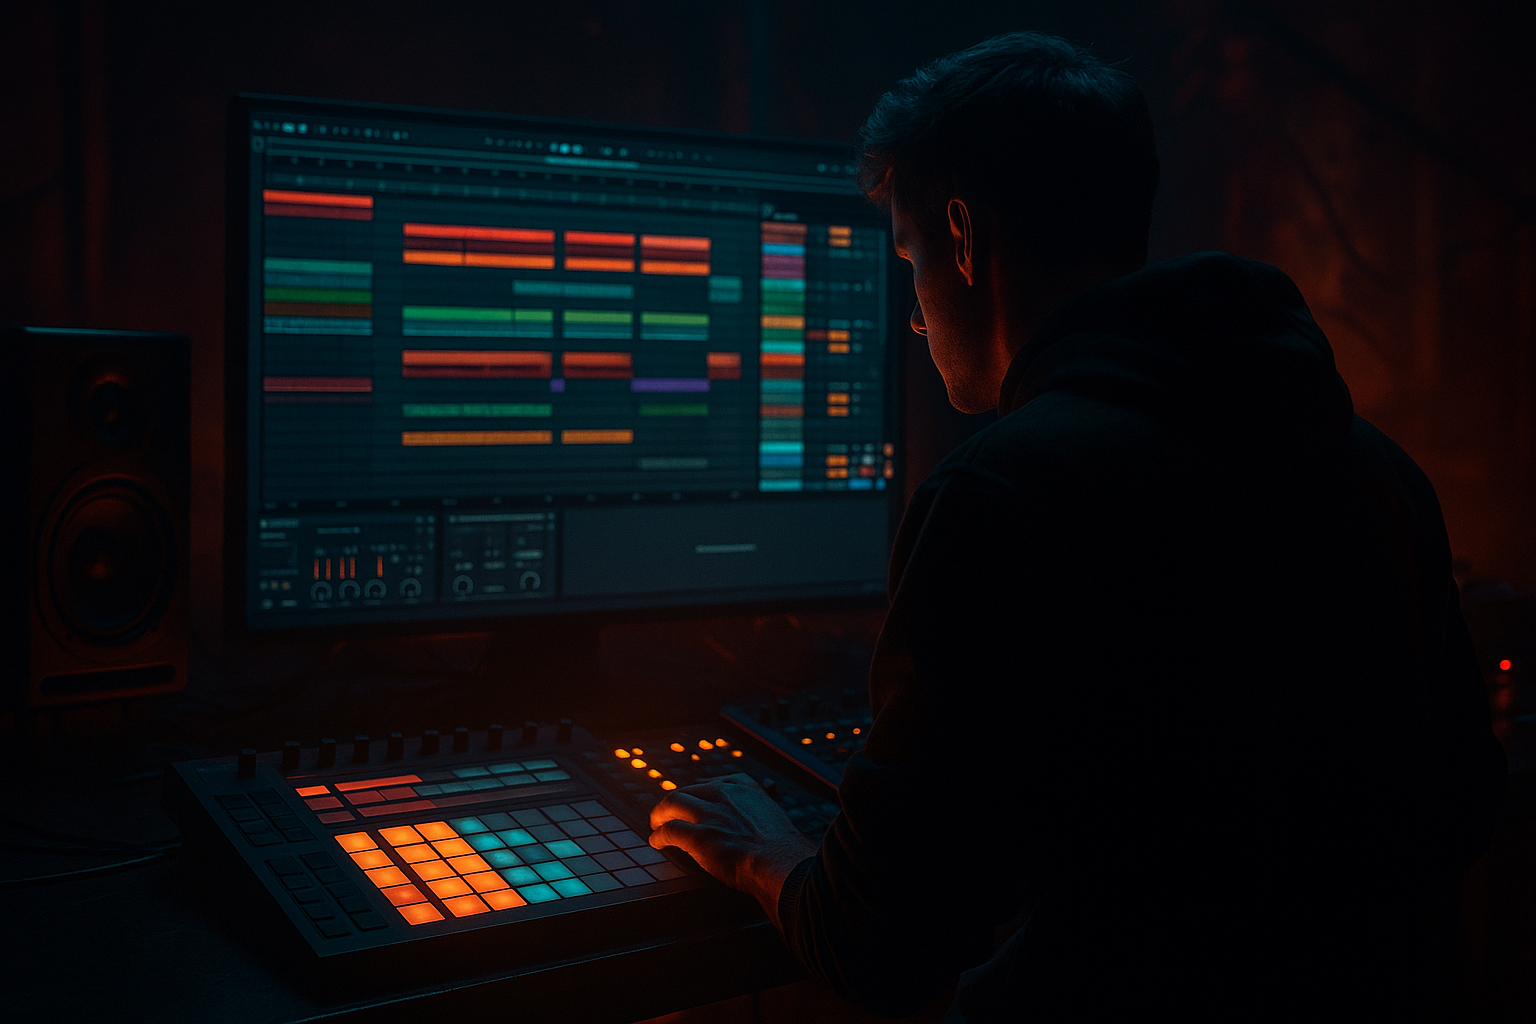
Main tutorial
Lesson Overview
This lesson shows you how to build a drum bus system with crunchy sampler texture in Ableton Live 12 for oldskool jungle / DnB / roller energy. The goal is not just “make drums dirtier” — it’s to create a repeatable bus chain that gives your breaks a grainy, sampled, slightly unstable character while keeping the drums punchy enough to drive a track.
In real DnB workflow terms, this sits right in the sweet spot between:
- raw break programming and
- mix-ready drum control
- crunchy transients
- glue and density
- controlled aliasing / color
- a bit of “old tape / sampler / MPC” attitude
- enough headroom to still hit a sub-heavy bassline properly
- a main drum bus for kick/snare/break layers
- a parallel crunchy sampler texture chain
- a controlled transient-shaping / saturation / glue path
- optional return-style parallel grit for automation and arrangement moves
- a tight Amen or breakbeat loop
- with a grainy, slightly smashed sampler tone
- where the snare has that paper-slap bite
- the hats have a dusty fizz
- the kick still stays solid and centered
- and the whole bus can be pushed into fills, drops, or DJ-intro sections without collapsing the mix
- 160–175 BPM jungle
- half-time dark rollers
- neuro-influenced drum edits
- oldskool intro loops before the drop
- breakdown sections that need texture without losing pulse
- Making the whole drum bus too distorted
- Letting the parallel texture carry too much low end
- Over-compressing the break until it loses swing
- Using too much high-frequency degradation
- Forgetting mono compatibility
- No arrangement movement
- Ignoring the bassline
- Use a second resampled break with slightly different processing for fills only. A harsh, overdriven fill layer can add impact without ruining the main groove.
- Try sidechaining the crunchy texture lightly to the kick so the low-mid cloud ducks out of the way on impact.
- Put Auto Filter before distortion on the texture path to focus the grit into the snare and hats instead of the full spectrum.
- If you want a more underground feel, reduce the texture path’s stereo width and keep the kick/snare center solid.
- Use Drum Buss Transients carefully: positive values can bring back attack, negative values can make break textures more vintage and smeared.
- For neuro-influenced heaviness, layer a tight synthetic top percussion bus with the crunchy break so the groove has both organic grime and modern precision.
- If the track is dark and sparse, let the bus texture carry some of the emotional weight by automating more drive in the breakdown and backing it off in the drop.
- For oldskool jungle authenticity, keep some imperfection: tiny timing offsets, sliced tail fragments, and a little uncontrolled break spill can sound more convincing than total perfection.
- Keep the main drum bus clean enough for punch and low-end clarity.
- Build the crunch texture in parallel using Ableton stock devices.
- Use Simpler or resampling to get authentic sampler-style grime.
- Shape the texture with filtering, saturation, Redux, and Drum Buss.
- Automate grit across the arrangement for drop impact and DJ-friendly movement.
- Always check the result against your sub and bassline so the groove stays heavy but controlled.
You’ll be building a bus that can take clean programmed drums, chopped Amen-style breaks, or layered one-shots and make them feel like they came from a hardware sampler being pushed hard. That means:
Why this matters in DnB: drums are often the “identity” of the track. In jungle and darker rollers especially, the drum bus needs to feel like it’s driving the record, not just sitting under the bass. A well-designed crunchy bus can make a plain break feel like a lost dubplate, and a clean modern kit feel like it has history. That’s the vibe.
What You Will Build
You will build a dedicated drum bus rack in Ableton Live 12 that combines:
The finished result should sound like:
Musically, this works especially well for:
Step-by-Step Walkthrough
1. Set up a clean drum group and a dedicated texture return
Start by grouping all your drum elements into a single Drum Group in Ableton Live:
- kick
- snare
- break loop
- percussion
- rides / hats
- ghost hits or fills
Inside the group, keep things organized with clear track names. If you’re using multiple break layers, split them into separate tracks:
- “Break Main”
- “Break Top”
- “Snare Layer”
- “Kick Layer”
- “Perc FX”
Then create a separate Return Track or an audio track for the crunchy texture path. This is the core of the system: your drums stay controlled on the main bus, while the texture path adds character in parallel.
Why this works in DnB: the main bus preserves punch and low-end control, while the parallel texture gives you that oldschool sampled edge without crushing the whole groove.
2. Build the main drum bus with gentle glue first
On the Drum Group, start simple. You want the bus to feel stable before you add crunch.
Suggested chain:
- EQ Eight
- Glue Compressor
- Saturator
- optional Drum Buss
Practical starting settings:
- EQ Eight: high-pass very gently only if needed, around 20–30 Hz to remove sub-rumble
- Glue Compressor: ratio 2:1, attack 10 ms, release Auto or 0.3–0.6 s, aim for only 1–2 dB gain reduction
- Saturator: Drive 1–3 dB, Soft Clip On
- Drum Buss (optional): Drive 5–15%, Boom very subtle or off, Transients +5 to +20 depending on source
Keep this chain conservative. The job here is to “frame” the drums, not overcook them. If your break is already aggressive, the main bus should mostly glue the hit pattern together.
3. Create the crunchy sampler texture with Simpler or resampling
This is the heart of the lesson. You want a second layer that sounds like a battered sampler running a loop too hard.
There are two good Ableton-native ways to do this:
Option A: Resample the drum group
- Create a new audio track and set its input to Resampling or the Drum Group output
- Record 1–2 bars of your break/drum pattern
- Warp it if needed, then slice or loop a useful section
Option B: Use Simpler directly on a bounced break
- Drag the resampled loop into Simpler
- Use Classic or One-Shot mode depending on how you want to trigger it
- Turn on Warp only if needed for musical alignment
For oldskool jungle texture, try:
- loop just the top half of the break
- or take a snare-heavy 1/2 bar chop
- or capture a version with slight timing drift and compression
Good starting Simpler settings:
- Start: trim to a strong transient
- Filter: low-pass around 8–12 kHz if the top gets too fizzy
- Voices: 1 if you want a strict retrigger feel
- Transient: keep natural, or use minimal shaping if the sample is too soft
If you’re after authentic sampler grime, this resampled layer should feel less perfect than the original drums. Tiny timing wobble is a feature, not a bug.
4. Smash the texture path with crunchy stock devices
On the crunchy texture track, use a heavier chain than the main bus. You’re making a deliberately degraded path that can sit underneath or blend with the clean drum group.
Try this order:
- Auto Filter
- Redux
- Saturator
- Drum Buss
- Utility
- optional Compressor or Glue Compressor
Suggested settings:
- Auto Filter: low-pass between 6–10 kHz to tame brittle highs before distortion
- Redux: reduce bit depth moderately, and sample rate just enough to hear grain; don’t go full destruction unless it’s for a fill
- Saturator: Drive 4–8 dB, Soft Clip On
- Drum Buss: Drive 10–25%, Transients slightly negative if the texture is too spiky
- Utility: keep this path narrower than the main drums if needed, or even mono it
The goal is a crunchy “sampled tape” version of the drums, not a harsh digital mess. Blend this in quietly until the groove suddenly feels older, thicker, and more alive.
5. Blend the texture in parallel, not as the main drum sound
Now route the crunchy path under the main bus or use a return-style blend. The safest approach is to keep the original drum bus as the core, then bring in the degraded layer only until you miss it when muted.
Start with:
- main drum bus at full strength
- crunchy texture at around -18 to -12 dB relative to the main drums
Listen for:
- snare body becoming more present
- hats gaining dusty motion
- break loop feeling “printed” instead of pristine
If the kick loses focus, high-pass the crunchy path around 100–150 Hz so the sub-thump stays clean. That’s especially important in DnB, where your bassline needs a clear lane.
Why this works in DnB: parallel grit preserves the attack and low-end discipline of the main drums while adding perceived loudness and character. This is huge when your bass and drums need to coexist without turning to mud.
6. Use Simpler-style chopping for oldskool swing and ghost notes
To get the true jungle feel, don’t just loop the break. Edit it.
Inside Simpler or the Audio Clip:
- cut the break into 1/8, 1/16, or even smaller slices
- move a few ghost hits slightly late
- pull a snare slice forward for energy
- leave a hat slice slightly behind the grid for swing
If you’re using Simpler in Slice mode:
- choose Slice by Transients
- map to MIDI
- retrigger slices with a loose, humanized pattern
Add subtle groove:
- use Ableton groove quantize lightly, around 20–40%
- try a swing groove that doesn’t over-stylize the break
- avoid making it too “house” — DnB needs forward propulsion
This is where the texture starts sounding like an actual drum performance, not just a loop. Ghost notes and tiny offsets are what make oldskool breaks feel alive.
7. Shape the bus with transient control and frequency discipline
Once the texture is in place, control the combined drum bus so it still translates on club systems and headphones.
On the main Drum Group or a subgroup after parallel blend:
- use EQ Eight to carve harshness around 3–6 kHz if the snare bites too hard
- use a gentle bell cut around 250–400 Hz if the bus gets boxy
- use Utility to check mono compatibility
- use Compressor or Glue Compressor only for cohesion, not flattening
For transient discipline:
- if the snare is too clicky, reduce high-end with EQ before distortion, not after
- if the kick disappears when the crunch comes in, lower the parallel layer or high-pass it more aggressively
- if the break is too pokey, use Drum Buss Transients slightly negative on the texture path
A useful approach is to think in layers:
- main bus = impact
- texture path = vibe
- final bus = control
8. Automate the crunchy sampler texture for arrangement and DJ utility
This is where it becomes a real DnB production tool, not just a sound design trick.
Use automation to bring the texture in and out across sections:
- intro: texture low, filtered, narrow
- pre-drop: increase drive / open filter slightly
- drop: full blend
- 8-bar switch-up: momentarily overdrive the texture for tension
- outro: pull it back for DJ-friendly mixing space
Good automation targets:
- Redux sample rate / bit reduction
- Auto Filter cutoff
- Saturator Drive
- Drum Buss Drive
- Utility width on the texture layer
For a classic arrangement move, automate the crunchy path up during the last 1–2 bars before the drop, then cut it or filter it sharply on the drop downbeat. That contrast makes the drop feel bigger and more intentional.
If you’re making a DJ tool or intro version, leave a longer section with just:
- drums
- filtered texture
- minimal bass hints
- room for mixing in/out
Common Mistakes
- Fix: keep the main bus cleaner and push the crunch in parallel.
- Fix: high-pass the crunchy path around 100–150 Hz so the kick/sub relationship stays clear.
- Fix: back off Glue Compressor settings and preserve transient variation.
- Fix: low-pass the texture before Redux/Saturator or tame the top after with EQ.
- Fix: keep the crunchy layer mostly mono or narrower than the main drums.
- Fix: automate texture intensity across sections instead of leaving it static.
- Fix: always check the drum bus against the sub and reese. DnB lives or dies by that balance.
Pro Tips for Darker / Heavier DnB
Mini Practice Exercise
Set a timer for 15 minutes and do this:
1. Build a Drum Group with a kick, snare, and one break loop.
2. Resample 2 bars of the loop and load it into Simpler.
3. Make a parallel crunchy texture chain using Auto Filter + Redux + Saturator + Drum Buss.
4. High-pass the texture around 120 Hz.
5. Blend it under the main drums until the groove feels more “sampled” and less clean.
6. Automate the texture drive or filter over an 8-bar loop:
- bars 1–4: subtle
- bars 5–8: more grit
7. Bounce a quick A/B reference and listen in mono.
Goal: create a drum loop that feels like an old jungle loop with modern control, not just a distorted break.

