Main tutorial
Lesson Overview
A switch-up is one of the most powerful arrangement tools in Drum & Bass, especially in jungle, oldskool rollers, and darker DJ-friendly tunes. It’s the moment where your track changes energy without fully breaking the vibe. Instead of writing one 16-bar loop and hoping it stays exciting, you create a controlled change-up: a break edit, bass variation, drum fill, new texture, or half-time shift that refreshes the groove and keeps the listener locked in.
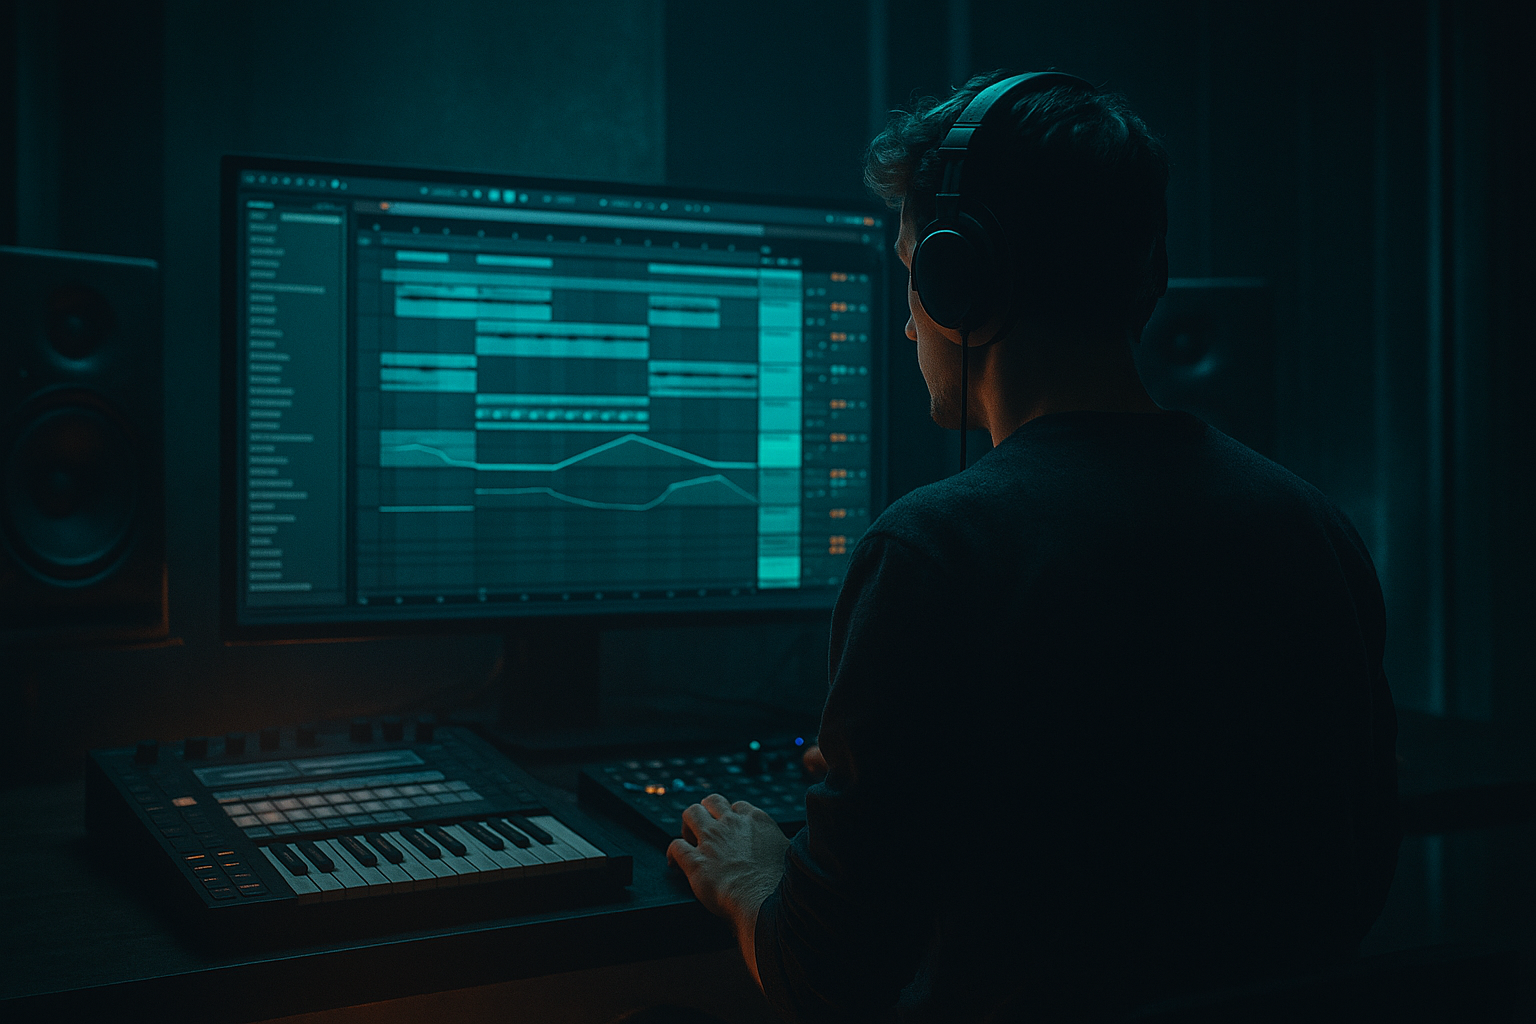
In Ableton Live 12, you can build switch-ups with very little CPU load by relying on stock devices, audio clips, simple routing, and smart duplication instead of heavy processing. This matters a lot in DnB because tracks often move fast, have dense drums, and need to stay punchy. If your arrangement is overloaded, your bass eats your CPU, or your drops get muddy, the tune loses impact.
This lesson focuses on a beginner-friendly switch-up workflow for jungle oldskool DnB vibes: think short break edits, a quick bass phrase change, a tension bar, and a clean return to the main groove. You’ll learn how to make the switch-up feel intentional, musical, and DJ-useful — not random. 🎛️
What You Will Build
By the end of this lesson, you’ll create a 1- or 2-bar switch-up section that fits naturally inside a DnB arrangement.
Specifically, you’ll build:
- a main 170 BPM drum loop with room for variation
- a short break edit or fill using sliced audio or duplicated clips
- a bass switch-up phrase that changes rhythm or note shape for one bar
- a minimal FX transition using stock Ableton devices
- a DJ-friendly arrangement with a clean intro, drop, switch-up, and return
- the drums briefly open up
- the bass drops out or changes shape
- a fill or reverse hits the listener
- the groove snaps back harder on the next bar
- Making the switch-up too busy
- Using too much reverb or delay
- Letting the bass fight the kick
- Over-editing the break until it loses groove
- Ignoring phrasing
- Using too many CPU-heavy devices too early
- Make the bass switch-up more threatening by changing rhythm, not just volume.
- Use a filtered reese layer behind the sub for one bar only.
- Add grit with Saturator, but keep it controlled.
- Use break slices as fills, not wallpaper.
- Keep the low end mono.
- Use short tension drops.
- Reference classic roller logic.
- Resample for character.
- A switch-up is a short, intentional change in groove that refreshes a DnB arrangement.
- In Ableton Live 12, you can build it with stock devices, simple clip edits, and light automation.
- For jungle / oldskool vibes, use break edits, bass rhythm changes, and one clean FX transition.
- Keep the low end tight, mono, and uncluttered.
- Place the switch-up on clear bar lines so it works musically and for DJs.
- Less is often more: one strong change usually hits harder than many weak ones.
Musically, the result should feel like a classic oldskool move:
This is the kind of thing you hear in rollers, jungle cuts, neuro-influenced edits, and darker dancefloor tracks where the energy needs to refresh without losing momentum.
Step-by-Step Walkthrough
1. Set the project tempo and build a simple loop foundation
Start a new Ableton Live set and set the tempo to 170 BPM. This is a comfortable zone for jungle and classic DnB. If you want a slightly heavier or half-step feel later, you can still work around this tempo.
Create these tracks:
- Drums: an audio track or drum rack for break elements
- Kick/Snare: separate clip or drum rack lane if needed
- Bass: one MIDI track
- FX: one audio track for impacts, sweeps, or noise
- Optional: Atmosphere track for texture
Keep the project simple. For a beginner, the goal is not maximum layers — it’s a switch-up that feels strong with minimal processing.
A practical starting loop:
- 2-step kick/snare backbone
- one chopped amen or break layer
- sub bass or reese bass
- one atmospheric texture
Why this works in DnB: DnB relies on groove clarity. A small number of well-placed elements will hit harder than a crowded session.
2. Build the main drum loop with stock Ableton tools
Use Drum Rack for your kick and snare, or place break audio on an audio track if you prefer a more jungle feel.
For a beginner-friendly setup:
- Put a kick on beat 1
- Put a snare on beat 2 and beat 4
- Add a few ghost notes or break slices between snares
- Keep hi-hats light and controlled
If using a break sample:
- Drop it into Simpler in Slice mode
- Set slicing to transients
- Tighten the notes in MIDI so the break feels controlled
Helpful stock devices:
- Simpler for slicing breakbeats
- Drum Buss lightly on the drum group
- EQ Eight to clean low rumble from break samples
- Utility to check mono if needed
Suggested drum bus settings:
- Drum Buss Drive: 5–15%
- Boom: low or off for now
- Transient: +5 to +15 if your break needs more snap
- EQ Eight: high-pass break layers around 80–120 Hz if they compete with sub
Keep the drums moving but don’t over-process them. You’re setting up a switch-up, not finishing the whole tune yet.
3. Create a simple bassline with room for variation
Add a MIDI track with Operator or Wavetable. For a beginner, Operator is great for a clean sub. If you want a rougher reese, Wavetable gives you movement easily.
For a jungle / oldskool DnB base:
- Make the main bass mostly sub-focused
- Use short notes and leave space for the drums
- Keep the bass rhythm simple so the switch-up feels obvious later
Two practical bass choices:
- Sub bass: Operator with a sine wave, one oscillator, low-pass filtered, mono
- Reese layer: Wavetable with a detuned saw-style sound, filtered and controlled
Simple settings:
- Operator sine: envelope with short attack, medium release
- Wavetable filter cutoff: around 200–800 Hz depending on the sound
- Add Saturator at Drive 2–6 dB for harmonics
- Use Utility to keep sub mono below about 120 Hz by staying disciplined with stereo use
If you want more movement with low CPU:
- Automate filter cutoff a little
- Use a small amount of LFO in Wavetable
- Avoid stacking many effect plugins
Keep the bass phrasing simple: maybe one or two notes per bar. The switch-up will happen by changing that rhythm later.
4. Arrange 8 bars of the main groove first
Before making the switch-up, write a basic 8-bar loop:
- Bars 1–4: main drum and bass groove
- Bars 5–8: repeat with tiny changes
- Add small drum fills at the end of bar 4 and bar 8
In DnB, this matters because the listener needs a familiar groove before you disrupt it. A switch-up only works if there’s a clear “before” and “after.”
Arrangement idea:
- Bars 1–2: drums + bass
- Bars 3–4: introduce a small hat or break variation
- Bar 5: slightly thinner groove
- Bars 7–8: prepare the transition
Try this beginner trick:
- Duplicate your 4-bar loop
- In the second copy, mute one bass note and add one small snare fill
- Leave the drums mostly consistent so the switch-up feels like a real event
This is a very DJ-friendly approach because it creates phrasing that works for mixing and for dancefloor momentum.
5. Design the switch-up by removing, then reintroducing energy
The easiest switch-up is not “adding more stuff.” It’s often about taking something away for one bar, then bringing it back in a different shape.
In bar 8 or bar 16, do one of these:
- mute the bass for half a bar
- let the break play a fill
- cut the kick for one beat
- reverse a cymbal or snare tail into the drop
- change the bass rhythm for one bar
A classic jungle move:
- Last beat of bar 8: drum fill
- First half of bar 9: bass drops out
- Second half of bar 9: edited break returns
- Bar 10: full groove comes back
In Ableton, you can do this with:
- MIDI clip edits
- clip duplication
- volume automation
- simple mute automation on tracks
- reversed audio clips for transitions
Keep the switch-up short. Beginner rule: 1 bar is often enough. If it’s too long, the dancefloor loses the groove.
6. Add a minimal FX transition with stock devices only
Use one FX track to help the switch-up land. This keeps the transition musical without adding heavy CPU load.
Good stock options:
- Reverb on a short snare or hit
- Delay for a quick throw
- Auto Filter for a sweep
- Echo for a tension tail
- Utility for a quick volume cut
- Resonators very lightly, if you want metallic tension, but keep it subtle
Practical transition chain:
- Put Auto Filter on a noise hit or cymbal
- Automate cutoff from about 300 Hz up to 18 kHz over 1 bar
- Add a short Reverb return with decay around 1.2–2.5 seconds
- Use a reversed crash or reversed snare at the end of the phrase
If CPU is a concern:
- Use one shared return track for reverb or delay instead of multiple instances
- Freeze or flatten audio once the sound is working
- Keep transition FX as audio clips when possible
This gives you movement without needing a huge FX rack.
7. Use automation to make the switch-up feel intentional
Switch-ups feel expensive when the automation is precise. In Ableton, you can automate:
- bass filter cutoff
- drum volume
- reverb send
- delay feedback
- track mute or clip volume
- Utility gain for quick drops
A useful beginner automation plan:
- Bass filter cutoff: open slightly before the switch-up, then close again for impact
- Reverb send on snare: raise for the last hit, then pull back
- Drum group volume: dip very slightly for the transition, then restore
- Noise sweep: fade in over 1 bar and cut sharply at the drop
Suggested ranges:
- Filter cutoff automation: around 200 Hz to 2 kHz for bass movement
- Reverb send: small moves, often just 0 to 10–15%
- Delay feedback: keep low, around 10–25% if used for a quick tail
Don’t automate everything at once. In DnB, one or two strong moves are usually enough.
8. Make the switch-up DJ-friendly and loopable
Since this lesson sits in DJ Tools, think like a selector or mix engineer. Your arrangement should help the tune mix in and out smoothly.
Build:
- a clean intro with drums, atmosphere, or filtered break
- a main drop
- a switch-up section
- a return to groove
- a simple outro with reduced elements
DJ-friendly arrangement tip:
- Keep the intro/outro less busy than the drop
- Leave at least a few bars where the kick/snare pattern is clear
- Avoid sudden full-stop edits unless they are clearly intentional
A common oldskool DnB structure:
- 16-bar intro
- 16-bar build
- 16-bar drop
- 8-bar switch-up
- 16-bar return
- 16-bar outro
For beginner workflow, make your switch-up repeatable:
- duplicate the section
- change only one or two elements
- audition it in context with the full track
Common Mistakes
Fix: reduce layers. Keep only one clear change at a time, like a bass mute or a drum fill.
Fix: shorten the tail and use send effects lightly. DnB needs tightness, especially around the snare and bass.
Fix: keep sub simple, mono, and rhythmically sparse. If needed, use EQ Eight to remove unnecessary low mids.
Fix: preserve at least part of the original break feel. Jungle switch-ups work because the groove stays recognizable.
Fix: place the switch-up at the end of 4, 8, or 16 bars so it feels musical and DJ-friendly.
Fix: commit to audio when a sound works, and use stock devices efficiently.
Pro Tips for Darker / Heavier DnB
A short off-beat note or a pause before the return can feel heavier than a louder sound.
Keep it narrow and controlled. Try Wavetable with gentle detune and a low-pass filter, then automate the cutoff briefly.
Try Drive 3–8 dB and compensate with output gain so you don’t clip the mix.
A few well-placed chopped hits around the snare can instantly give that oldskool jungle feel.
If you want width, put it in hats, atmospheres, or reverb tails — not the sub.
A one-beat silence before the switch-up can hit harder than a long riser.
Dark DnB often works by subtle evolution: tiny changes every 8 bars, a bigger change every 16, and one standout switch-up per section.
Once you like a bass move or break fill, record it to audio and chop it. Audio edits are often lighter on CPU and feel more organic.
Mini Practice Exercise
Spend 10–20 minutes making one switch-up section using only stock Ableton tools.
1. Set your project to 170 BPM.
2. Build a 4-bar drum loop with kick, snare, and a chopped break.
3. Add a simple sub bass on MIDI, using Operator.
4. Duplicate the loop to make 8 bars.
5. In bar 8, remove the bass for half a bar and add a short drum fill.
6. Put one reversed cymbal or snare tail into the transition.
7. Add a light Auto Filter sweep or Reverb send automation.
8. Play the 8 bars in a loop and ask: does the switch-up feel like a deliberate change in energy?
9. If it feels weak, remove one element instead of adding more.
10. Export a quick bounce and listen on headphones at low volume.
Goal: make the switch-up feel like a real DnB arrangement moment, not just a random edit.

