Main tutorial
Lesson Overview
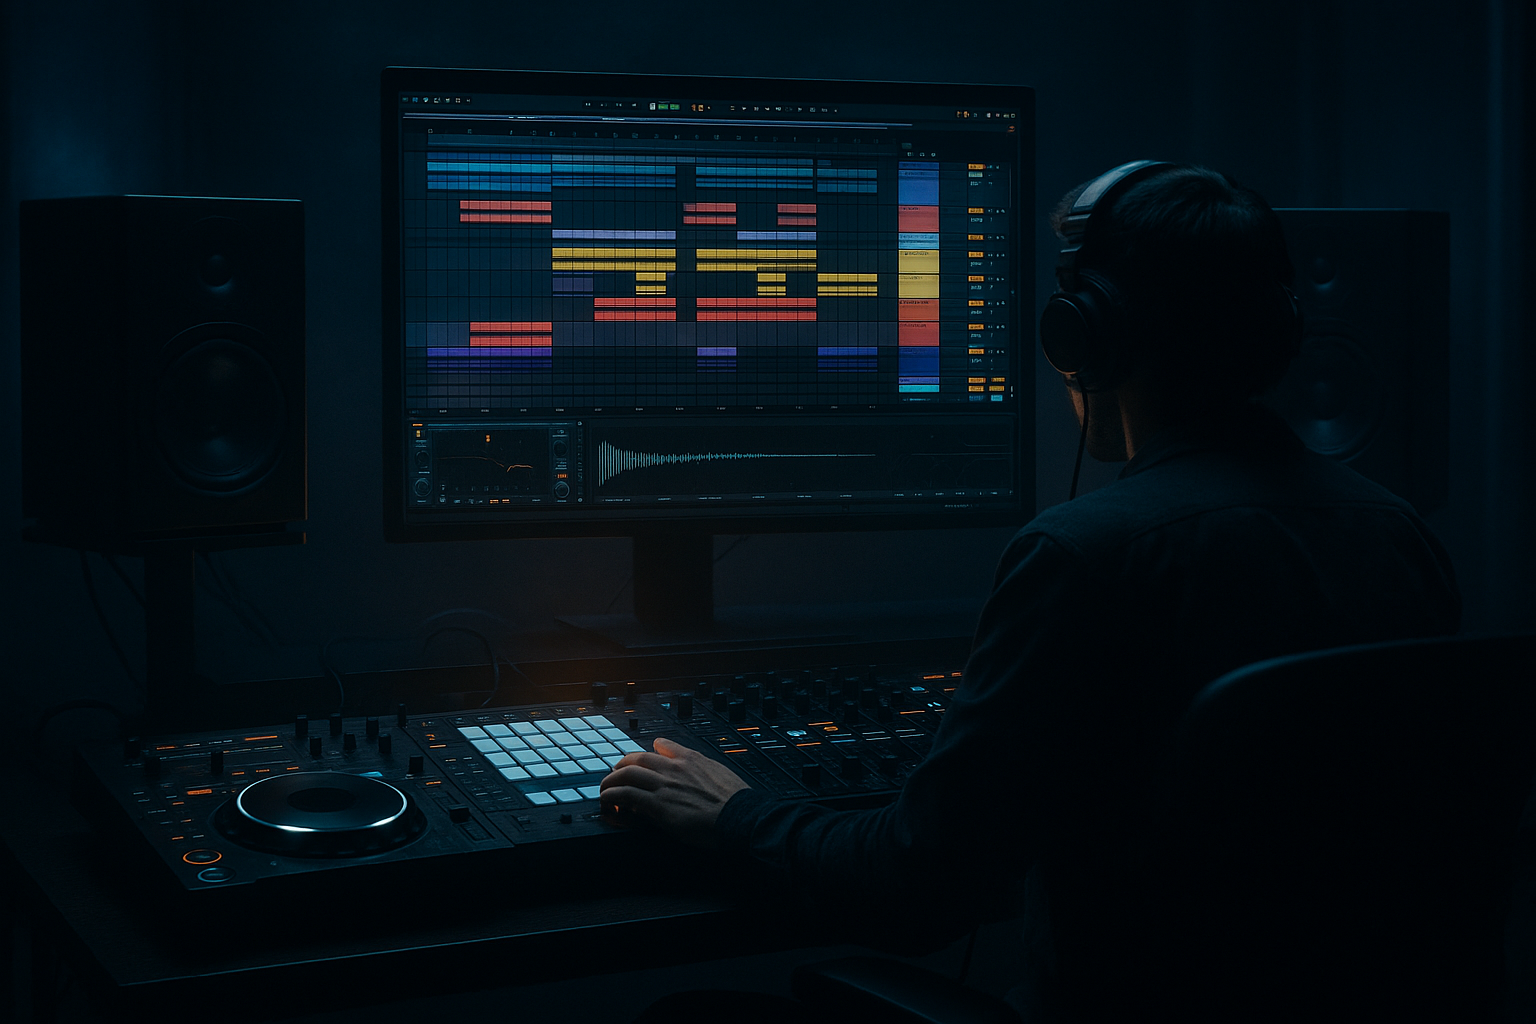
Oldskool DnB wobble bass has a very specific energy: it feels human, slightly off-grid, and alive without falling apart. In this lesson, you’ll build that movement in Ableton Live 12 using Groove Pool tricks to create a swung, rolling bassline that sits naturally with chopped breaks, vocal chops, and a tight drum bus. This is not about random wobble for the sake of motion — it’s about phrasing bass in a way that locks to the drums but still feels loose, greasy, and late-night.
In Drum & Bass, especially jungle, rollers, and darker oldskool-leaning cuts, groove is a huge part of character. A straight 16th-note bassline can feel too rigid unless it’s carefully offset, humanized, or paired with a break that’s already carrying swing. Groove Pool lets you inject feel into MIDI and audio clips without manually nudging every note. For DnB, that matters because you can create a bassline that “bounces” against the drums while keeping the sub stable and the mix disciplined.
This lesson sits right in the middle of a typical DnB track workflow: after you’ve got a break loop, sub foundation, and main musical idea, but before you fully automate the drop and fills. The goal is to build a bass pattern that works in a main drop, a half-time switch, or a call-and-response section with a chopped vocal. You’ll also learn why swing can make oldskool bass feel more aggressive: the delay between hits creates tension, which makes the drop hit harder when the kick and snare land cleanly. That’s a classic DnB trick — move the bass, keep the drums precise.
What You Will Build
By the end, you’ll have:
- A swung oldskool-style bassline with wobble movement and phrase variation
- A solid mono sub layer supporting the bass without smearing the low end
- A Groove Pool-based timing feel that gives the bass a human, rolling pocket
- A vocal chop interaction where the bass leaves space for a short phrase or stab
- A drop-ready 8-bar loop that can be extended into a full arrangement
- A practical Ableton Live 12 chain using stock devices like Wavetable, Operator, Auto Filter, Saturator, Utility, Glue Compressor, and EQ Eight
- Swinging the sub too hard
- Using too much groove percentage
- Letting the bass overlap the vocal phrase
- Too much stereo width in the low end
- Over-saturating before the groove is right
- Ignoring break interaction
- Quantizing everything perfectly
- Use a parallel distorted mid layer: high-pass it around 200–300 Hz so it adds grit without clouding the sub.
- Automate Auto Filter resonance subtly on select notes to create a grimacing wobble, but keep it modest so it doesn’t whistle.
- Try a reese layer under the wobble bass using Wavetable detuned saws, then low-pass it and tuck it under the main line.
- Add a tiny amount of clip-style saturation with Saturator on the bass bus; it helps notes feel more forward on smaller systems.
- For more underground character, make the last note of every 2 bars slightly shorter. That tiny gap creates pressure.
- Use ghost notes in the MIDI bass line, but keep them lower in velocity. They can thicken the roll without sounding like a second melody.
- If the mix feels too clean, resample the mid bass and chop the audio by hand. Slight inconsistencies often sound more authentic in jungle and older rollers.
- Keep a reference track in a separate audio channel and A/B the low end balance and groove pocket often.
- In darker drops, let the bass answer the snare, not fight it. The snare is the anchor; the bass is the movement.
- Version A: straight timing
- Version B: Grooved bass with the vocal pocket
- Use Groove Pool to give the bassline a human, rolling pocket.
- Keep the sub clean and mostly straight, and let the mid bass carry the swing.
- Build the wobble with Wavetable, Operator, Auto Filter, Saturator, and Utility.
- Treat the bass like part of the drum conversation, not a separate melody.
- Leave space for vocal chops so the arrangement feels intentional.
- Shape the drop with small variations every 4 or 8 bars.
- In DnB, the best groove is controlled: loose enough to breathe, tight enough to hit hard.
Musically, think of a dark 174 BPM roller with an oldskool twist: a sub that holds down the root notes, a reese-ish mid bass that wobbles in sync with the groove, and a short vocal phrase or chopped amen-style vocal slice that answers the bass on bar 2 and bar 4. This is the kind of loop that can live in an intro, drop, or breakdown and still feel like a real DnB record.
Step-by-Step Walkthrough
1. Set up the project for a DnB groove-first workflow
Start at 174 BPM and create a simple 8-bar loop. Put your drums first: a kick on 1, snare on 2 and 4, and a break loop or shuffled percussion layer on top. If you already have a break, keep it light so the bass can breathe.
Create two MIDI tracks for bass:
- SUB: use Operator or Wavetable with a pure sine
- MID BASS: use Wavetable for the wobble/reese layer
On the Master, leave headroom. Don’t chase loudness yet. Aim for your bass and drums to peak comfortably below clipping, with the master around -6 dB to -8 dB headroom. That keeps your groove decisions honest.
Why this works in DnB: the bass needs room to lock with the break. If the low end is already overloaded, swing and micro-timing will just turn into mud.
2. Write a simple bass phrase that leaves room for the drums
Program a 1-bar or 2-bar MIDI bass phrase with fewer notes than you think you need. Oldskool DnB bass often feels powerful because it is phrased, not because it is constant.
Try this shape:
- Root note on beat 1
- A short answer note on the “and” of 2
- Another note just before 4 or on the offbeat after the snare
- Leave a gap for a vocal chop or snare pickup
Keep notes short at first. For the sub layer, use longer MIDI notes that follow the same roots. For the mid bass, keep notes more percussive. In a roller or jungle context, this call-and-response pattern is what makes the bass feel like it’s “talking” to the break.
If you’re using a vocal in the arrangement, reserve a small pocket in bars 2 and 4 for a chopped phrase like “come again” or a one-shot shout. That space makes the drop feel intentional instead of crowded.
3. Build the bass sound with stock devices
On the SUB track:
- Load Operator
- Use a sine wave
- Keep it mono with Utility set to Width 0% if needed
- Add EQ Eight and low-pass gently if there’s unnecessary top
On the MID BASS track:
- Load Wavetable
- Start with a saw or a basic analog-style wavetable
- Use unison cautiously: 2 voices max, low Detune
- Add a low-pass filter in the instrument or with Auto Filter
- Add Saturator for harmonics
Good starter settings:
- Auto Filter cutoff around 180 Hz to 700 Hz, depending on how bright you want the wobble
- Saturator Drive around 2 dB to 6 dB
- Utility Width on the mid bass can stay wider than the sub, but keep low-end mono later
A nice trick: duplicate the mid bass and make a second version with a slightly different wavetable position or filter envelope. Use it very quietly underneath the main layer for movement, not for obvious sound design.
4. Apply Groove Pool swing to the bass MIDI clip
Open the Groove Pool in Ableton Live 12 and audition some stock grooves. For oldskool DnB, start with a groove that gives a subtle shuffle rather than a huge hip-hop swing. You want enough movement to feel human, not so much that the bass drags behind the snare.
Workflow:
- Drag a groove to your bass clip
- Use Timing and Velocity to shape feel
- Try Timing 30–55% as a starting range
- Keep Random low or off at first
- Use Velocity 10–25% for extra bounce if the notes feel flat
Then compare the bass against the break. If the swing makes the bass land too late on the snare, reduce Timing or apply the groove only to selected notes rather than the whole clip. Ableton makes it easy to commit or remove groove later, so don’t be afraid to test several feels.
Important: groove should usually affect the mid bass more than the sub. The sub should stay disciplined. If both layers swing heavily, the low end can feel soft and unstable.
5. Use Groove like a rhythmic arrangement tool, not just timing correction
Once the bass is grooving, duplicate the clip and create variations across 4 or 8 bars:
- Bar 1: original phrase
- Bar 2: remove one note to make room for a vocal chop
- Bar 3: add a pickup note before the snare
- Bar 4: shorten the last note for tension
You can also use Groove Pool in a more selective way:
- Apply more groove to the bass stab notes
- Apply less to the held notes
- Leave the first note of each phrase more rigid so the drop still punches
This is especially effective in a rollers context, where the bass needs to feel like it’s constantly shifting without turning into chaos. The trick is to make the groove serve the arrangement. For example, if a vocal phrase lands at the end of bar 2, let the bass answer with a tighter, shorter note in bar 3 instead of crowding the vocal space.
6. Shape wobble movement with filter automation and note length
Now make the bass feel alive. The oldskool wobble is often less about huge LFO modulation and more about controlled movement. Use a combination of note length, filter automation, and modulation in Wavetable.
On the mid bass:
- Assign an LFO to filter cutoff or wavetable position
- Set the LFO rate to a synced value like 1/8, 1/16, or 1/8 dotted
- Keep depth moderate so the motion feels musical
Add automation:
- Automate Auto Filter cutoff so the bass opens slightly on the second half of an 8-bar phrase
- Boost Saturator Drive by 1–2 dB in the second 4 bars for drop lift
- Use note length changes to make some notes more percussive and others more sustained
A strong workflow choice: resample your mid bass to audio once the feel works. Then use Slice to New MIDI Track or manual audio edits if you want to create tighter chopped phrases. That’s a classic DnB move and very useful for building fills before a drop.
7. Lock the low end with sidechain and mono discipline
Keep the sub and drums from fighting by using Compressor or Glue Compressor with sidechain from the kick. Start subtle:
- Attack: 1–10 ms
- Release: 60–120 ms
- Gain reduction: just enough to make room, not pump wildly unless that’s the aesthetic
Use Utility on the sub track with Width 0%. On the mid bass, check mono compatibility. Any wide stereo trickery should stay above the low end. If you want width, add it to a parallel layer high-passed above roughly 200 Hz.
For dark DnB, clarity matters more than sheer size. The groove can be huge if the center channel is controlled.
8. Integrate a vocal chop for call-and-response
Since this lesson is placed under Vocals, use a short vocal phrase or chopped one-shot to interact with the bass. This is a very DnB-friendly move because vocals can act like another percussion element.
Process the vocal with stock Ableton tools:
- Warp it tightly to the grid
- Use Simpler if you want to trigger slices like an instrument
- Add EQ Eight to remove mud below around 120 Hz
- Add Echo lightly if you want a tail between phrases
- Use Reverb sparingly, keeping it short and dark
Arrangement idea:
- Vocal chop on bar 2 beat 4
- Bass answer on bar 3 beat 1
- Another vocal tag at the end of bar 4
- Bass drops out for a beat before the next phrase
That kind of call-and-response is pure DnB language. It keeps the drop memorable and gives the groove a human voice without overcrowding the mix.
9. Bus the bass and shape the energy with glue and saturation
Route sub, mid bass, and any parallel texture to a BASS BUS. On that bus:
- Add EQ Eight for subtle tonal balance
- Add Glue Compressor with light glue, not heavy squash
- Add Saturator or Drum Buss very carefully for weight
Good starting ranges:
- Glue Compressor ratio: 2:1
- Attack: 10–30 ms
- Release: Auto or around 0.1–0.3 s
- Saturator Drive: 1–3 dB on the bus if the individual layers are already controlled
If the bass feels too polite, use Drum Buss lightly on the mid layer, not the sub. A tiny amount of Drive and Crunch can help it cut through busy breaks. Just keep the sub clean so the drop stays powerful on proper speakers and systems.
10. Turn the loop into a real arrangement
Take the 8-bar loop and structure it like a DnB section:
- Bars 1–2: stripped intro of drums plus filtered bass hints
- Bars 3–4: full bass enters
- Bars 5–6: add vocal chop or break edit
- Bar 7: tension fill, bass drop-out, or filter close
- Bar 8: turnaround for the next phrase
In a DJ-friendly track, the intro and outro should leave room for mixing. In the drop, keep the groove pattern recognisable but vary one element every 4 or 8 bars:
- open the filter
- shift one note
- mute the vocal
- add a break fill or reverse hit
This makes the wobble feel like part of a living arrangement instead of a loop pasted across the timeline.
Common Mistakes
Fix: keep the sub mostly straight and let the mid bass carry the groove.
Fix: start around 30–55% Timing and compare against the snare. If the pocket feels sleepy, reduce it.
Fix: carve out call-and-response gaps. Leave space around bar-end vocal chops.
Fix: mono the sub, and keep width only in higher harmonics.
Fix: get the rhythm working first, then add harmonics.
Fix: always listen to the bass with the drums looped. In DnB, the bass groove is judged against the break, not in isolation.
Fix: allow slight offset or groove on select notes. Oldskool feel comes from controlled imperfection.
Pro Tips for Darker / Heavier DnB
Mini Practice Exercise
Spend 15 minutes building a two-bar oldskool wobble loop:
1. Program a kick-snare break foundation at 174 BPM.
2. Create a sine sub in Operator and a wobble layer in Wavetable.
3. Write only 3–5 bass notes per bar.
4. Apply a Groove Pool timing feel to the mid bass only.
5. Automate the filter so bar 2 opens a little more than bar 1.
6. Add a chopped vocal stab at the end of bar 2.
7. Sidechain the sub lightly to the kick.
8. Bounce the mid bass to audio and make one tiny edit by hand.
When you’re done, compare the loop in two versions:
Ask yourself which one feels more like a real DnB record and why. This comparison is one of the fastest ways to train your ear for groove.

