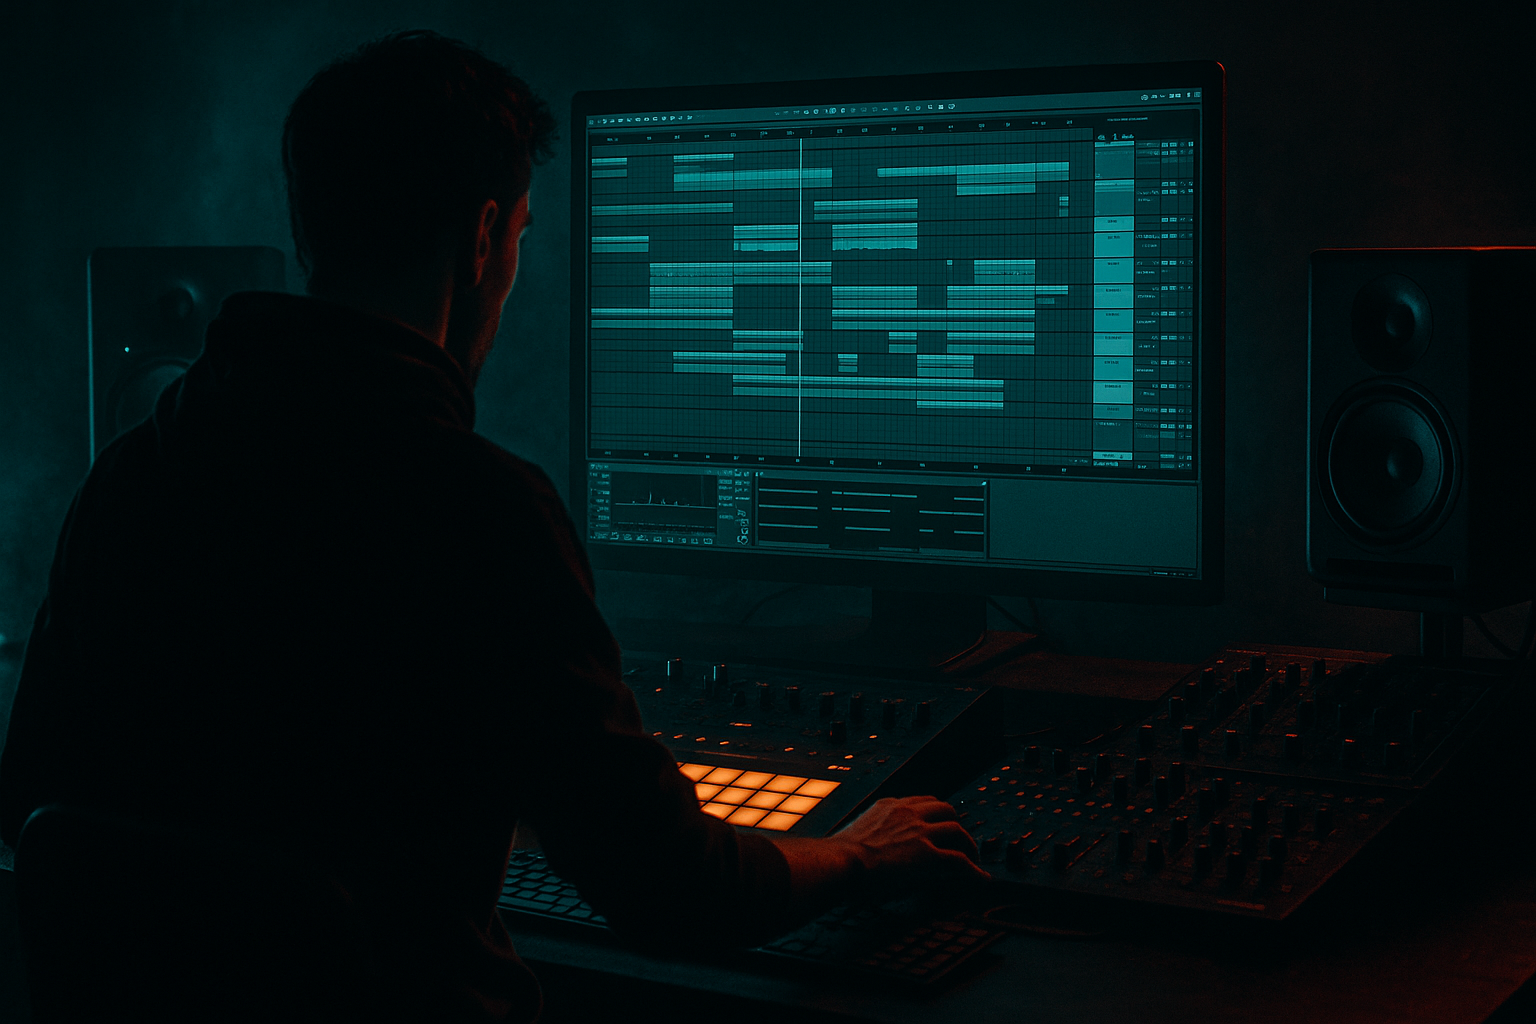
Main tutorial
Lesson Overview
Swing is one of the fastest ways to make Drum & Bass feel alive, loose, and dangerous instead of rigid and computer-clean. In Ableton Live 12, you can use groove and warping to push a breakbeat or percussion loop into that ragga-infused, off-grid energy that sits beautifully in jungle, rollers, and darker bass music. 🎛️
In this lesson, you’ll learn how to take a straight DnB drum loop or a ragga-style vocal chop, warp it in Ableton, and resample the result into a new chopped-up part with swing. The goal is not to make everything sloppy — it’s to create controlled chaos: drums that lurch, hats that lean back, and little rhythmic hiccups that give the groove personality.
This technique matters because DnB lives and dies on feel. Even when the BPM is locked at 174, the groove can still breathe. Swing helps your loop sit behind or ahead of the beat, which is especially useful for:
- jungle-style break edits,
- ragga vocal responses,
- rolling percussion patterns,
- intro-to-drop transitions,
- and making repeated patterns feel less static.
- a chopped breakbeat with noticeable swing on the off-beats,
- a ragga vocal stab or phrase pulled slightly off-grid for character,
- a resampled audio clip with warped micro-edits,
- a simple bass response under the groove,
- and a reusable 1-bar or 2-bar rhythmic idea that could become a breakdown, drop phrase, or transition.
- the drums hit,
- the vocal chop answers,
- the swing makes both feel human,
- and the resample turns it into a new part you can arrange later.
- Drum Loop Audio track
- Vocal Chop Audio track
- Resample Audio track
- Double-click the clip.
- Turn Warp on.
- For a breakbeat, try Warp Mode: Beats.
- Start with Preserve set to 1/16 or 1/8 depending on how chopped the break is.
- MPC 16 Swing 57
- MPC 16 Swing 60
- Main 16 Swing 55
- Timing: 50–70%
- Random: 0–10%
- Velocity: 0–15%
- Timing at 60%
- Random at 5%
- Velocity at 8%
- mute or cut one kick at the end of bar 1,
- leave a tiny gap before the snare for tension,
- or slice out one hat for a call-and-response feel.
- Drum Buss for glue and attitude
- Saturator for thickness
- EQ Eight to clean low rumble
- Drum Buss Drive: 10–25%
- Drum Buss Crunch: 5–15%
- Saturator Drive: 2–6 dB
- EQ Eight low cut on the loop only if the source has muddy sub under 100 Hz
- turn Warp on,
- set Warp Mode to Complex Pro for longer vocal phrases,
- or Beats if it’s a short percussive chant.
- slicing the vocal to a new clip,
- nudging the clip start a little late,
- or using transient markers to shift timing.
- put the first vocal stab just behind the snare,
- then place the answer phrase on the “and” of beat 3,
- leaving beat 4 open for a drum fill or bass drop.
- Redux with very light bit reduction for grit,
- or Saturator with Drive around 3–5 dB.
- set Audio From to Resampling, or route the output of your drum/vocal group if you prefer to capture only those sounds,
- arm the track,
- and record 2 or 4 bars while your loop plays.
- capture the groove when it feels best,
- don’t wait for perfection,
- and grab a few bars so you have options.
- it freezes the groove and swing into audio,
- it lets you treat the result like a new sample,
- and it makes later chopping much easier than editing multiple live clips.
- turn Warp on,
- try Beats mode for rhythmic material,
- or Complex/Complex Pro if the sample includes a lot of vocal content.
- push one hit later for a lazy feel,
- pull another hit earlier for urgency,
- and leave a tiny breath before the snare.
- Preserve: 1/16 for detailed drum chops
- Preserve: 1/8 if the source is more spacious
- Transient envelope around 80–120% if you want hits to stay punchy
- a clean sub,
- or a muted reese with controlled movement.
- Operator for sub
- Wavetable for a reese
- Saturator for harmonics
- EQ Eight for cleanup
- use Operator sine wave for sub,
- keep notes simple and short,
- place bass hits on the strong phrases, not every drum hit.
- bass note on beat 1,
- short answer on the “and” of 2,
- rest on beat 3,
- another hit into beat 4.
- low-pass the bass if it clashes with the vocal,
- keep sub mono,
- and use a Utility device to force Width to 0% on anything below the low-end region if needed.
- Bars 1–4: drum loop only with vocal teaser
- Bars 5–8: add bass response
- Bars 9–12: resampled chop comes in
- Bars 13–16: strip the bass down and let the vocal lead
- Then bring everything back for the drop
- automate a low-pass filter on the vocal using Auto Filter,
- automate Drum Buss Drive up slightly before the drop,
- automate reverb send on the last vocal chop only,
- automate a short delay throw using Echo on one phrase.
- longer intro with drums and atmos,
- clear 16-bar phrasing,
- and a switch-up every 8 or 16 bars so the listener feels movement.
- Compare the bass and kick in mono using Utility.
- Use EQ Eight to cut unnecessary low-mid buildup around 200–400 Hz if the resampled loop feels boxy.
- Use a gentle limiter or soft clipping only if needed, not as a fix for bad balance.
- Drum Buss Transients: small positive amount if you need punch
- Drive: moderate, not extreme
- Boom: very careful in DnB, because too much can smear the sub region
- Overdoing swing so the loop sounds late and lazy instead of tight and dangerous
- Warping every clip the same way
- Letting the sub overlap every drum hit
- Resampling too early before the loop feels good
- Using too much reverb on ragga chops
- Forgetting to bounce the groove into audio
- Layer a subtle distorted copy of the resampled groove underneath the clean version. Use Saturator or Overdrive lightly so the swing feels more aggressive without losing definition.
- Try a parallel drum bus: one clean, one crushed with Drum Buss or Glue Compressor. Blend the crushed return at low level for weight.
- For darker rollers, keep the vocal chop short and repetitive. A two-note response can feel more menacing than a long phrase.
- Use call-and-response between break and bass: let the drums answer the vocal, then let the bass answer the drums.
- If the loop feels too wide and messy, mono the low end and keep the vocal chop centered. Save stereo movement for top-end percussion or FX.
- Automate a very short filter move before a switch-up: Auto Filter with a gentle low-pass sweep can make the resampled groove feel like it’s emerging from smoke.
- Add ghost notes by duplicating tiny parts of the resampled clip and lowering their volume. Tiny details can make a roller feel more “alive” without cluttering the mix.
- For neuro-adjacent movement, resample your groove after adding light modulation, then cut the best moments into a tighter phrase. Audio chopping often sounds more intentional than endless MIDI tweaking.
- Warp drums and vocals differently.
- Use Groove Pool for controlled swing.
- Resample the result so you can chop it into something new.
- Keep bass simple and supportive.
- Arrange with phrasing, not endless looping.
We’ll stay inside Ableton Live stock tools and focus on a practical resampling workflow, which is perfect for beginners because it turns “I don’t know what to do next” into “I captured a cool moment, now I can arrange it.”
What You Will Build
By the end, you’ll have a short DnB loop that sounds like this in musical terms:
Think of it like a jungle-flavoured call-and-response:
Step-by-Step Walkthrough
1) Set up a simple DnB session and choose your source material
Start with Ableton Live at a DnB tempo: set the BPM to 172–174. For this lesson, 174 works especially well for ragga/jungle energy.
Create three tracks:
Use a stock breakbeat or any drum loop with clear transients. A classic Amen-style break, an edit of a break, or a punchy two-step loop all work. For the vocal, use a short ragga-style phrase, toast, or chopped syllable loop. Keep it short — 1 to 2 bars.
If your drum loop is not already in time, warp it first:
For beginners: don’t overthink sound choice. You want something with clear drums and a vocal with attitude. That alone gives you enough material to learn the process.
2) Tighten the source, then deliberately loosen it with groove
Once the loop is in time, find the groove in Ableton’s Groove Pool. Ableton Live includes stock grooves that can add swing without you manually moving every note.
Try one of these starting points:
Drag a groove to the drum loop clip or the clip’s Groove field. Then use these parameters:
For a beginner-friendly ragga-infused feel, start with:
Why this works in DnB: the groove changes the placement of rhythmic hits while keeping the tempo rigid. That gives you the loose human feel associated with old jungle and ragga edits, but the track still drives forward at DnB speed.
Listen for the snare and ghost hits. If the groove starts to feel too drunk, back off the Timing amount before touching anything else.
3) Shape the drum loop with simple edits before resampling
Before you record anything, make the loop more interesting with a few easy clip edits.
Duplicate the loop to 2 bars, then:
If you are using a breakbeat, keep the main snare stable and let the ghost notes and hats swing around it. That’s the heart of jungle bounce.
Useful stock devices if your loop needs help:
Starter settings:
Keep the drum loop and vocal separate for now. The point is to create contrast before combining them.
4) Add the vocal chop and warp it for off-grid ragga character
Now bring in your ragga vocal chop. This is where the “warp it for ragga-infused chaos” part really comes alive.
Double-click the vocal clip and:
Try moving one or two vocal hits slightly later than the drum grid. In Live, you can do this by:
Suggested beginner move:
If the vocal feels too clean, add a touch of character:
The goal is not pristine vocal editing. It’s a slightly unstable, tape-like ragga feel that sits in front of or behind the beat.
5) Record a resample of the groove into a new audio clip
This is the core resampling move. Route everything you want to capture into the Resample track.
On the Resample track:
If you want a cleaner workflow, group the drum and vocal tracks first, then create a new audio track to record the group output. But if you’re keeping it beginner-simple, Resampling is perfect.
When recording, think like a DnB editor:
Why resampling helps here:
This is a classic jungle workflow mindset: print the moment, then rework it.
6) Warp the resampled audio and exaggerate the swing
After recording, you now have a fresh audio clip. This is where you can make the chaos more musical.
Open the resampled clip and:
Now audition different warp styles by moving the transient markers slightly:
Good starting ideas:
Try resampling a 2-bar section and then editing it into a 1-bar loop. That often creates a tighter, more usable phrase for a drop or breakdown.
If your resample contains both drums and vocal, this is where the groove starts sounding “produced” rather than just looped.
7) Build a bass response that supports the swing, not fights it
Now add a simple bass layer underneath the resampled loop. Keep it basic:
Stock devices to try:
For a beginner setup:
Example phrasing:
This call-and-response lets the swing breathe. If bass is playing constantly, it will blur the drum pocket and reduce the ragga bounce.
Suggested settings:
Why this works in DnB: the rhythm feels heavier when the bass leaves space for the drums. Swing becomes more obvious when the sub is not masking the off-grid drum motion.
8) Add simple arrangement movement so the groove feels like a real section
Don’t leave the loop as a static 8-bar repeat. DnB arrangements need tension, especially if you want the swing to feel like part of a drop or switch-up.
A simple arrangement idea:
Useful automation ideas:
Keep the arrangement DJ-friendly:
9) Polish the groove with quick mix checks
Even a beginner can make this feel pro with a few fast checks.
Do these three things:
For drum buses:
If the swing disappears after mixing, your drums may be too compressed or your bass may be too sustained. Shorten the bass notes or reduce compression before changing the groove.
Common Mistakes
Fix: reduce groove Timing to around 50–60% and keep the snare more stable.
Fix: use Beats for drums and Complex Pro for longer vocal material.
Fix: shorten bass notes and leave space for the break.
Fix: get the groove close first, then print it.
Fix: use short delays or small room reverb instead, and automate send amounts only on transitions.
Fix: resample when something feels exciting. That’s how you turn a happy accident into a usable part.
Pro Tips for Darker / Heavier DnB
Mini Practice Exercise
Spend 10–20 minutes making a 2-bar ragga-swing loop.
1. Load a DnB breakbeat and a short vocal chop.
2. Warp both clips and add a groove from the Groove Pool.
3. Set groove Timing to around 60% and Random to 5%.
4. Edit one drum hit so the pattern breathes.
5. Record a 2-bar resample of drums + vocal.
6. Warp the resample and move one transient slightly late.
7. Add a simple sub bass line using Operator with just 2 or 3 notes.
8. Export or consolidate the best 2-bar result.
Goal: make it feel like a real loop from a jungle or ragga DnB breakdown, not just a random chopped sample.
Recap
The big idea is simple: use swing to loosen your DnB groove, then resample it so the feel becomes part of the audio itself.
Remember:
If you want ragga-infused chaos in Ableton Live 12, the magic is in the pocket: a little late, a little wild, but still locked to the system.

