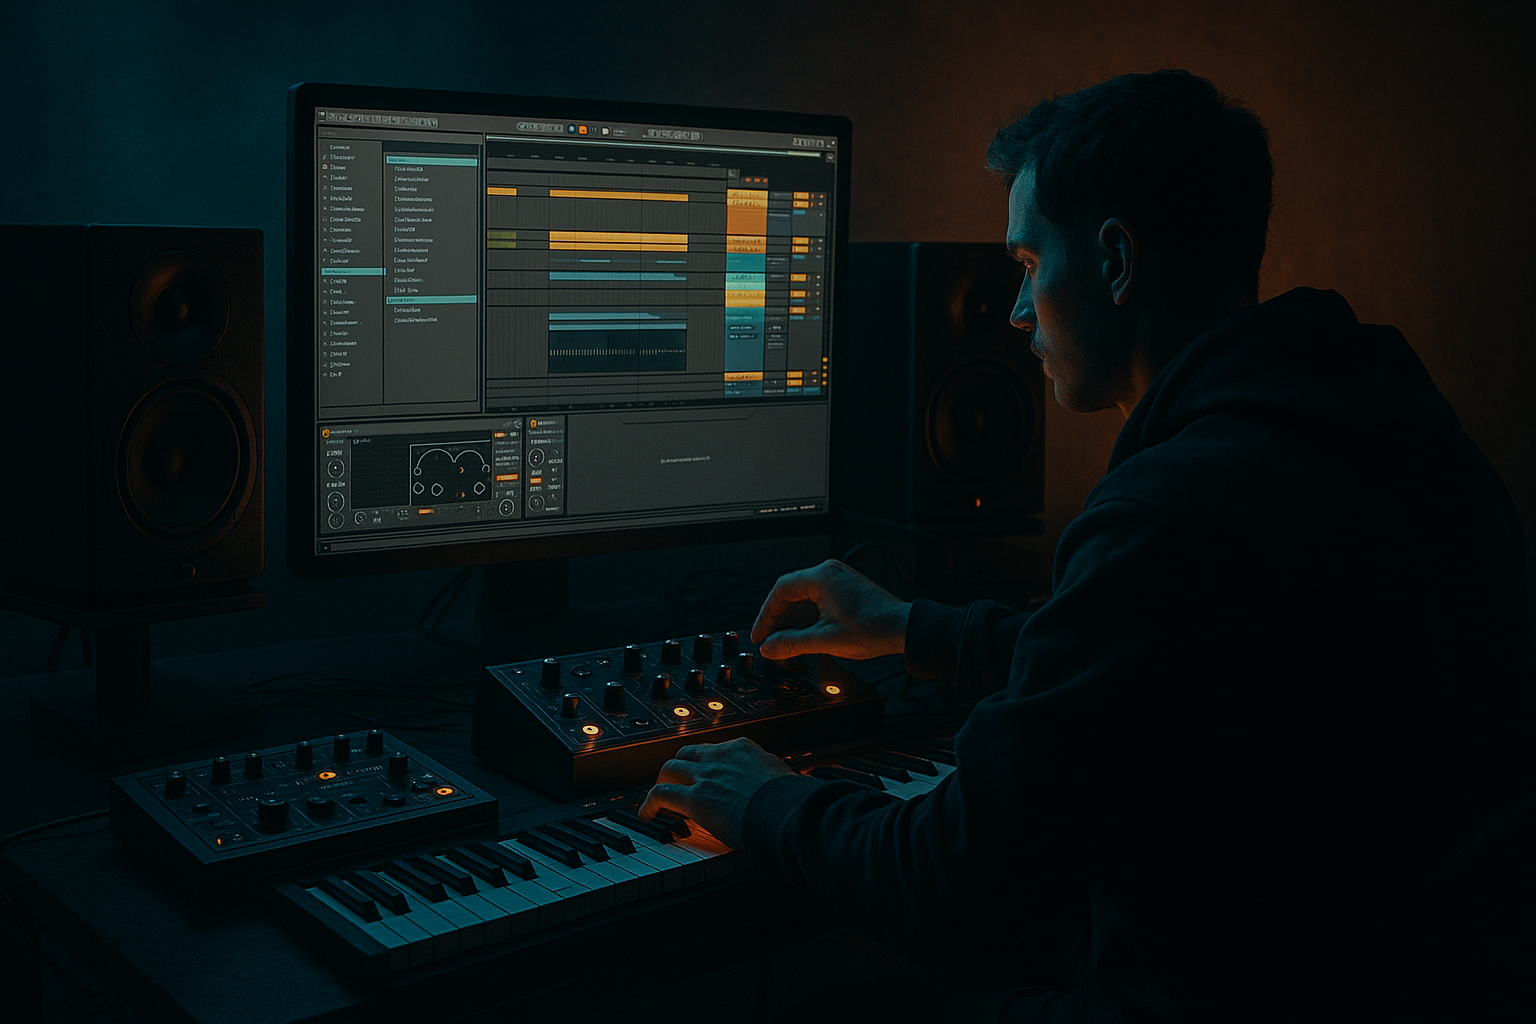
Main tutorial
Swing an Amen-Style Top Loop for Oldskool Rave Pressure (Ableton Live 12) 🥁🔥
Skill level: Beginner
Category: Ragga Elements (jungle-flavoured tops + swing + attitude)
---
1. Lesson overview
Oldskool jungle/DnB gets a lot of its “rave pressure” from how the tops shuffle, not just what samples you use. In this lesson you’ll take an Amen-style top loop (hats/shaker/ghosty snare texture), lock it to your track, and add proper swing in Ableton Live 12 using Grooves, Warp choices, and a small processing chain that keeps it crisp but dirty. 😈
By the end, you’ll have tops that roll, skip, and push like classic rave/jungle while still hitting tight in a modern DnB mix.
---
2. What you will build
You’ll build a 2-bar Amen-style top loop that:
- Sits over a 170–176 BPM DnB beat
- Has authentic shuffle (not “lazy off-grid”)
- Uses Ableton’s Groove Pool + Warp for control
- Has a simple stock device chain for bite + glue
- Is arranged with variation (rave energy, not copy/paste)
- Drop an EQ Eight on the track:
- Start with Warp Mode: Beats
- Set Preserve: try 1/16 (for tight hats), or 1/8 if it feels too choppy
- Turn Transient Loop Mode to Forward (default)
- If it clicks, try:
- MPC 16 Swing 57–62 (subtle to medium)
- Swing 16-… (Ableton’s swing options—use your ears)
- Timing: 40–70%
- Random: 0–10%
- Velocity: 0–20%
- Quantize: 0–30%
- In the clip, right-click → Commit Groove
- Slice hits
- Rearrange small bits
- Add fills without losing the feel
- EQ removes mud
- Drum Buss + Saturator adds oldskool grit and urgency
- Glue keeps it from sounding like a pasted loop
- Every 8 bars, automate:
- Every 16 bars, do a quick “rave dip”:
- Create a 1-bar fill by duplicating the top clip and:
- Echo (Ping-Pong, 1/8 or 1/16, low cut ~400 Hz)
- Reverb (short plate, 0.4–0.8s, high cut ~7–10 kHz)
- Beat Repeat (VERY jungle when used subtly!)
- Parallel dirt bus:
- Dark hat control:
- Sidechain the tops to the snare (tiny amount):
- Layer modern hats under the swung loop:
- Use proper Warp settings first so your loop is stable.
- Add swing using Groove Pool (Timing ~45–65% is the sweet zone).
- Commit the groove when it feels right, then edit with confidence.
- Process with EQ Eight + Drum Buss + Saturator + Glue for that gritty rave edge.
- Arrange with 8/16-bar variation so it feels like real jungle/DnB movement.
---
3. Step-by-step walkthrough
Step 0 — Session setup (DnB foundations)
1. Set tempo to 174 BPM (classic modern jungle/DnB zone).
2. Create 3 tracks:
- Drums (Kick/Snare) (your main groove anchor)
- Amen Tops (we’ll swing this)
- Bass (optional for context)
Tip: Swinging works best when your kick + snare are steady and the swing lives mainly in hats/ghosts/tops.
---
Step 1 — Choose or create an “Amen-style top loop”
You have two solid beginner options:
#### Option A: Use an Amen break, but high-pass it (fast + authentic)
1. Drag an Amen break sample into an audio track named Amen Tops.
2. Double-click the clip to open Clip View.
Now isolate just the tops:
- Enable HP filter around 300–600 Hz
- Adjust until the kick/snare body is mostly gone and you’re left with hats/air/ghosts
This gives you classic amen grit without muddying your main drums.
#### Option B: Use a hat/shaker loop
Pick a busy loop with natural micro-timing. These respond super well to groove.
---
Step 2 — Warp it correctly (this is where beginners win or lose)
In Clip View, enable Warp.
For Amen-style material:
- Preserve 1/8
- Or switch Warp Mode to Complex (more natural but can smear transients)
✅ Goal: The loop should feel tight and stable, not flamming randomly against your grid.
Quick check: Loop 2 bars and listen against a simple kick/snare. If the tops drift, fix warp markers before you add groove.
---
Step 3 — Crop and loop to 2 bars (classic jungle phrasing)
1. In the clip, set Loop on.
2. Make it 2 bars long (common for Amen feel).
3. If your sample is longer, highlight a good section and hit Ctrl/Cmd + L to loop the selection.
DnB vibe tip: Pick a section where the hats have little push/pull already—groove will enhance it.
---
Step 4 — Add swing using Groove Pool (the “oldskool rave” way) 🎛️
This is the secret sauce. Ableton’s Groove Pool is perfect for controlled shuffle.
1. Open Groove Pool (bottom left of Live, click the wave icon).
2. In Groves, search for:
- MPC grooves (classic swing)
- Swing 16
- SP1200 style grooves (if available in your library)
Good starting points:
3. Drag a groove onto your Amen Tops clip.
Now tweak in Groove Pool:
- Start at 55%
- Start at 4% for human vibe
- Start at 10% if the loop feels too flat
- Start at 0% (often best for oldskool feel)
- Use 10–20% if it gets messy
✅ You want: a rolling shuffle where offbeats feel cheeky and urgent, not late and sloppy.
A/B test: Toggle the groove (little power button in Groove Pool) while the kick/snare plays. If the groove makes you nod harder—keep it.
---
Step 5 — Commit timing (optional but recommended for control)
Once it feels good, commit the groove so you can edit confidently.
(This writes the timing/velocity changes into the clip.)
Now you can:
---
Step 6 — Tighten the relationship with your main snare (DnB clarity)
Oldskool hats can swing, but your snare needs authority.
1. Play your main snare on 2 and 4 (or DnB standard: bar grid like 2 and 4 equivalent in 4/4).
2. If your top loop has snare-ish transients that clash:
- Use EQ Eight to notch harsh “snare crack” around 2–4 kHz
- Or use Gate lightly to reduce loud mid hits
Quick fix: Use Auto Filter (HP) plus a bit of resonance to keep the top loop “airy” and stop it arguing with the main snare.
---
Step 7 — Stock device chain for “rave pressure” (clean + dirty balance) 🧪
Here’s a practical chain that works on most Amen-top loops:
Amen Tops Track Device Chain (stock):
1. EQ Eight
- HP at 350–700 Hz
- Small dip if harsh at 7–10 kHz (depends on sample)
2. Drum Buss
- Drive: 5–15%
- Crunch: 5–20%
- Boom: OFF (you’re doing tops)
- Damp: adjust if it gets fizzy
3. Saturator
- Mode: Analog Clip
- Drive: 1–4 dB
- Soft Clip: On
4. Glue Compressor
- Attack: 3 ms
- Release: Auto
- Ratio: 2:1
- Gain reduction: aim 1–3 dB
5. Utility
- Width: 80–110% (careful—too wide can smear hats)
- Gain: match level after saturation
Why this works:
---
Step 8 — Add ragga/jungle movement with arrangement tricks 🎚️
Oldskool pressure comes from variation every 4/8/16 bars.
Try these:
- Auto Filter cutoff (open slightly on the last bar for lift)
- 1/2 bar low-pass sweep into a drop
- Reversing a tiny slice (1/8 or 1/16)
- Adding Delay (Echo) on just that fill moment
Stock devices for fills:
- Interval: 1 Bar
- Grid: 1/16
- Chance: 10–25%
- Filter: ON (so it doesn’t get harsh)
---
4. Common mistakes (and quick fixes) 🚧
1. Warping wrong → loop flams and drifts
- Fix: Use Beats mode and check warp markers at bar starts.
2. Too much swing
- Symptom: hats sound “late” and the drop feels weak
- Fix: Reduce Groove Timing to 45–55% and keep kick/snare straight.
3. Swinging everything
- Symptom: whole drum kit feels drunk
- Fix: Swing tops + ghosts, keep kick/snare grid-locked.
4. Over-saturating
- Symptom: hissy, brittle hats that pierce your ears
- Fix: back off Drive, or add a small EQ dip at 8–12 kHz.
5. No arrangement variation
- Symptom: loop fatigue after 16 bars
- Fix: add filter moves, fills, and 8/16 bar changes.
---
5. Pro tips for darker/heavier DnB 😈
Send Amen Tops to a return track with:
- Saturator (Drive 6–10 dB) → EQ Eight (HP 500 Hz) → Glue (3–5 dB GR)
Blend in quietly for menace.
Use Auto Filter with subtle LP around 12–16 kHz to remove “cheap fizz.” Darker DnB often has less air and more mid aggression.
Put Compressor on Amen Tops, sidechain from snare.
- Ratio 2:1, Attack 1–3 ms, Release 50–120 ms
Just 1–2 dB dip so the snare punches through.
Add a clean closed hat on the offbeat (very quiet). The loop provides character, the hat provides consistency.
---
6. Mini practice exercise (10–15 minutes) ⏱️
1. Load an Amen break, high-pass it to make tops only.
2. Warp in Beats mode, Preserve 1/16.
3. Apply MPC 16 Swing ~59:
- Timing 55%
- Random 4%
- Velocity 10%
4. Commit Groove.
5. Add the chain: EQ Eight → Drum Buss → Saturator → Glue.
6. Arrange 16 bars:
- Bars 1–8: normal
- Bars 9–16: automate Auto Filter to open slightly
- Add a 1/2 bar Echo throw at bar 16
Export a quick bounce and listen on headphones—does it roll without sounding late?
---
7. Recap ✅
If you tell me your target vibe (1993 hardcore jungle vs 1996 ragga techstep vs modern rollers), I can recommend specific groove ranges and a tighter processing chain for that exact era.

