Main tutorial
Lesson Overview
Swinging a sub-sine line is one of those advanced jungle moves that sounds simple on paper but changes the entire emotional temperature of a track. The idea is to keep the sub fundamentally clean and mono, while nudging its timing, envelope shape, and interaction with the drums so it feels human, unstable, and atmospheric rather than rigid. In deep jungle and darker DnB, that slight lurch can create the feeling of a bassline “breathing” with the break, especially when the groove is built around chopped drums, ghost notes, and syncopated call-and-response phrasing.
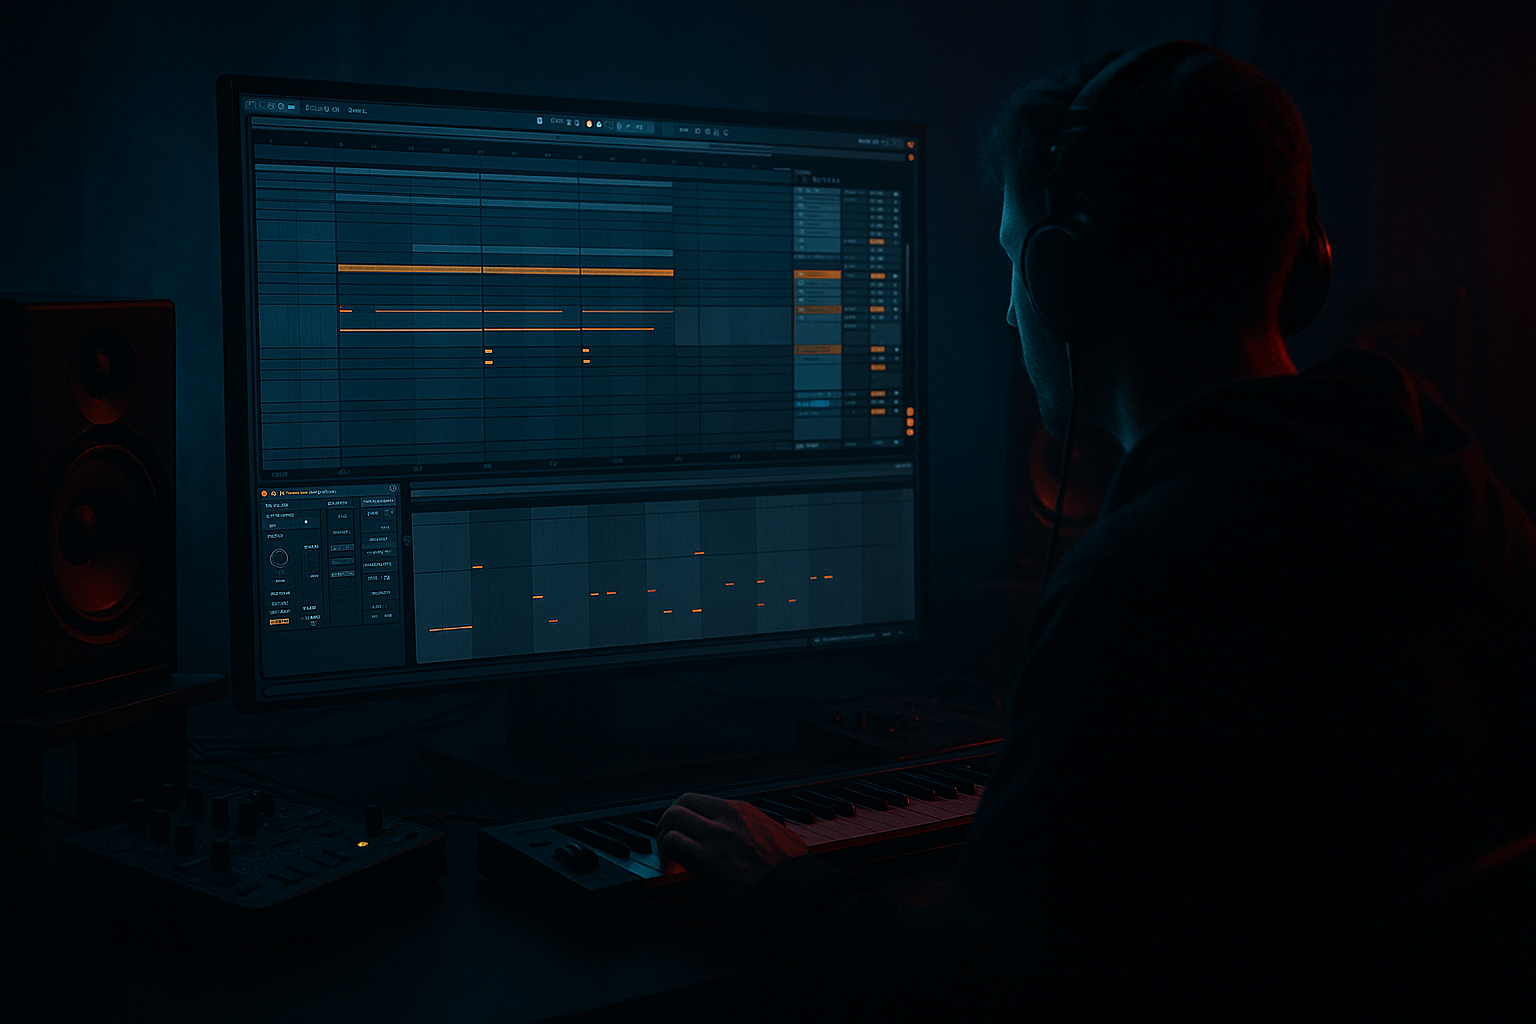
In Ableton Live 12, this technique fits right in the workflow stage between sound design and arrangement. You are not just making a bass sound; you’re designing the way it sits against the rhythm section. That matters in DnB because the sub is not simply low-end support — it is part of the groove engine. A well-swung sub can make a break feel deeper, widen the perceived pocket, and create a rolling “underwater” tension that works beautifully in jungle intros, grimey rollers, and darker halftime switch-ups.
The key is balance: enough swing to create motion, not so much that the low-end loses focus. You’ll use Ableton stock tools to shape note timing, saturate and control the sub, and build a groove that feels intentional, DJ-friendly, and weighty. 🔥
What You Will Build
By the end of this lesson, you’ll have a deep jungle-inspired bass system in Ableton Live 12 with:
- A clean mono sub sine layer that can be swung against the grid
- A slightly dirty, midrange support layer for harmonics and audibility
- Groove-aware MIDI phrasing that locks to the break while still feeling loose
- Filter, amplitude, and saturation automation for tension and release
- A practical bass/drum relationship that works in a 170–174 BPM DnB context
- A reusable workflow for creating atmospheric bass movement in intros, drops, and switch-ups
- Making the sub too swingy
- Applying identical groove to kick, snare, and bass
- Letting stereo effects touch the sub
- Using too much saturation before low-end control
- Writing basslines with no gaps
- Over-compressing the bass bus
- Use a tuned sine plus a detuned mid layer, not a giant full-range bass patch. That keeps the low end disciplined while the atmosphere lives in the upper harmonics.
- Try a tiny bit of note velocity variation on the mid layer only. Even with static synth tone, velocity can subtly change envelope or filter response and create a more human swing.
- For more menace, add `Erosion` very lightly to the mid layer, then low-pass it so only a whisper of texture remains. This works well for grimy rollers and dark jungle intros.
- In transitions, automate the sub to leave a bar of silence before a drop re-entry. In DnB, negative space can feel heavier than constant notes.
- Use call-and-response: one phrase for sub weight, the next for reese or harmonic pressure. The swing feels more intentional when the bass “speaks” in sentences.
- If the break is busy, simplify the bass rhythm. The darker and more complex the drums, the more valuable restraint becomes.
- Resample after the groove feels right. Commitment is a workflow weapon in jungle: once the swing is captured as audio, you can edit like a sampler and make bolder decisions fast.
- Swing the bassline’s timing and envelope, but keep the true sub disciplined and mono.
- Build the groove in response to the break, not in isolation.
- Use slight note delays, selective groove, and envelope shaping to create depth.
- Support the sub with a separate harmonic layer for grit, motion, and translation.
- Automate swing intensity, filter movement, and saturation across the arrangement for jungle atmosphere.
- In DnB, the magic is in the pocket: a bassline that feels human, heavy, and alive.
Musically, the result should feel like a bassline that answers the break instead of just following it: a sub that lands a hair late on some notes, pulls ahead on others, and leaves space for ghost snares, rim hits, and chopped amen fragments. In a 16-bar drop, it might start sparse in bars 1–4, deepen in bars 5–8 with extra swing and resonance, then open up in bars 9–12 with a more aggressive reese or filtered harmonic layer. That kind of phrasing is classic jungle logic: tension, release, and constant micro-motion.
Step-by-Step Walkthrough
1. Set up a dedicated bass workflow before you write a note
In Advanced DnB, speed matters, but so does structure. Start by making a focused bass group so you can audition swing ideas fast without wrecking your mix.
- Create a Group Track called `BASS`
- Inside it, make two MIDI tracks:
- `SUB`
- `MID BASS`
- Route both to the `BASS` group for shared processing
- On `SUB`, load `Operator` and initialize a sine wave
- On `MID BASS`, load `Wavetable` or `Operator` with a slightly richer waveform if you want a controlled layer
For the sub layer:
- Operator Osc A: Sine
- Turn off other oscillators
- Set Filter off or fully open if you’re keeping it pure
- Enable mono behavior via `Legato` and `Glide` only if you want slides on select notes
Workflow tip: color-code the bass lanes and name your clips by section: `INTRO_SWING_01`, `DROP_A`, `BREAK_EDIT`. You want instant recall later when you resample or revisit the idea.
2. Build the bassline from a break-first perspective
In jungle, the bassline should feel like it was written in response to the drum programming, not over it. Before writing, loop a break edit — even a simple amen chop or stripped roller break — and audition the bass against it.
Write a MIDI clip at 170–174 BPM with short notes and intentional gaps. Start with:
- Notes landing on the “and” of 1, the “e” of 2, and late on 3
- Avoid constant sustained roots unless you want a more modern roller feel
- Try a 2-bar phrase where bar 1 is sparse and bar 2 answers with one extra hit
A useful pattern approach:
- Root note on beat 1 only if the kick needs reinforcement
- Short note on the offbeat after the snare
- A longer note that bleeds into a ghosted break fill
- One octave jump for a call-and-response effect in the second bar
Why this works in DnB: the break already supplies relentless micro-rhythm. If the bass also stays rigid, the track feels flat. A swung sub creates contrast: the drums snap, the bass leans.
3. Add swing by moving notes, not by overusing global groove
Advanced move: use both clip-level Groove and manual note nudging, but do it with intent. In dark jungle, too much global swing can smear the kick/sub relationship. Instead, create a “weighted pocket.”
In the MIDI clip:
- Keep the strongest sub hits locked near the grid
- Nudge select offbeat notes slightly late by 5–20 ms
- Pull one anticipatory note slightly early only if it helps the phrase breathe
- Use note length to create swing too: shorter notes on the front side of the beat, longer ones on the laid-back side
If you use Ableton Groove Pool:
- Start with a light MPC-style swing feel
- Apply only 10–25% groove to the bass clip
- Consider extracting groove from a swung break, but reduce the amount heavily
- Avoid applying the same groove amount to kicks and subs if it causes low-end blur
Concrete suggestion:
- Notes after snare hits: delay by 8–15 ms
- Notes before a fill: leave tight or slightly early by 3–5 ms
- Clip Groove amount: 15–20% max for the sub layer
Advanced judgment: the goal is not obvious shuffle. It’s the illusion that the bassline is sitting slightly behind the drums, which reads as depth and weight.
4. Shape the sub envelope so the swing is felt, not just heard
The envelope is where the movement becomes physical. In Ableton Live 12, a sine sub can feel dead if the attack and release are too strict. A tiny bit of shaping helps it “lean” into the groove.
On `Operator`:
- Amp Attack: 2–8 ms
- Amp Decay: short if you want a plucky sub, or moderate if the line needs to smear slightly
- Amp Release: 40–120 ms depending on how much overlap you want
- If notes are overlapping, use Legato sparingly so slides don’t wash out the groove
On the `MID BASS` layer:
- Add `Auto Filter`
- Use a low-pass cutoff in the 120–500 Hz region depending on how gritty you want it
- Automate cutoff slightly later than the MIDI note onset for a “rising from the fog” effect
- Add subtle resonance, around 5–20%, to make the swing more audible
This is where swing becomes atmospheric. A slightly delayed filter opening or a tiny lag in amplitude creates a sense of pressure, especially when the break is busy. The bass feels like it is pushing through the drums rather than sitting on top.
5. Create harmonic movement without compromising mono sub discipline
The sub itself should stay focused and mono, but the layer above it can provide the motion that sells the atmosphere. Use a controlled distortion/saturation path so the bass translates on smaller systems without bloating the low end.
On the `MID BASS` track:
- Add `Saturator`
- Start with Soft Clip on
- Drive around 2–6 dB for mild color
- If you want more edge, push to 8–10 dB and compensate with output gain
- Add `EQ Eight` after it and high-pass around 90–140 Hz to keep the sub layer clean
For extra jungle character:
- Use `Chorus-Ensemble` very lightly on the mid layer only
- Keep the low end mono; widen only harmonics above roughly 150 Hz by managing the layer separately
- If you need movement, automate `Wavetable` position or `Operator` filter FM amount subtly over 8 bars
Pro workflow: resample the `MID BASS` movement once it feels good. Drag the clip or record the processed layer to audio, then edit the audio with tiny fades and reverses. This is a classic jungle finishing move: commit the texture, then arrange like a sampler artist.
6. Lock the drums and bass into a pocket using routing and bus shaping
The groove only works if the drum bus and bass bus are shaping each other correctly. Keep this clean and controlled.
On the `BASS` group:
- Add `Glue Compressor`
- Keep it subtle: 1–2 dB of gain reduction
- Attack around 10–30 ms for transient preservation
- Release set to Auto or roughly 0.1–0.3 s depending on the phrase
- If the bass feels soft, use a tiny bit of makeup gain rather than overdriving the compressor
On the drum bus:
- Consider `Drum Buss` for punch and controlled harmonic density
- Use Drive lightly if the breaks need more edge
- Don’t over-thicken the kick if the sub already occupies the pocket
Practical low-end rule:
- Kick and sub should not fight for the exact same time slot on every hit
- Let the kick speak, then let the sub answer, especially in jungle-style drops
- Use sidechain compression only if needed, and keep it transparent
If sidechaining:
- Use `Compressor` on the sub track
- Sidechain from kick or kick/break bus
- Fast attack, moderate release
- Aim for 1–3 dB reduction, not pumpy EDM-style ducking
7. Automate swing intensity across the arrangement
Advanced arrangement move: don’t keep the bass swing static for the whole track. In DnB, arrangement variation is part of the energy design.
Try this in a 16-bar drop:
- Bars 1–4: restrained sub, minimal swing, sparse notes
- Bars 5–8: increase note delay slightly, open the mid layer filter, add a ghost note
- Bars 9–12: automate a touch more drive on `Saturator`, add one octave jump, and widen the harmonic layer
- Bars 13–16: pull everything back for a transition or drum fill
Automation ideas:
- `Auto Filter` cutoff: move from 150 Hz to 450 Hz over 4 bars on the mid layer
- `Saturator` drive: +1 to +3 dB in the second phrase
- Reverb send on the mid layer only: short dark room, very low send, just enough to suggest space
- Utility width on the mid layer only: increase slightly in transitions, then snap back
This kind of macro movement keeps a jungle roller evolving without losing DJ utility. The track still mixes cleanly, but the bassline tells a story.
8. Use audio editing and micro-fills to make the swing feel “sampled”
One reason classic jungle feels alive is that it behaves like chopped audio, even when the source is synthetic. You can imitate that in Ableton by combining MIDI with audio manipulation.
After you’ve written the line:
- Freeze/Flatten the `MID BASS` or resample it to audio
- Slice one or two bars into a new audio track
- Nudge a note fragment late by a few milliseconds
- Reverse a tiny tail before a transition
- Add a very short fade at each cut to avoid clicks
In Live 12, use clip envelopes or automation lanes to vary filter cutoff on repeated audio chunks. You can create the illusion that the bassline is constantly being re-chopped by an MC or sampler operator, which is perfect for deep jungle atmosphere.
Arrangement example:
- A 2-bar bass phrase loops under an amen
- On the 4th bar, you reverse the final sub tail into a snare fill
- The next phrase starts slightly later, making the drop feel less grid-locked
- That tiny mismatch creates tension without wrecking the groove
Common Mistakes
Fix: keep the lowest fundamentals tighter than the harmonic layer. Swing the phrase, not the sub’s integrity.
Fix: let the drums and bass have different timing relationships. The pocket comes from contrast.
Fix: keep the sub mono with `Utility` on the sub track if needed. Only widen upper harmonics.
Fix: high-pass the mid layer before heavy drive or put `EQ Eight` after distortion to clean the build-up.
Fix: leave space for ghost notes, break fills, and transient detail. Swing needs air to read.
Fix: use bus compression for glue, not flattening. Too much compression kills the lurch that makes the groove feel deep.
Pro Tips for Darker / Heavier DnB
Mini Practice Exercise
Set a 15-minute timer and build a 2-bar swung sub line over a break.
1. Load a stripped amen or rolling break at 172 BPM.
2. Create a mono `Operator` sine sub and a second harmonic layer with `Wavetable` or `Operator`.
3. Write a 2-bar MIDI phrase using only 4–6 notes.
4. Move at least two notes 8–15 ms late, and one note 3–5 ms early if it helps the phrase breathe.
5. Add `Saturator` to the harmonic layer, driving 3–6 dB.
6. High-pass the harmonic layer around 100–130 Hz with `EQ Eight`.
7. Automate `Auto Filter` cutoff on the harmonic layer over the second bar.
8. Listen in mono and adjust until the bass feels like it sits behind the break, not on top of it.
Goal: by the end, you should have a bassline that feels like it is stepping through the drums, not just playing alongside them.

