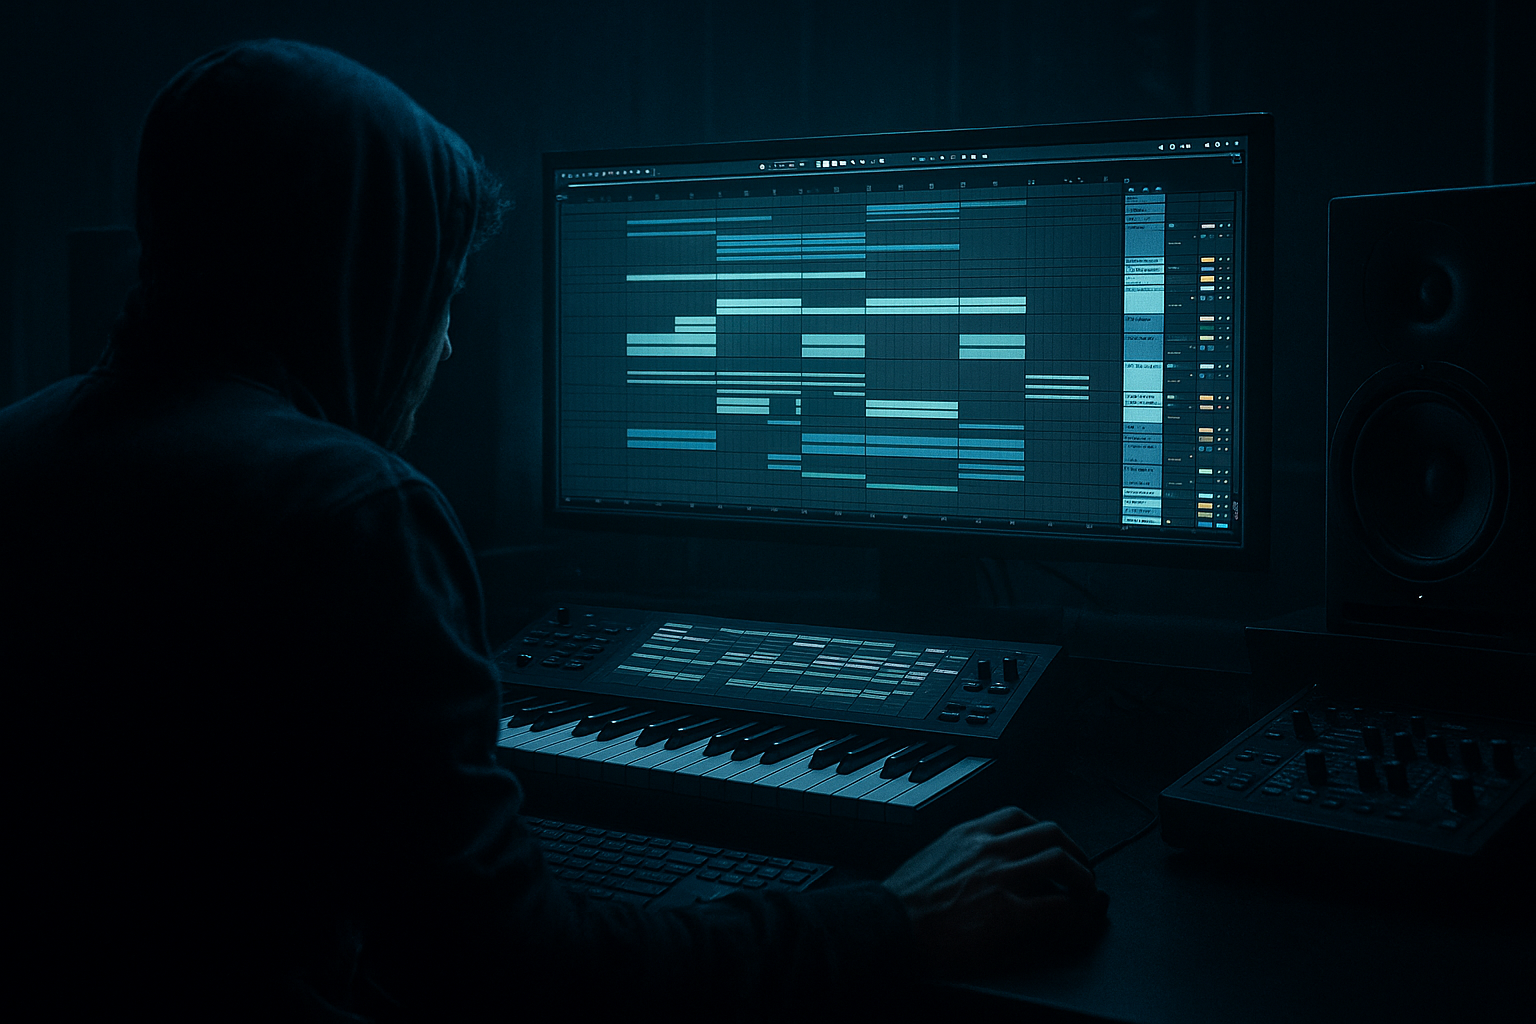
Main tutorial
Subsine Resample Guide for 90s-Inspired Darkness in Ableton Live 12
For jungle / oldskool DnB vibes 🌑🥁
1. Lesson overview
This lesson is about creating a dark, heavyweight “subsine” bass element by resampling in Ableton Live 12, then shaping it into a usable weapon for 90s-inspired jungle and oldskool drum & bass.
“Subsine” here means a clean sine-based low-end source that you intentionally degrade, resample, and reprocess to get that murky, pressed-to-tape, slightly unstable feel. The goal is not just a clean sub — it’s a characterful low-end layer that can sit under Reese basses, lift drop sections, or add menace to sparse breaks.
In this lesson, you’ll learn how to:
- build a controlled sine/sub source
- resample it with texture and grit
- create movement without losing sub weight
- layer it into a DnB arrangement
- keep it tight, mono, and mix-ready
- jungle atmospheres with deep low-end pressure
- oldskool DnB rollers
- dark halftime sections
- intro/sub-drop transitions
- bass call-and-response patterns 🔥
- a solid fundamental around 40–60 Hz
- subtle harmonic edge from saturation and resampling
- ghost movement from filter, pitch, or sample shaping
- a loopable phrase suitable for jungle/DnB arrangement
- optionally, a version that can be chopped into one-shots or bass fills
- underneath chopped Amen patterns
- as a pre-drop bass swell
- as a dark low-end pedal in the intro
- as a layered support to a Reese or warped sub stab
- Amp envelope: short attack, no sustain movement needed yet
- Glide/Portamento: off for now
- Voices: mono if you want tight bass
- Transpose: keep it in key with the track
- single long note with a slight cut before the bar ends
- two-note call like root to fifth
- ghost pitch movement using quick steps of a semitone or tone
- syncopated stabs between kick hits
- Bar beat 1: low root note
- Bar beat 2.3: quick octave or fifth hit
- Bar beat 3.2: short drop to the root
- Bar beat 4: silence or tiny pickup
- High-pass only if needed for cleanup
- If the source is too thick, gently cut around 120–250 Hz to avoid mud
- Keep the low end intact
- Drive: 2–8 dB
- Soft Clip: On
- Analog Clip: optional, if you want more edge
- This adds harmonics so the resample won’t be just a flat sine
- Low-pass it subtly if the bass is too bright after saturation
- Use a slow cutoff modulation if you want movement
- Resonance: low to moderate
- Width: 0%
- Use Bass Mono if needed, but avoid messing with the sub fundamentals too much
- Keep the low-end centered
- Drive: low to moderate
- Crunch: very subtle
- Boom: careful — too much will blur the sub
- This can add that old hardware pressure
- Great for gritty, lo-fi, tape-ish degradation
- Use very lightly; you want darkness, not fuzz soup
- one clean-ish
- one more saturated
- one with filter automation
- one with pitch movement or glide
- Cut silence
- Tighten note starts
- Make sure transients line up with the groove
- use Warp only if necessary
- if you do warp, try:
- avoid introducing unwanted phase weirdness in the low end
- Use fades to remove clicks
- Split long notes into usable chunks
- Reverse tiny fragments for intro textures
- Pitch up or down in semitones to find the darkest musical sweet spot
- one full-length sub layer
- one short chopped layer
- one pitch-bent transition layer
- High-pass at 20–30 Hz if needed
- notch out boxy build-up around 180–300 Hz
- small boost if you need weight around 50–70 Hz
- add another 1–4 dB drive
- soft clip on
- this step helps the resample feel “printed”
- reduce bit depth slightly for a grimy digital edge
- use very subtly; too much can destroy the sub
- add a tiny amount of noise, especially if you want a “dusty tape” aura
- use sparingly in the mids/highs only
- automate cutoff for movement
- use low-pass sweeps for transition moments
- add a small resonance bump for tension
- keep mono
- check width and correlation constantly
- filter cutoff
- saturation drive
- clip gain
- pitch in small increments
- sample start/end points if using Simpler
- reverb send on only specific hits
- subtle cutoff opening at the end of each 2-bar phrase
- pitch dip on the last hit before a break fill
- saturation spike on the drop start
- quick filter close before the snare fill
- Mode: Classic
- Warp: usually off for tight one-shots
- Start: adjust to the transient
- Fade: tiny amount if needed
- Voices: Mono
- Glide: use if you want sliding bass lines
- stab it between breaks
- pitch it to different notes
- create bass punctuation
- build call-and-response with drum edits
- Intro: filtered subsine drone with vinyl noise or atmospheres
- Build: automate cutoff and bring in break chops
- Drop 1: sub hits in sync with kick/snare or offbeat ghost notes
- Mid-section: remove the sub for tension, then bring it back
- Second drop: pitch-shifted variation with heavier saturation
- sub hits on the “and” of the beat
- call-and-response between kick and bass
- long note under chopped Amen fills
- short stab before a snare break
- Erosion
- a filtered noise sample
- or a very subtle vinyl/tape texture
- one track for sub only
- one track for mids/high harmonics
- Bar 1: root note held for most of the bar
- Bar 2: root note, then a quick fifth, then back to root
- leave a gap at the end for groove
- Saturator with 4 dB drive
- Auto Filter with a subtle low-pass sweep
- Utility set to mono
- clean sub under the main drop
- dirty version for the second half
- chopped version before fills or snare breaks
- a rack-by-rack Ableton template
- a MIDI + audio arrangement example
- or a follow-up lesson on resampling a Reese bass into jungle stabs 🎛️
This approach is especially useful for:
---
2. What you will build
You’ll build a subsine resample chain that starts with a pure oscillator and ends as a dark, processed, resampled bass phrase.
Final result:
A 1-bar or 2-bar bass loop with:
Typical use cases:
---
3. Step-by-step walkthrough
Step 1: Create the initial sine source
Start with a clean, controllable source.
Option A: Operator
1. Create a MIDI track.
2. Load Operator.
3. Set Oscillator A to Sine.
4. Turn off other oscillators.
5. Tune the note to a low root key, usually:
- F1
- G1
- A1
- or even C1, depending on the track’s key and how deep you want it
Recommended settings:
Option B: Wavetable
If you want a slightly different character:
1. Load Wavetable
2. Select a pure sine-style wavetable or a basic low harmonic waveform
3. Filter out any extra harmonics if needed
4. Keep it simple — this stage is about purity
---
Step 2: Make a dark phrase, not just a note
A subsine resample becomes much more useful when it behaves musically.
Write a simple MIDI pattern:
Try one of these:
Example 1-bar phrase:
This gives you something that can breathe with the breakbeat instead of just droning.
---
Step 3: Add a pre-resample processing chain
Before resampling, add processing that will “bake in” character.
Recommended chain:
1. EQ Eight
2. Saturator
3. Auto Filter
4. Utility
5. Optional: Drum Buss or Pedal
Suggested setup:
#### EQ Eight
#### Saturator
#### Auto Filter
#### Utility
#### Drum Buss
#### Pedal
---
Step 4: Resample the processed bass
Now we freeze the chain into audio.
Method 1: Resample internally
1. Create a new audio track.
2. Set its input to Resampling.
3. Arm the audio track.
4. Play the MIDI bass pattern on the original instrument track.
5. Record the output in real time.
This captures everything: oscillator, processing, automation, and vibe.
Method 2: Export as audio
If you want a cleaner control pass:
1. Render the MIDI track to audio.
2. Import the bounced file back into the set.
Best practice:
Record multiple passes:
That gives you options when building the drop.
---
Step 5: Edit the resampled audio
This is where the magic gets more “oldskool.”
Open the resampled clip in Arrangement or Clip View and do the following:
Trim tightly
Warp carefully
For sub-heavy audio:
- Complex Pro for more detailed material
- but for pure sub, often Beats or off is safer
Shape the clip
Useful trick:
Duplicate the resample and make:
That’s a very jungle-friendly workflow.
---
Step 6: Reprocess the resample as a new bass layer
Now that you have audio, create a second-generation processing chain.
Suggested chain for the resampled audio:
1. EQ Eight
2. Saturator
3. Redux or Erosion
4. Auto Filter
5. Utility
Example settings:
#### EQ Eight
#### Saturator
#### Redux
#### Erosion
#### Auto Filter
#### Utility
---
Step 7: Build movement with automation
Dark jungle bass often feels alive because of small changes, not huge modulation.
Automate:
Good automation ideas:
This creates that “hardware being pushed” feeling without losing discipline.
---
Step 8: Turn the resample into a jungle bass instrument
For further flexibility, load the resampled file into Simpler.
In Simpler:
Why this helps:
Now you can play the resampled texture like an instrument:
This is very effective in oldskool DnB arrangements where the bass is not just a loop — it’s part of the rhythm section.
---
Step 9: Arrange it in a DnB context
A subsine resample works best when arranged around the drums.
Strong arrangement ideas:
Common jungle patterning:
Tip:
Keep the sub less busy than the drums.
In jungle, the drums often carry the detailed motion, while the sub supplies the pressure and dread.
---
4. Common mistakes
1. Making the sub too distorted too early
If you overdrive the source before resampling, you lose weight and clarity.
Fix: Add just enough harmonics to translate on small speakers, then build up after resampling.
2. Using too much stereo width
Subs should almost always stay mono.
Fix: Use Utility and keep the low end centered.
3. Warping low-end audio aggressively
This can smear the phase and make the bass unstable.
Fix: Warp only when necessary, and test against the kick and break.
4. Overcomplicating the phrase
If the bass line has too many notes, it will fight the breakbeat.
Fix: Keep the phrase simple and let processing create interest.
5. Ignoring gain staging
Resampling at too hot a level leads to ugly clipping later.
Fix: Leave headroom, and use saturation intentionally rather than accidentally.
6. Not checking phase with the kick
A dark sub can sound huge solo but vanish in context.
Fix: Check how it interacts with the kick and the low end of the break.
---
5. Pro tips for darker/heavier DnB
Tip 1: Resample multiple “generations”
Do one clean render, then run that audio back through another chain and resample again.
This gives you a more authentic baked-in grime.
Tip 2: Layer a very quiet noise bed
Use:
This helps the bass feel like it exists in the same world as 90s break edits.
Tip 3: Use envelope movement, not just LFO wobble
Oldskool darkness often feels more intentional when dynamics come from phrasing and automation, not obvious wobble bass.
Tip 4: Process the mids separately
If your subsine gets too plain, duplicate it:
Then filter them differently.
Tip 5: Build tension with pitch drops
Tiny pitch dips of -1 to -3 semitones on transition hits can add drama without turning the bass into a modern EDM effect.
Tip 6: Use Drum Buss carefully
A tiny bit of Boom and Crunch can make a sub feel like it’s living inside the breakbeat machine. Just don’t overcook it.
Tip 7: Print your best mistakes
Sometimes the rougher resample pass is the one that sounds most authentic. Save those chaotic prints — they often become fills, intros, or breakdown textures.
---
6. Mini practice exercise
Exercise: Make a 2-bar dark subsine phrase
#### Step 1
Create a mono sine bass in Operator.
#### Step 2
Write a 2-bar MIDI phrase:
#### Step 3
Add:
#### Step 4
Resample the output to audio.
#### Step 5
Duplicate the audio and make three versions:
1. Clean sub
2. Dirty sub
3. Chopped transition hit
#### Step 6
Place each version in a simple 8-bar DnB loop:
Goal:
By the end, you should have a bass phrase that feels like it belongs in a 1994-1997 jungle session, not a modern polished dubstep preset. 😈
---
7. Recap
A strong subsine resample workflow in Ableton Live 12 is about controlled degradation and musical utility.
The core process:
1. Create a clean sine-based bass in Operator or Wavetable
2. Add light pre-resample character with EQ Eight, Saturator, Auto Filter, and Utility
3. Resample to audio
4. Edit, trim, and shape the phrase
5. Reprocess the resample for extra darkness
6. Load it into Simpler if you want playability
7. Arrange it around breaks, kick patterns, and transitions
The main idea:
Don’t just make a sub.
Make a printed bass artifact that feels like it was pulled out of a battered jungle rig and folded into the groove.
If you want, I can also turn this into:

