Main tutorial
Lesson Overview
This lesson is about making vocal texture bounce against a sub-heavy DnB foundation without blowing up your headroom. The goal is that classic oldskool jungle / rollers / darker bass music tension where a chopped vocal phrase, whisper, or spoken texture feels alive and rhythmic, but the sub stays clean, strong, and DJ-ready.
In Ableton Live 12, this kind of move matters because vocal textures can easily steal low-end space, smear transients, or trigger loud peaks once you start stretching, saturating, resampling, and re-chopping them. In an advanced DnB workflow, the trick is not just “process the vocal more” — it’s to design the bounce intentionally, then resample it into a controlled audio asset that sits like an instrument inside the arrangement.
Why this technique matters in DnB:
- It creates call-and-response with the bassline and drums.
- It adds human edge and tension without cluttering the sub lane.
- It lets you build ear-catching midrange motion that translates on club systems.
- It keeps your track sounding heavy but not crushed, which is essential in a genre where low-end discipline is everything.
- A short vocal phrase chopped into 2–4 syncopated hits
- A processed version with band-limited tone, controlled saturation, and ping-pong movement
- A resampled audio clip that can be re-chopped into fills, stabs, or call-and-response accents
- A clean sub lane that keeps true low-end pressure underneath
- A mix-ready chain where the vocal texture feels energetic and dirty, but the master still has headroom
- Letting the vocal carry too much low end
- Using too much reverb on the vocal bounce
- Over-resampling a messy chain
- Making the vocal too wide
- Ignoring phase and headroom on the master
- Chopping only on-grid
- Use Echo with darker filters and a short feedback burst to create a grimy vocal slap that feels like an old dubplate echo.
- Try Resampling through Saturator and then again through simpler EQ shaping. Two clean stages often sound heavier than one extreme stage.
- If the vocal needs menace, place a Frequency Shifter very subtly on the return only. Small shifts can create eerie movement without obvious tuning artifacts.
- For jungle energy, layer the vocal bounce with a re-edited break ghost note so the human texture and drum swing feel glued together.
- Use Drum Buss lightly on the resampled vocal if it needs punch:
- Automate a band-pass sweep across the vocal texture during the build-up, then cut it back in on the drop for instant contrast.
- If the track is very dark, keep the vocal texture in a narrow 1–4 kHz lane and let the sub own everything below it. That contrast is powerful and clean.
- Build the vocal bounce in the midrange, not the low end.
- Use EQ, compression, saturation, and filtered delay to make it rhythmic and controlled.
- Resample early so you can edit it like a DnB sample, not a fragile live chain.
- Keep the sub mono, clean, and dominant.
- Think in call-and-response with drums and bass to make the vocal feel part of the groove.
- In darker DnB, less clutter means more pressure.
We’ll build a workflow that uses Ableton’s stock tools to create a vocal texture bounce: a chopped, filtered, delay-echoed, resampled phrase that moves with the groove while the sub remains mono, stable, and headroom-safe.
What You Will Build
By the end of this lesson, you’ll have a resampled vocal texture loop that behaves like a rhythmic instrument in a jungle or oldskool DnB arrangement:
Musically, picture a 174 BPM halftime-to-breakbeat transition: the drums are rolling, the sub is holding a simple root movement, and the vocal texture answers the snare on bar 2 and bar 4 with a delayed, ghosted bounce. That’s the kind of move that makes a DnB drop feel bigger without needing more layers.
Step-by-Step Walkthrough
1. Start with a tight DnB context and choose the right vocal material
Pick a vocal source that already has character: a spoken phrase, a short chant, a rave-style one-liner, or a breathy texture. For oldskool/jungle energy, a slightly gritty sample with consonants works better than a pristine pop vocal.
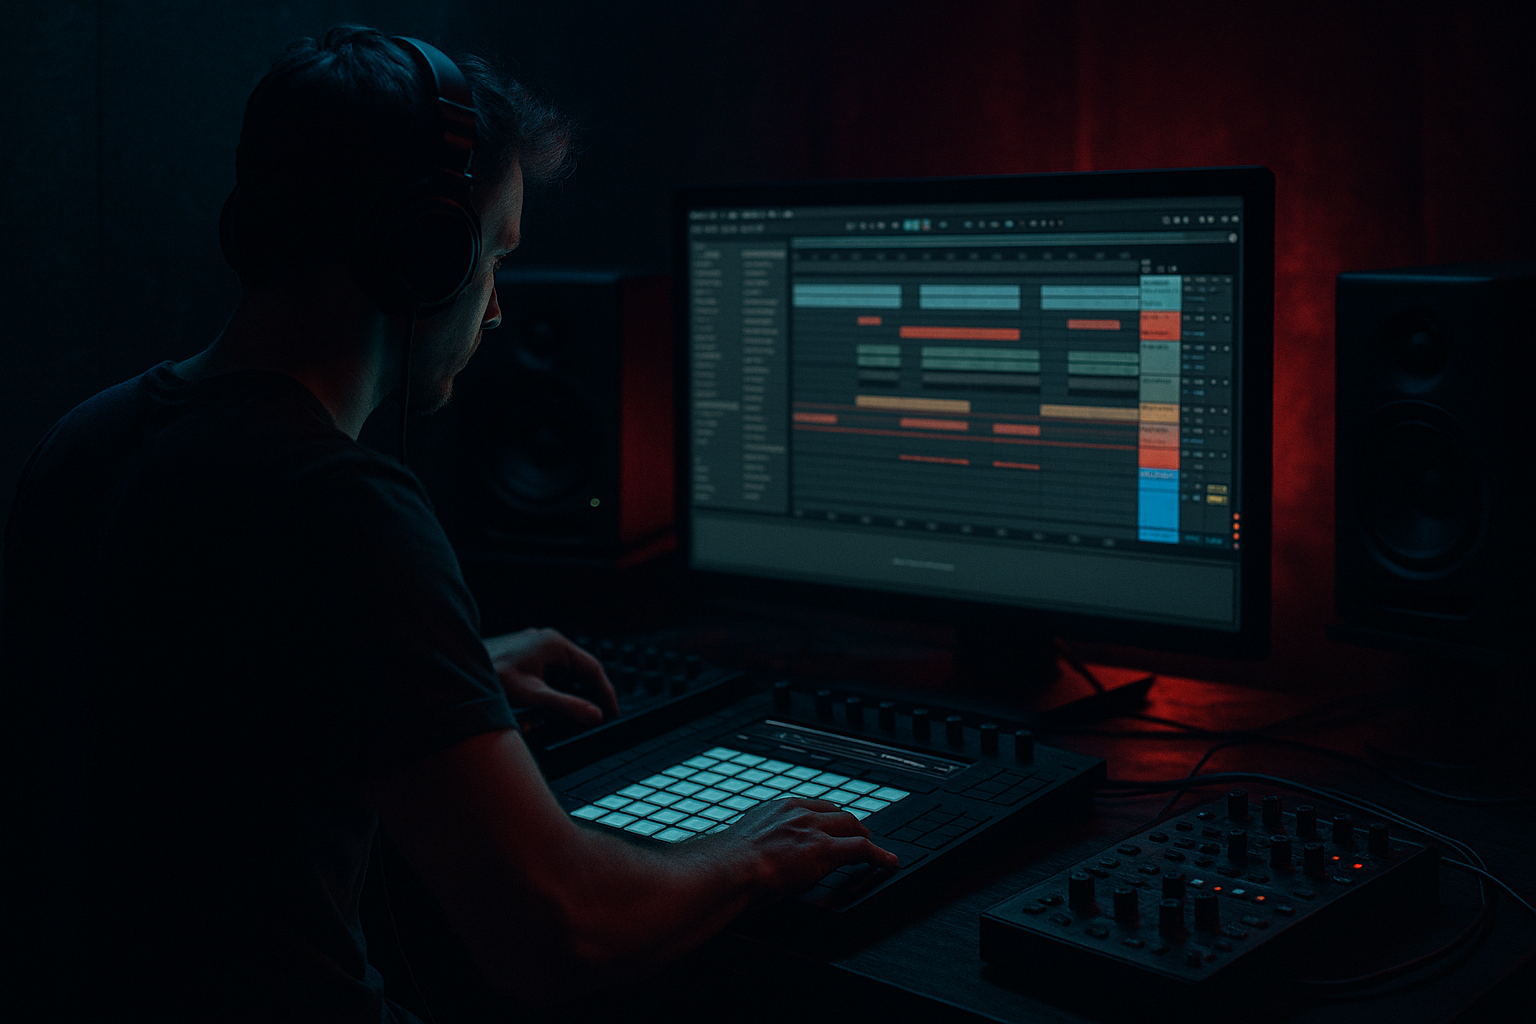
In Ableton Live:
- Drag the vocal into an Audio Track.
- Warp it if needed, but avoid over-stretching long phrases. For this technique, shorter chops are better.
- Set the project around 170–176 BPM if you want that classic DnB pocket.
- Loop a 2-bar section with drums and sub already playing.
Practical target:
- Keep the source vocal dry enough to shape
- Avoid anything with heavy room reverb baked in unless that ambience is part of the vibe
Why this works in DnB: short, rhythmic vocal fragments sit like percussion in the arrangement. They can reinforce the drum bounce without competing with the sub if you keep the source narrow and controlled.
2. Build a processing chain that creates bounce without low-end spill
On the vocal track, use a stock Ableton chain that focuses on midrange movement and clean filtering:
- EQ Eight
- High-pass around 180–300 Hz
- If the sample is thick, push it up to 350 Hz
- Use a gentle bell cut around 300–500 Hz if it sounds boxy
- If it’s harsh, tame 2.5–5 kHz by 2–4 dB
- Compressor or Glue Compressor
- Ratio: 2:1 to 4:1
- Attack: 10–30 ms for punchy transient retention
- Release: 50–120 ms for groove
- Aim for 2–5 dB of gain reduction
- Saturator
- Drive: 2–6 dB
- Turn on Soft Clip
- If it gets edgy, reduce output gain rather than driving harder
- Auto Filter
- High-pass or band-pass the vocal for a tighter DnB texture
- For bounce, try a band-pass around 500 Hz–3 kHz
- Use envelope movement or automation to open on key phrases
This chain gives you a vocal that feels present but doesn’t waste low-end energy. The point is not “make it louder”; it’s “make it rhythmically readable.”
3. Chop the vocal into a drum-like phrase
Turn the vocal into a performable rhythmic motif. In DnB, the best vocal textures often behave like ghost percussion or a second snare layer.
Try this:
- Use Warp markers to align the phrase to the grid.
- Slice the vocal into a Drum Rack or duplicate clips on the timeline.
- Build a 1-bar or 2-bar phrase with spacing that answers the drums:
- Hit 1: early offbeat pickup
- Hit 2: on or just before the snare
- Hit 3: short tail after the snare
- Hit 4: a gap or reversed consonant
Advanced move:
- Use Clip Envelopes for volume to manually shape each chop.
- Add a tiny fade-in/fade-out on every slice to avoid clicks.
- Vary chop lengths between 1/16 and 1/8 note values.
Arrangement example:
- In a jungle intro, the vocal texture can answer the break on the “and” of 2 and “and” of 4.
- In the drop, keep it sparser so the sub and drums remain dominant.
4. Add movement with delay, reverb, and controlled modulation
Now create the bounce. The goal is a texture that feels like it ricochets around the groove without building up too much energy.
Stock devices to use:
- Echo
- Time: 1/8D, 1/16, or dotted 1/8 depending on groove
- Feedback: 15–35%
- Filter the repeats so they don’t clutter the low-mids
- Use a dry/wet around 10–25% if on the track, or 100% if on a send
- Reverb
- Decay: 0.6–1.8 s
- Pre-delay: 10–30 ms
- High-pass the reverb return aggressively
- Keep the reverb narrow or filtered so it reads as texture, not wash
- Auto Pan
- Amount: 10–35%
- Rate: synced 1/4 to 1/16
- Phase: 0° if you want level-preserving amplitude movement, not stereo swirl
For advanced control, put the delay and reverb on a return track instead of the vocal channel. That way you can automate send amounts per phrase, and keep the dry vocal punchier.
Why this works in DnB: delay tails and brief ambience can make a chopped vocal feel like it’s “answering” the drums, which is exactly the kind of tension-release relationship that keeps a rollers or jungle groove moving.
5. Resample the processed bounce into audio
This is the heart of the lesson. Once the vocal texture chain is giving you the right rhythm and tone, resample it so you can treat it like a fresh sound design asset rather than a fragile live chain.
In Ableton Live:
- Create a new Audio Track named Vox Resample
- Set its input to Resampling
- Arm the track
- Record 2–4 bars of the processed vocal loop
Then:
- Consolidate the best take
- Drag the resampled audio into a new clip
- Slice it again if needed
- Remove unnecessary tails to keep the groove tight
Advanced resampling moves:
- Record one pass with more delay, one pass with less
- Record a version with automation changes in the filter cutoff
- Capture a “wet” pass and a “dry-ish” pass for layering
This is a huge DnB workflow advantage because resampling locks in the bounce and saves CPU. It also gives you a unified texture that behaves more like a sample from an old tape break than a live effect chain.
6. Shape the resampled clip so it leaves headroom for sub pressure
Once the texture is audio, trim it like a mix engineer, not like a loop pack user.
Use:
- Clip Gain to bring the resampled vocal down until it stops poking the master
- EQ Eight after resampling to remove anything that bloats the low-mids
- Utility to narrow or mono-check the clip if the stereo field feels too wide
Suggested settings:
- Keep the resampled vocal around -12 to -18 dB RMS-ish feeling relative to the sub lane, depending on the arrangement
- If the vocal has build-up below 200 Hz, cut harder than you think; this is a support layer, not a low-end source
- If it sounds sharp, dip 3–6 kHz by 1–3 dB before saturation or after resampling
For headroom:
- Put a Limiter only if the vocal has random peaks after resampling
- Don’t smash it; just catch occasional spikes
- Leave the master bus breathing so the kick, snare, and sub hit with authority
This is especially important in DnB where the sub is often long and the drums are transient-rich. A vocal that steals 2 dB of headroom can make the drop feel noticeably smaller.
7. Make it bounce against the bassline and drums
Now integrate the texture into the arrangement. This is where the track starts to feel like a real DnB tune rather than a loop.
Workflow ideas:
- Place the vocal hit after the snare to create forward pull
- Answer the bassline with the vocal on the offbeat
- Use call-and-response phrasing every 2 or 4 bars
- Leave space when the sub does a movement phrase
Example musical context:
- Bars 1–2: rolling drums, sustained sub, no vocal
- Bar 3: vocal chop on the “and” of 2 and a reversed tail into 4
- Bar 4: stronger vocal stab with filtered repeat, then a gap into the next phrase
If your bassline has a reese movement or note change, try keeping the vocal textural bounce in the midrange pocket above the bass movement. That way the two parts feel connected but not masked.
For extra groove:
- Nudge some vocal chops a few milliseconds late using the clip grid or manual timing
- Let one chop land slightly early for tension
- Vary velocity if the chops are in Drum Rack
8. Lock the sub lane so the vocal never steals pressure
This is the discipline part. If the vocal bounce is good but the low-end collapses, the technique fails.
On your sub or bass group:
- Keep the sub mono
- Use Utility with Width at 0% if needed
- Check that the sub is not fighting the vocal’s low-mids
- Sidechain lightly if the vocal processing creates low-mid swells, but don’t overdo it
On the bass group:
- Use EQ Eight to carve a pocket around the vocal’s core formant area if necessary
- If the bass is reese-heavy, tame some 200–500 Hz buildup
- Keep distortion focused on the mids, not the subs
Headroom habit:
- Leave at least a few dB of space on the master before limiting
- Make sure the vocal bounce is exciting at moderate monitoring level, not just loud
In dark DnB, this separation is everything: the vocal gives the track attitude, but the sub gives it authority.
Common Mistakes
- Fix: high-pass more aggressively, often 200–350 Hz is the right zone for this technique.
- Fix: shorten decay, increase pre-delay slightly, and filter the return hard.
- Fix: simplify before resampling. If the source sounds weak, make one strong version, not six blurry ones.
- Fix: keep the important rhythmic energy centered. Use stereo width only on the tail or delay return.
- Fix: compare the track with and without the vocal bounce at matched loudness. If the track sounds smaller, the vocal is masking the punch.
- Fix: add slight offsets and asymmetry. DnB bounce often comes from micro-timing, not perfect symmetry.
Pro Tips for Darker / Heavier DnB
- Drive: low, around 5–15%
- Transients: slightly up if you want more snap
- Boom: usually off for this purpose
Mini Practice Exercise
Spend 10–20 minutes building a two-bar vocal bounce that can sit in a jungle or rollers drop.
1. Choose a short vocal sample with attitude.
2. High-pass it and compress it until it feels tight.
3. Chop it into 3–4 rhythmic hits that answer the snare.
4. Add Echo with short dotted repeats and a little saturation.
5. Resample 2 bars onto a new audio track.
6. Trim the resampled file, remove excess low end, and keep only the strongest fragments.
7. Drop it over a sub-bass loop and compare:
- version A: vocal on the original processing chain
- version B: resampled and re-edited version
8. Decide which version leaves more headroom and feels more “record-ready.”
Goal: by the end, you should have a vocal texture that sounds like a proper DnB device, not just a sample with effects.

