Main tutorial
Lesson Overview
Oldskool snare snap is one of the fastest ways to give a modern DnB roller, jungle cut, or darker rave tune that VHS-worn personality without wrecking the mix. In this lesson, you’ll learn how to stretch and reshape a snare sample in Ableton Live 12 so it keeps its bite, gains a smeared tape-like tail, and sits like it came off a dusty rave cassette rather than a clean sample pack.
The goal is not just “make the snare longer.” The goal is to create a snare that feels emotionally bigger: a sharp front edge for impact, a slightly dragged body for attitude, and a textured afterimage that suggests old hardware, tape wobble, and rave-room air. That works especially well in DnB because snare placement is everything: the 2 and 4 in a breakbeat, the backbeat in a roller, or the hard punctuation before a drop all rely on snare character to drive momentum.
This technique matters because modern DnB often needs contrast. You might have a super-clean sub, a rolling reese, and crisp drums — but one authentically degraded snare can instantly add world-building. Used properly, it gives you “memory” in the drum sound: a little blur, a little grit, a little attic-rave energy 📼
What You Will Build
You’ll build a layered DnB snare designed for oldskool / VHS-rave flavour:
- a tight transient that still punches through busy breaks
- a stretched body that feels wider and more emotionally “smeared”
- a noisy, tape-like tail that adds vintage texture without washing out the groove
- optional reverb and saturation movement that can be automated into fills, switch-ups, and drop moments
- a version that works in a jungle break edit, a half-time darker roller, or a harder neuro-adjacent drop
- Making the snare too long
- Over-brightening the snap
- Using too much clean reverb
- Letting the low mids pile up
- Ignoring the bass relationship
- Making every hit equally degraded
- Use parallel dirt, not just insert dirt
- Sidechain the snare reverb return to the dry snare
- Automate a darker filter in switch-ups
- Add tiny pitch movement for worn hardware feel
- Pair the snare with restrained ghost notes
- Keep mono discipline
- Think in call-and-response with the bass
- start with a punchy snare source
- stretch it subtly using Simpler release or a layered warped duplicate
- shape the snap with EQ Eight
- add controlled saturation for worn tape-like density
- build a short, dark reverb tail on a return track
- layer quiet noise or foley for texture
- automate ambience and dirt for arrangement movement
- always check the snare against the bassline and full drum bus
By the end, you should have a snare chain you can reuse across projects: one clean enough for club translation, but characterful enough to give your track a signature drum identity.
Step-by-Step Walkthrough
1. Choose the right source snare and place it in a clean sampler workflow
Start with a snare that already has a strong transient and a decent midrange body. For this technique, avoid overly polished trap snares or super-long acoustic hits. Oldskool DnB works best when the source is punchy, simple, and a little dry.
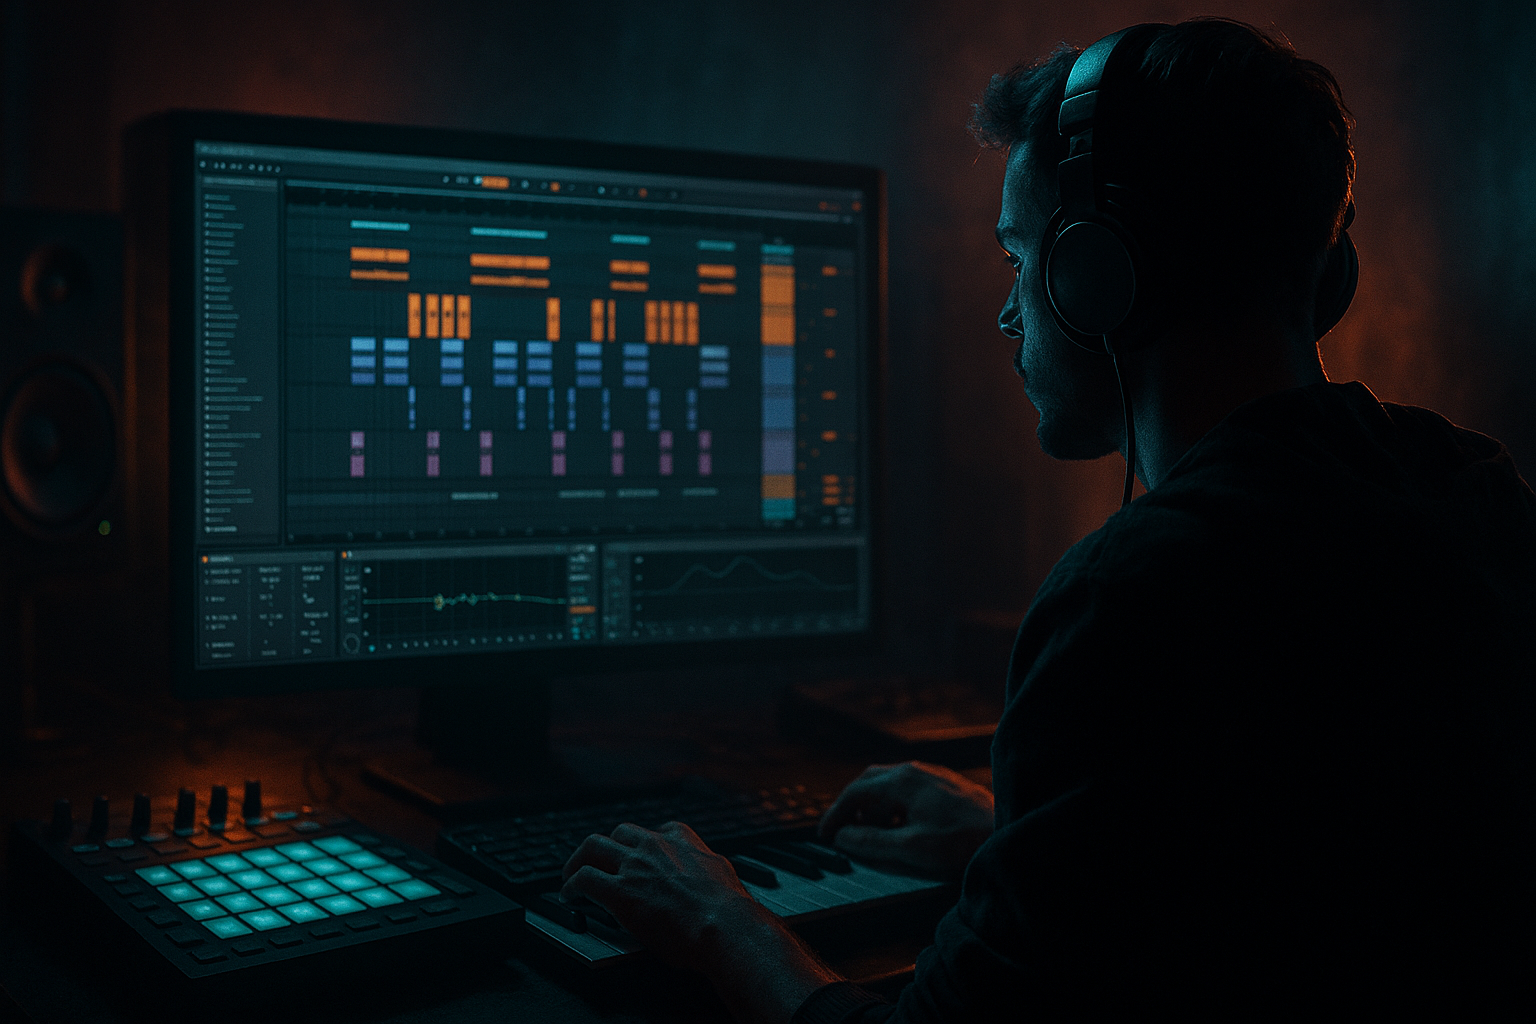
In Ableton Live 12:
- Drag the snare into a new Simpler instance
- Set Simpler to Classic mode if you want straightforward playback, or Slice only if you’re building from a break chop
- Keep Warp off for the initial source audition so you hear the original envelope clearly
Listen for a snare with:
- a clean crack around 2–6 kHz
- some mid body around 180–250 Hz
- minimal long reverb baked in
If the sample is too clean, that’s okay. We’ll age it. If it’s already overcooked, you’ll struggle to control the final shape.
2. Stretch the snare tastefully with Simpler’s envelope and playback behavior
The “stretch” in this lesson is not about turning it into a giant cinematic hit. It’s about lengthening the snare’s perceived tail so it feels like a VHS capture or a dubby cassette bounce.
In Simpler:
- Set Voices to 1 if you want a single, monophonic snare hit
- Shorten Attack to 0–2 ms to keep the snap immediate
- Extend Release to around 120–350 ms depending on how smeared you want it
- If the sample has a strong transient but dies too quickly, slightly lower the Fade or experiment with starting the sample a few milliseconds earlier to capture a tiny bit more pre-body
If you want true “stretch” rather than just longer decay, duplicate the snare onto a second audio track:
- Warp the duplicate in Complex Pro or Complex mode
- Pull the clip’s transient slightly wider by lengthening the clip to 105–115% of original feel
- Use this duplicate quietly underneath the main snare, not as the main hit
This gives you a blended result: the main snare stays punchy, while the stretched layer adds tape-like drag.
3. Shape the snap with transient EQ and filtered body
The snare needs two jobs: snap and character. In DnB, the snap keeps the groove cutting through busy bass movement, while the body gives the snare weight in 174 BPM arrangements.
Add an EQ Eight after Simpler:
- High-pass gently around 90–140 Hz to leave room for sub and kick
- Boost subtly around 180–240 Hz if the snare feels too thin
- Add a small presence lift around 3–5 kHz for attack
- If it becomes edgy, pull back around 6–8 kHz with a narrow cut
A good starting point:
- HP filter at 120 Hz
- +2 dB at 220 Hz
- +1.5 to +3 dB at 4 kHz
- -2 dB at 7 kHz if the snap gets brittle
For oldskool VHS-rave color, don’t chase hyper-clean top end. A slightly rounded snare often feels more authentic, especially when the hats and break elements are already bright.
4. Add controlled saturation with Saturator or Drum Buss
Now give the snare that worn tape edge. This is where the “color” part really happens.
Try Saturator:
- Drive: 2–6 dB
- Soft Clip: On
- Output: trim so the gain match stays honest
Or try Drum Buss if you want a more built-in drum character:
- Drive: 5–20%
- Crunch: low to moderate, around 5–15%
- Damp: adjust to keep highs from turning fizzy
- Boom: usually keep very low or off for this snare unless you want extra chesty thump
Why this works in DnB: saturation enhances transient density and brings midrange harmonics forward. In a fast, bass-heavy mix, that lets the snare speak without needing excessive level. It also makes the tail feel more “used,” which is exactly where VHS-rave mood lives.
If the snare starts sounding too modern or sharp, back off the top end after saturation with EQ Eight. The order matters.
5. Build the VHS tail with a short reverb return and filtered ambience
For a vintage rave feel, avoid giant clean halls. You want a short, slightly gritty room that seems to hang in the air just long enough to blur the backbeat.
Create a return track with Reverb:
- Decay Time: 0.6–1.4 s
- Pre-Delay: 10–25 ms
- Low Cut: 200–400 Hz
- High Cut: 4–8 kHz
- Size: moderate, not huge
- Dry/Wet on the return: 100%, then send from the snare track
Follow the Reverb with EQ Eight on the return:
- Cut mud around 250–500 Hz if needed
- Roll off a little top if the hiss gets too bright
Send only a little of the snare to this return. You want the reverb to feel like the room is being dragged behind the hit, not like the snare is swimming.
For a more tape-like vibe, put Echo very subtly on the return:
- Delay Time: 1/16 or 1/32
- Feedback: very low, 5–12%
- Filter the repeats so they’re dark
- Keep it almost inaudible until the snare hits a fill or breakdown
6. Layer a noise or foley texture underneath for worn-media character
Pure stretch can sound synthetic if you don’t give it texture. Add a quiet layer of air, hiss, vinyl noise, or a short foley click beneath the snare.
In Ableton:
- Drag a noise sample, tape hiss, room tone, or a tiny metallic tick into a second Simpler
- High-pass it above 1–2 kHz if it’s too full
- Keep it very low in the mix
- Trigger it together with the snare or slightly before it for a worn playback illusion
A useful trick: duplicate the snare audio, reverse the copy, and fade it in very short under the main hit. This can create a pre-smear that feels like old cassette buffering or tape drag.
If you’re building jungle or oldskool-inspired drums, this layer can be more obvious. In a darker neuro-leaning track, keep it tucked under the main snap so it adds character without stealing focus.
7. Control the groove with transient shaping and timing
DnB snare feel is about micro-timing as much as tone. If the snare is too perfectly grid-locked, it can lose swagger. If it’s too late, the whole drop may feel sluggish.
Try these workflow moves:
- Nudge the stretched layer a few milliseconds later than the dry snare to create a subtle “pull”
- Keep the core transient on-grid
- Use Track Delay sparingly if you want the entire snare bus to sit slightly behind the kick/bass grid
- Add Groove Pool swing only if the whole drum pocket needs movement, not just the snare
On the snare bus, a gentle Glue Compressor can help unify layers:
- Attack: 10–30 ms
- Release: Auto or 0.1–0.3 s
- Ratio: 2:1
- Gain reduction: just 1–3 dB
This keeps the snap intact while gluing the stretched body and noise layers together.
8. Automate the VHS color for arrangement moments
Don’t keep the snare exactly the same for the whole track. In DnB, arrangement movement is what stops loops from sounding static.
Use automation for:
- send level into reverb before fills
- Saturator drive increase into a switch-up
- EQ Eight high-cut slightly darker in breakdowns
- shorter reverb decay in the drop, longer in intro/outro or halftime breakdowns
A practical arrangement example:
- Intro (8 or 16 bars): snare is filtered and roomy, hinting at the final sound
- First drop: dryish snap, tight body, minimal ambience
- 32-bar switch-up: automate more send to the VHS return for 1–2 bars
- Breakdown: exaggerate the stretched tail with reverb and delay
- Second drop: return to a punchier version for impact
This kind of movement is very effective in roller and jungle arrangements because the snare becomes a transition tool, not just a fixed hit.
9. Print the result and audition it against the bassline
Once the snare chain feels good, resample it. In Ableton, freeze/flatten the track or record the snare bus to a new audio track. That gives you a committed waveform you can edit like a real sample.
Then audition it against:
- a sub line at 174 BPM
- a reese bass with midrange motion
- a breakbeat loop with ghost notes
Check whether the snare still cuts when the bass is in full motion. If the bass is masking the snare:
- reduce low-mid buildup on the snare
- add a tiny presence lift
- shorten reverb send
- carve a little space in the bass around 200–400 Hz if necessary
This is especially important in darker bass music, where dense mids can make a “cool” snare disappear in a full drop.
Common Mistakes
- Fix: shorten the reverb, reduce release, or fade the stretched layer down. In DnB, too much tail can blur the groove.
- Fix: if the snare gets harsh, cut a little around 6–8 kHz and keep the saturation more mid-focused.
- Fix: darken the return with EQ Eight and keep decay short. VHS-rave character comes from blur, not shiny space.
- Fix: high-pass the snare properly and trim around 200–400 Hz if the mix gets boxy.
- Fix: always test the snare with the actual sub/reese/drum bus. A snare that sounds great solo can vanish in a full DnB arrangement.
- Fix: reserve the heaviest stretch and ambience for fills, transitions, or the first hit of a section. Variation is what makes it feel intentional.
Pro Tips for Darker / Heavier DnB
- Duplicate the snare bus, crush the duplicate with Saturator or Drum Buss, then blend it in quietly. This keeps the main snap clean while adding menace.
- Use Compressor on the return and key it from the snare so the ambience blooms after the transient. That preserves impact in dense drops.
- A gentle Auto Filter low-pass on the snare return can instantly push the sound into rave-archive territory.
- On the stretched duplicate, try very subtle pitch variation with Simpler’s transpose or clip tuning. Keep it tiny — you want character, not obvious detune.
- In jungle or roller patterns, tiny ghost snares or pre-hits can make the stretched main snare feel bigger. Keep them low and rhythmically supportive.
- The main snap should stay centered. Use stereo widening only on the ambience or noise layer, never on the core transient. That keeps the mix club-safe.
- A heavier snare can answer a moving reese phrase. If the bassline is busy in bars 1–2, let the snare tail breathe in bar 3 or 4 as a moment of contrast.
Mini Practice Exercise
Spend 10–20 minutes making three versions of the same snare and comparing them in context:
1. Pick one snare sample and load it into Simpler.
2. Build a dry punch version with minimal release and no reverb.
3. Build a VHS version with a stretched duplicate, Drum Buss or Saturator, and a short dark reverb return.
4. Build a heavy version with extra saturation and a more obvious tail.
5. Program each version on the 2 and 4 over a simple 174 BPM drum loop with a sub and reese.
6. Bounce each one or use mute/solo to compare how it changes the groove.
7. Choose the version that best supports a track concept:
- jungle: more grain and tail
- roller: more controlled body and snap
- neuro/darker bass: tighter transient, more disciplined ambience
Goal: learn how much stretch and degradation you can add before the snare stops punching through.
Recap
To get oldskool DnB snare snap with VHS-rave color in Ableton Live 12:
The key is balance: enough stretch to feel nostalgic, enough snap to drive a DnB mix, and enough control to stay club-ready.

