Show spoken script
Title: Stereo FX Placement Around Mono Drums (Advanced)
Alright, welcome in. This lesson is about a very specific drum and bass superpower: getting drums that hit like a mono weapon, while the track still feels wide, immersive, and like it’s moving at 174 miles an hour.
And the big mindset shift is this: we’re not trying to make the drums wide. We’re placing stereo effects around drums that stay mostly mono.
If you do this right, the kick and snare remain punchy, loud, and club-safe. Meanwhile the sides carry the vibe: room, slap, shimmer, motion, and that “fast” feeling people associate with great DnB mixes.
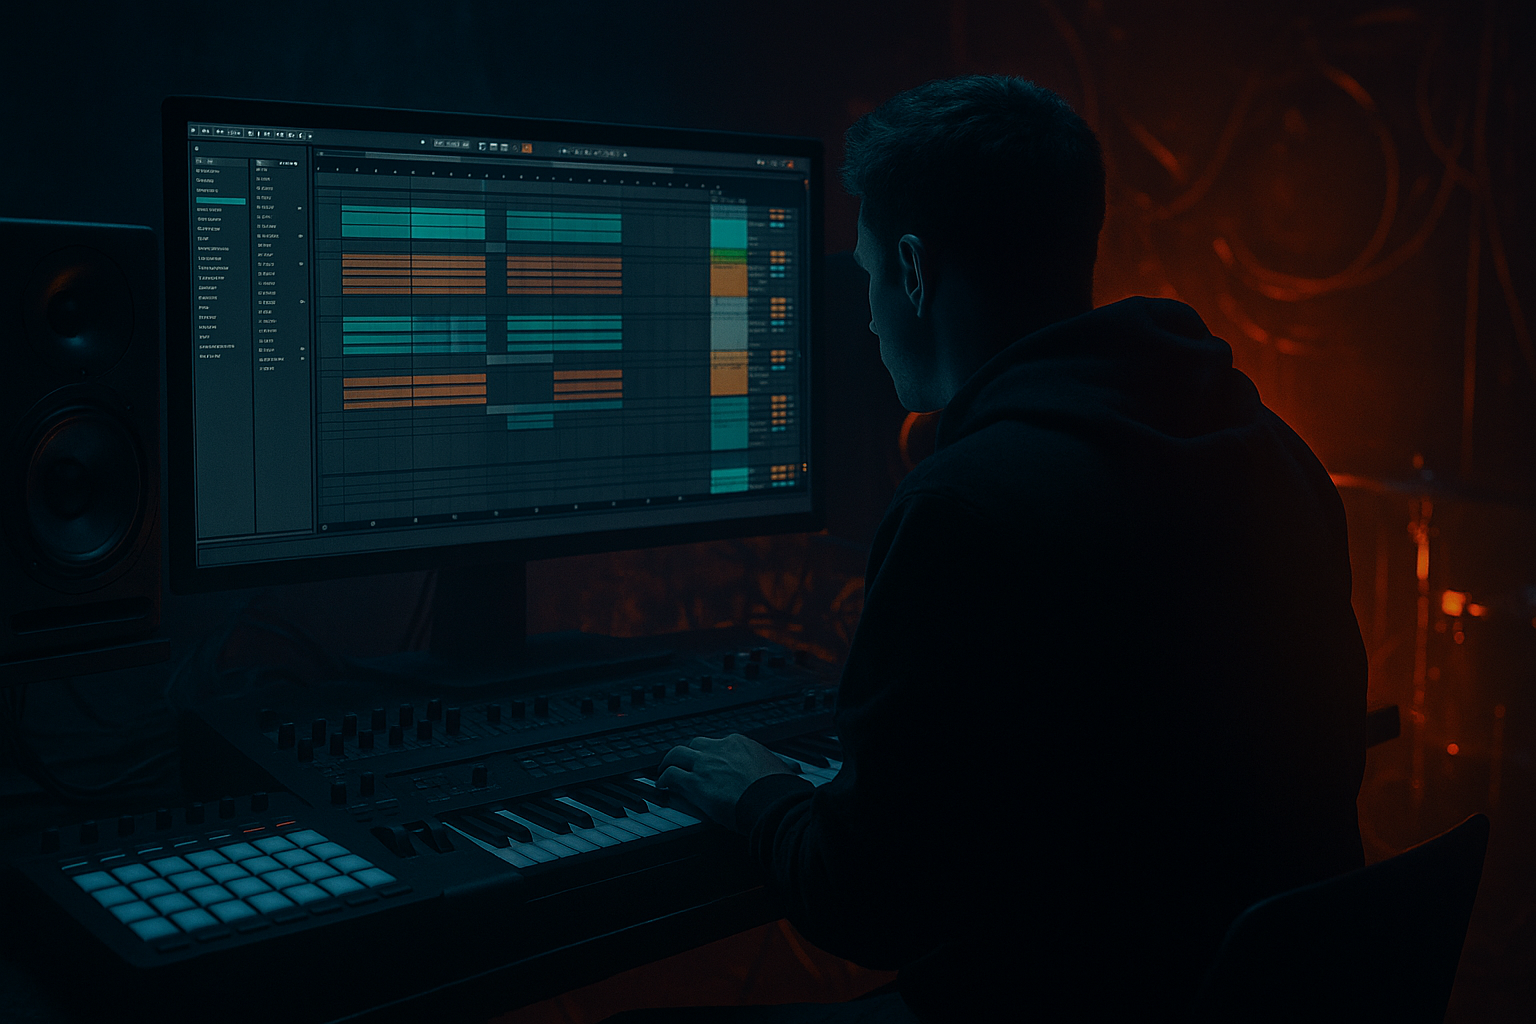
By the end, you’ll have a repeatable Ableton Live setup with a mono drum core, a network of stereo returns, and a mid-sides control rack on the drum bus so you can steer width like a pro, not like an accident.
Let’s build it.
First, set up the mono core foundation.
Create a drum group. Inside, you’ll have your kick track, snare track, hats and tops, and maybe a break layer if you’re using one. Route all of that into a DRUM BUS group channel.
Now, on the kick track, drop in Utility. Set Width to zero percent. Hard mono. Don’t touch the gain yet. Just lock the kick into the center like it’s nailed there.
On the snare track, add another Utility. Set Width somewhere between zero and thirty percent. Most of the time, the snare wants to be mostly mono for impact. If you want a tiny bit of natural spread from layering, fine. But your default should be “center first.”
On the DRUM BUS itself, add Spectrum. This is just a visual reality check while we work. Optionally add Glue Compressor. Set attack around 10 milliseconds, release on Auto, ratio 2 to 1, and you’re aiming for just one to two dB of gain reduction on peaks. That’s it. This is glue, not squash.
Here’s the core DnB mindset: kick and snare are the spear. Everything else is armor and atmosphere.
Now we build the stereo ecosystem around them using return tracks.
Create three returns. We’ll call them Return A, Return B, Return C. You’ll mostly send snare and tops into these, and usually not the kick. Or if you do, it’s extremely subtle and only for a special moment.
Return A is your tight room. This is depth without washing transients.
On Return A, load Hybrid Reverb. Use Convolution, or Hybrid mode if you like, and choose a small room or studio-style impulse response. Keep decay short: around 0.3 to 0.7 seconds. Add pre-delay, somewhere between 10 and 25 milliseconds. That pre-delay is a big deal because it lets the snare transient land first, then the room appears behind it instead of on top of it.
Now filter the reverb. Low cut around 250 to 400 Hz so you’re not putting low-mid fog on your drum bus. Optionally high cut around 7 to 10 kHz to keep it controlled and a bit darker.
After the reverb, add EQ Eight. High-pass around 300 Hz with a steeper slope. If there’s an annoying ring or harshness, it’s often in the 2 to 5 kHz zone, so dip gently if needed.
Then add Utility. Set Width around 130 to 160 percent. And if you want extra safety, enable Bass Mono and set it around 120 Hz.
Now, sends. Put snare into this room somewhere around minus 12 to minus 6 dB send. Hats and tops, maybe minus 18 to minus 10 dB send. Kick usually off.
Quick coaching note: when you toggle this return on and off, listen to the first 10 to 30 milliseconds of your snare. If the transient suddenly feels smaller when the room is on, your reverb is too upfront. That usually means the early reflections are too loud, the decay is too long, or there’s not enough pre-delay.
Alright, Return B: the snare slap. This is the classic DnB “call and response” that makes the groove feel like it’s bouncing forward.
Load Echo. Set time to one sixteenth or one eighth. If you want more of a jungle swing feeling, try something dotted, like that three sixteenth vibe. Keep feedback in the 10 to 25 percent range to start.
Turn stereo on, and you can even do a subtle left-right offset if you want the taps to feel like they’re stepping outward. Filter it: high-pass around 500 to 900 Hz, low-pass around 6 to 9 kHz. We want it to be a mid-top rhythmic enhancer, not a full-range copy of the snare.
Add a little modulation, very light. Just enough for width, not enough to sound like chorus soup.
Now the key control move: put a Compressor after Echo and sidechain it from the snare track. Ratio around 4 to 1, fast attack, like 1 to 5 milliseconds, release around 60 to 140 milliseconds. You want three to six dB of ducking when the snare hits, so the slap tucks behind the snare instead of competing with it.
Then add Utility. Width around 140 to 170 percent, and trim gain by three to six dB if it’s crowding.
Sends: snare is the main driver here, so start around minus 10 dB send. If you’ve got a break layer, a tiny amount like minus 18 can be really sweet.
And here’s a teacher trick: if the slap is loud enough that you really notice it as a separate event, it’s probably too loud. A good slap often feels like it’s increasing groove and size, but you don’t “hear” it until you mute it.
Now Return C: wide air, sides only. This is your shimmer and speed layer that should never compete with the mono punch.
Start with EQ Eight and high-pass aggressively. Like 2 to 4 kHz. Yes, that high. The whole point is that this return has no business in your low mids.
Then add Chorus-Ensemble. Keep it subtle: amount 10 to 25 percent, rate around 0.15 to 0.4 Hz, delay around 3 to 8 milliseconds. If your hats are doing busy 16th patterns and chorus gets swirly, you can swap this out later for a phase-safer widening trick using Simple Delay, but for now we’ll keep the chorus gentle.
Add Utility next. Set Width to 200 percent.
Now do the key test: briefly toggle mono on that return, or even on the master later. This wide air should lose a lot of energy in mono. That’s good. It means it’s mostly living on the edges. But it should not remove the beat’s definition when it collapses.
Optionally add Saturator after Utility. One to three dB of drive, soft clip on, just a little sparkle.
Sends: hats, shakers, rides, tops, maybe minus 14 to minus 6 dB depending on how bright the mix is. Snare can get a tiny touch, like minus 18 to minus 12, if you want extra fizz on snare hits.
Now, extra coaching note: pre-delay isn’t just for reverb. If your wide air feels like it’s dragging the groove or blurring the hit, you can put a Simple Delay before the chorus. Set it to something like 5 to 15 milliseconds, 100 percent wet, feedback at zero. That way the center transient lands first, and the width blooms right after. It feels faster and cleaner.
Next, we’re going to get advanced and put real steering on the drum bus using a mid-sides style rack. This is where you stop guessing and start controlling.
On the DRUM BUS, add an Audio Effect Rack and name it DRUM M/S CONTROL.
Create two chains. One chain is MID, your mono core. The other chain is SIDES, your width layer.
On the MID chain, add Utility and set Width to zero percent. This forces mono. Then add EQ Eight. If the snare needs a little body, a small boost around 180 to 220 Hz can help. If it’s boxy, a gentle dip around 300 to 500 can clean it.
On the SIDES chain, add Utility and set Width to 200 percent. Then EQ Eight: high-pass somewhere between 250 and 500 Hz. This is how you avoid that low-mid stereo wobble that makes DnB drums feel weak. If you want extra crisp width, add a gentle shelf up in the 8 to 12 kHz range. Then optionally add a compressor, light settings, ratio 2 to 1, attack around 10 milliseconds, release around 100 milliseconds, just one to two dB of gain reduction so side spikes don’t jump out randomly.
Now, if you like working fast, map some macros. One for the sides high-pass frequency, like 250 up to 800. One for sides level so you can tuck the width in and out quickly. And if you want, you can map room send or slap send controls too, but even just sides level and sides high-pass will change your life.
Another coaching trick: meter your side budget. Temporarily map a macro to overall width and sweep it while the groove plays. Your goal is to find the smallest width setting that still reads wide. That smallest effective width is usually the most mono-safe and the most professional.
Now let’s talk arrangement, because in DnB, stereo placement is not just mixing. It’s structure. Width is a tension tool.
In the intro, maybe the first 16 or 32 bars, let it breathe. More room, more wide air, less aggression. Tease the hats with that wide air layer, let the space feel open.
When the drop hits, pull the sides down slightly and let transients be brutal. An easy move is reducing your wide air send by two to four dB at the drop. It’ll feel like the drums moved closer to your face. That’s impact.
Then in the second 8 bars of the drop, reintroduce movement. Bring up the slap return, especially on fills, or automate the slap send only on the last hit of a phrase.
For fills, try this: automate Echo feedback up to around 35 to 45 percent for one bar, then snap it back immediately so the next downbeat hits clean. That contrast is what makes people pull the stank face. The fill gets wild, and the reset makes the groove feel even tighter.
Now, let’s do final checks. These are not optional if you care about translation.
First, mono check. Put Utility on the master temporarily and turn mono on. Your groove should still slap. If the hats vanish and the track loses all its urgency, you’re relying too much on side-only information. Pull back the wide air send, or layer a more mono-compatible hat tick underneath.
Second, correlation and phase sanity. Use your ears first: if the sides feel phasey, hollow, or like they’re shimmering in a cheap way, reduce chorus amount, reduce width, or switch to a delay-based widener. Chorus can be amazing, but on fast hats it can get swirly.
Third, low-end sanity. Under about 120 Hz, keep it basically mono. Kick and sub are king. If you hear low-end moving side to side, that’s almost always a problem in DnB.
Now, let’s quickly cover common mistakes so you can avoid the classic traps.
Don’t just widen the entire drum bus. That’s how you smear transients and lose snare crack. Don’t use long, bright reverbs on fast drums; anything around a second or more often turns rolls into fog. Don’t forget pre-delay on snare reverb, because without it the reverb eats the transient. Don’t put low-mids in your wide layers; the 250 to 600 zone on the sides is where mixes go to die. And be careful with over-chorused hats; they can sound exciting in stereo and then collapse in mono. Also, avoid sending the kick into stereo ambience unless it’s a deliberate special effect moment.
Now a few pro tips for darker, heavier DnB.
Try a darker room instead of a bright hall. High cut the reverb around 6 to 8 kHz, and push pre-delay a bit longer, like 20 to 30 milliseconds. You get punchy darkness without hashy brightness.
For side-only grit, distort only the air band. On your wide air return, do high-pass first, like 3 to 6 kHz, then saturation or overdrive. That adds menace without mud. If it gets sharp, control it with a de-esser or dynamic EQ.
If your reese bass is wide, keep drums less wide and focus drum width in returns, not in the core. Let the bass own the sides; let the drums own the center.
And if you want that jungle-style slap, keep the echo filtered and sidechain-ducked. That’s how it bounces without clutter.
Let’s wrap with a quick 15-minute practice flow you can actually do today.
Load a rolling DnB drum loop, or program a simple kick, snare, and hats pattern around 174 BPM.
Force the kick mono with Utility width at zero. Keep snare mostly mono.
Create your three returns: a tight room with about half a second decay and around 15 ms pre-delay, a slap echo at one sixteenth filtered and ducked by the snare, and a wide air return high-passed around 3k with subtle modulation and width at 200.
Then automate: pull the wide air send down by about 3 dB at the drop. Push the slap feedback up for one fill bar. Then do the mono check on the master. If the groove loses energy, reduce reliance on the wide air and add a mono-friendly top layer so the rhythm stays defined even when collapsed.
Your deliverable is a 16-bar loop where you can clearly hear the difference between the intro vibe and the drop impact, without the center getting weaker.
Final recap to lock it in.
Kick and snare stay mono-forward for impact and translation. Width comes from stereo returns and frequency-focused side layers. Pre-delay, filtering, and sidechain ducking keep effects behind the transient. Use a mid-sides control rack: mono core, clean sides. And automate stereo placement across phrases so the track feels like it’s evolving, not just looping.
If you tell me what drum sources you’re using, like clean one-shots versus breaks, and what style you’re going for, rollers, neuro, or jungle, I can suggest the best return setup and which macros to map so you can drive this like an instrument.