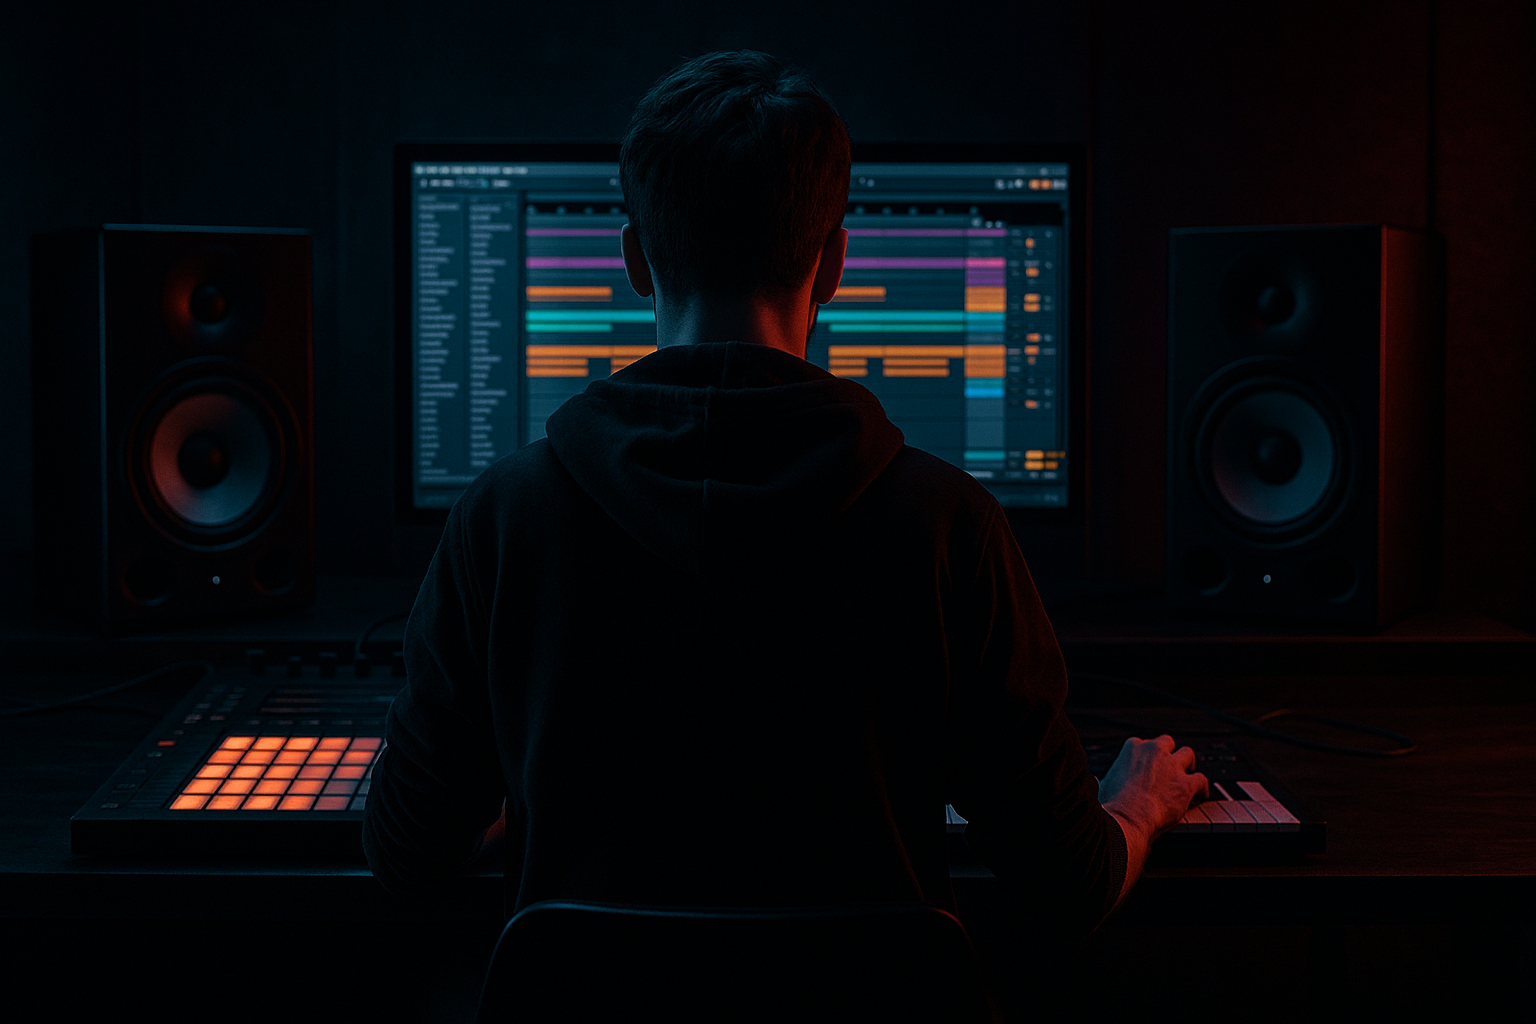
Main tutorial
Lesson Overview
Stepper transitions are one of the fastest ways to make a DnB or jungle tune feel like it’s driving forward with intent instead of just “moving to the next section.” In this lesson, you’ll build an automation-first transition workflow in Ableton Live 12 that creates that classic stepper tension: drums keep marching, bass energy rises, FX open up, and the drop feels earned. This is especially useful in oldskool jungle, dark rollers, and heavier modern DnB, where the transition has to feel musical, not overproduced.
The core idea is simple: instead of relying on random fills or huge risers, you’ll shape the transition using automated movement in drums, bass, filters, reverb throws, delay throws, and mix-bus control. That gives you a tighter, more DJ-friendly result, while still sounding dramatic and alive.
Why it matters in DnB: the best transitions often keep the sub and rhythm language intact while changing the texture, stereo field, and tension. That’s exactly what a stepper does well. It can carry the listener from one 16- or 32-bar phrase into the next without losing dancefloor momentum.
What You Will Build
You’ll build a 4- to 8-bar transition section for a DnB track that works between a groove-heavy phrase and a drop or switch-up. The result will feel like:
- a stepping break / programmed drum loop that stays urgent
- a sub or reese bassline that becomes more unstable and tense as the transition approaches
- a controlled rise in energy using automation on filters, distortion, reverb sends, delay throws, and drum buss movement
- a DJ-friendly arrangement that still hits hard in a club mix
- a finish that feels suitable for jungle oldskool vibes, but can also sit inside a darker roller or neuro-influenced tune
- Making the transition too FX-heavy
- Opening the bass too wide
- Using one long rise instead of phrase-based automation
- Letting reverb smear the drum break
- Overcompressing the drum bus
- Ignoring the low end during the build
- Use Saturator on the bass group with Soft Clip on and drive around 3–7 dB for gritty midrange weight.
- Add a very subtle Auto Pan to hats or texture layers at 1/8 or 1/16 for movement, but keep bass and kick centered.
- Try Roar on a bass or drum parallel return for aggressive harmonic dirt, then blend it low so the original punch remains intact.
- Use EQ Eight to carve space around the snare crack and bass growl before the drop; cleaner midrange equals heavier impact.
- For a darker roller, automate a slight low-pass closing on atmospheres while the drums stay bright. That creates a tunnel-like transition.
- For neuro-leaning weight, automate only the upper-mid presence of the bass while the sub stays constant. The ear interprets this as motion without losing floor pressure.
- If the transition feels too polite, remove one kick or snare hit right before the drop. Silence is heavy.
- Keep an eye on the master. If your transition gets louder only because of more layers, it usually won’t feel as powerful as a carefully automated drop in density and tone.
- Stepper transitions in DnB work best when drums drive the tension and automation supports the groove.
- Keep the sub stable and automate the reese, hats, drums, and FX for motion.
- Use Ableton stock devices like Auto Filter, Drum Buss, Saturator, Utility, Glue Compressor, Echo, Reverb, EQ Eight, and Roar.
- Shape the build in phrase-based steps so it feels musical and DJ-friendly.
- For jungle and oldskool vibes, prioritize break edits, ghost notes, short throws, and rhythmic switch points over huge cinematic risers.
- Think like a mastering-minded arranger: preserve clarity, manage low end, and make every automated move serve the drop.
Musically, imagine a section where a 2-bar drum pattern is locked in, the bass line keeps the groove moving, and every 4 bars the whole system shifts slightly: hats get brighter, snare ghosts become more active, the reese opens up, then the drop lands with a clean, heavy reset.
Step-by-Step Walkthrough
1. Set up a transition lane in Arrangement View
Start by choosing a spot where the track needs forward momentum: usually the last 4, 8, or 16 bars before a drop, switch, or second-half groove change. In Ableton Live 12, duplicate your main drum/bass section and create a dedicated transition lane so you can make decisions quickly.
- Put your drum break group, bass group, FX group, and returns in clear color-coded tracks.
- Use locators for “Pre-drop,” “Transition,” and “Drop.”
- Loop the section and commit to a phrase length: for DnB, 8 bars is a strong starting point, especially if you want a jungle-flavored build that doesn’t feel too modernized or overlong.
For an oldskool-style stepper, think in 2-bar micro-phrases inside an 8-bar macro phrase. That gives you the classic “something is happening, but the groove never stops” feeling.
2. Build the drum engine first, not the FX
In this workflow, the stepper comes from the drums. Before adding any risers, create a drum pattern that already feels like transition drive.
Use:
- a main break loop or chopped break in Simpler
- a programmed kick/snare layer
- closed hats or ride accents for forward motion
- ghost notes and shuffled hits for glue
Stock-device move:
- Put the break into Simpler in Slice mode or Classic mode depending on how much control you want.
- Add Drum Buss to the drum group.
- Use Transient around 10–25% if the break needs a sharper edge.
- Keep Boom subtle or off if the sub is already strong; for darker rollers, a tiny Boom amount can add weight, but don’t let it cloud the low end.
Create movement by editing the break:
- shorten the last snare before the drop
- add a ghost kick 1/16 early or a late hat hit
- mute one kick in bar 7 or 8 so the listener hears the phrase shift
This is important because in DnB, rhythmic displacement is often more effective than big FX. A well-edited break tells the listener “we’re entering a new phase” without killing the groove.
3. Design the bass as a moving tension source
Now take the bassline and turn it into a transition tool. For this lesson, a sub-supported reese or stepper bass works best. Keep the bassline phrasing simple, then automate its character.
Stock Ableton options:
- Wavetable for a reese with motion
- Operator for a clean sine sub layer
- Saturator or Roar for harmonic grit and midrange presence
- Auto Filter for opening and closing movement
Practical bass setup:
- Sub layer: Operator sine, mono, no stereo widening, low-pass it if needed
- Reese layer: Wavetable with two detuned saws or a stacked wavetable, mild unison, low-mid focus
- Group them and keep the sub and reese separate for mixing control
Automation targets:
- Auto Filter cutoff on the reese: start around 180–400 Hz for the transition and open toward 1.5–4 kHz depending on how aggressive the tune is
- Saturator drive: automate from about 2 dB to 6 dB during the build, then reduce slightly on the drop if the bass gets too dense
- Wavetable position or filter envelope amount for subtle motion, not huge sweeps
Why this works in DnB: the sub anchors the floor while the moving upper harmonics provide emotional tension. In a fast genre like DnB, your ear needs a stable low-end reference even when the arrangement gets more chaotic.
4. Create automation lanes for “pressure,” not just effects
Open the automation view and map the transition like a pressure curve. Don’t automate everything in one huge rise. Instead, shape several small changes that stack together.
Key automation lanes to try:
- Drum Buss Transient: add attack in the last 2 bars
- Auto Filter cutoff on bass or drum bus
- Utility gain on a pre-fx group for tiny level rides
- Reverb decay or dry/wet on snare throws
- Echo feedback or dry/wet on a transitional hit
- EQ Eight high shelf on hats or atmosphere bus
Suggested ranges:
- Drum Buss Transient: 0% to 20%
- Reverb dry/wet on a throw: 8% to 25%
- Echo feedback: 15% to 35%
- Auto Filter resonance: 1.0 to 2.5, depending on how peaky you want the sweep
Instead of drawing a single ramp, automate in steps:
- Bar 1: slightly more hats
- Bar 2: bass opens a little
- Bar 3: drum density shifts
- Bar 4: a short FX hit or snare delay throw
- Final bar: collapse or strip elements right before the drop
This creates that “stepper” feeling: forward motion through incremental changes, not a generic EDM build.
5. Use returns for throws and space, not permanent wash
Set up two return tracks:
- Return A: Reverb
- Return B: Echo
Keep them controlled and automate sends only on selected hits. For oldskool jungle and darker DnB, this is crucial: you want event-based space, not a wash that blurs the break.
Suggested stock device chain on Return A:
- Hybrid Reverb or Reverb
- EQ Eight after it to remove low end below about 200 Hz
- Optional Auto Filter to darken the tail
Suggested stock device chain on Return B:
- Echo
- EQ Eight after it, cutting lows and taming highs if needed
- optional Saturator for dirty repeats
Workflow:
- Automate the send level only on the last snare of a 4-bar phrase
- Use a short throw on a rimshot, vocal stab, or break snare
- Keep the return throws short enough that they leave room for the drop
For jungle vibes, a quick reverb throw on a chopped snare can feel very authentic. It adds that sense of space without losing the sampled break identity.
6. Shape the transition with mix-bus automation
This is where the “mastering” mindset comes in: you’re not just designing sounds, you’re shaping how the full section translates. In Ableton, use a drum bus and a music bus, then make subtle automation decisions that improve clarity and punch.
Useful stock devices on buses:
- EQ Eight
- Glue Compressor
- Saturator
- Utility
Practical bus strategy:
- On the drum group, apply Glue Compressor with 2:1, attack around 10 ms, release on Auto or around 0.3–0.6 s
- On the music/bass group, use Utility to narrow width slightly in the transition if the section becomes too wide
- On the master, keep things light: if you use any processing, make it very subtle and temporary
Two strong automation moves:
- automate a 1–2 dB dip on the music bus just before the drop, then bring it back at impact
- automate a small high-shelf lift on hats or atmosphere from around 8 kHz upward to make the transition feel brighter without adding extra notes
This matters because DnB transitions often fail when the arrangement gets “big” but not “clear.” A little bus shaping can make the drop feel much larger without needing more layers.
7. Program a classic oldskool-style switch point
For a jungle/oldskool feel, create a recognizable switch point near the end of the transition. This could be:
- a 1-beat drum drop
- a snare flam
- a break chop fill
- a bass mute for half a bar
- a reverse crash into the drop
Musical context example:
- Bars 1–4: original roller groove
- Bars 5–6: bass filter opens, break gets busier, hats brighten
- Bar 7: kick drops out for half a bar, snare echo throw appears
- Bar 8: full stop or partial stop, then the new drop lands with the break and bass reset
If you want a more oldskool jungle vibe, use a short break fill rather than a huge uplifter. Think of classic dancefloor momentum: the energy comes from the rhythm shifting more than from cinematic effects.
8. Print and refine by resampling the transition
Once the automation is working, resample the best transition pass into a new audio track. This is a very DnB-friendly workflow because it lets you commit to the vibe and create unique fills.
Do this when:
- the break edit feels good
- the bass movement is working
- the FX throws sound musical
- you want extra control over tails and timing
In Ableton:
- Route the transition group to a new audio track
- Record the section
- Slice the printed audio into the Arrangement or a Simpler instrument for later use
Why this helps: resampling turns a “programmed transition” into a custom transition asset you can reuse in the intro, breakdown, or next tune. This is especially useful in mastered arrangements where you want consistency and speed.
Common Mistakes
- Fix: let drums and bass do most of the work. Use FX as accents, not the whole story.
- Fix: keep the sub mono with Utility or careful instrument design. Let movement happen in the mids and highs.
- Fix: shape movement in 2-bar or 4-bar increments so the groove feels intentional.
- Fix: high-pass the return and keep throws short. Jungle rhythms need definition.
- Fix: keep Glue Compressor subtle. You want punch and bounce, not flattened transients.
- Fix: check that the sub remains stable until the intended moment. DnB drops hit harder when the low end is disciplined.
Pro Tips for Darker / Heavier DnB
Mini Practice Exercise
Spend 10–20 minutes building a transition in an 8-bar loop:
1. Start with one break, one sub bass, and one reese layer.
2. Program a simple 2-bar drum pattern that feels like a stepper.
3. Automate the reese filter cutoff from closed to open across 8 bars.
4. Add one reverb throw and one echo throw on the last snare before the drop.
5. Use Drum Buss to add a tiny transient lift in the final 2 bars.
6. Resample the whole transition once.
7. Compare the printed version to the live version and ask: which feels tighter, clearer, and more dancefloor-ready?
Goal: make the transition feel like a controlled escalation, not a generic build.

