Main tutorial
Lesson Overview
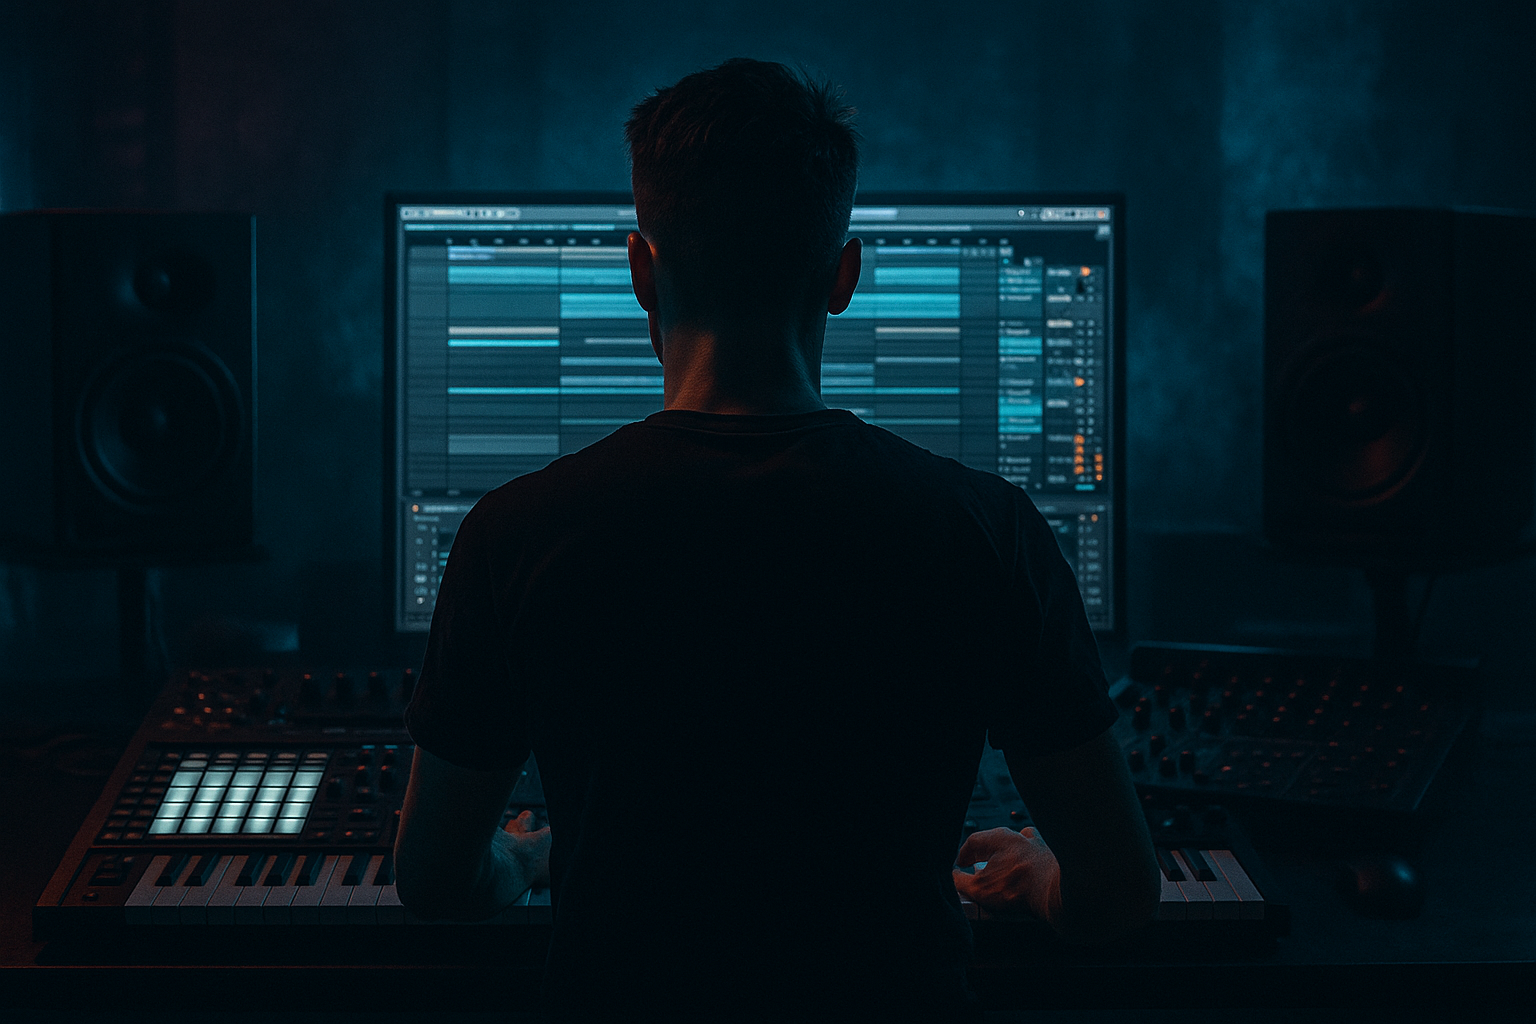
This lesson is about turning a stepper top loop into a full-strength oldskool jungle / DnB arrangement move using Session View as the sketchpad and Arrangement View as the final performance edit in Ableton Live 12. The goal is not just to make a loop sound good in isolation — it’s to make it drive a track.
In DnB, the top loop is often the glue between the kick/snare foundation, bass movement, and arrangement energy. A well-built steppy top loop gives you motion without clutter, swing without losing punch, and that “rolling forward” sensation that keeps a tune alive at 174 BPM. This matters because jungle and oldskool-inspired DnB often live or die on micro-edits, break variation, and arrangement tension. If the top loop is static, the whole track can feel flat even if the bassline is solid.
You’ll use Ableton’s stock tools to:
- chop and drive a break-top layer
- add ghost-note movement and syncopation
- shape the loop with groove and transient control
- build a Session View performance
- translate that performance into Arrangement View with edits, mutes, fills, and automation
- keep it DJ-friendly and club-functional
- a tight top-break layer with shuffled hats, chopped ghost hits, and snappy percussion
- a variation lane for fills, stutters, reverse tails, and one-bar switch-ups
- a Session View performance you can jam live
- a four- to eight-bar arrangement section that creates motion over a bassline
- enough space left for sub weight, reese movement, and snare impact
- a loop that feels right for oldskool jungle, roller energy, or darker DnB tension
- Overloading the top loop with too many slices
- Letting the break-top fight the snare
- Using too much compression
- Ignoring arrangement variation
- Stereo widening the loop too much
- No headroom before the master
- Layer a very quiet, distorted top texture
- Use subtle envelope shaping for harder transients
- Automate filter tension into drop switch-ups
- Create a “ghost bar”
- Keep low-end discipline
- Resample your best edited pass
- Build the top loop as an arrangement tool, not just a loop.
- Use Session View to sketch variations fast, then perform into Arrangement View for real edit decisions.
- Keep the top loop tight with EQ Eight, Drum Buss, Glue Compressor, Auto Filter, and Utility.
- Make the groove evolve every 4–8 bars with small, musical edits.
- Prioritize snare space, bass clarity, mono discipline, and phrase tension.
- In jungle and oldskool DnB, the best top loops feel alive because they’re edited with intention.
This is an edits-focused workflow: fast decisions, musical variation, and practical arrangement moves that make a DnB track feel like it’s evolving bar-by-bar rather than looping endlessly.
What You Will Build
By the end, you’ll have a steppy top loop system that works like a classic jungle/DnB arrangement element:
Musically, think of a track where the intro is DJ-friendly, the drop lands with a clean snare + sub relationship, and the top loop starts as a simple ride/hat engine before evolving into chopped break energy and little fills that push each 8-bar phrase forward.
Step-by-Step Walkthrough
1. Set up a clean Session View skeleton for the edit
- Start at 170–174 BPM for authentic jungle / oldskool DnB energy.
- Create three audio tracks:
- DRUM TOP
- DRUM BREAK
- FX / EDITS
- If you already have a kick/snare or full drum bus, keep this lesson focused on the top-loop layer. The idea is to make the top loop support the main drums, not fight them.
- Drop in a break top loop, percussion loop, or your own edited break slice onto DRUM TOP. If using a full break, high-pass it aggressively later.
- Create 4–8 empty clips across the scene rows to represent sections:
- Intro
- Drop A
- Drop A variation
- Fill
- Breakdown
- Drop B
- This gives you an editable structure before you even move to Arrangement View. That’s the key: design the phrase first, not just the loop.
2. Slice the top loop into playable pieces using Simpler or Slice to New MIDI Track
- If your loop is audio, right-click and choose Slice to New MIDI Track.
- Use Transient slicing for break material, or 1/8 if the source is already clean and rhythmic.
- Ableton will create a Drum Rack with slices mapped to pads. This is gold for edits because you can now:
- mute individual hits
- reorder ghost notes
- trigger fills manually
- duplicate patterns across scenes
- If you prefer staying audio-based, keep the loop on an audio track and use Warp markers to tighten the groove.
- For a more surgical approach, place Simpler in Slice mode and load the break. This is great when you want a top loop to be re-performed with a MIDI clip.
- Useful settings:
- Warp Mode: Beats for percussive material
- Preserve: 1/8 or Transients
- Gain: trim so the loop peaks around -12 to -9 dBFS before processing
- Why this works in DnB: chopped top loops let you control momentum. DnB arrangements thrive on subtle variations every 1–2 bars, especially in jungle and roller styles where the loop must feel alive but not distract from the sub and snare.
3. Shape the top loop with EQ, transient control, and groove
- On the top loop track, add EQ Eight first.
- High-pass the loop around 150–250 Hz depending on how much low-mid junk is in the sample. For oldskool jungle, you may keep a little more body; for heavier neuro-influenced DnB, clean it harder.
- If the loop sounds boxy, reduce 250–500 Hz by 2–4 dB with a medium Q.
- If the hats are sharp or brittle, use a gentle cut around 7–10 kHz instead of over-compressing.
- Add Drum Buss after EQ if you want more punch and glue:
- Drive: 5–15%
- Transients: +5 to +20 for sharper top hits
- Boom: usually off on top loops unless you deliberately want extra low thump
- Add Glue Compressor only lightly if needed:
- Ratio: 2:1
- Attack: 10–30 ms
- Release: Auto or 0.1–0.3 s
- Aim for just 1–2 dB gain reduction
- For swing, apply a groove from the Groove Pool:
- try MPC 16 Swing 54–58 for a subtle lilt
- or a broken-break groove if you’re staying more jungle-authentic
- Use Track Delay or tiny clip nudges if the top loop feels late against the snare. The goal is a loop that sits slightly behind or on top of the pocket, not randomly drifting.
4. Build a call-and-response top pattern instead of a static loop
- In Session View, create at least two variations of the top loop:
- A: main drive
- B: edited response
- A good A pattern might be:
- hats on the offbeats
- light ghost hits before the snare
- a few break chatter slices for texture
- B pattern might add:
- one extra 1/16 hat rush
- a snare ghost pickup
- a reversed cymbal or tiny break stab at the end of bar 2 or 4
- Keep the edit musical. Don’t overload every bar. In DnB, the listener needs room to hear the bassline and snare impact.
- If using MIDI slices, program velocity changes:
- main hats around 70–95
- ghost notes around 20–55
- accents up to 110–120
- This is where the “Stepper” feel comes in: the loop should feel like it’s walking forward in small, determined steps, with variation happening in the spaces between the strong downbeats.
5. Add movement with audio effects and automation lanes
- On the top loop group or track, use Auto Filter for arrangement motion:
- Intro: low-pass around 3–8 kHz
- Build: open to 12–16 kHz
- Drop: full open or subtle movement only
- Automate Resonance lightly if you want a more tense oldskool sweep, but keep it controlled. Too much resonance will sound cheap and poke the mix.
- Add Saturator for grit:
- Soft Clip: On
- Drive: 1–6 dB
- Use Analog Clip if you want a rougher edge
- If the loop needs a more broken, tape-ish vibe, use Redux very subtly:
- Downsample just a touch
- Bit reduction sparingly
- Try Beat Repeat on an FX return or duplicate track for fills only:
- Grid: 1/16 or 1/8
- Chance: 10–30%
- Interval: 1 bar or 2 bars
- keep it automated on at phrase ends, not constantly
- In Arrangement View, automate filter opening on the last 1–2 bars before the drop. That’s classic DnB language: tension, then release.
6. Perform the arrangement in Session View like a live edit pass
- Set up scene launches for phrase control:
- Scene 1: filtered intro top loop
- Scene 2: full main loop
- Scene 3: variation with extra ghost notes
- Scene 4: fill scene with stutters or reverse hit
- Hit record in Arrangement View and perform scene changes in real time.
- Mute and unmute the top loop track to create space around major snare moments.
- Use clip envelopes or clip gain for short-term changes:
- reduce clip gain by 1–3 dB in breakdown sections
- push it back up for drop impact
- Good arrangement move:
- Bars 1–8: filtered intro top loop
- Bars 9–16: full loop enters with bass
- Bars 17–24: add a chopped response layer
- Bars 25–32: strip back for 1 bar, then reintroduce with a fill
- This performance-style editing is powerful because it captures human decision-making. Instead of drawing everything perfectly static, you’re shaping energy like a DJ or live programmer would.
7. Translate the Session View performance into clean Arrangement View edits
- Once recorded, go into Arrangement View and tighten the section boundaries.
- Cut out weak transitions and make the edits deliberate:
- use short fades on audio clips
- trim tails so fills don’t clash with the snare
- consolidate repeated shapes if they feel repetitive
- Add one or two micro-edits per 8 bars:
- a one-hit mute
- a reverse cymbal pickup
- a 1/2-bar stutter before a drop
- Keep the top loop balanced with the main drums. If the break-top is crowding the kick/snare, carve a bit more low-mid and reduce density in the fill bars.
- This is the “edit” skill in DnB: not just writing loops, but choosing where not to play.
8. Lock the top loop into the track with bass and drum relationship checks
- Solo the top loop with the bass and snare.
- Check three things:
- Does the top loop leave the snare clean at 2 and 4?
- Is the sub still solid in mono?
- Does the groove still feel forward when the top loop is muted?
- If needed, sidechain the top loop gently to the kick or snare bus using Compressor:
- just enough to duck the loop 1–2 dB on key hits
- Use Utility on the top loop to check mono compatibility and reduce width if needed. Top loops often sound wide in headphones but messy in the club.
- If you’re building a darker tune, keep the top loop slightly narrower and let the bass movement do the dramatic work.
Common Mistakes
- Fix: remove one or two hits from every 2-bar phrase. DnB needs tension, not constant chatter.
- Fix: high-pass more aggressively and cut a little around 200–400 Hz if the loop muddies the snare crack.
- Fix: aim for control, not flattening. If the loop loses bounce, back off the Glue Compressor or Drum Buss drive.
- Fix: make at least one change every 4 or 8 bars. Even a tiny mute or fill keeps the listener locked in.
- Fix: keep the core rhythmic information mostly centered. Use width for texture, not for the essential groove.
- Fix: keep your drum and top-loop bus peaking comfortably below 0 dBFS. Leave space for bass and mastering.
Pro Tips for Darker / Heavier DnB
- Duplicate the loop and crush it with Saturator or Overdrive, then low-pass it hard. Blend it at low level for grit without obvious distortion.
- Add Drum Buss transient emphasis to make the top hits snap through dense bass layers.
- A slow low-pass opening on the top loop over 4–8 bars can make the drop feel bigger without changing the actual rhythm.
- Every 8 or 16 bars, strip the top loop down to just hats and one break stab for one bar. That moment of emptiness makes the next bar hit harder.
- If the top loop contains any rumble or room noise, cut it. Let the sub own the bottom. In heavier DnB, clarity is what makes aggression feel expensive.
- Record the loop performance to audio once it feels right. Then re-edit the resampled audio for a more committed, finished feel. This is very effective in oldskool/jungle-inspired arrangements.
Mini Practice Exercise
Spend 10–20 minutes building a mini drop section:
1. Load a break or top-loop sample into Session View.
2. Slice it to MIDI or warp it tightly.
3. Create two 2-bar variations:
- one simple drive pattern
- one with a fill at the end of bar 2
4. Add EQ Eight and cut everything below 180–250 Hz.
5. Add Drum Buss with 10% Drive and a touch of Transient.
6. Record a 16-bar performance into Arrangement View.
7. In the last 2 bars, automate a low-pass filter opening and add one short stutter or reverse hit.
8. Compare the loop soloed vs. with bass and snare. Adjust until the top loop drives the track without stealing focus.
Goal: make the top loop feel like it is propelling the drop, not just decorating it.

