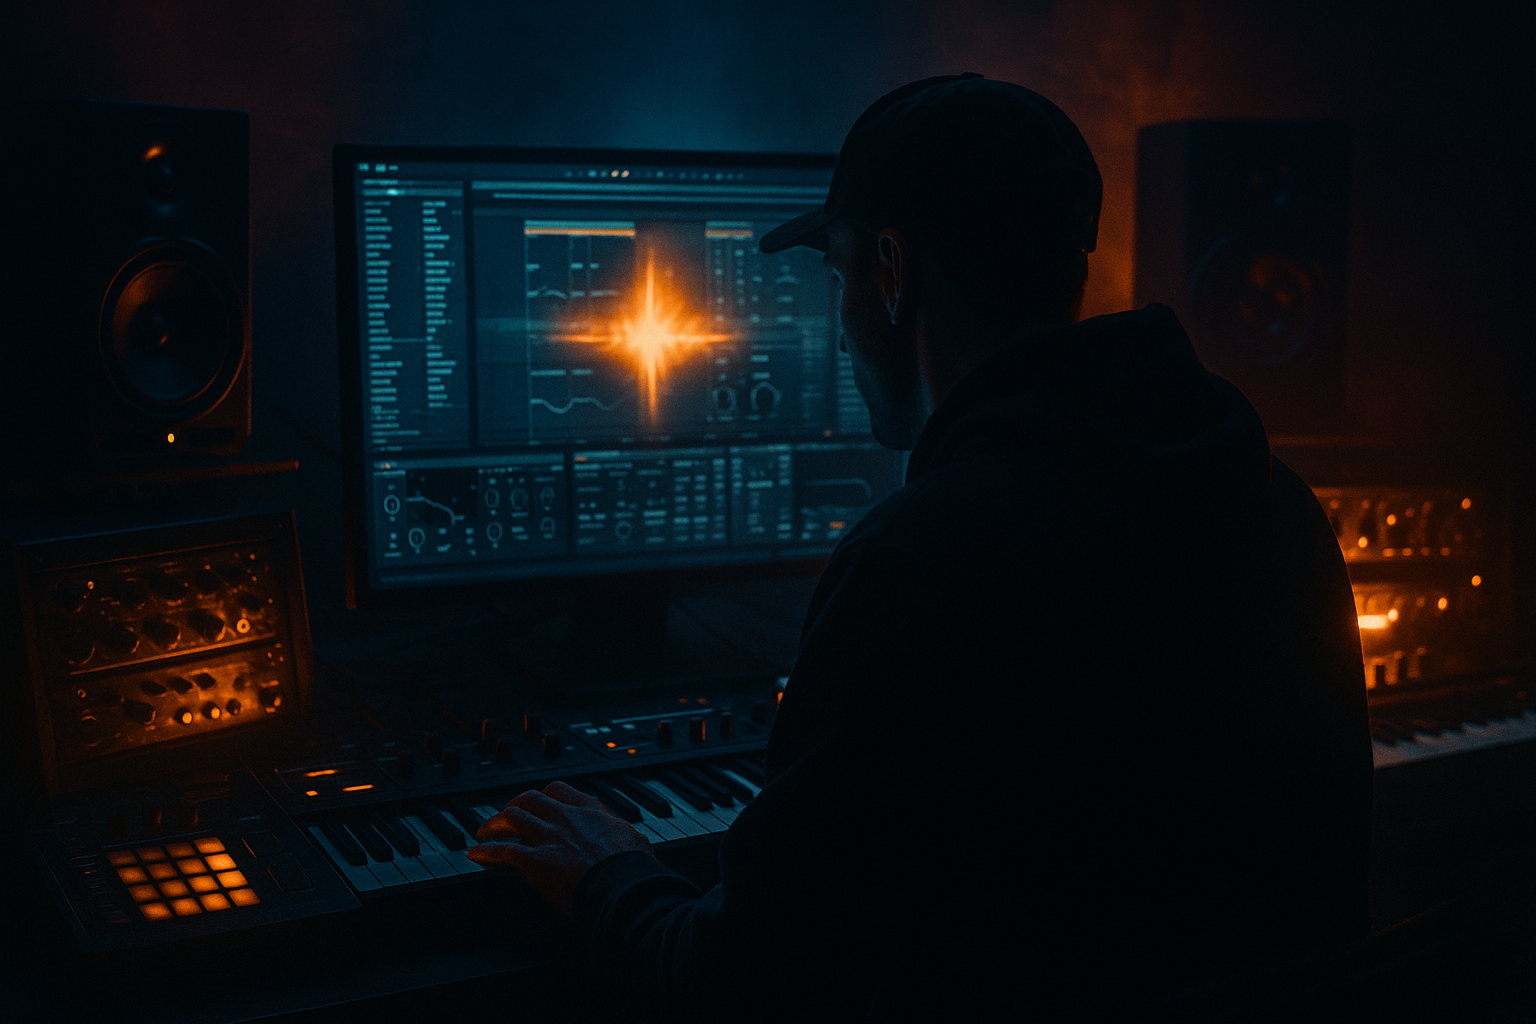
Main tutorial
Lesson Overview
The stepper system is one of the most effective ways to create that tense, forward-driving oldskool jungle / DnB transition energy without resorting to cheesy risers or overblown impacts. In Ableton Live 12, the idea is simple: you build a stepping, offset FX pattern that shifts across the bar grid so the listener feels motion, lift, and a controlled loss of balance right before the drop, switch-up, or 16-bar phrase change.
For advanced DnB production, this matters because transition FX should not just “announce” a change — they should pull the groove forward while staying rhythmically connected to the drums. In jungle and oldskool DnB, that usually means using break-derived slices, pitch movement, resonant filters, delay throws, reversed tails, and staggered note timing to create a kind of mechanical tumble. In modern rollers or darker neuro-influenced DnB, the same concept can be used to create pressure and anticipation without washing out the low end.
The “transition offset” part is what gives the system its character: instead of hitting all FX on the downbeat, you place elements slightly ahead, behind, or progressively later across the bar. That offset creates the illusion of motion and instability — exactly the kind of energy that makes a DnB drop feel bigger when it lands.
Why this works in DnB: the genre is already built on syncopation, breakbeat displacement, and sub/bass interplay. A stepped, offset transition pattern extends that logic into the arrangement layer, so the fill sounds like part of the groove rather than a separate gimmick. 🔥
What You Will Build
You’re going to build a 4- or 8-bar transition rig inside Ableton Live 12 that can be dropped before a drop, breakdown return, or switch-up section. The result will be:
- a jungle-style stepped FX phrase built from break slices and reversed hits
- a delay/filter automation pattern that shifts the listener’s focus upward
- a staggered impact system that lands just before the drop without cluttering the first beat
- a controlled offset movement that feels rhythmic, raw, and DJ-friendly
- a reusable rack you can adapt for oldskool jungle, rollers, darkstep, and neuro intro transitions
- Making the transition too full-range
- Using a riser instead of a stepped phrase
- Letting delay/reverb wash over the drop
- Too much quantization
- Overusing stereo width on low-mid FX
- No phrase logic
- Use resampled break fragments as the FX source
- Add subtle pitch drift for grime
- Layer a muted reese shadow
- Drive the drum bus, not the whole master
- Use call-and-response inside the transition
- Keep the drop dry for contrast
- one for oldskool jungle
- one for a dark roller
- keep FX rhythmic
- offset elements slightly off the grid
- high-pass the transition so it never steals sub space
- automate in 4- or 8-bar phrases
- resample and trim for a tight, professional finish
Musically, this could live at the end of a 16-bar drum-led breakdown before a drop at bar 17. The transition starts with ghosty break slices and a filtered snare roll, then the FX steps through increasingly delayed, higher-passed, and more resonant layers. On the last 1/2 bar, the system opens up with a short reverse crash and a clipped impact, then everything clears for the drop.
Step-by-Step Walkthrough
1. Choose a phrase context and mark the transition zone
In Arrangement View, identify a section where you want tension to climb — typically the last 2, 4, or 8 bars before a drop or switch-up. For oldskool jungle, 4 bars is often enough if the break is already busy; for a darker roller, 8 bars gives more room for controlled evolution.
Add locator markers for:
- pre-transition start
- last 2 bars
- drop entry
This keeps the stepper system musical instead of random. You are designing a phrase-based transition, not just placing FX hits.
2. Build a dedicated transition group
Create a new Audio or MIDI Group called Stepper FX. Inside it, place three tracks:
- Break Slice FX
- Noise / Atmosphere FX
- Impact / Tail FX
On the group, add Utility first. Set the width to 0% for anything that carries low-mid energy, then automate width later only on higher FX if needed. Add EQ Eight after Utility and high-pass the group around 120–180 Hz so the transition never steals room from the kick/sub. For heavier mixes, you may push the high-pass up to 200–250 Hz if the arrangement is dense.
This keeps the transition system clean and lets the bass stay dominant.
3. Source the step pattern from a break or ghosted drum phrase
Drag in a classic break loop or render your own drum edit from your current project. Oldskool jungle works especially well with:
- Amen-style slices
- break fragments with strong snare ghosts
- chopped hats and tiny kick pickups
Warp the clip in Complex Pro only if needed; for drum transients, Beats mode with Preserve set to 1/16 or 1/8 is often tighter. Then slice the clip to a Drum Rack or use Simpler in Slice mode.
Build a 1-bar MIDI phrase that triggers:
- kick ghost
- snare pickup
- hat shuffles
- a reversed break fragment
Keep the pattern sparse at first. The power comes from offset timing, not density alone.
4. Create the transition offset using note placement and clip start nudging
This is the core of the system. Duplicate your 1-bar MIDI clip across 4 bars, then offset the internal events so each bar shifts slightly later or earlier.
Practical approach:
- Bar 1: hits centered on grid
- Bar 2: move selected hits by 10–25 ms late
- Bar 3: move the next group 20–40 ms late
- Bar 4: leave one hit a touch ahead of the grid, then drop a reverse tail into the gap
In Ableton Live 12, you can work fast with fine nudge and clip timing. The goal is a stepping illusion: each phrase feels like it is falling forward into the next one.
For a more authentic jungle feel, offset the snare ghost notes and percussion slices so they lean around the beat rather than sitting perfectly on it. The result should feel like chopped tape or a break being reassembled in motion.
5. Shape the break slices with Drum Buss, Saturator, and transient control
Put Drum Buss on the Break Slice FX track. Start with:
- Drive: 5–15%
- Crunch: 10–25%
- Boom: usually off for the transition rig, or very subtle if the source is thin
- Transients: +5 to +20 if you want more snap
Follow with Saturator using a gentle soft clip or analog-style curve. Keep Drive around 2–6 dB and use Output gain to match level. If the break is too sharp, use Compressor with a fast attack and medium release, or a Glue Compressor lightly on the group to glue the slices.
Why this works in DnB: stepped transitions often fail because the drums either become too polite or too noisy. Saturation and bus shaping give the chopped break the density needed to cut through the mix without relying on volume.
6. Add filter motion and delay throws to create forward tension
On the Noise / Atmosphere FX track, build a controlled rising layer using stock Ableton devices:
- Auto Filter
- Echo
- Reverb
- optionally Hybrid Reverb
Suggested starting points:
- Auto Filter: low-pass or band-pass
- Frequency automation: open from about 400 Hz to 8–12 kHz
- Resonance: 10–35%
- Echo time: 1/8D or 1/4
- Feedback: 15–35%
- Reverb decay: 1.2–2.5 s for tighter rolls, 3–5 s for more atmospheric jungle tension
Automate the filter so each 1-bar segment opens slightly more than the last. Add a small delay throw only on the final hit of each bar or every second bar. This creates a stepped staircase effect: the tail is not constant, it arrives in punctuated bursts.
Keep the high end under control with EQ Eight after the effects. If the hiss gets aggressive, use a high shelf dip around 8–10 kHz or dynamic-style restraint via automation of filter cutoff.
7. Program the impact and reverse tail so the drop lands clean
On the Impact / Tail track, place one of the following:
- a short sub-less impact
- reversed crash
- reversed snare swell
- resampled noise burst from your own project
Route this through:
- Auto Filter with a rising high-pass or band-pass sweep
- Reverb with high dry/wet only on the tail
- Utility to automate width if the tail needs to bloom briefly
The key is timing. Let the impact arrive slightly before the downbeat, then cut it off or gate it so it doesn’t mask the kick/sub on the drop. A reverse tail that peaks into the last 1/4 bar and disappears on beat 1 gives the drop maximum impact.
For oldskool jungle, a reverse cymbal or snare swell is often more authentic than a huge cinematic riser. It sounds like part of the break edit culture rather than a generic EDM transition.
8. Use Return tracks for reusable FX throws and arrangement speed
Create two Return tracks:
- A: short dub delay
- B: long atmospheric wash
On Return A, use Echo with:
- Feedback: 20–30%
- Filter: high-pass around 300–600 Hz
- Wet only, no sub contamination
On Return B, use Reverb or Hybrid Reverb with:
- Decay: 2–4 s
- Low-cut: around 250–400 Hz
- High-cut to taste
Send only selected break slices, snare hits, or reverse tails into these returns via automation. This gives you a classic stepper transition structure: dry chopped drums stay upfront while the throws create depth behind them. If needed, resample the return performance into a new audio track and chop the best moments into your arrangement.
9. Automate the system as a phrase, not just a sound
Now turn the whole setup into a transition performance:
- automate filter cutoff
- automate send amount to Echo/Reverb
- automate Utility width
- automate Drum Buss transients
- automate mix/dry-wet on the final tail devices
A useful pattern:
- Bars 1–2: restrained, mostly dry, subtle filtering
- Bars 3–4: more send into Echo/Reverb, filter opens, break gets more clipped
- Final 1/2 bar: quick hit of width, reverse tail, then hard cut to dry drop
In the Arrangement View, draw automation with clear contour changes rather than random curves. The listener should feel the transition “step” upward. This is especially effective in a 16-bar DJ-friendly intro or a 32-bar breakdown return, where the change needs to be obvious but not overproduced.
10. Resample the best version and trim for mix safety
Once the transition feels right, resample it to a new audio track. This lets you:
- edit transient timing tightly
- remove excess tail noise
- reinforce the strongest moment with clip gain
- create a single consolidated FX stem for later arrangement changes
Use Warp only if you need precise alignment. In many DnB cases, it’s better to keep the resampled transition as audio and manually trim the front/back so the rhythm stays punchy.
Check the whole section in mono using Utility. Make sure the sub area stays clean and that the FX don’t collapse into mush. The transition should feel wide and exciting, but the drop must remain centered and solid.
Common Mistakes
- Fix: high-pass the transition group and returns. Keep most FX above 120–180 Hz so the sub has room.
- Fix: think in bar-by-bar movement. Add rhythmic offsets, not just a static rising noise.
- Fix: automate send levels down sharply at the drop or resample and cut the tail cleanly.
- Fix: a stepper system needs slight displacement. Nudge ghost notes and slices by tiny amounts so they feel cut and human.
- Fix: keep low-mid content narrow. Use Utility and mono checks to protect the mix.
- Fix: build the system around 4- or 8-bar phrasing. DnB transition FX should lead somewhere specific.
Pro Tips for Darker / Heavier DnB
- Chop your own drum loop, bounce it, then treat it like a texture. This makes the transition feel inseparable from the track.
- Use Frequency Shifter or automate clip transposition very slightly on reversed tails. Small movement creates tension without sounding gimmicky.
- Under the final transition bar, add a very low-passed reese or noise-bass layer with Auto Filter around 150–300 Hz cutoff. Keep it short and quiet so it acts like pressure, not a second bassline.
- Use Drum Buss or Saturator on the transition group only. Let the drums snarl while the master stays controlled.
- Let the first two bars speak with break slices, then answer with a snare tail or reversed hit in the next two bars. This keeps the FX musical, not decorative.
- The heavier and more processed the transition, the more powerful the drop feels if beat 1 lands clean and focused.
Mini Practice Exercise
Spend 10–20 minutes building a 4-bar jungle transition rig:
1. Pick a 1-bar break slice or snare pickup.
2. Duplicate it across 4 bars.
3. Offset one group of hits later each bar by small amounts.
4. Add Drum Buss and Saturator on the break track.
5. Put Auto Filter + Echo on a noise layer.
6. Automate filter opening across the 4 bars.
7. Add one reverse crash or reverse snare tail into the final 1/2 bar.
8. Resample the whole transition and trim it so the drop starts clean.
Challenge yourself to make it work in two versions:
Keep the same structure, but change the tone: more break grit for jungle, more pressure and restraint for the roller.
Recap
The stepper system is a phrase-based transition method that uses offset timing, chopped drum energy, and controlled FX movement to build tension in DnB. In Ableton Live 12, the strongest version combines break slices, filter automation, delay throws, and resampled tails while protecting the low end and keeping the drop clean.
Remember the core principles:
Used well, this technique gives you that authentic jungle-to-modern-DnB bridge: raw, stepping, and relentlessly forward-moving.

