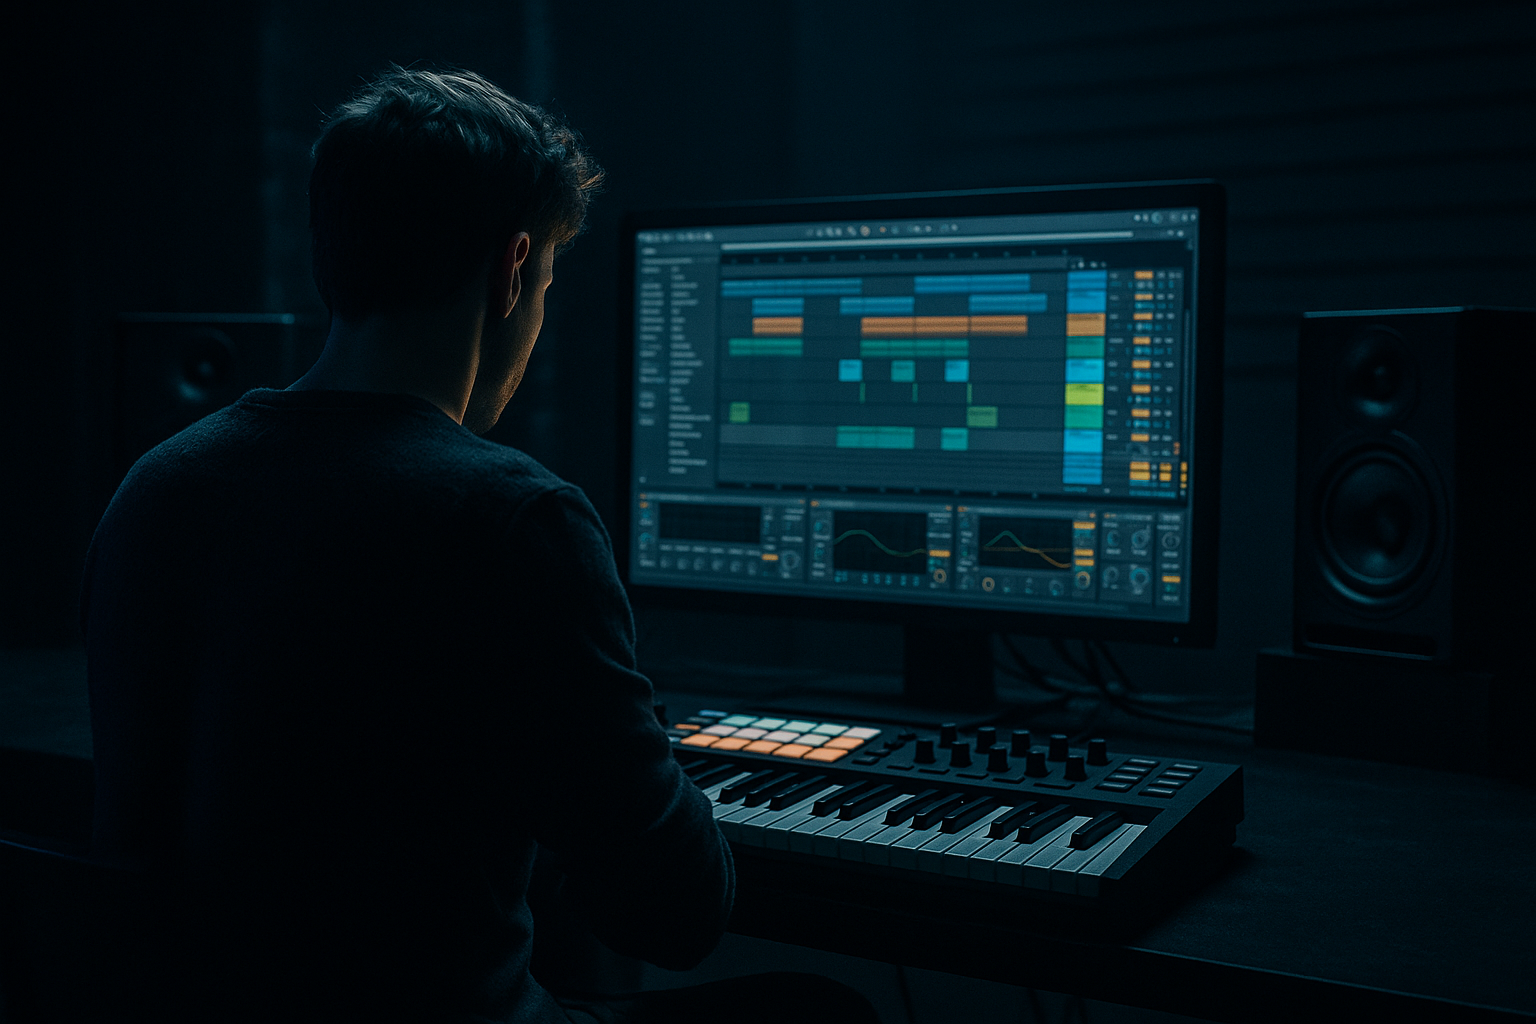
Main tutorial
Stack an Oldskool DnB “Rewind Moment” for Heavyweight Sub Impact (Ableton Live 12) 🔁🔊
Skill level: Beginner
Category: Risers (but we’ll treat it like a rewind build + slam-back-in)
---
1. Lesson overview
In oldskool jungle/DnB, the rewind (or “pull up”) is that iconic moment where the DJ drags the record back, the crowd reloads, and the drop hits even harder. In production, we can recreate that energy by stacking a short “rewind build” with a sub-impact + drop re-entry.
You’ll learn a clean, reliable Ableton Live 12 workflow using stock devices to make a rewind moment that:
- feels authentic to jungle/DnB culture
- creates tension without muddying the low end
- hits with a proper weighty sub punch when the drop returns
- Bar -2 to -1: build/tension (riser + noise + tape/turntable vibe)
- Last 1/2 bar: rewind gesture (pitch/time “drag”) + short stop
- Drop bar 1: sub impact + tight kick/bass re-entry
- 16 or 32 bar phrase → 2-bar rewind → drop hits on a new phrase boundary.
- Use a snare sample repeating 1/8 → 1/16 → 1/32, with a high-pass filter sweeping up.
- Place a single note on the exact drop downbeat (bar 1 beat 1).
- Tune it to your track’s key (often F, F#, G in heavier DnB, but use your bass key).
- Use Utility on the SUB IMPACT with Width 0% (mono). Sub should be mono in DnB.
- 2 bars before drop: riser + increasing tension
- Last 1 bar: rewind starts
- Last 1/4 bar: hard stop + reverb tail
- Drop downbeat: sub impact + kick + bass (everything returns clean)
- Riser filter opens upward
- Rewind pitch dives downward
- Master/Drum bus: do not over-automate volume—keep it simple
- Tiny silence before drop
- Make the rewind “mid-forward,” not bassy:
- Layer a super-short “click” on the impact:
- Add a distant crowd/air layer (subtle):
- Use saturation on sub impact instead of turning it up:
- Keep the kick transient sacred:
- Use a real piece of your groove as rewind source for authenticity.
- Stack riser layers (noise + roll) but high-pass them to protect sub space.
- Create a dedicated sub impact (short, tuned, mono) that hits exactly on the drop.
- Add a small silence gap before the drop—this is the secret sauce for perceived heaviness.
- Keep it clean with EQ Eight, Utility, Saturator, Compressor sidechain, Hybrid Reverb (all stock).
---
2. What you will build
A 2-bar rewind sequence right before your drop:
Deliverables (you’ll end up with these tracks):
1. Rewind FX track (audio)
2. Riser layer track (MIDI or audio)
3. Sub Impact track (MIDI)
4. Drop Safety chain (sidechain + low-end discipline)
---
3. Step-by-step walkthrough
Step 0 — Set the scene (tempo + arrangement)
1. Set tempo to 170–174 BPM (classic rolling DnB zone).
2. In Arrangement View, find your drop. We’ll place the rewind 2 bars before the drop.
DnB arrangement suggestion:
---
Step 1 — Make the “rewind source” (audio you’ll pull back) 🎚️
You need something to rewind: a phrase from your track works best (drums + bass + a stab).
1. Select 1 bar of audio from your main groove right before the rewind (or bounce a resample).
2. Right-click → Consolidate (Cmd/Ctrl + J) so it’s a clean clip.
3. Duplicate that consolidated audio onto a new track named: REWIND SRC.
Why: the rewind feels authentic when it’s literally your tune being pulled up.
---
Step 2 — Create the rewind “pull-up” motion (pitch + time vibe) 🔁
We’ll do an easy, controllable fake rewind using clip playback and automation.
Option A (Beginner-friendly, fast): Clip reverse + pitch dive
1. Duplicate the clip on REWIND SRC so you have a copy to mess with.
2. Click the clip → enable Reverse.
3. Turn Warp ON. Use Beats mode for percussive stuff (Preserve: 1/16 or 1/8).
4. Automate the clip’s Transpose down over the last 1/2 bar:
- Start around 0 st and ramp to -12 st (or even -24 st for drama).
- Do this with Clip Envelopes (Clip view → Envelopes → Transpose) or automate the Transpose parameter if you prefer arrangement automation.
Option B (More “turntable-ish”): Frequency Shifter pitch glide
If Transpose sounds too “digital,” try pitching with a device:
1. Add Frequency Shifter to REWIND SRC.
2. Set:
- Mode: Shift
- Fine: 0
- Automate Frequency from 0 Hz → -200 Hz over the last 1/2 bar (adjust by ear).
3. This creates a grimy pitch drag that can feel more analog.
---
Step 3 — Add “stop” and space (the crowd breath) ✋
A rewind moment needs a tiny “ohhh” gap so the drop feels huge.
1. Right before the drop (last 1/8 to 1/4 bar), cut the audio on REWIND SRC and leave silence.
2. Add a short reverb tail only to the rewind (not your whole mix):
- Create a Return Track with Hybrid Reverb
- Try:
- Algorithmic Hall
- Decay: 1.5–2.5 s
- High Cut: 6–8 kHz
- Send the rewind into it briefly, then cut the send before the drop so it doesn’t wash the impact.
Goal: tension + silence = bigger drop perception.
---
Step 4 — Build the riser stack (support the rewind) 🌪️
Now we’ll add a classic DnB/jungle build layer that doesn’t mess up the sub.
Create a new MIDI track: Riser Noise
1. Add Operator.
2. Use White Noise:
- In Operator, choose a noise-based preset if you have one, or use a simple waveform + filter approach:
- Easiest stock method: use Wavetable instead:
- Oscillator 1: Noise table (if available)
- Filter: HP (High-pass)
3. Add Auto Filter after the synth:
- Type: HP 24 dB
- Automate Frequency from 200 Hz → 8–12 kHz over 2 bars
- Add a touch of Resonance (10–20%) for edge
4. Add Saturator (gentle):
- Drive: 2–5 dB
- Soft Clip: ON
5. Add Utility:
- Width: 120–160% (keep it wide)
- Bass Mono: ON (or manually keep lows out via HP filter)
Optional jungle flavor:
Add a short snare roll (think amen-style energy) under the riser:
---
Step 5 — Design the heavyweight sub impact (the “reload” hit) 💥
This is the key: a controlled sub thump that hits with the drop, not before it.
Create MIDI track: SUB IMPACT
1. Add Operator
2. Basic settings:
- Osc A: Sine
- Level: 0 dB (adjust later)
3. Add Pitch Envelope for punch:
- Pitch Env Amount: +12 to +24 st
- Pitch Env Decay: 30–80 ms
This makes a quick “doof” at the start.
4. Shape the amplitude envelope:
- Attack: 0–5 ms
- Decay: 150–300 ms
- Sustain: -inf (or very low)
- Release: 50–120 ms
5. Add Saturator (important for audibility on smaller speakers):
- Drive: 3–7 dB
- Soft Clip: ON
6. Add EQ Eight:
- HP filter at 20–30 Hz (gentle)
- If it’s boomy, dip 60–90 Hz slightly (1–3 dB)
MIDI note:
---
Step 6 — Make room so the impact actually hits (sidechain + low-end discipline) 🧱
If your drop kick and bass arrive at the same moment, the sub impact can vanish or distort.
A simple beginner-safe approach: sidechain the sub impact to the kick
1. On SUB IMPACT, add Compressor
2. Enable Sidechain
3. Set Audio From: your Kick track
4. Settings:
- Ratio: 4:1
- Attack: 1–5 ms
- Release: 60–120 ms
- Threshold: adjust until you get 2–5 dB gain reduction when the kick hits
Extra clean:
---
Step 7 — Glue the moment with a “tape/turntable dirt” bus (optional but tasty) 🧼➡️🟫
Group your REWIND SRC + Riser Noise into a group called REWIND BUS.
On REWIND BUS, add:
1. Drum Buss
- Drive: 5–15%
- Crunch: 5–10%
- Boom: OFF (don’t add low boom here; save lows for the actual impact)
2. EQ Eight
- High-pass around 120–200 Hz (keep rewind FX out of sub range)
3. Redux (very subtle)
- Bit Reduction: 12–14 (light grit)
- Downsample: tiny amount (or off if it gets harsh)
This keeps the rewind exciting while protecting the low end.
---
Step 8 — Arrangement: the classic “pull up → silence → slam” timing 🎯
A reliable oldskool structure:
Automation checklist (minimum):
---
4. Common mistakes
1. Putting sub in the rewind FX
- If your rewind has heavy lows, your drop won’t feel like it “arrives.” High-pass the rewind bus.
2. No silence before the drop
- Without a small gap, the rewind just feels like a weird fill, not a reload.
3. Sub impact too long
- If it rings for 1+ second, it will fight your drop bass. Keep it punchy: ~200 ms decay.
4. Too much reverb into the drop
- Reverb tails that continue into bar 1 smear your kick transient. Cut the send right before impact.
5. Pitch automation too extreme (in a bad way)
- -48 st can sound like a cartoon. Try -12 to -24 first.
---
5. Pro tips for darker/heavier DnB 🖤
High-pass at 150–250 Hz, then add a small boost around 1–3 kHz for grit and presence.
Add a tiny click sample (or a short rim/foley) at the drop downbeat. It helps the impact read on phones.
A quiet noise bed or “room” texture can make the rewind feel like a rave moment—just keep it high-passed.
Saturation adds harmonics so it feels louder without eating headroom.
If the rewind is loud, let it be loud in mids/highs, not in the low end.
---
6. Mini practice exercise 📝
Do this in a fresh 16-bar loop:
1. Build a simple 2-step DnB beat + bassline.
2. Add a 2-bar rewind moment before bar 9.
3. Use two versions:
- Version A: Clip Reverse + Transpose dive
- Version B: Frequency Shifter pitch drag
4. A/B compare:
- Which one feels more “oldskool”?
- Which keeps the drop cleaner?
5. Export both and listen on small speakers—does the sub impact still read?
---
7. Recap ✅
If you want, tell me your track key and what your drop bass is (reese, foghorn, neuro, roller), and I’ll suggest exact sub-impact notes + a matching rewind timing that suits that style.

